My niece, Julia, is having a baby, and the baby shower is tomorrow. I’ve already bought some things for her, but I didn’t have anything to put them in. Oh, sure, I could have just bought a gift bag, but I won this cute Henry Glass fabric from one of their giveaways. You should check out their blog (http://henryglassfabrics.blogspot.com/), because they are doing more giveaways between now and December 20th as part of their “Countdown to the Holidays” gifting to their fans. Anyhow, I thought Julia could re-use a fabric bucket more than she could a paper bag for baby gifts. So, this is what I made to hold the gifts. I figure she can re-use it for holding things in the baby’s room or in the bathroom, or the baby can use this for holding toys or possibly as an Easter basket at some point in the future.
Materials Used for this size Bucket:
- 1/3 yard each of 2 coordinating fabrics
- 1/3 yard Pellon 71 F Single-Sided Fusible Ultra Firm Stabilizer or any interfacing of your choosing (optional)
- 1/3 yard batting (optional)
- 1/3 yard fusible fleece (optional)
Cutting Directions/Sizes
- Cut a 10 inch circle from EACH of the 2 coordinating fabrics
- Cut a 9 inch by 30 1/3 inch rectangle from EACH of the 2 coordinating fabrics
- Cut a 6 inch by 20 inch rectangle from ONE of the coordinating fabrics
Optional Use of Stabilizer and/or Batting
- Cut one 10 inch circle of either stabilizer or batting or both, depending on personal preference
- Cut one 9 inch by 30 1/3 inch rectangle of either stabilizer or batting or both, depending on personal preference, OR use fusible fleece
The first thing I did was determine how big I wanted it to be (big enough to hold the all the goodies for the baby shower). I decided to make the bottom 9 1/2 inches wide – that would be my finished size. Using a template, I drew with a 9 1/2 inch circle onto the wrong side of 2 coordinating fabrics and then another circle 1/4 inch outside of that first circle, which would make the outside circle 10 inches (9 1/2 inch + 1/4 inch on each outside edge of the circle. The added 1/4 inch would be my seam width. I then cut along the outside circle.

Now to figure out how much fabric to cut for the sides. Go back to Geometry to figure out how the circumference of the circle. I know my finished circle would be 9 1/2 inches or 9.5 inches. The formula for figuring out the circumference of a circle is C = πD (Circumference = Pi x Diameter). Pi = 3.14 and my finished diameter will be 9.5 inches so I multiplied 3.14 x 9.5 for a circumference of 29.83 inches. That’s how long it would be when it’s finished. I needed to add another 1/4 inch to each side for my seam allowances, so I added 1/4 inch to each of the 2 ends; .5 (or 1/2) inch + 29.83 = 30.33 inches. Basically it’s 30 1/3 inch long. I originally cut the sides at 10 inches, because I wasn’t sure yet how tall I wanted it to be.

At this point, you need to decide how sturdy and/or soft you want to make your bucket. I thought I wanted to use both the stabilizer and the batting, but I changed my mind as I was working on it. It got to be too bulky and I needed to get it done and not spend time trying to make it work. If you are using a fusible product, now is the time to press it onto the fabric. I chose to iron my stabilizer to the lighter color fabric, because my batting is off-white.
In the following pictures you can see where I goofed and started out sewing the side to the circle (right side of fabric on the side and wrong side of fabric for the circle – see the stabilizer?) and then picked out the stitches and sewed right sides together, with the stabilizer “stabilizing” the circle as I stitched. I forgot to add that I sewed the short ends of the rectangle together to form a loop that would be sewed to the circle. You could also save that step for AFTER you stitch the long sides onto the circle bottom; just make sure you leave an inch or more not stitched at each end so that you can then stitch the ends together and finish off stitching to the circle after the 2 ends are sewn together. Most people pin the pieces together- I was in a hurry and should have slowed down and pinned, but I was feeling cocky. Anyhow, sew the sides to the circles for each of the coordinating fabrics. I chose to have a chevron bottom with the polka dot sides for these pictures. I reversed it for a polka dotted bottom and chevron sides for the reversible part.
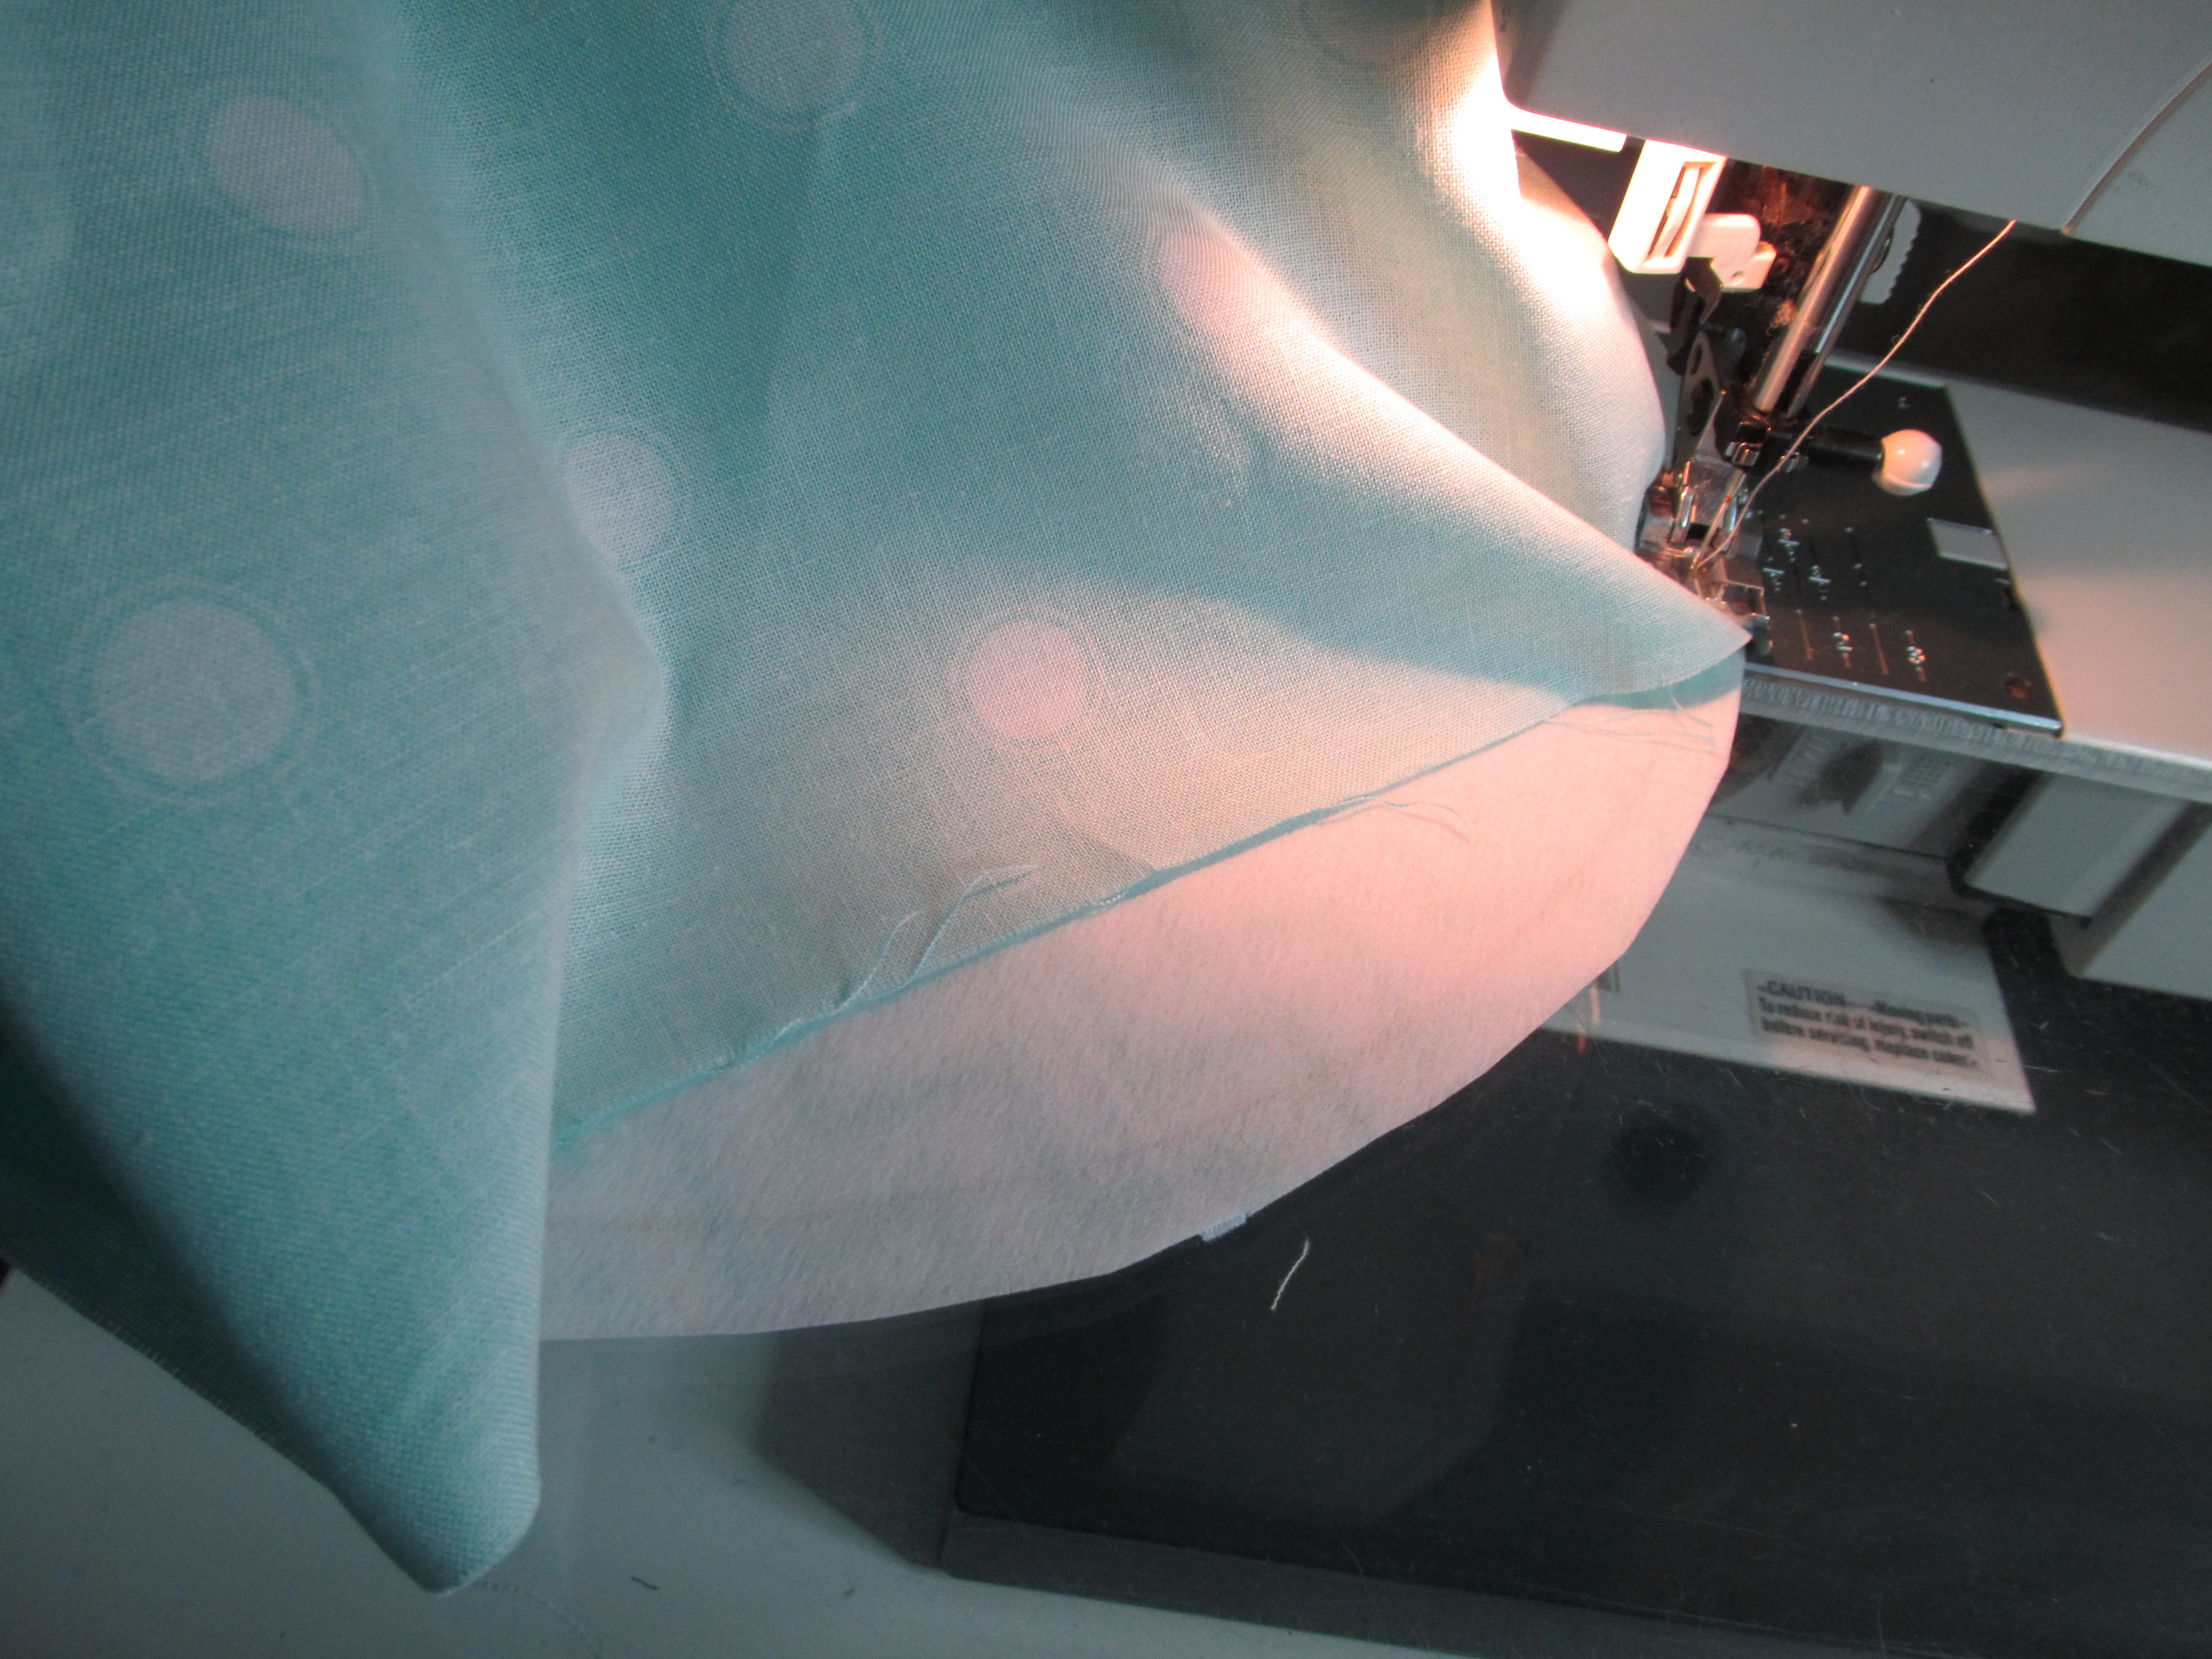

I used batting and stabilizer for the bottom, but when I got to this part of adding the sides, I found both of them to be too much to work with, so I chose to leave out the batting. After I had both bucket parts sewn together, I put them together and this time I pinned.

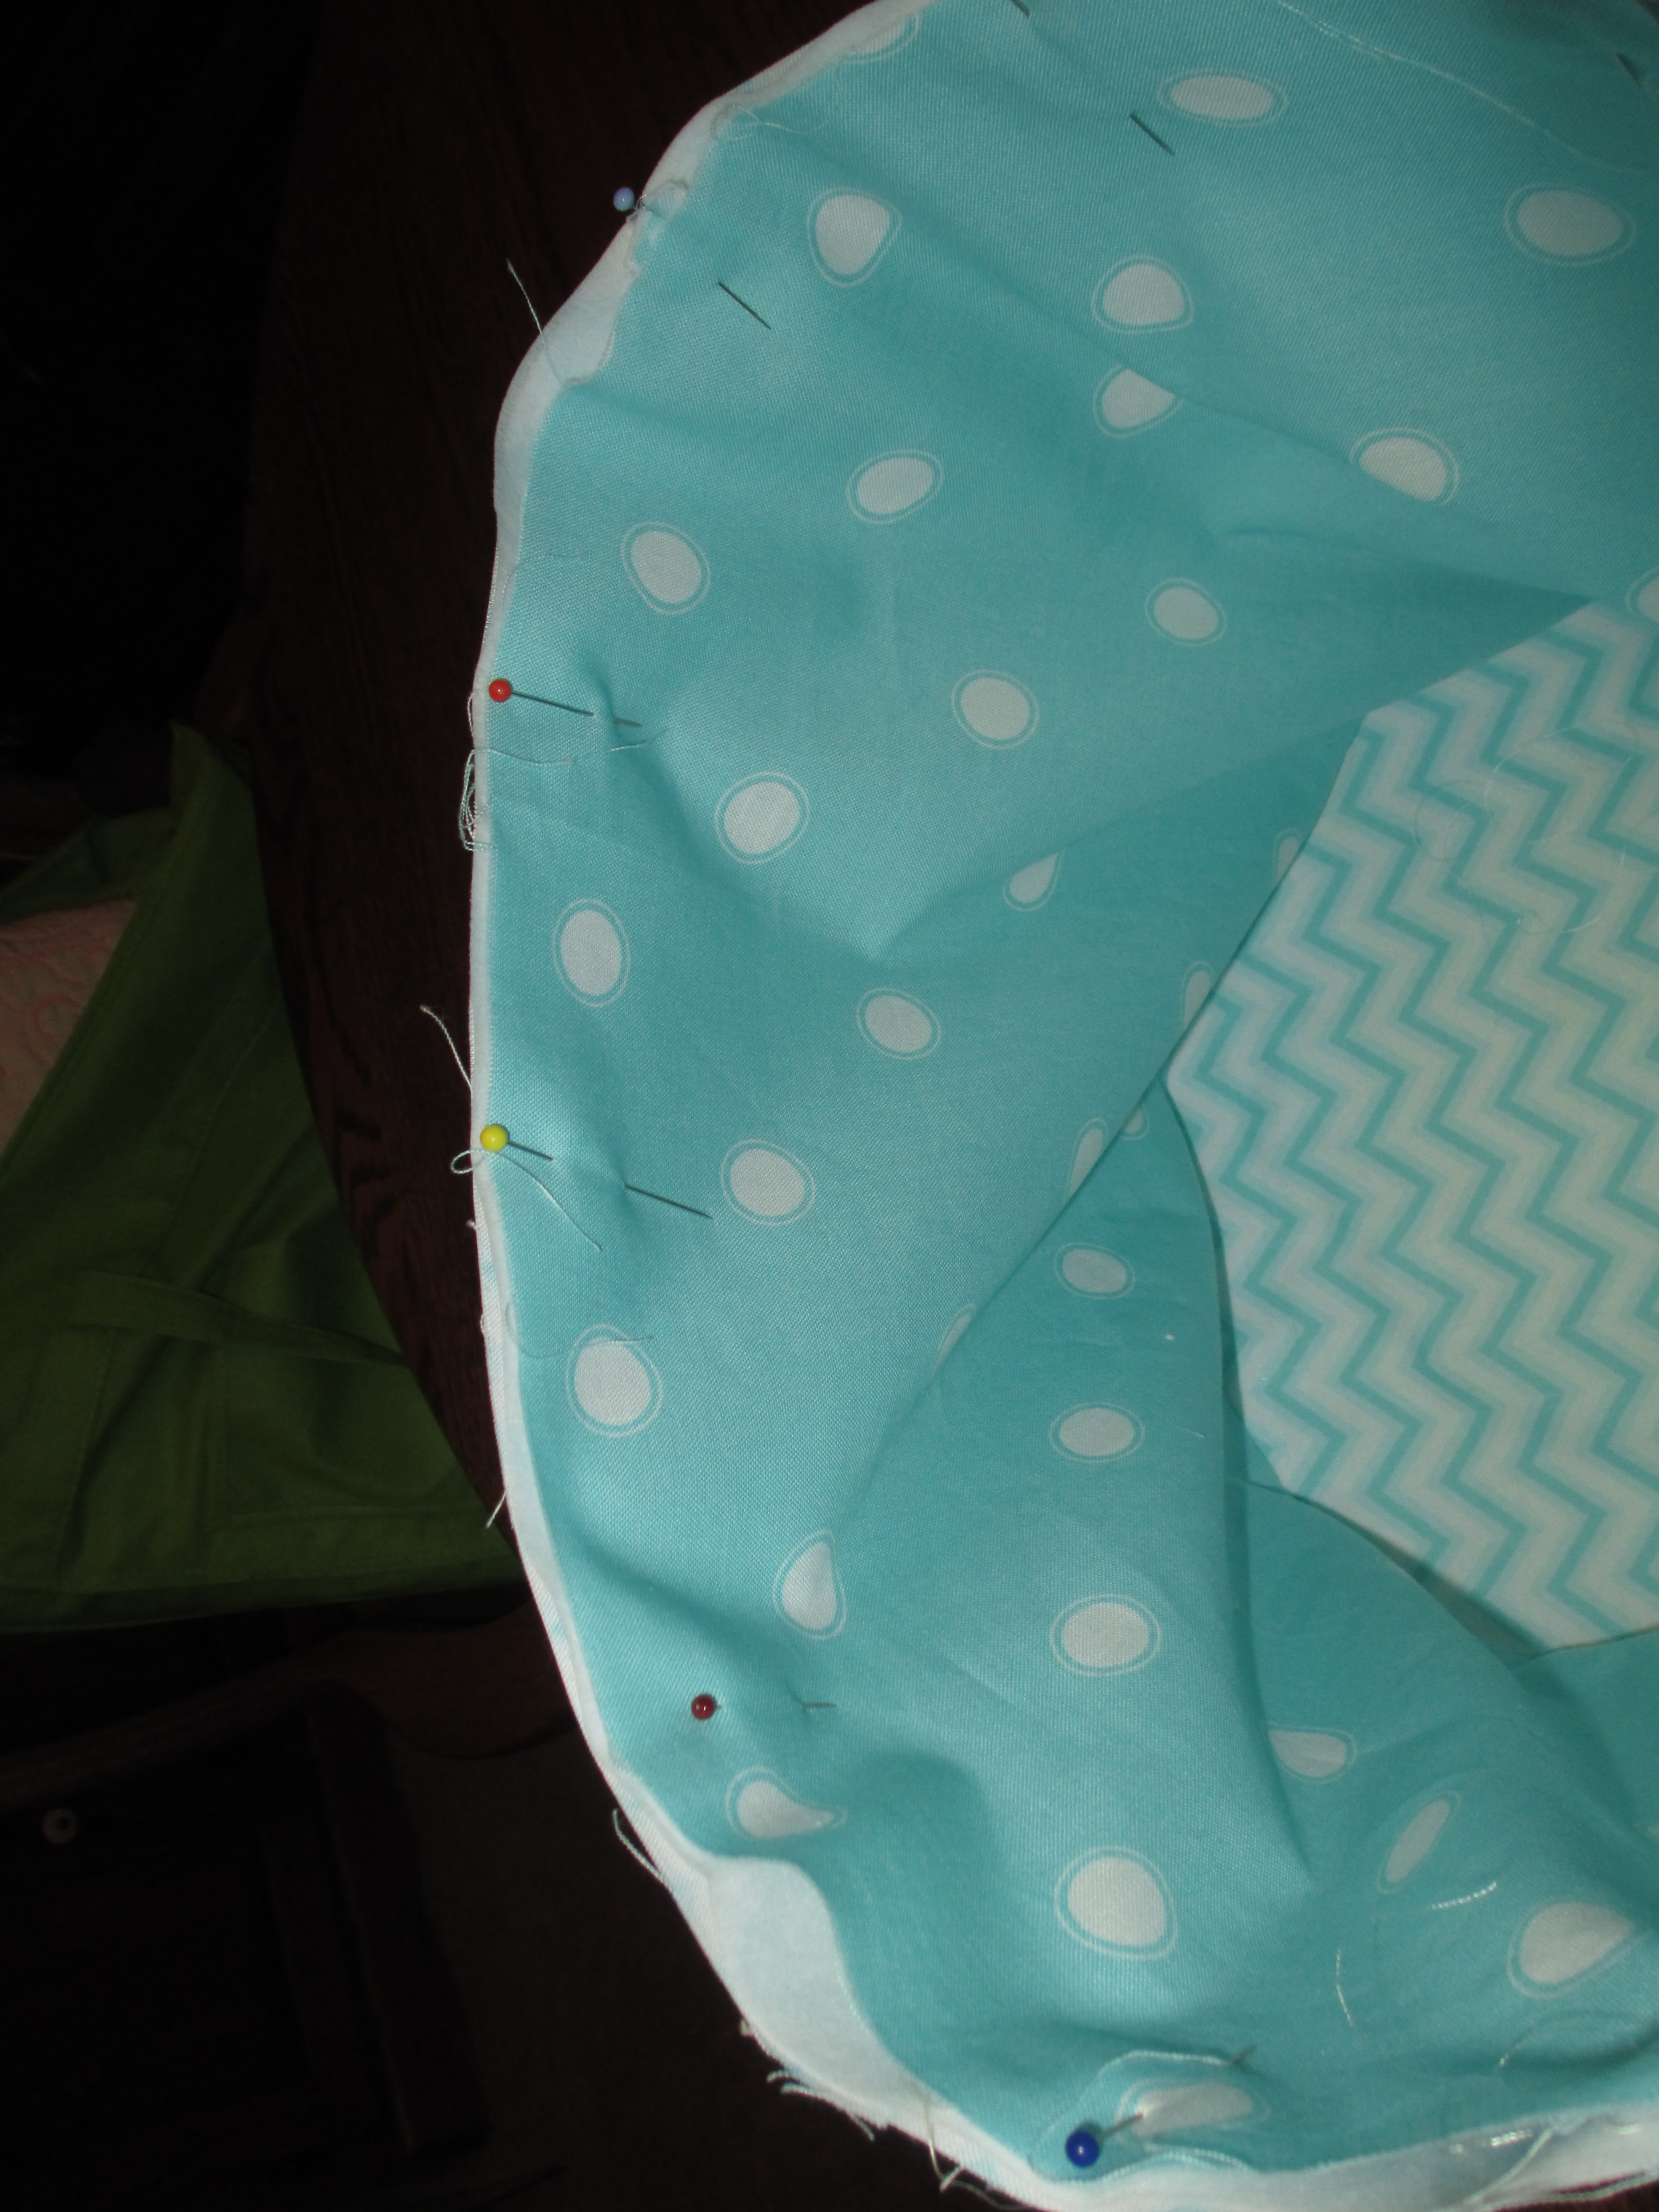
Figuring out how tall I wanted the bucket to be, I folded the tops to the inside and pinned them in place.


Before sewing these together, though, I need to add the handle. I didn’t use any batting or stabilizer for this, although stabilizer would probably make it more sturdy. The reason I didn’t use anything is because I was going to fold this so that there would be 4 layers of fabric. In my mind, that is enough fabric to try to sew through. What I did was fold down the length of the 20 inch fabric and then bring the edges to the middle and fold again. I did not iron these; I just finger-pressed them.


I then sewed the handle down the folded edge and then again a little closer to the edge. I repeated this for the other side, so it would look a little nicer.

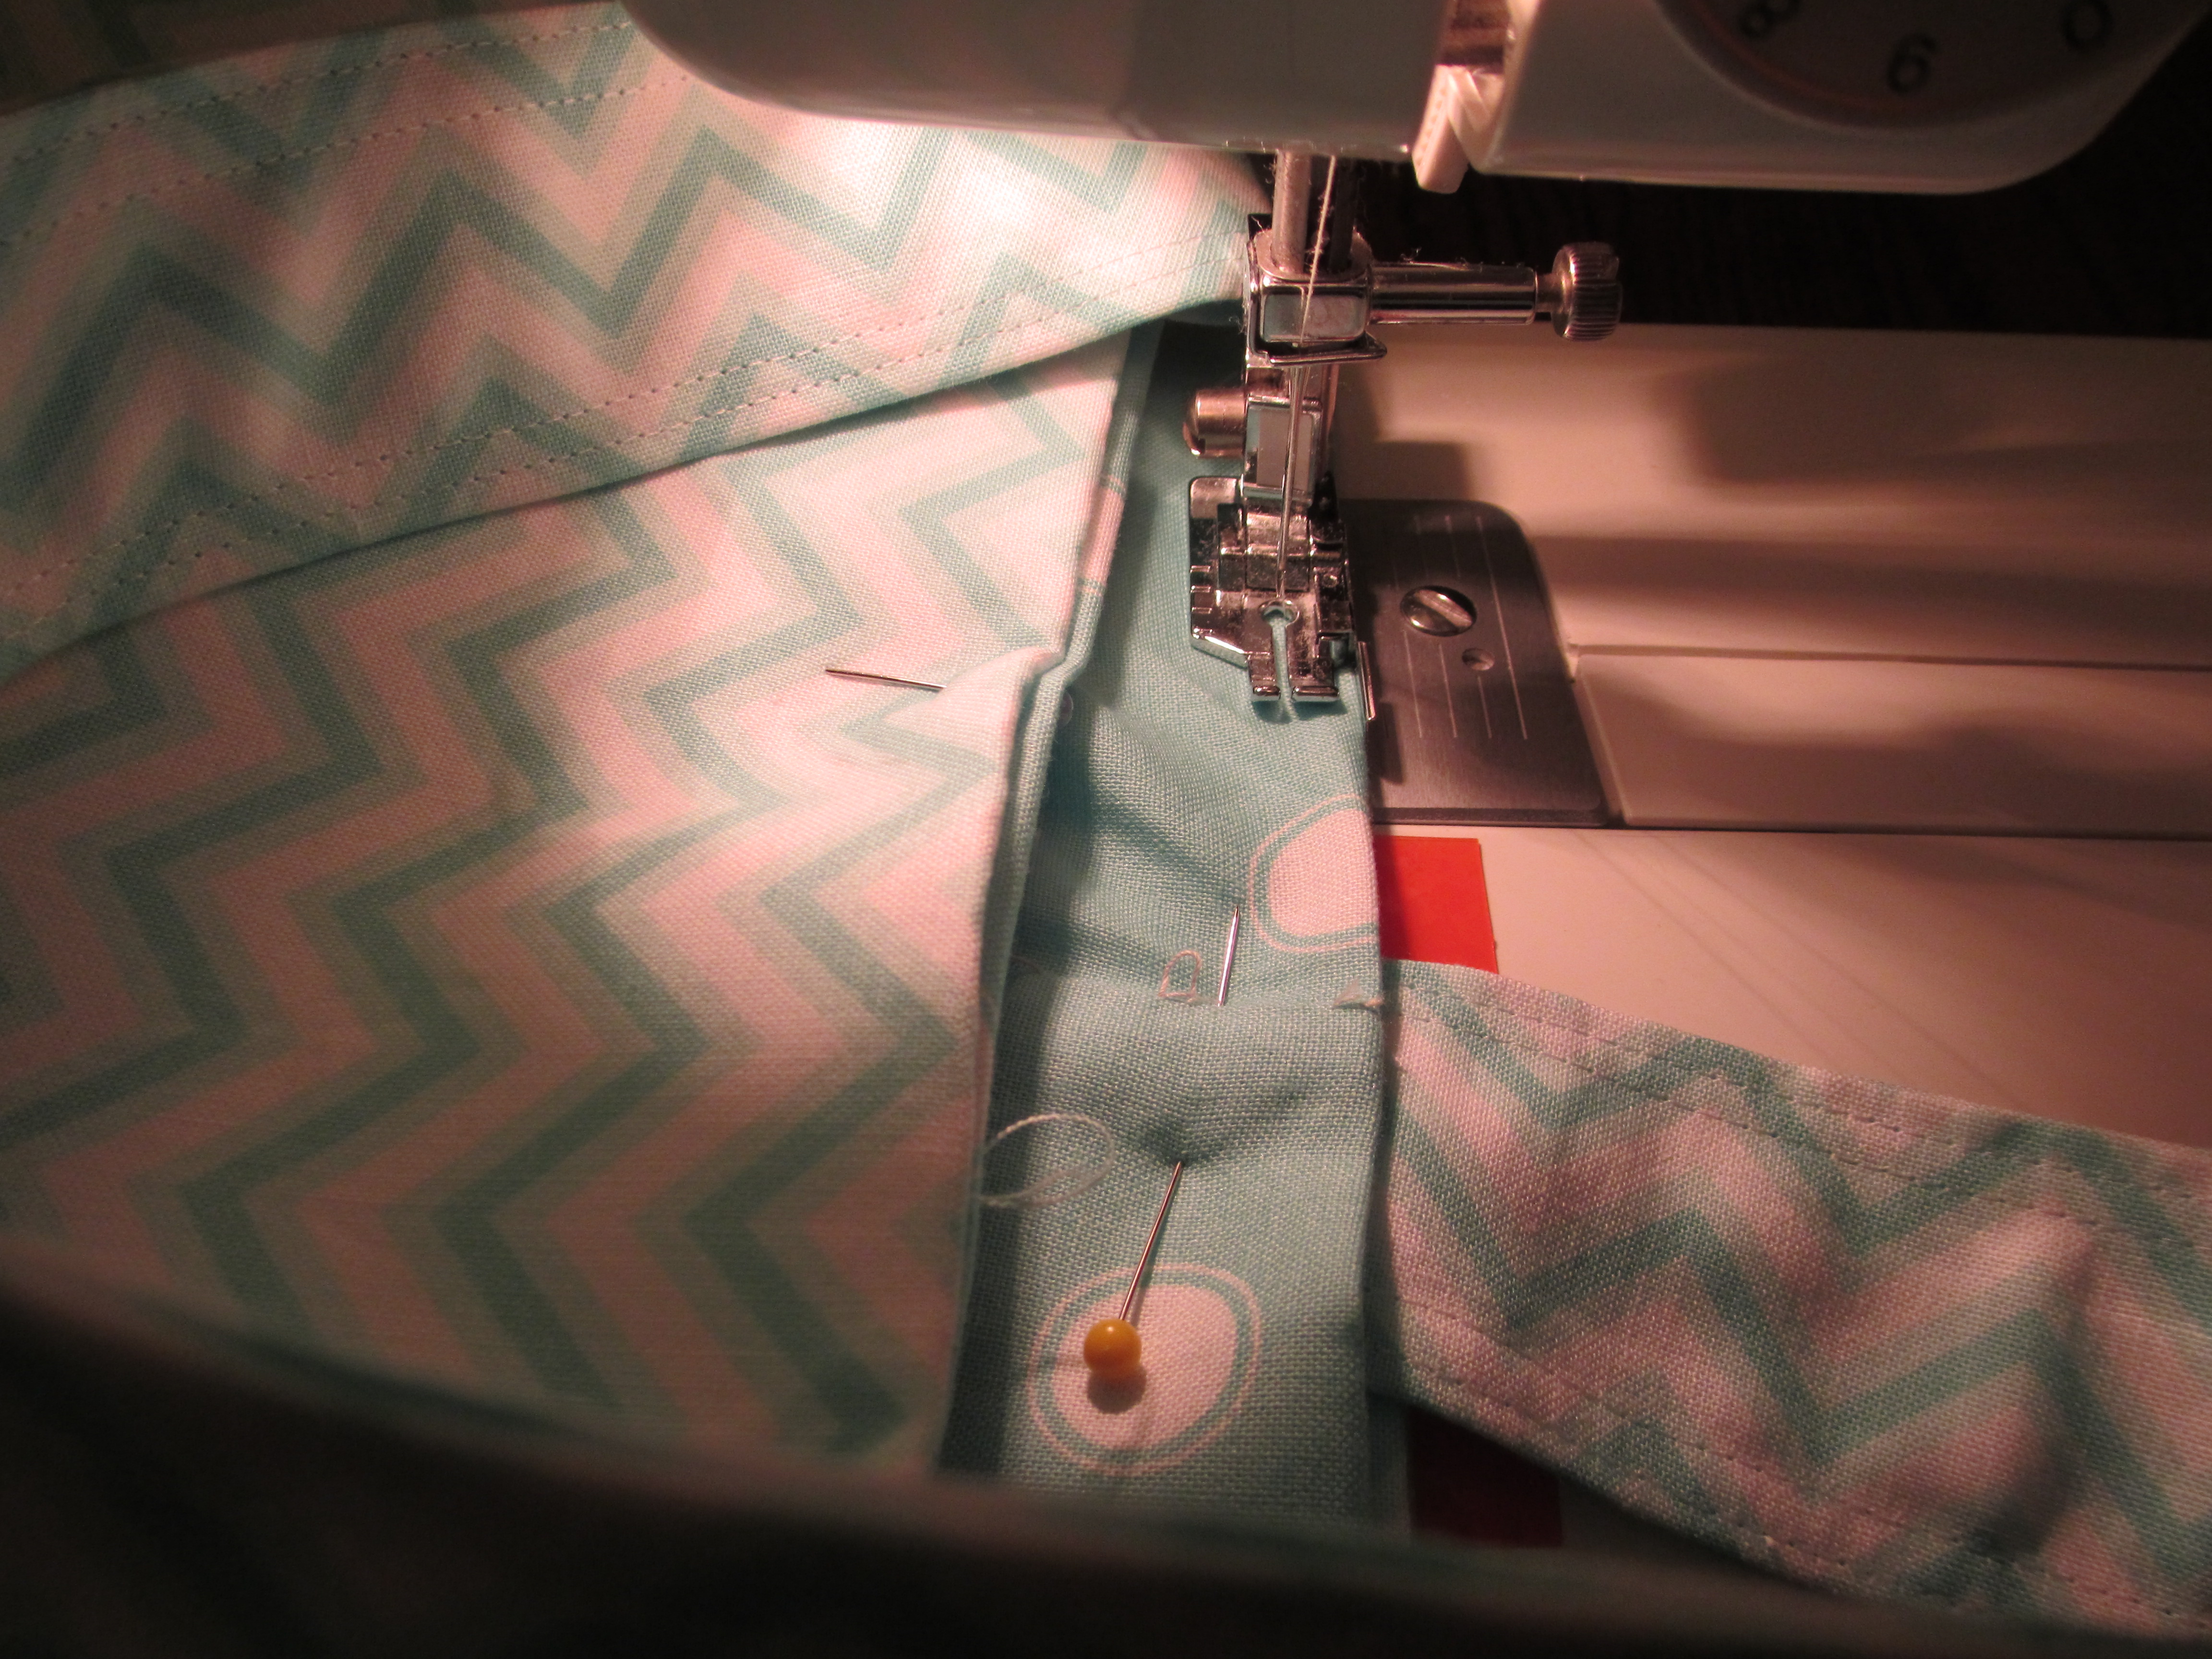
I then figured out where I wanted to put the handle and pinned it in place.

After it was pinned in place, I turned the bucket on its side and sewed the edges together, catching the handle in with the sides. To mimic the look on the handle and to make the bucket sturdier, I sewed another line closer to the edge.

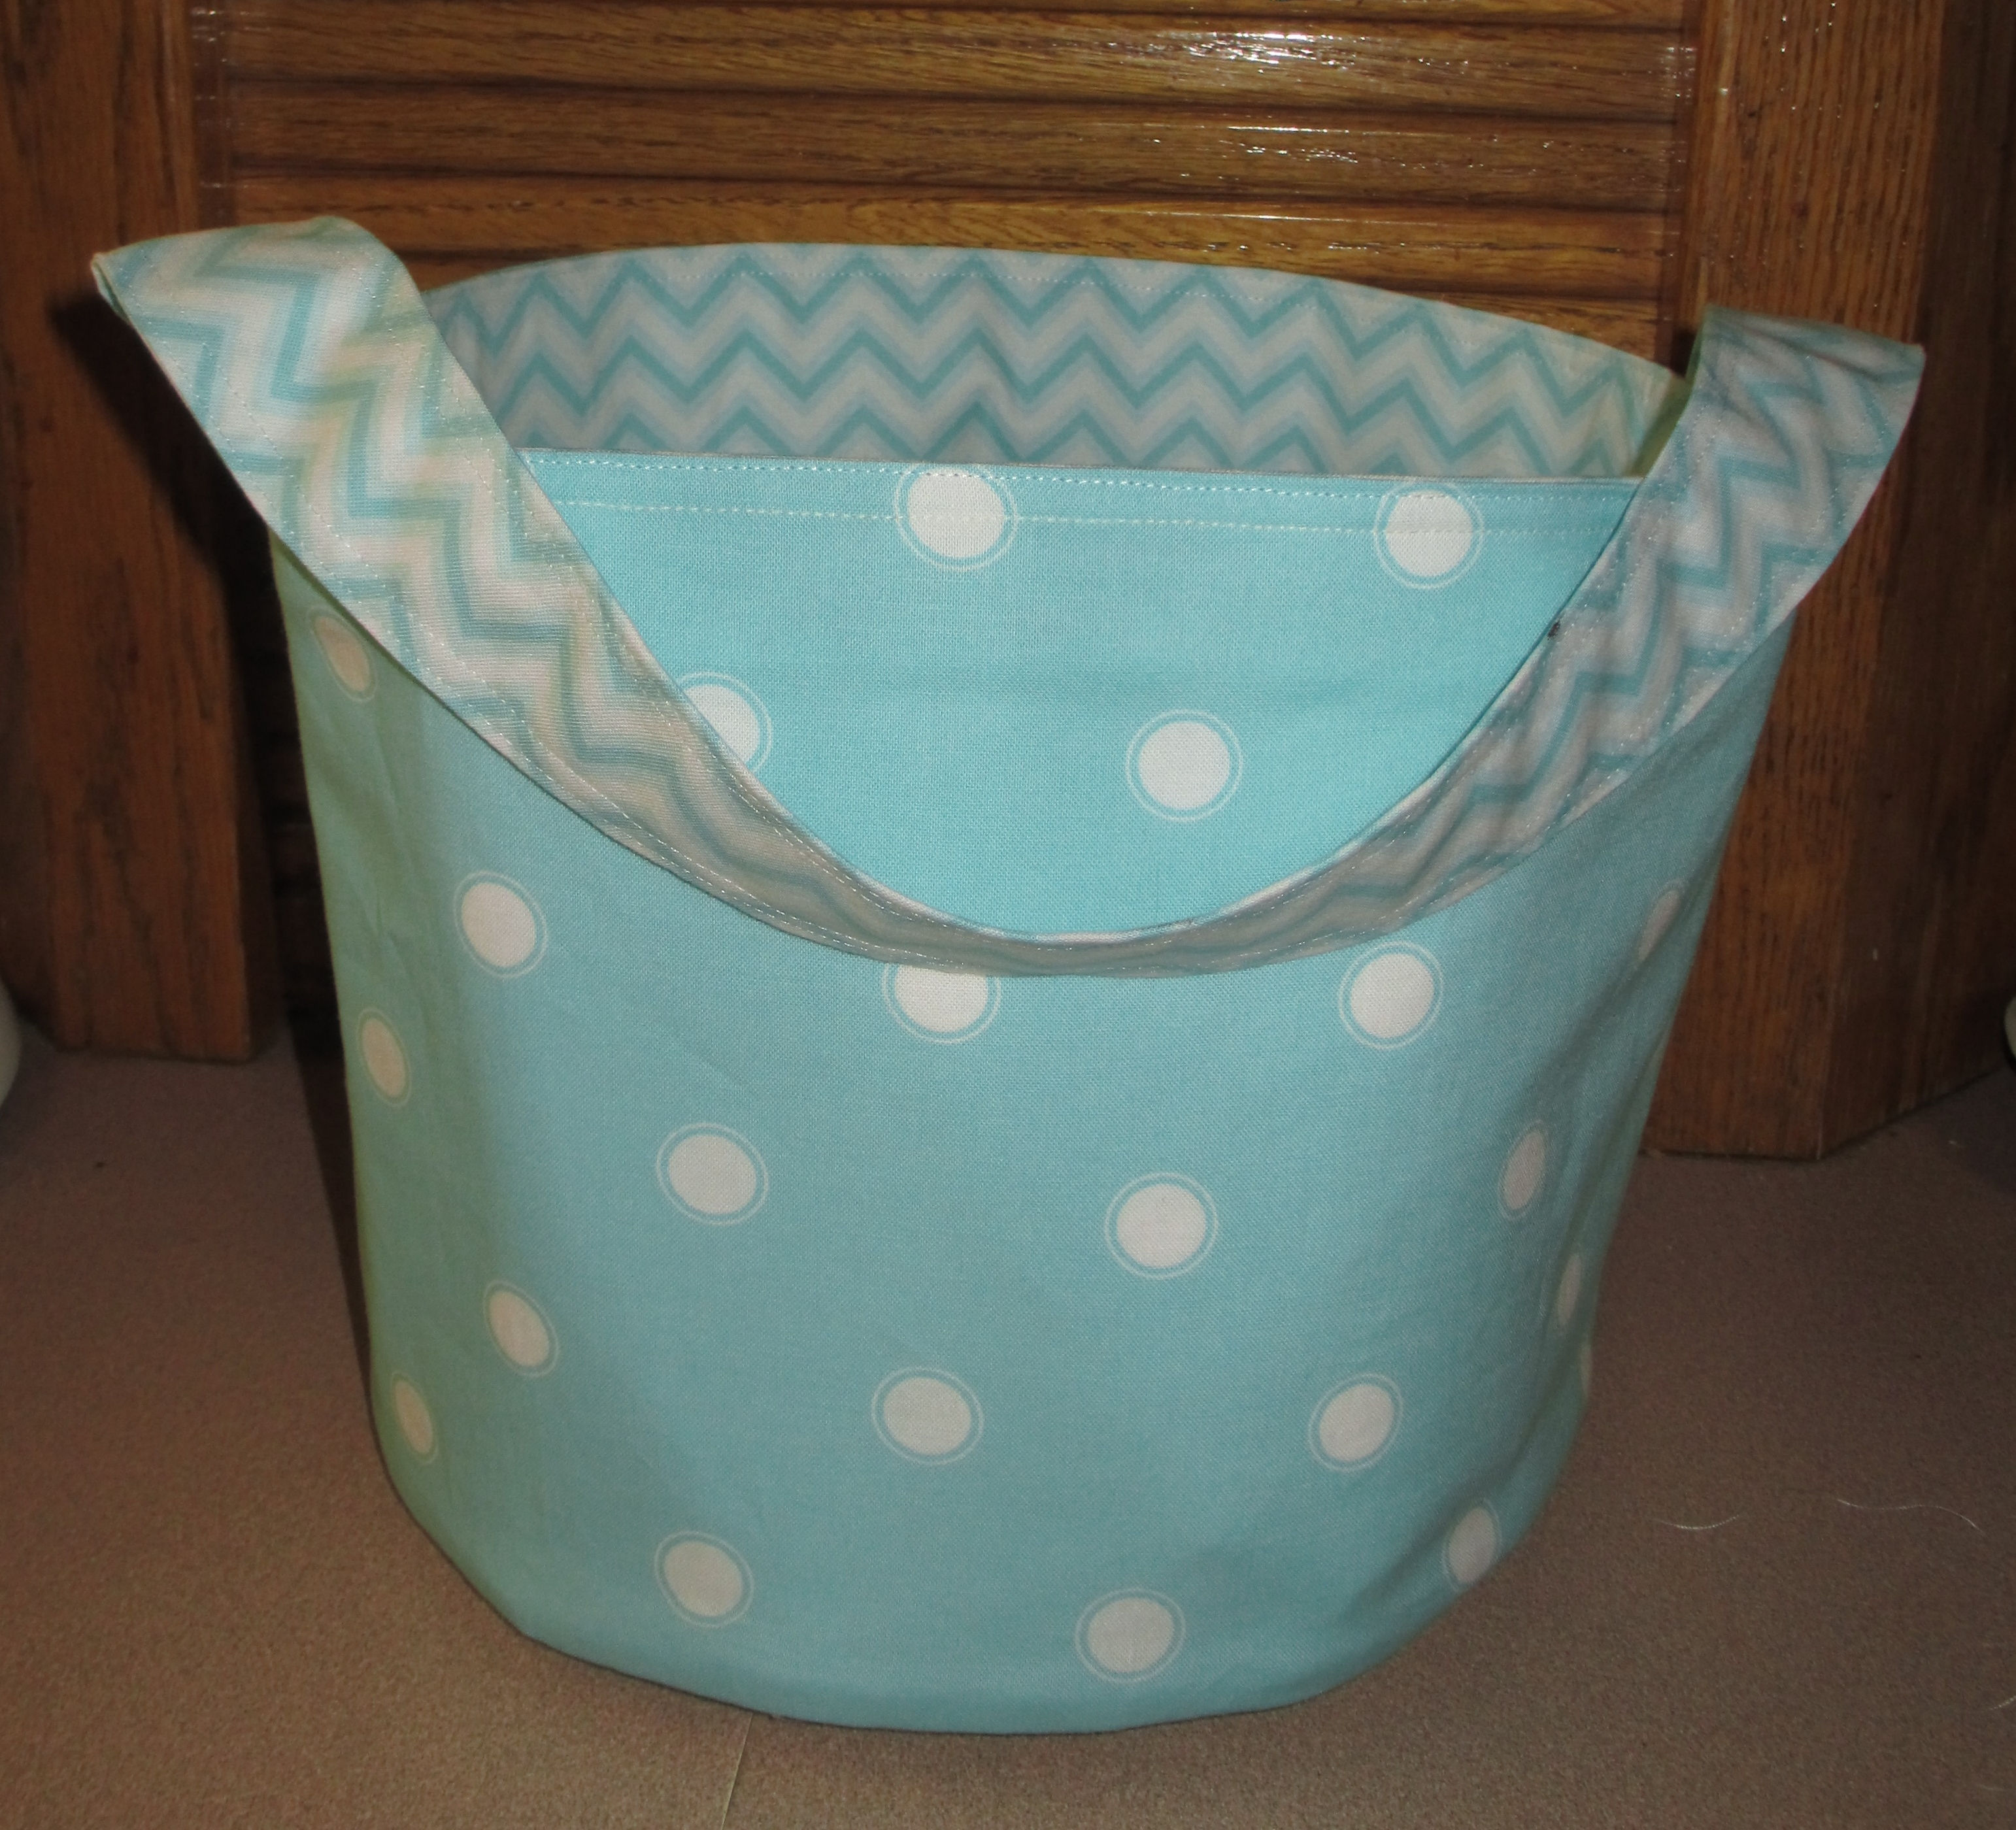
And this is the finished product.

I wasn’t as happy with the rigid look of the chevron fabric, with its pressed-look where the stabilizer had gotten folded during the scrunching, etc. Plus, I wanted to show off the look of the coordinating fabrics, so I “reversed” it so that on the outside you see the polka dot sides and the chevron handles. This is why I offered an option of batting and/or fusible stabilizer. Obviously the stabilizer makes it more rigid and sturdy. I think fusible fleece would work well, too.

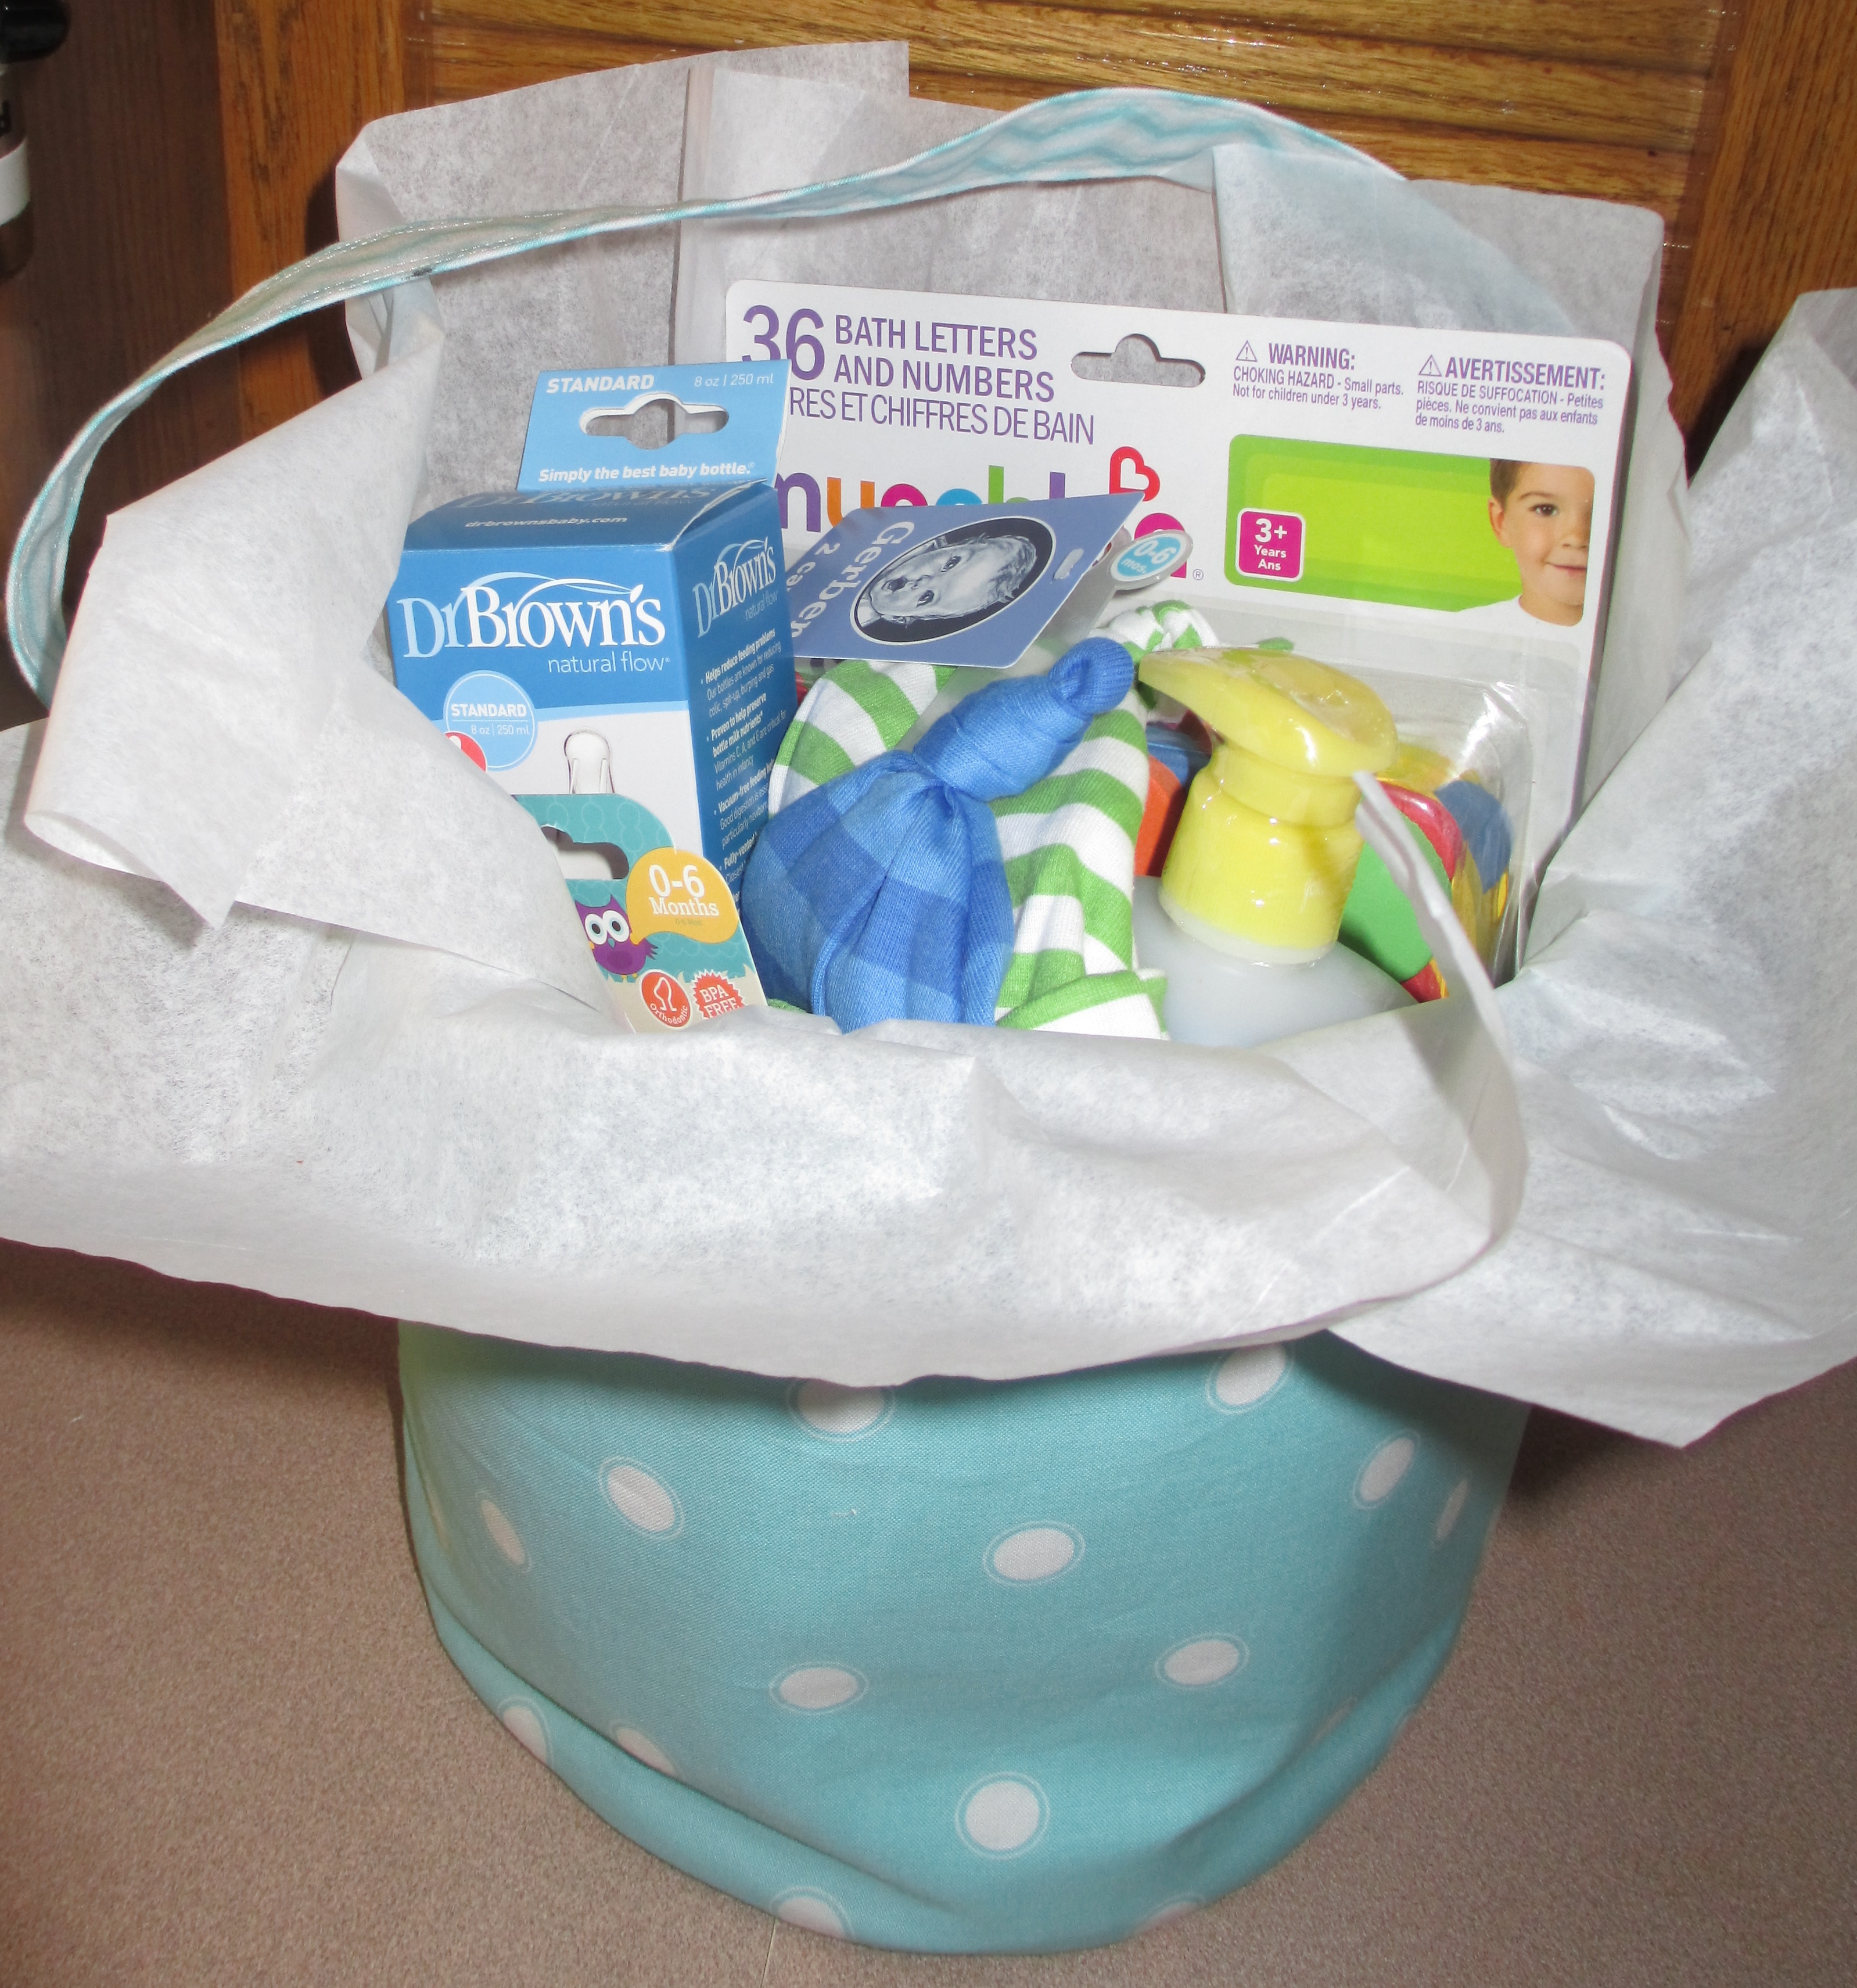
I then filled it with gifts for Julia and her baby, so I am now ready to give this to her tomorrow.
What do you think? Cute? If you make one of these buckets, I would LOVE to see pictures of your finished product! I’ll post them, too, if it’s okay with you! In the meantime, head over to Henry Glass Fabrics’ blog here so you, too, will have a chance to win some cute fabric.


