It’s time. Time for me to give myself the gift of finishing my own quilt. When I started this quilt, I began picking up pink and black fabrics that would go with a Country French (or French Country – however you prefer) decor. As time went on, however, my ideas on how to put all these fabrics together began to fizzle out. I ended up going for the quick finish, and that is how I ended up with this design. I’m not sure I really like it, but I can live with it. Here’s the end result.

The problem is that I saw a pink and black quilt in a Keepsake Quilting catalog that I should have gotten when I saw it, because I haven’t found it since. It had toile fabric in it and had the look I was after. So, I ended up coming up with my own version, which is not what I really wanted. Oh well. It was fairly quick and easy to put together. You could use Charm Squares for the blocks in this quilt. Here is a close up of 4 of the blocks sewn together at their points. You start with a square of fabric and sew small squares (in this one the small squares are white) to opposite corners of the larger square. Then, you put the blocks together to form X’s, with the small squares meeting at the outer edges. It kind of looks like it should be the opposite, doesn’t it? With the white being one block and the colored blocks being added in some magical way.
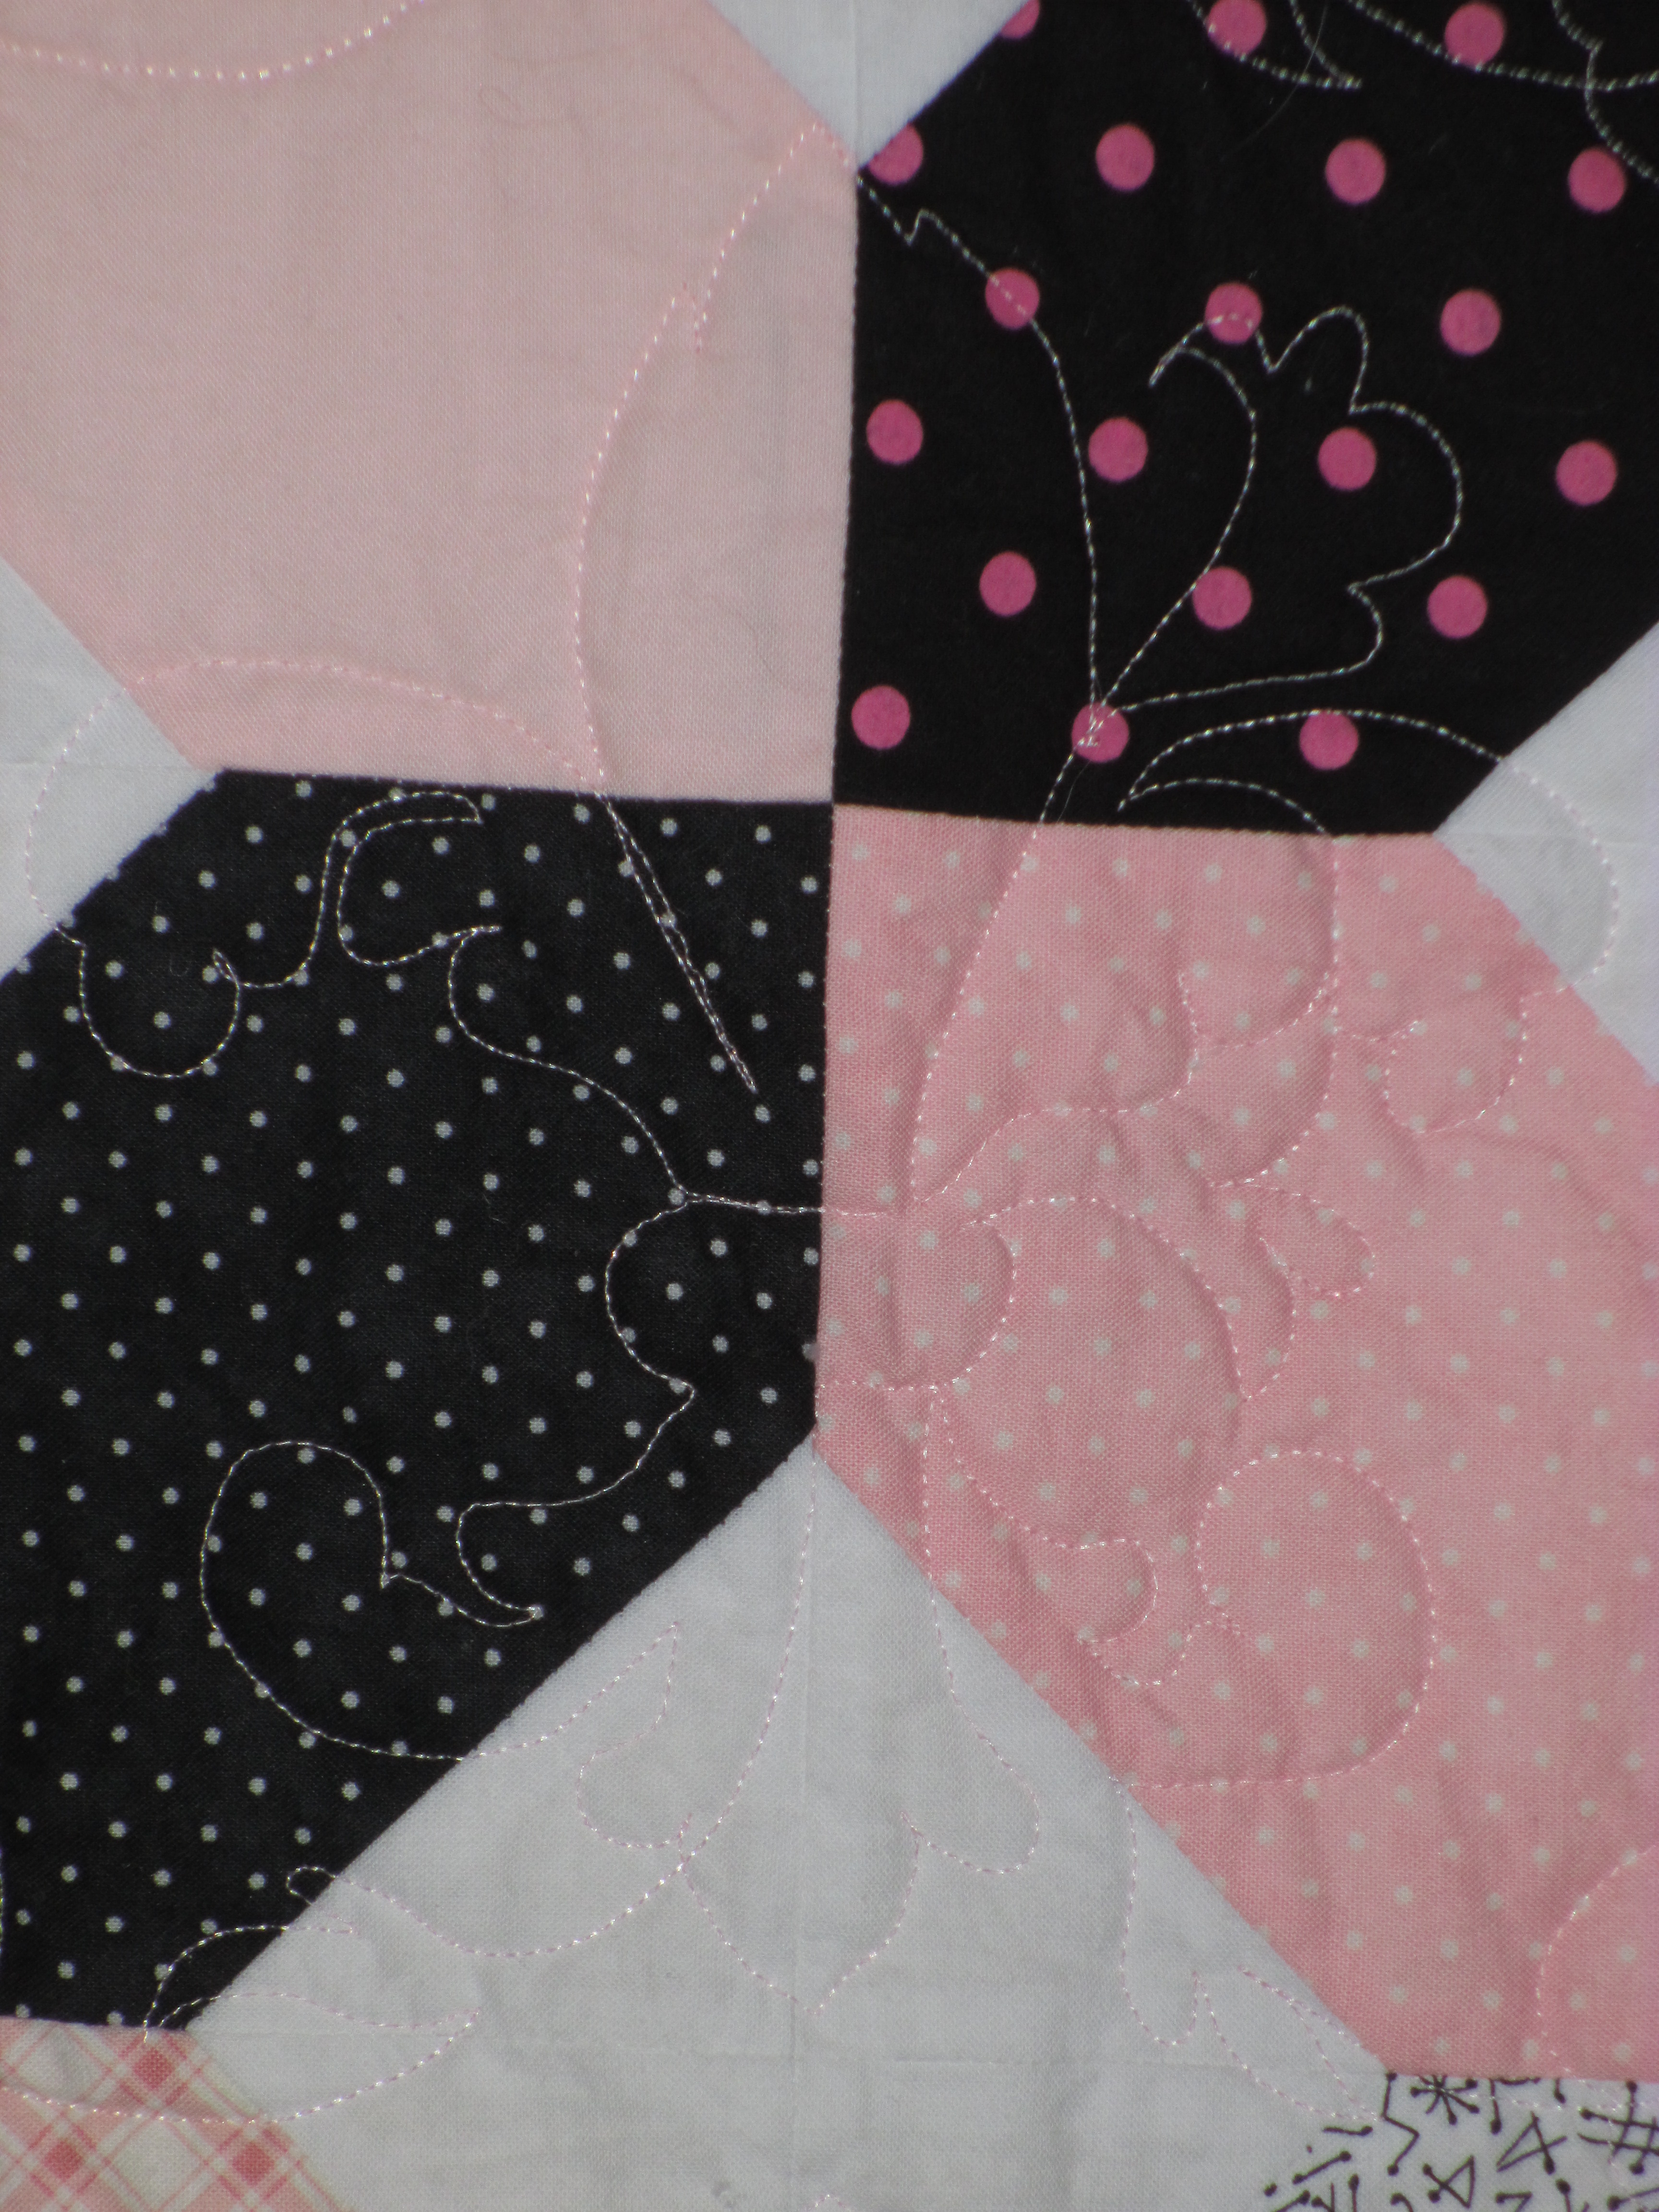
If you look closely, I quilted it with Fleur de Lis. I used MeadowLyon’s Fleur de Lis pantograph, which you can find here. I didn’t have her border pattern, so I made up my own to go with her design, but also to match where I would put the curves on the border. Here are a couple of pictures of the back so MAYBE you can see it better. The backing fabric is silky smooth cotton sateen. I used light pink Glide thread to give it a bit of a sheen.


I have many more quilts of my own in my design journal and in my head, too many to ever be able to finish before I die. This quilt may not be exactly what I wanted, but you know the saying… He or She who dies with the most quilts, wins! 😉 So, one more quilt for the record!
I’ve been doing a lot of thinking lately. I just finished a customer quilt yesterday, but I’m not sure yet if I can share it since it is a Christmas gift. But, back to the thinking… The past couple of months have been slow, business-wise. I’m still kind of new to this quilting business, but I thought this was supposed to be the busiest time of the year. I’m not sure if it’s because my mother-in-law passed away and people haven’t wanted to bother me or what. In any case, my mind will not sit idle, and neither will my hands. So… guess what I’ve been up to? Here’s a hint. I spent a better part of the day out in the garage, where it was very cold…

And, this is what I was working on…

It may be time for me to expand my business in a new direction. That is all I am going to share for now. Pictures will follow when I am done with this next project. Wish me luck!
