Jane brought me this to me at our last guild meeting. Her sister had embroidered the blocks and it was (is) her sister’s first quilt. We could have done a lot of different quilting on this quilt, but I think perhaps Jane didn’t want to overwhelm her sister with too much fluff (smart thinking!), so we kept it simple.

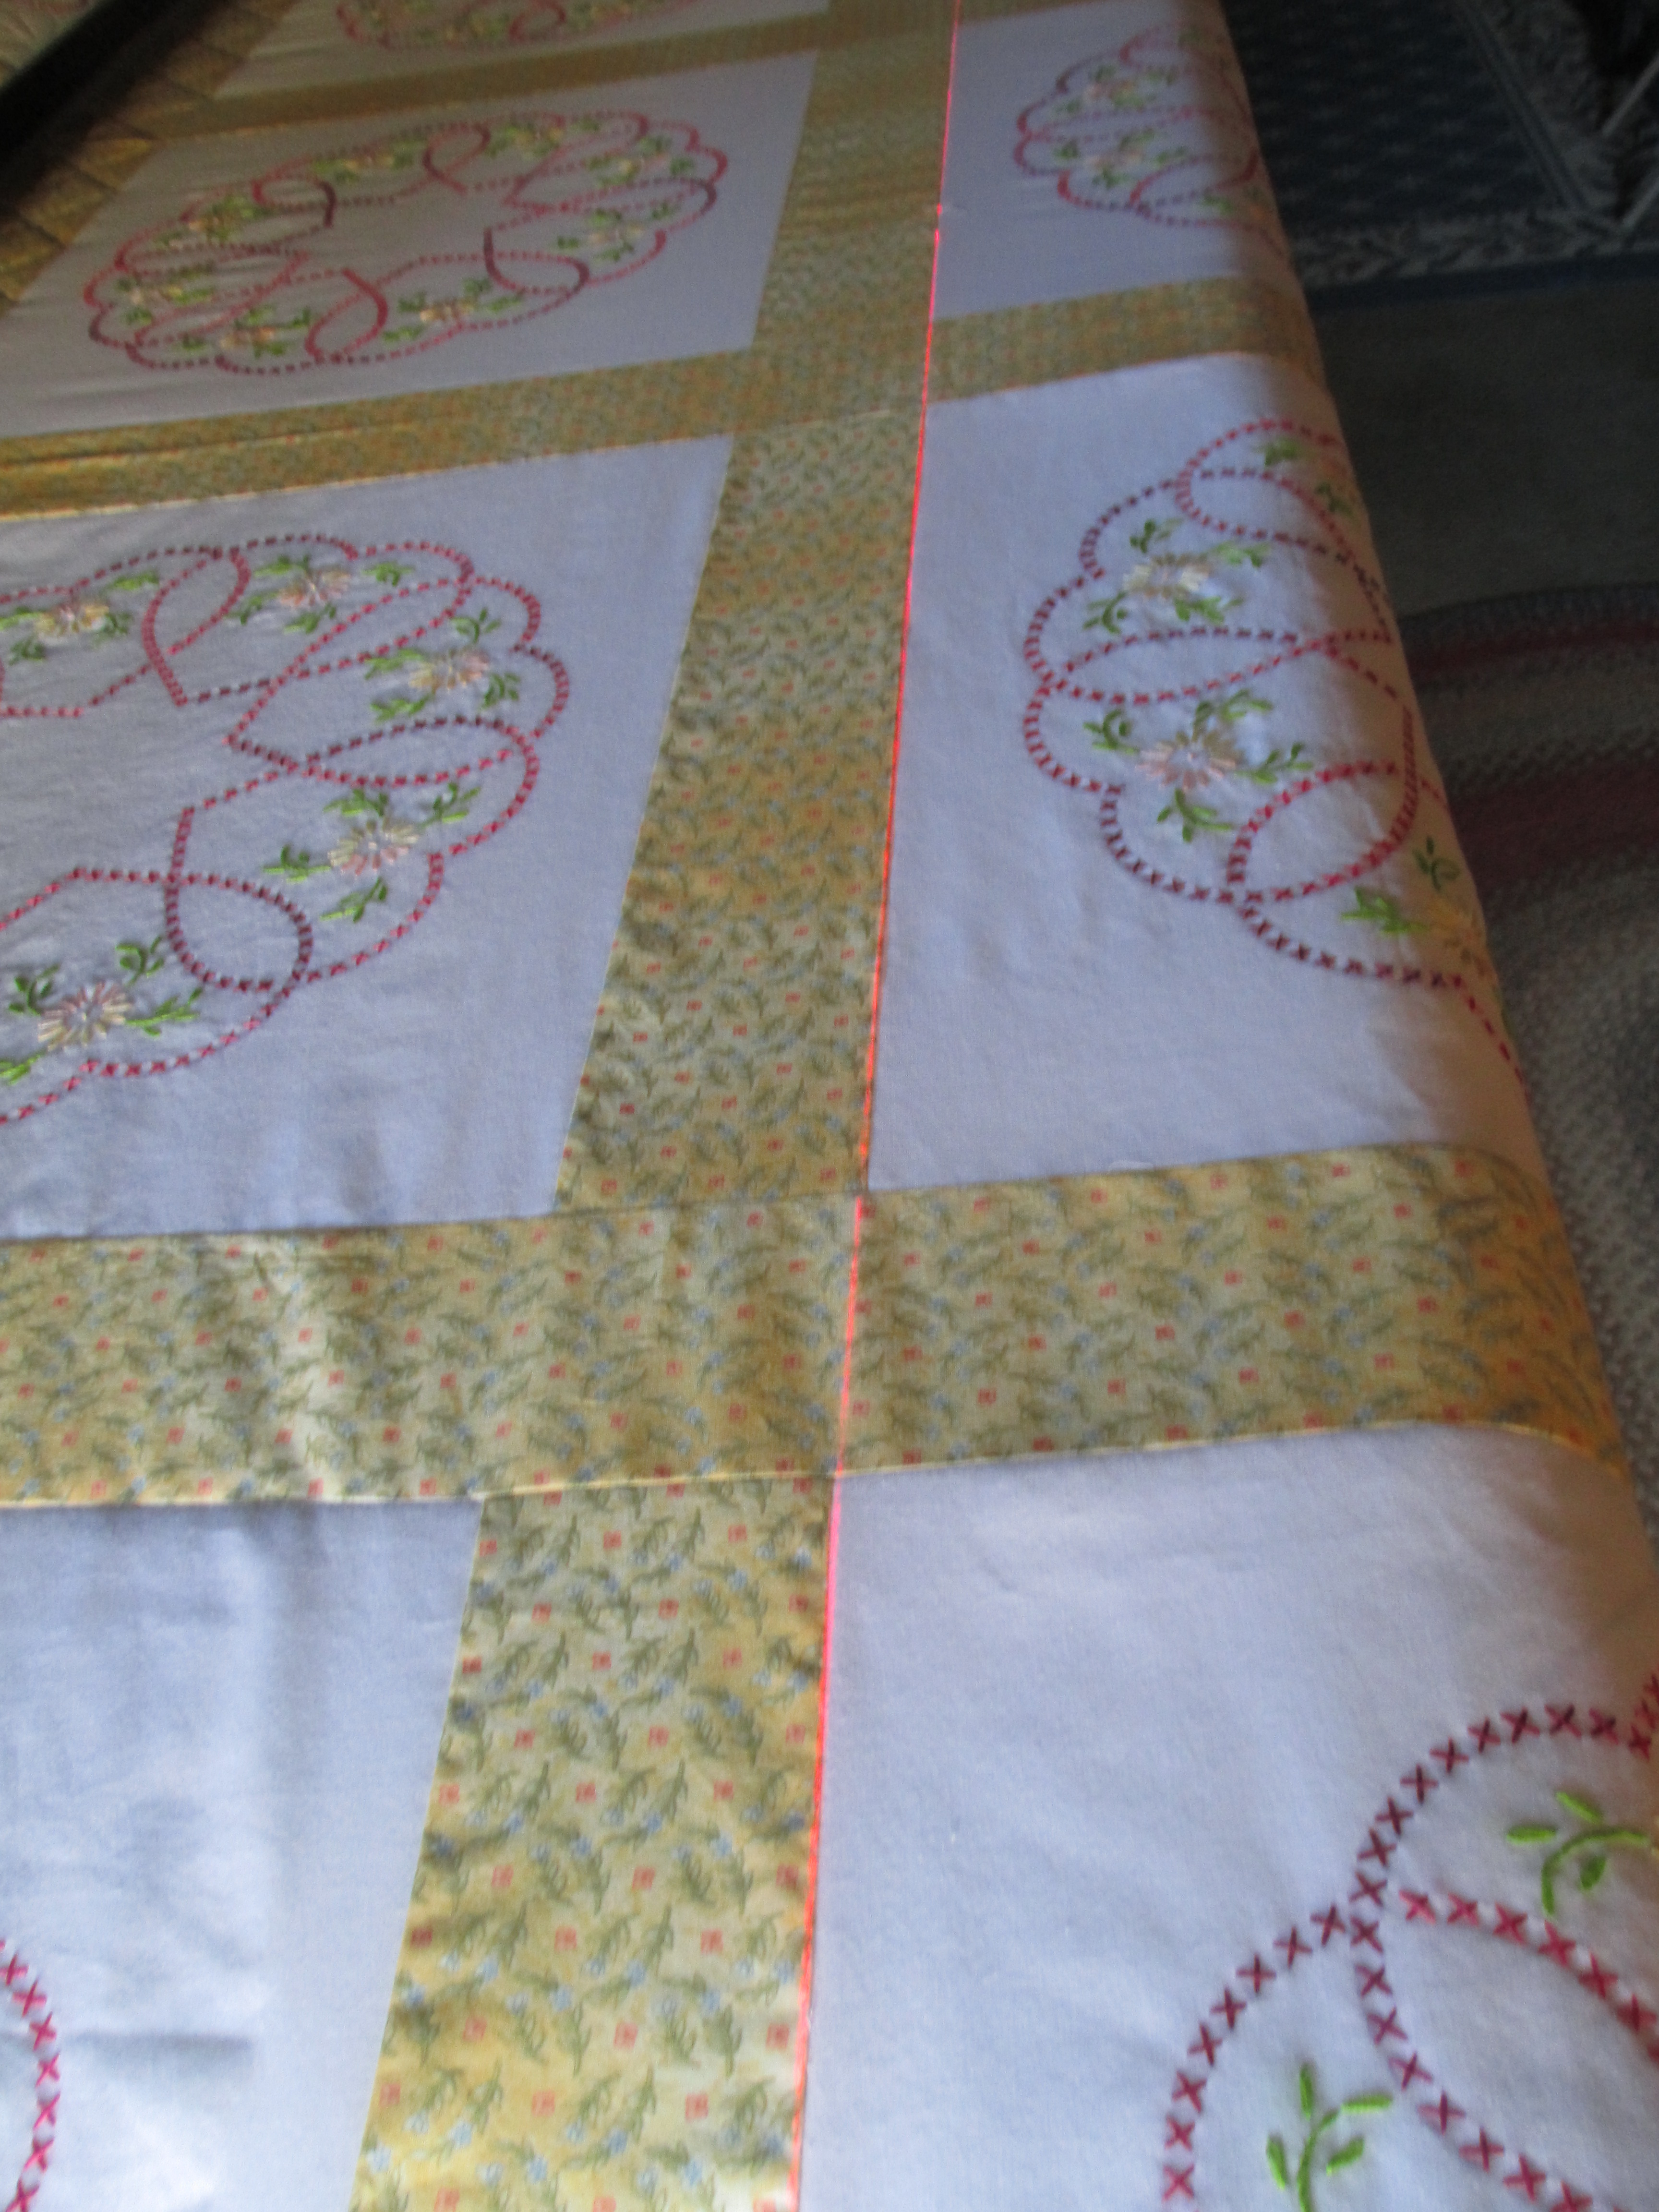
You can see that Jane’s sister embroidered cross-stitched hearts along with Lazy Daisy flowers in the blocks. We figured cross-hatch quilting would pick up the cross-stitching and some fun flowers would pick up the embroidered flowers. So, Jane opted for quilted flowers in the background of the blocks and cross-hatching in the sashing (strips of different fabric in the areas between the blocks) that also extend out into the borders. She is planning on cutting a curved border – you can see the markings for that in this close-up. I also repeated the cross-hatching in the center of the embroidered hearts. Simple, but fun!

While I was working on this quilt, I made sure I had everything lined up so the quilt would be “square” (actually, a rectangle, but for quilter’s wanting straight edges along all borders… “square”) by using a laser square. You can see how as I rolled the quilt on the quilt frame, I used the laser square to make sure the quilt is rolled how I would want it to end up square, with the rows and columns all straight. I used the seams as my guide. It seams were a little off, I would gently nudge them into straight lines with my fingers.
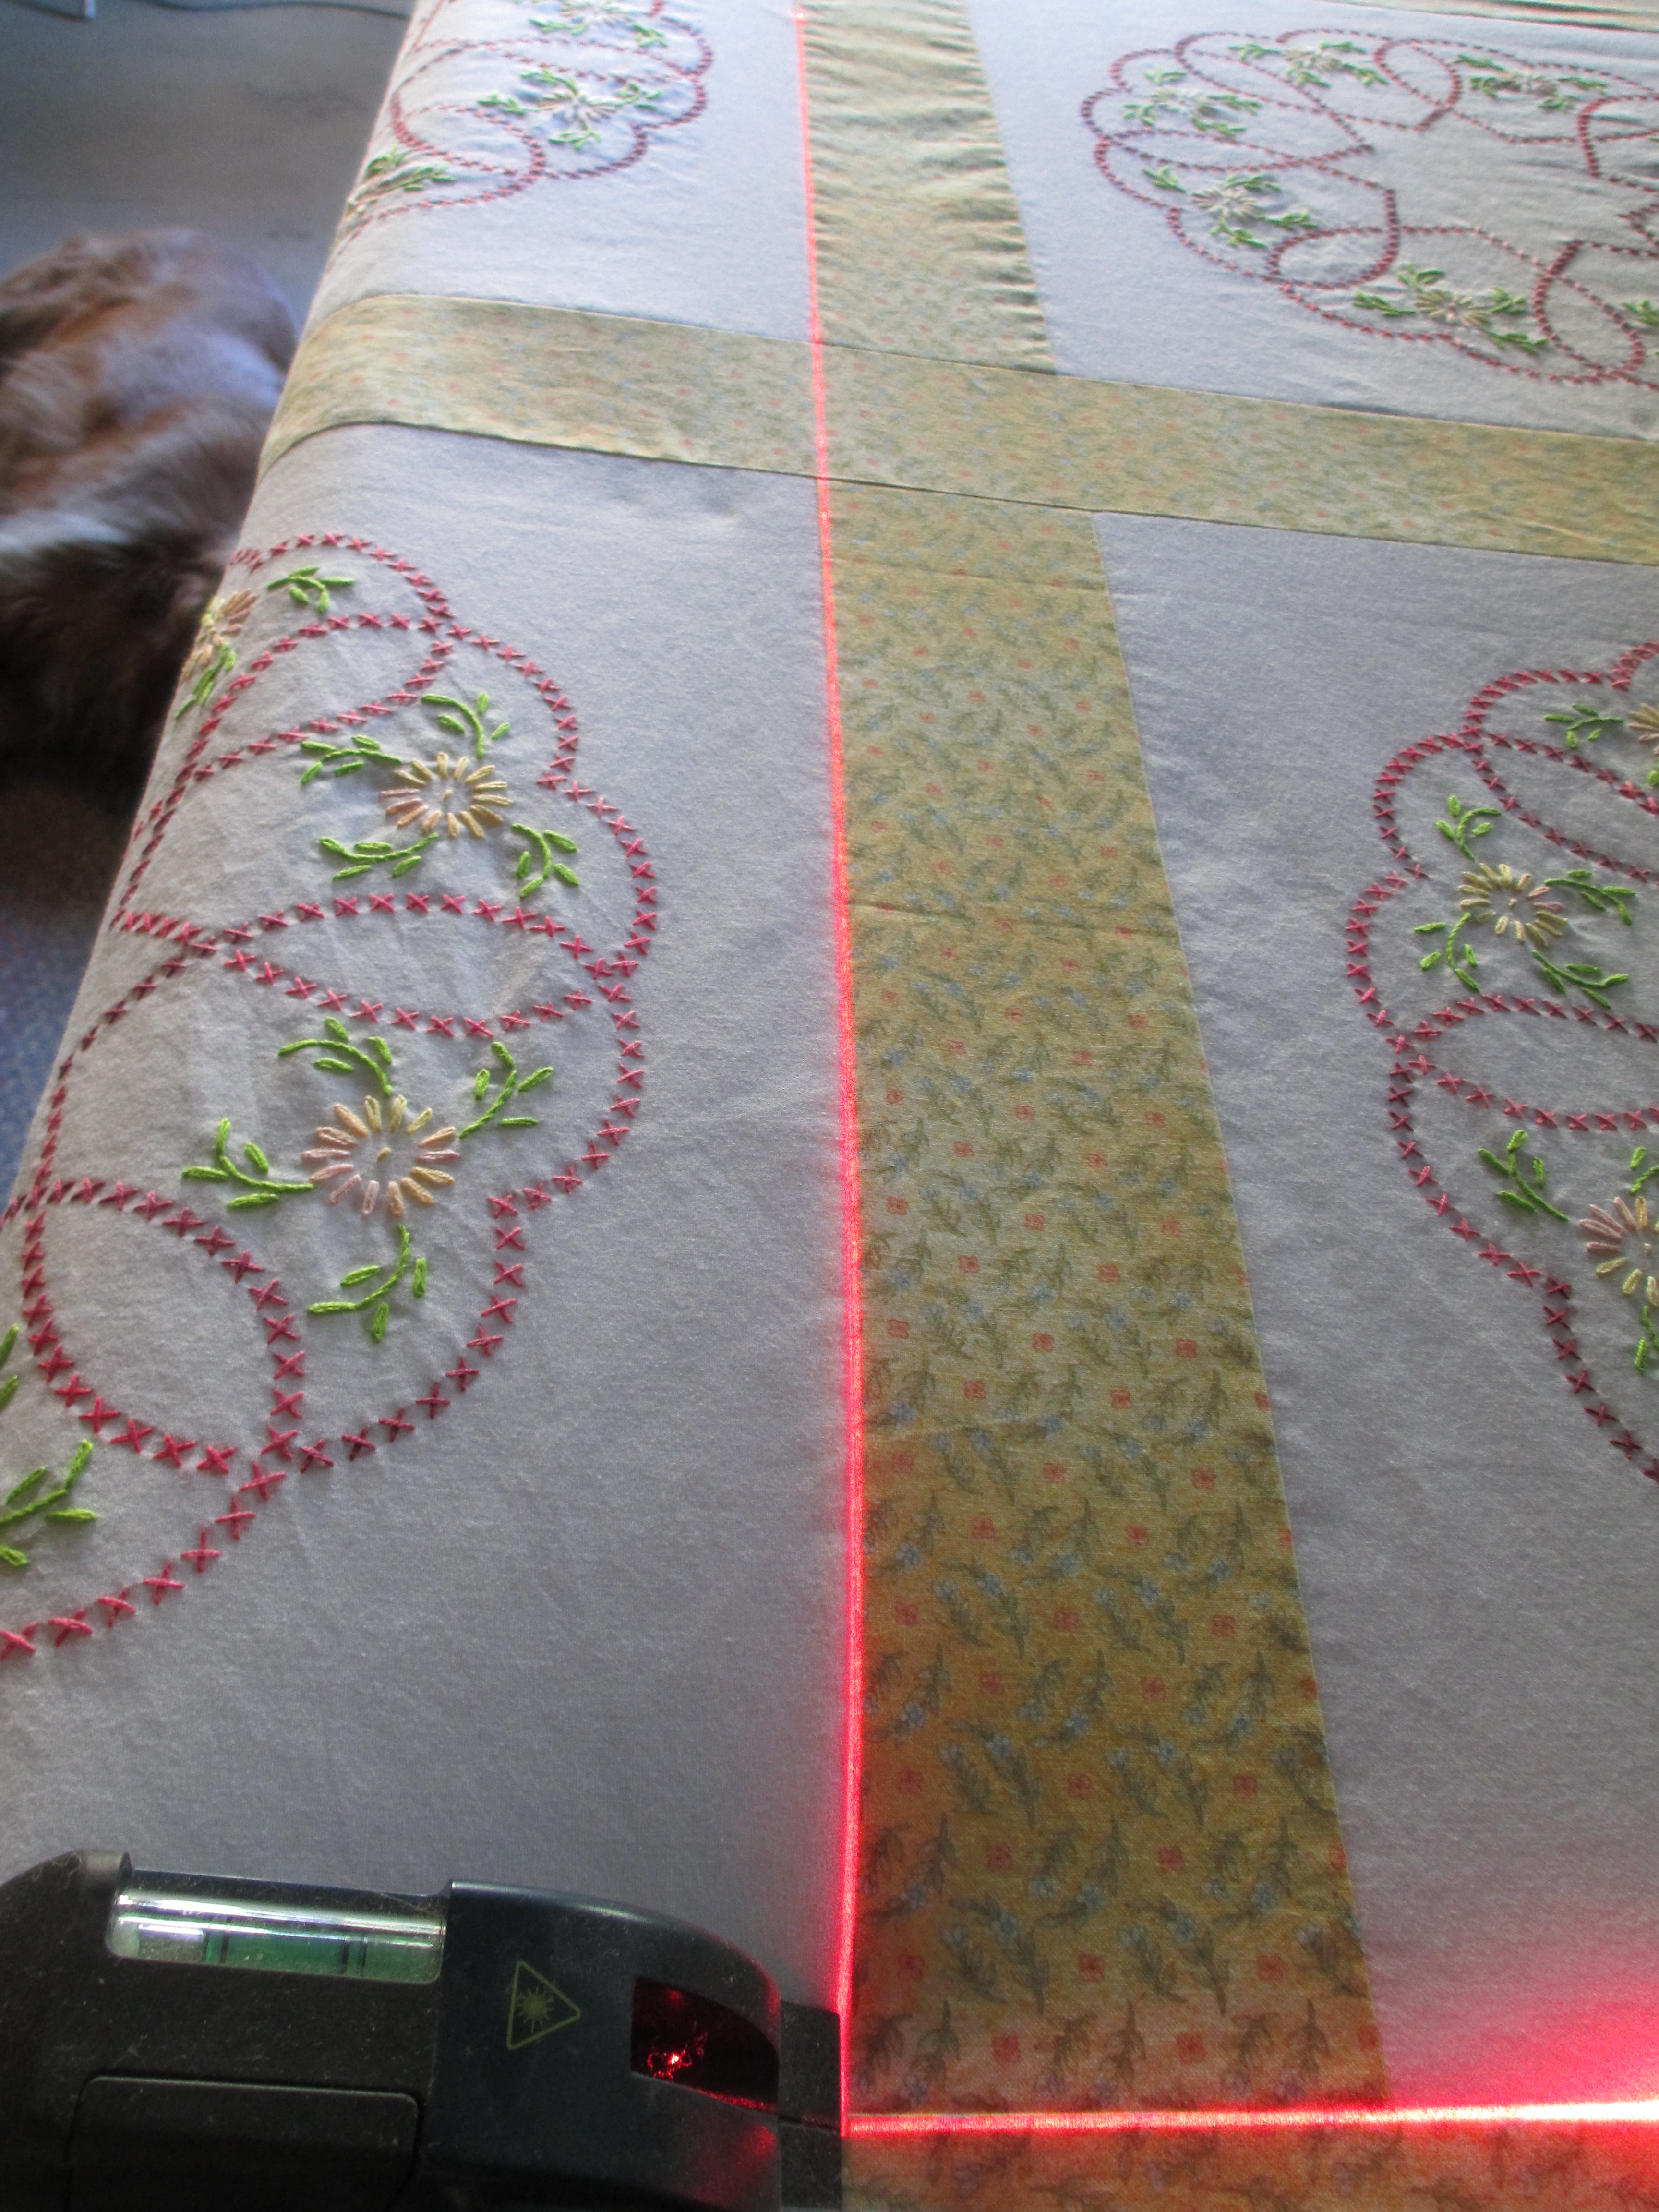
If you haven’t borrowed (forever borrowed) the laser square from the toolbox in your garage, put it on your wish list, because I have found it to come in handy for a lot of quilting strategies.
