So, it’s been a couple of weeks since I’ve posted about my quilting progress. I’ve barely had time to work on the latest due to being at Machine Quilters Showcase the week of My 12-19th. Last week I had doctors’ appointments and husband appointments to deal with. So, here I am ready to finish this quilt and get it back to the owner. Yesterday I finished all the quilting on it, so all I should have to do now is block it and sew the binding on it and get it back to the customer within the next few days. I say “should” because as I was stitching on it, a nagging thought crept up in the back of my mind telling me that my stitching was WRONG, that it needed to be fixed, which leads to frogging…
If you don’t know what frogging is, it’s an eeeeevil, naaaaasty, dirty word in the quilting world. The term derives from a frog croaking “Rip it! Rip it!” meaning to rip out imperfect stitches. In my mind, my quilting on customers’ quilts should be to enhance the piecing or applique, not to over power it with my stitching. However, if it is a show quilt, then by all means, there should be lots of embellished quilting and as some people say, “it should be quilted to death!”
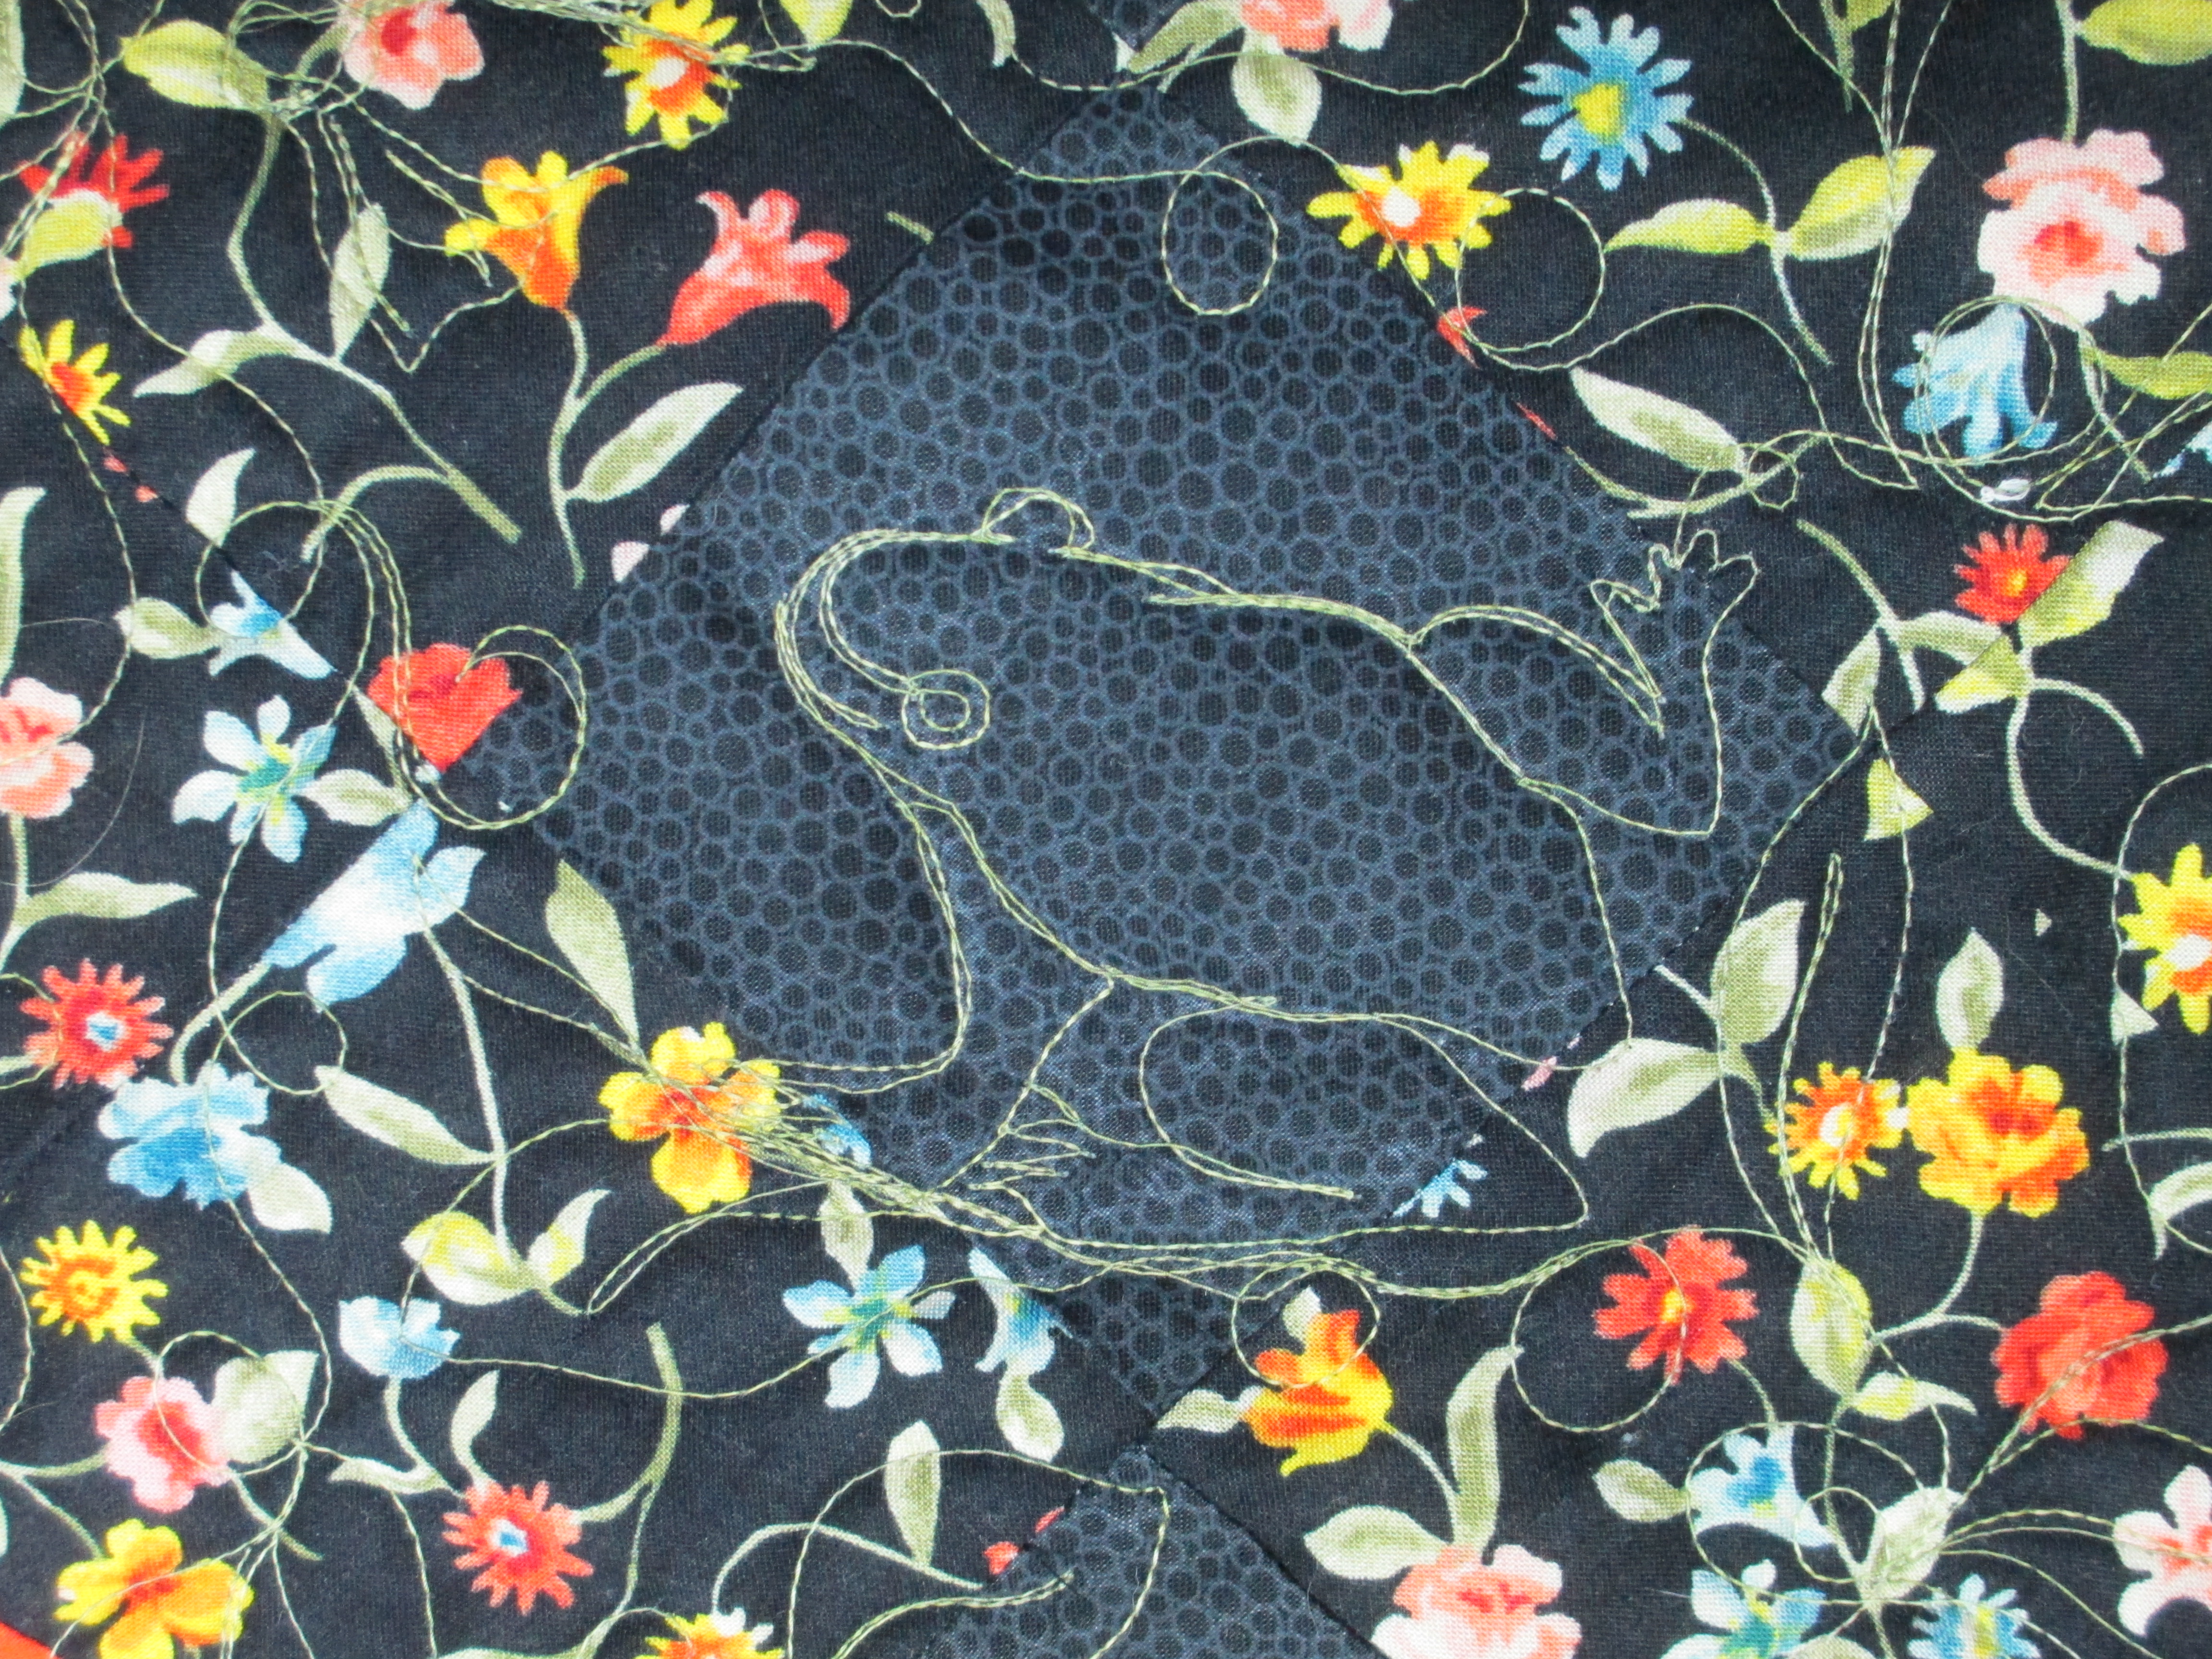
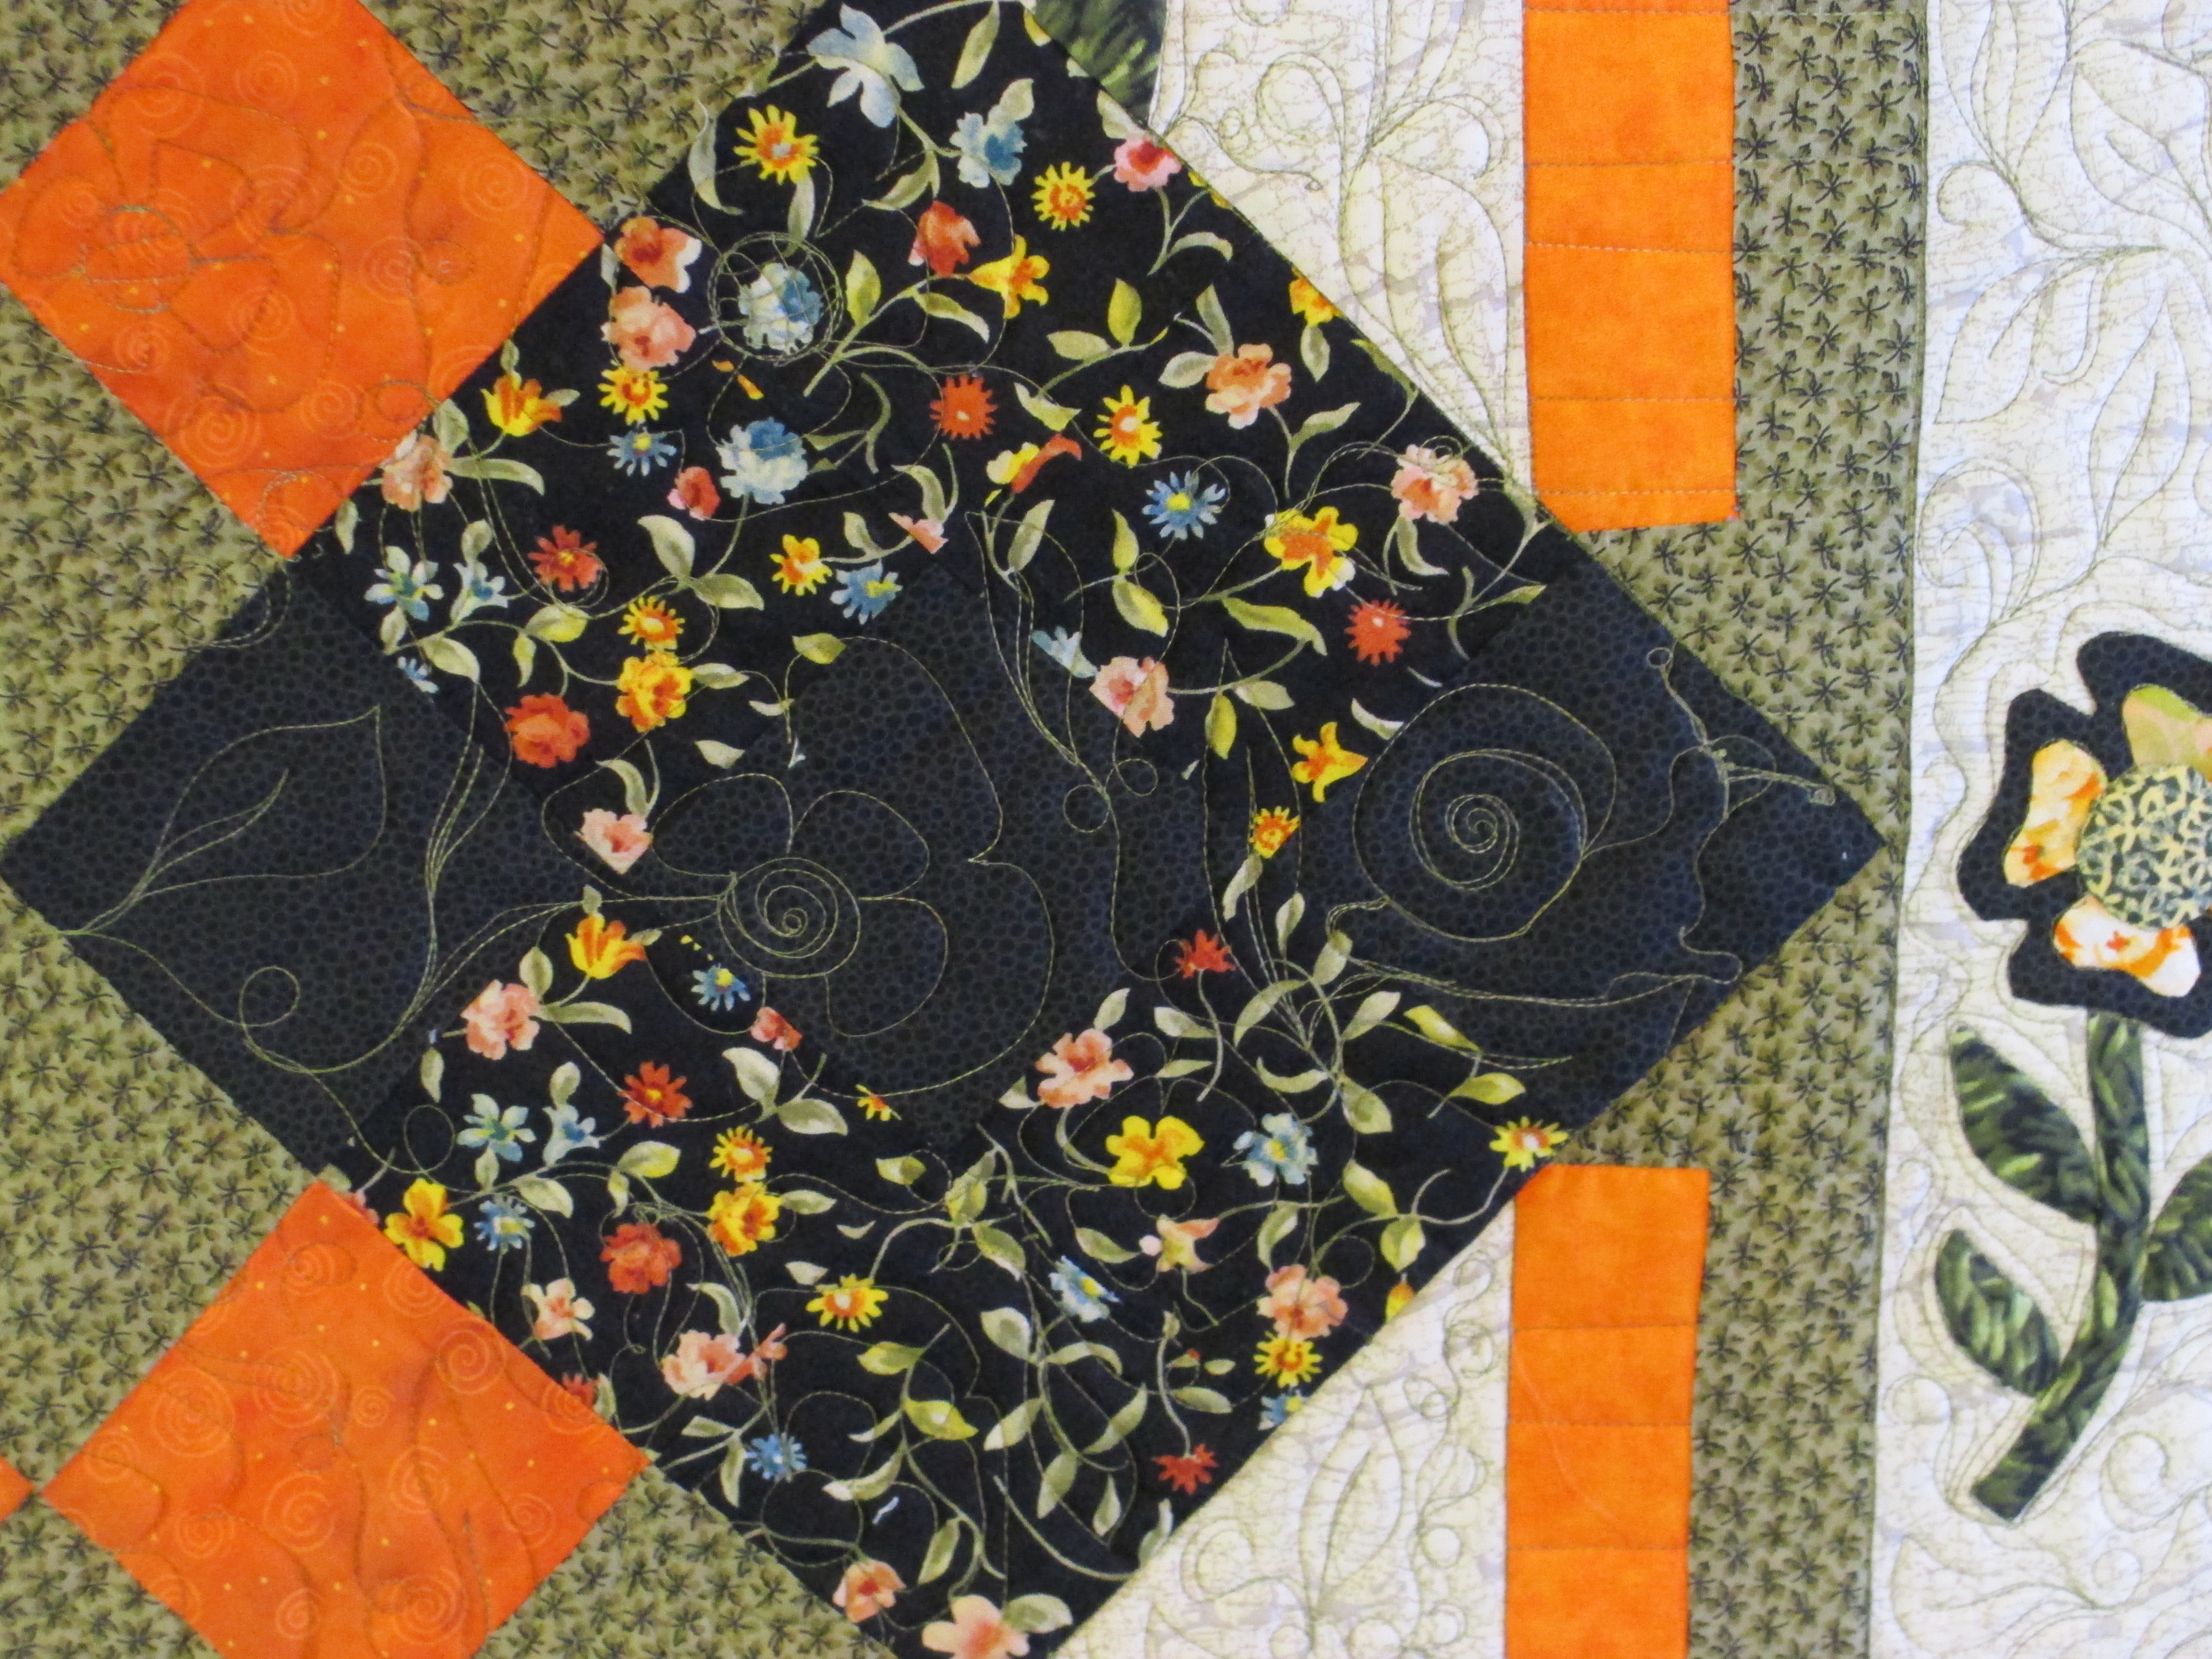
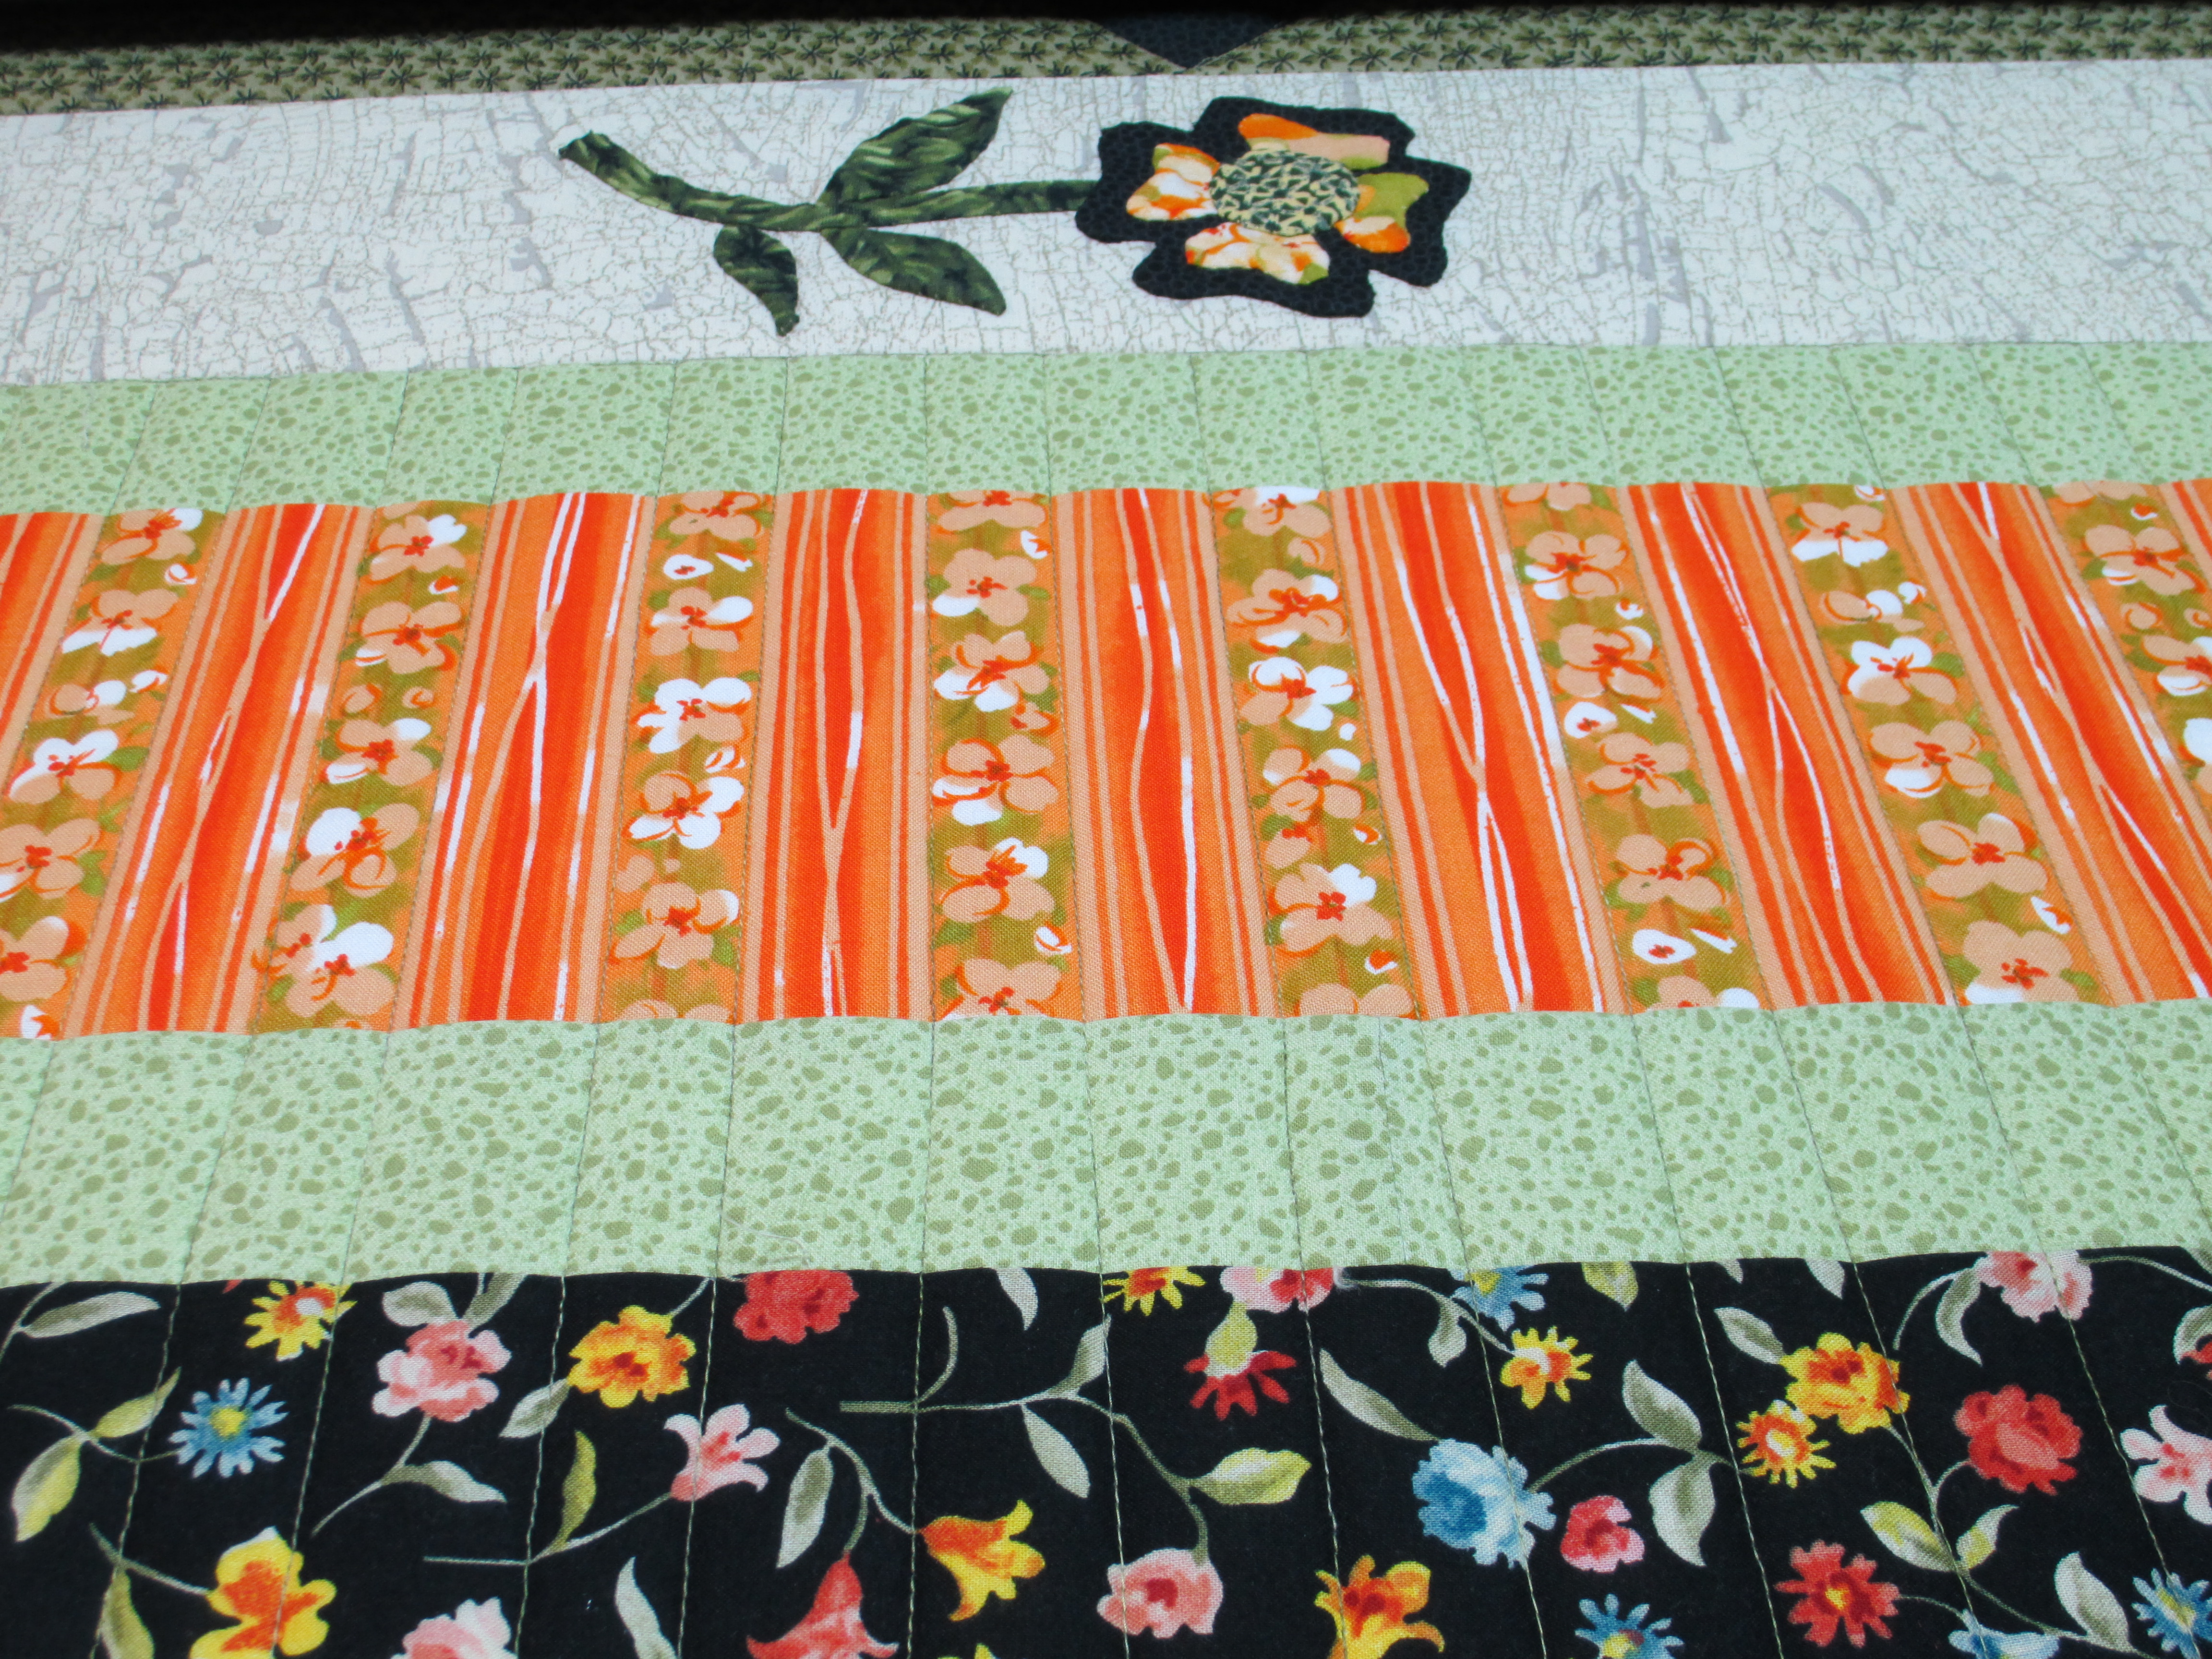
So, there I was quilting along and I got to the corners of the outside border. Now the quilt itself has blocks in the middle with orange sashing separating the blocks. It also has an inner, pieced border outlined with solid black thin borders framing the inner border. The outside border, however, is plain white/cream. My quilting in the blocks is done with cream colored thread, so as to show off the blocks. The quilting in the sashing is done with an orange, variegated thread that will enhance the sashing just a bit. But, that outside border just needed something. I didn’t feel right quilting it with the same color thread as the fabric itself, so I am basically “drawing” with black thread on it. I don’t yet feel confident enough with my drawing abilities to make my quilting stand out that much, but I doubt I ever will. I’m plunging in and doing it anyway. People keep telling me that I’m better at quilting than I think I am, so I am trying to listen to that and plunge away.
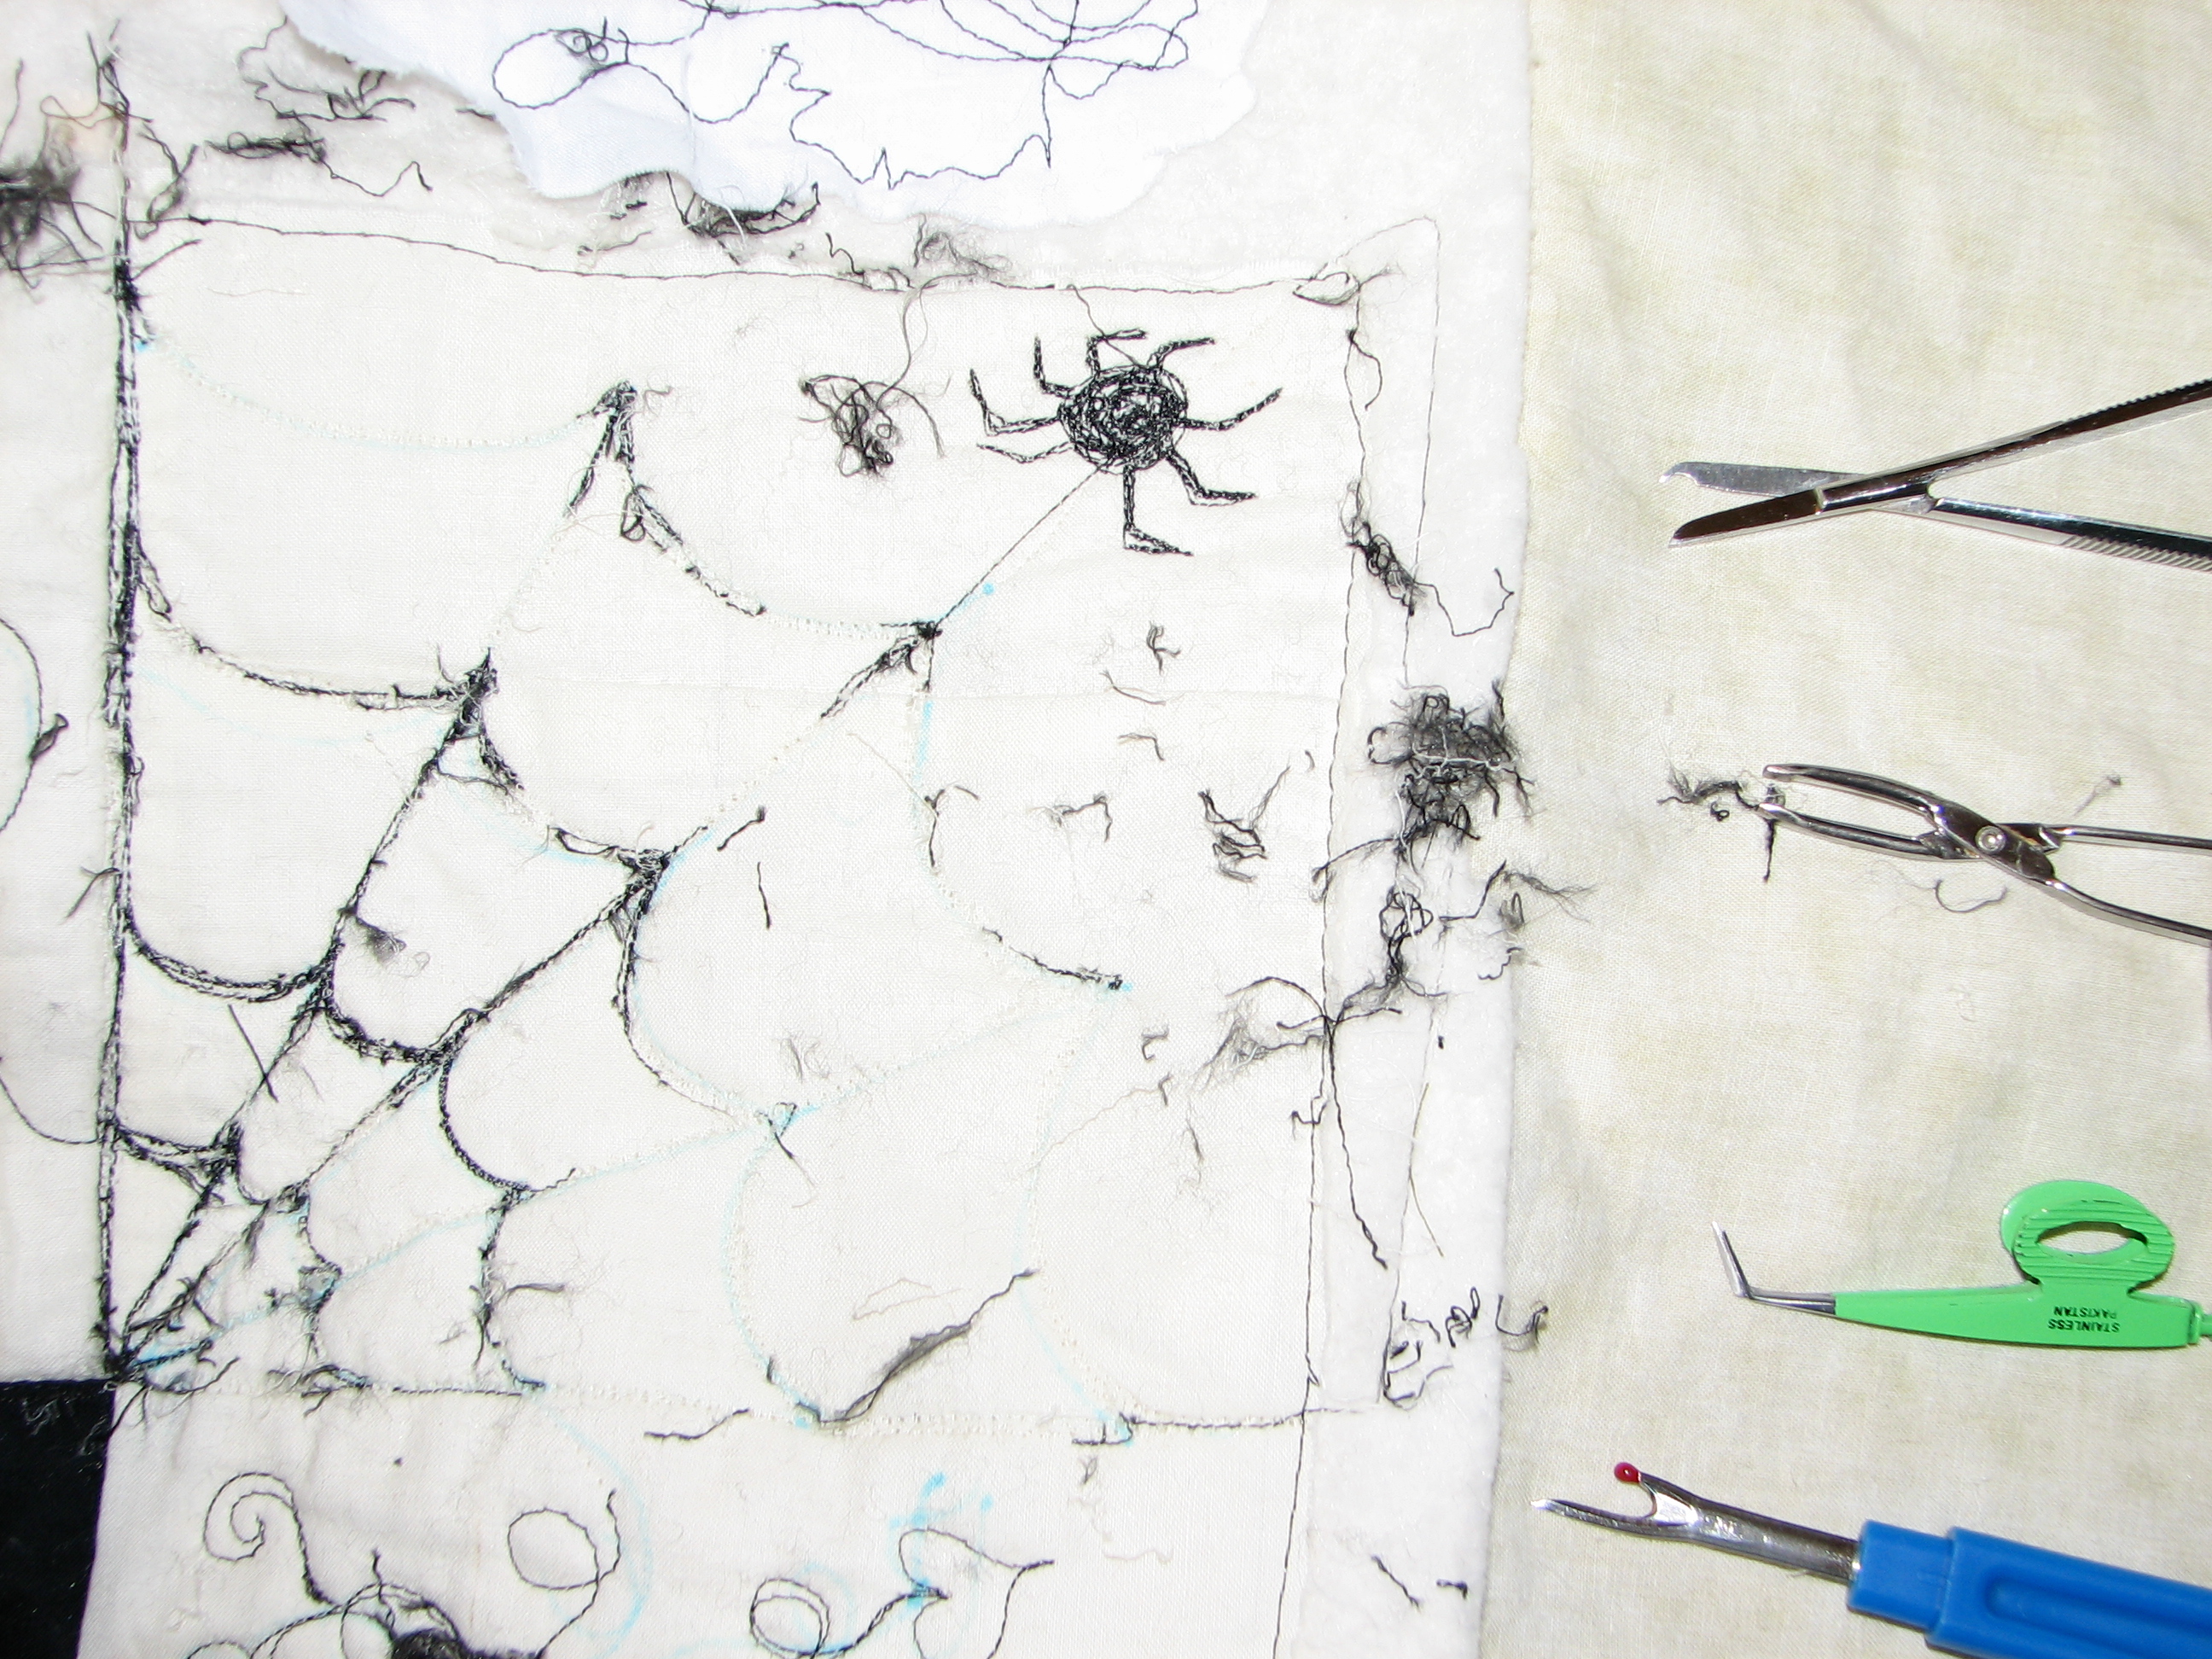
The stitching in the outside border is of cats on a fence, jack-o-lanterns, bats and pumpkins. I used my new micro handles to help me stitch those. I stitched spider webs and a spider into the corners. The problem is that I wasn’t satisfied with how perfect the stitches were (or were not), so I did some thread painting to smooth the rough edges. Thread painting is basically sketching with thread. Of course, after I was finished I was mortified. I thread paint on my own quilts all the time, but how could I do that to a customer’s quilt? I had to rip it out and put a simple one-line stitching for that spider web.
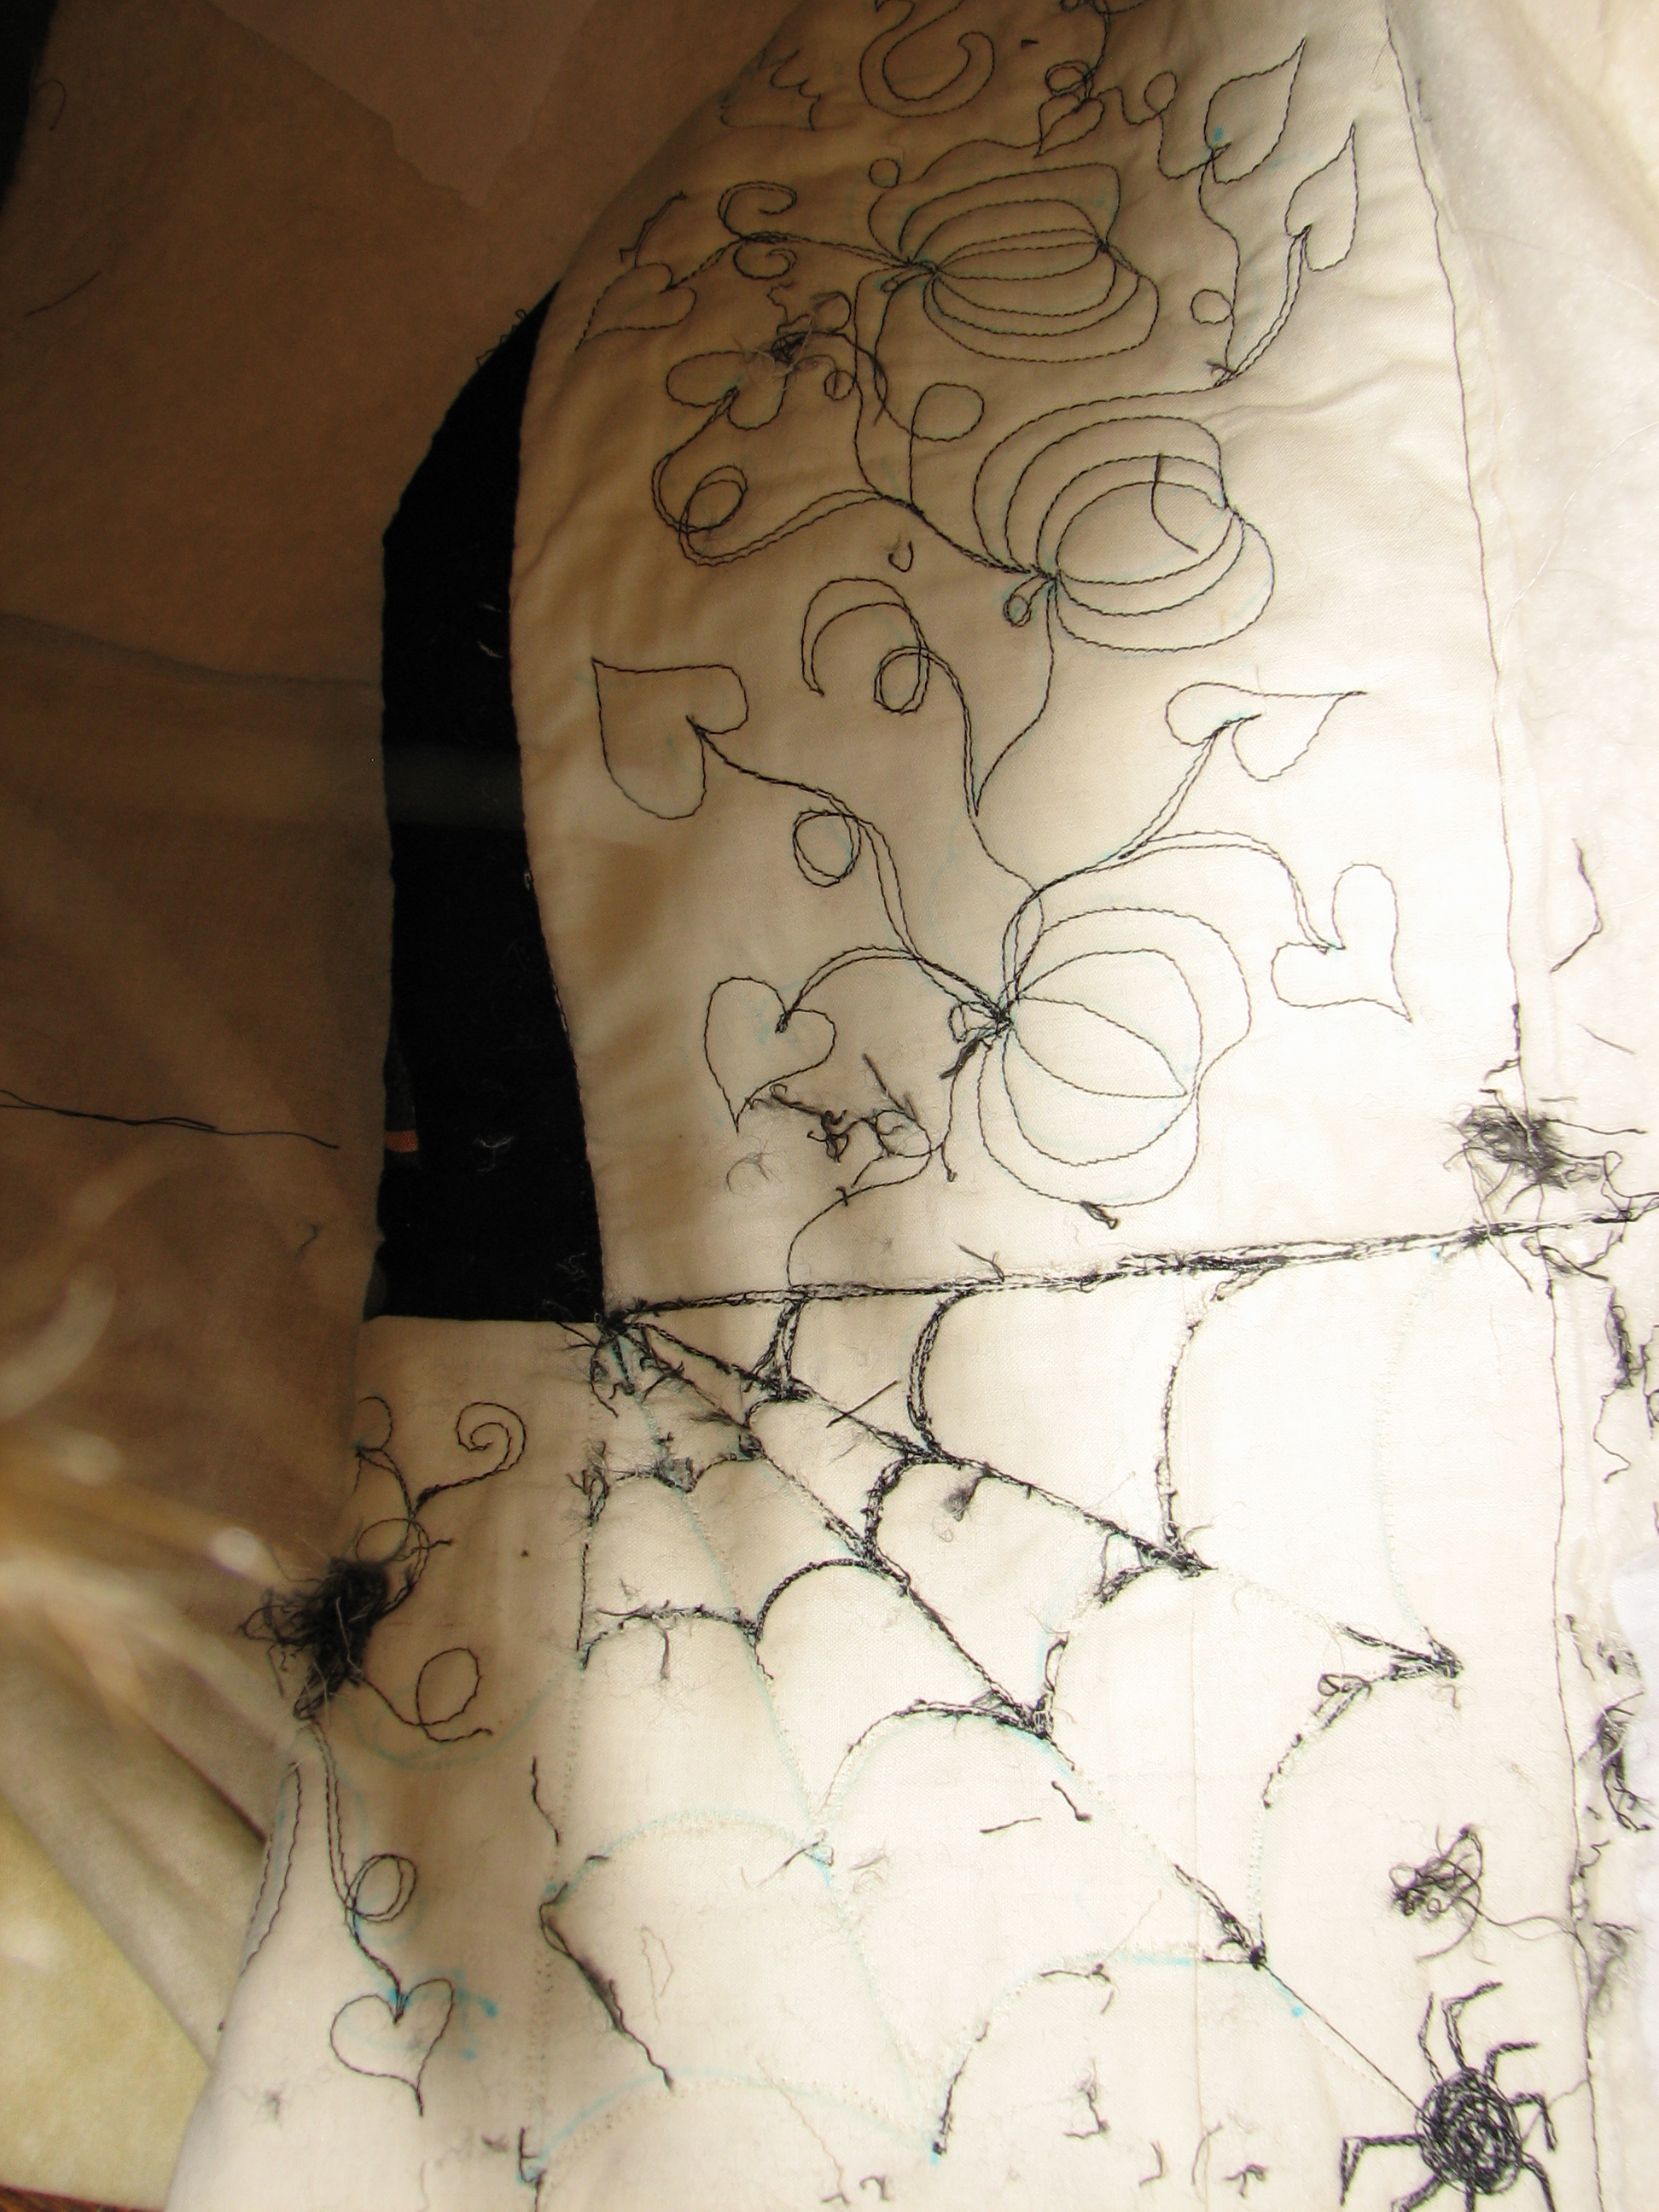
So, here is the dastardly deed in progress…
Notice the “weapons” on the right side of the picture that were used in tackling this project. I had been working for 3+ hours on just this one corner. You have to be very careful pulling out those stitches because you don’t want to rip the fabric or pull any of the threads of the fabric in the process.
Here is what the stitching should look like with only one layer of stitching and no thread painting. This is the border next to that corner – white/cream fabric with black stitching.

And, here is what the other 3 corners look like before “frogging.”

It actually doesn’t look that bad (now that I’m 3+ hours into the task every quilter dreads and looking at several more hours of this… and multiply that by 3 more corners, each taking a day to rip out). And, the extra stitching actually helps to stabilize the corner stones. Soooo… I have decided that I will leave the other 3 spider webs as they are. I will continue frogging this particular spider web and will re-stitch it to look like it did and/or the other 3 webs. If the customer is not happy with it (and I’m very much okay with that!) then I will certainly frog all 4 corners. At this point, though, I just want to get this quilt to the owners.
Lesson learned! And, I’ve also learned that I am going to try quilting with the same thread on top and in the bobbin. Most people do that, but I have been trying to match the bobbin thread with the backing fabric (in this case it is a mottled tan/cream). The cream colored and orange variegated top threads worked fine with the cream colored bobbin thread. But, for whatever reason, that black thread did not cooperate at all, so it shows through on the back anyhow – drives me nuts. I worked and worked with it to no avail. I can certainly see now why others use the same color on top and bottom.