It Gives New Meaning to Frogging…

Okay, I admit it. I cannot stop myself from drawing stuff on customer quilts that they don’t ask for.  One of my customers has nicknamed me “Sneaky.”  The problem is… I’ll be quilting along and my brain will say that something such as a frog would look cool on this quilt.

Bob's little pony 008

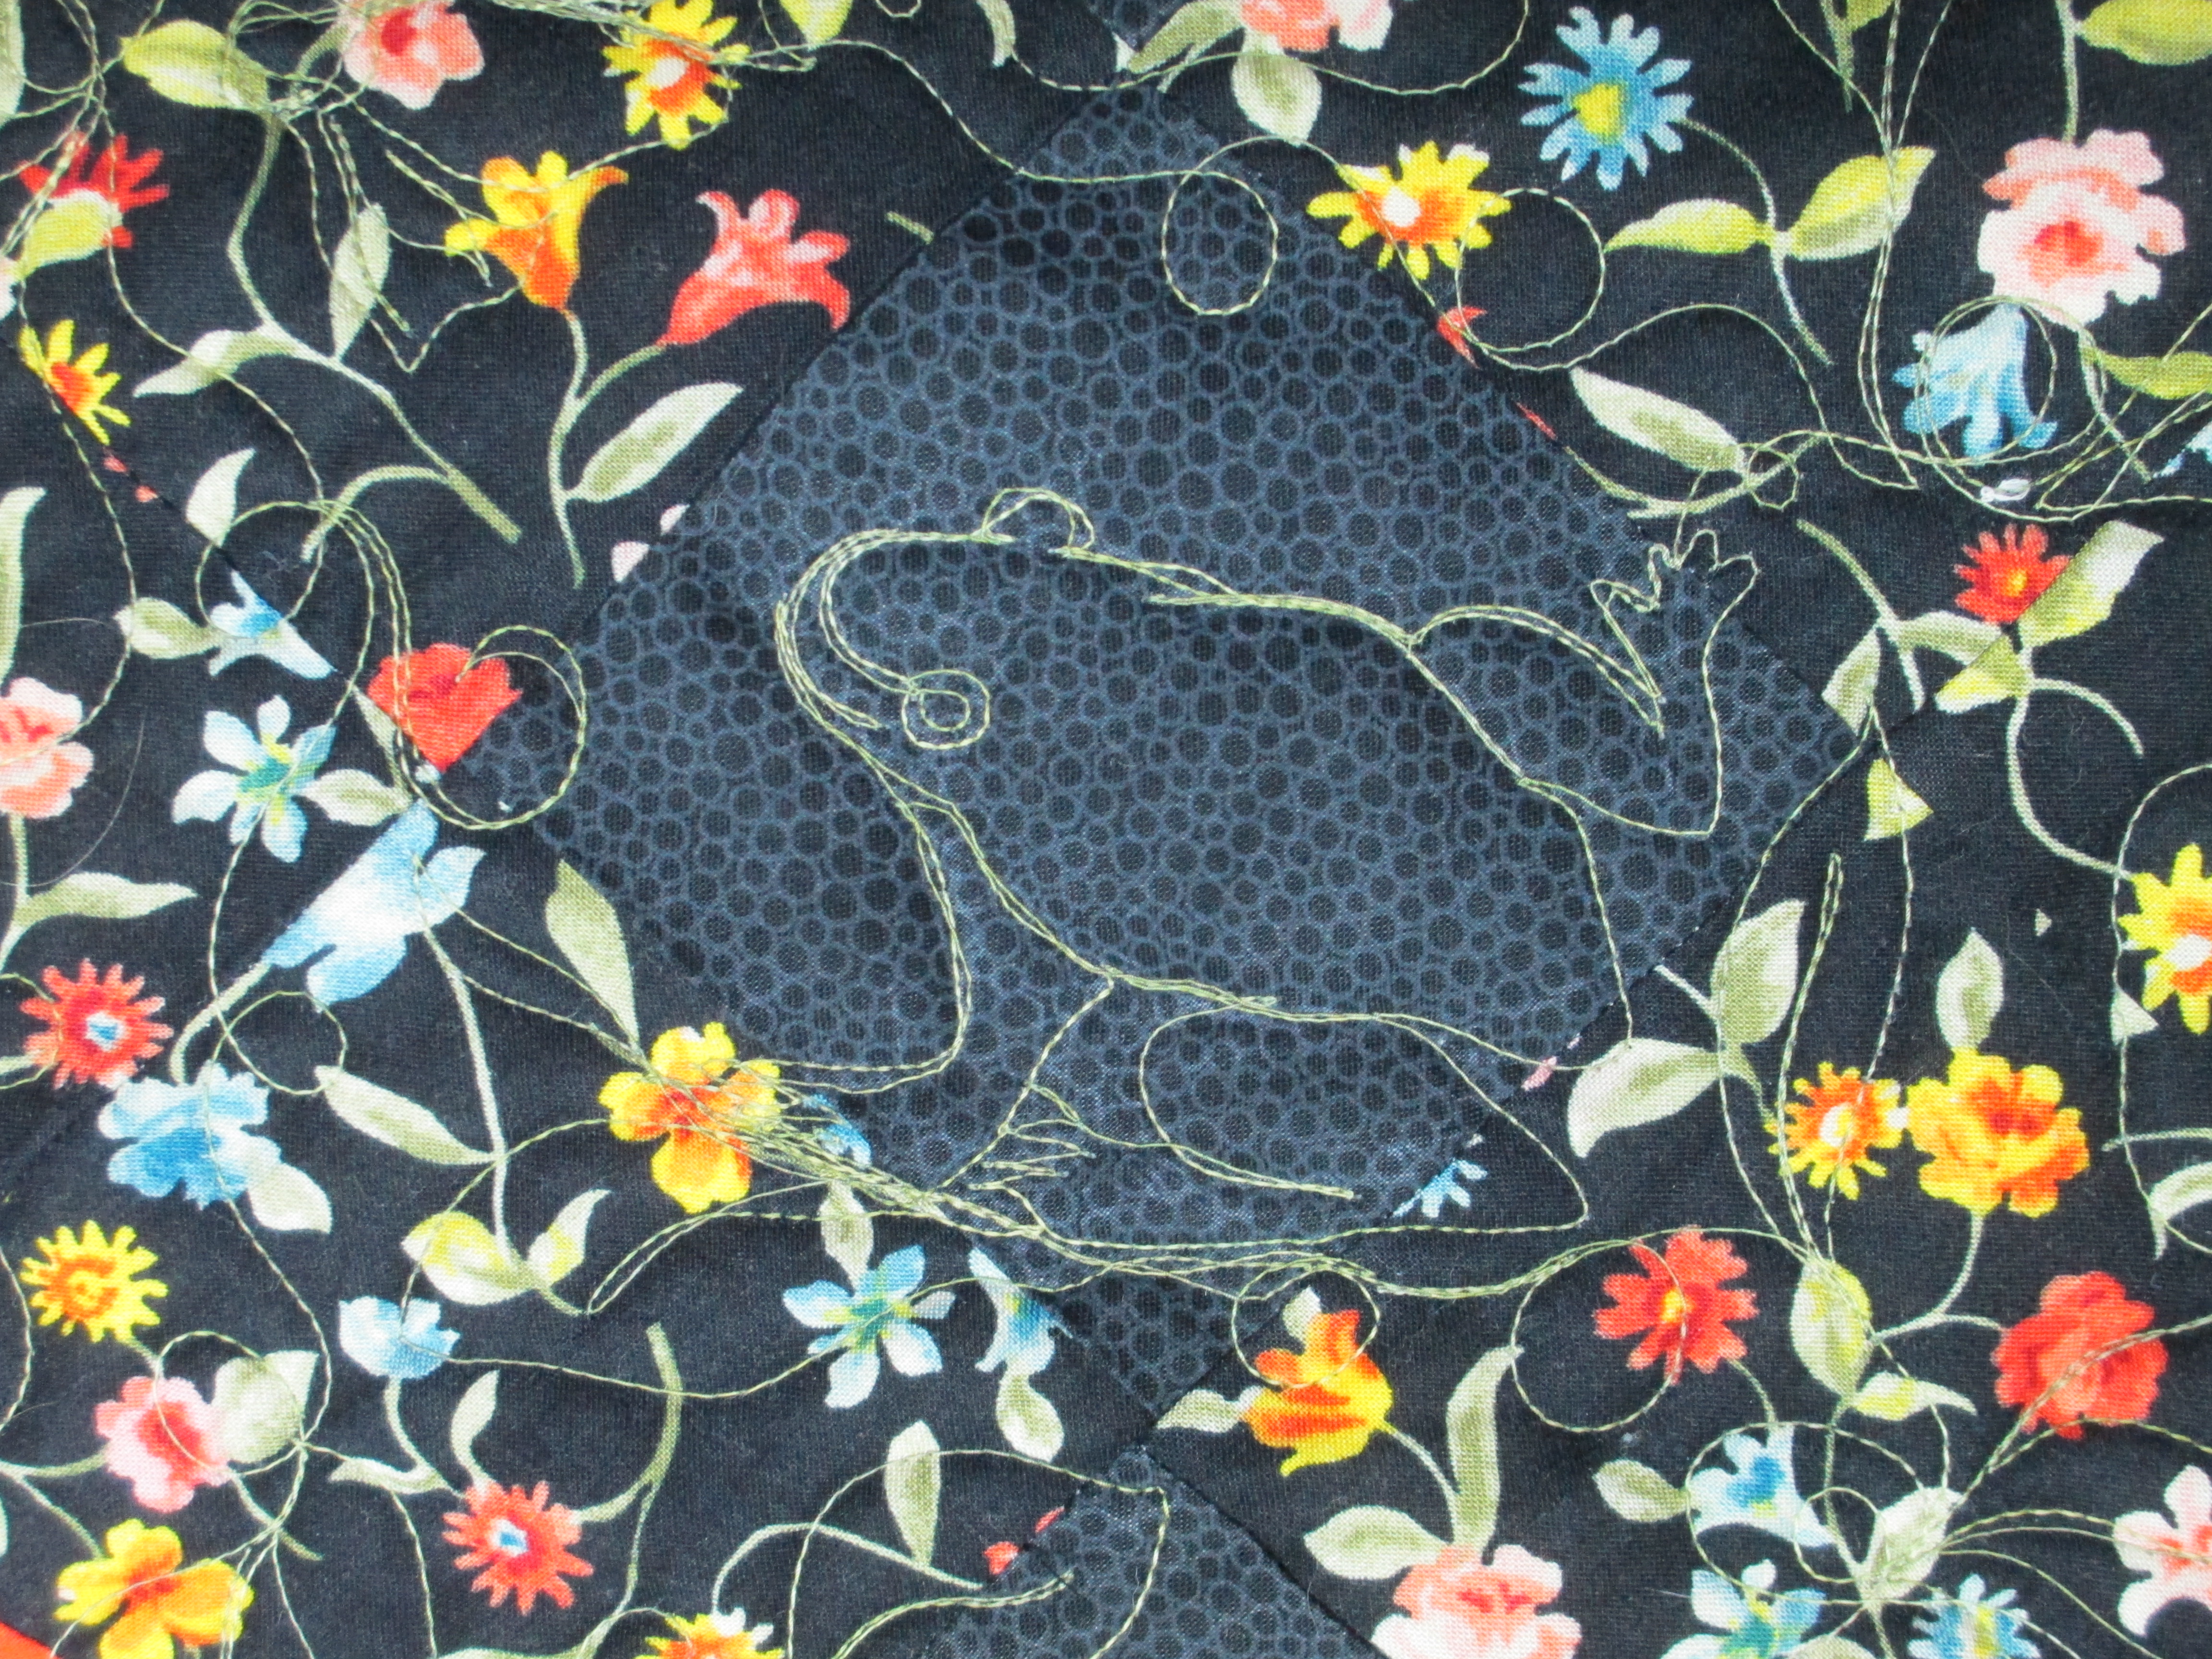
Now, I know better than that!  It’s not my quilt, and I tell my brain that, but before I know it, I am stitching a frog into the quilt.  I honestly don’t know what happened to me with this quilt.  I am quite embarrassed at how bold my “evil twin sister” was in putting these items on this customer quilt.  All I wanted was for my quilting to complement the customers quilt top.

Wilmas quilt 2 final 005  Wilmas quilt 2 final 006  Wilmas quilt 2 final 007

Did you notice they are all drawn into the black spaces where they can easily be seen?  WTH???  I get embarrassed by my quilting anyhow and don’t want it screaming at the world, so what came over me (oops! I mean my evil twin sister) with this one?

For those of you who don’t know what frogging is to a quilter, it’s where you rip out the stitches… rip it… rip it… rip it…  Get it?  I can only hope the customer will be okay with the results of this quilt, or I will certainly be frogging this one next week.  😦

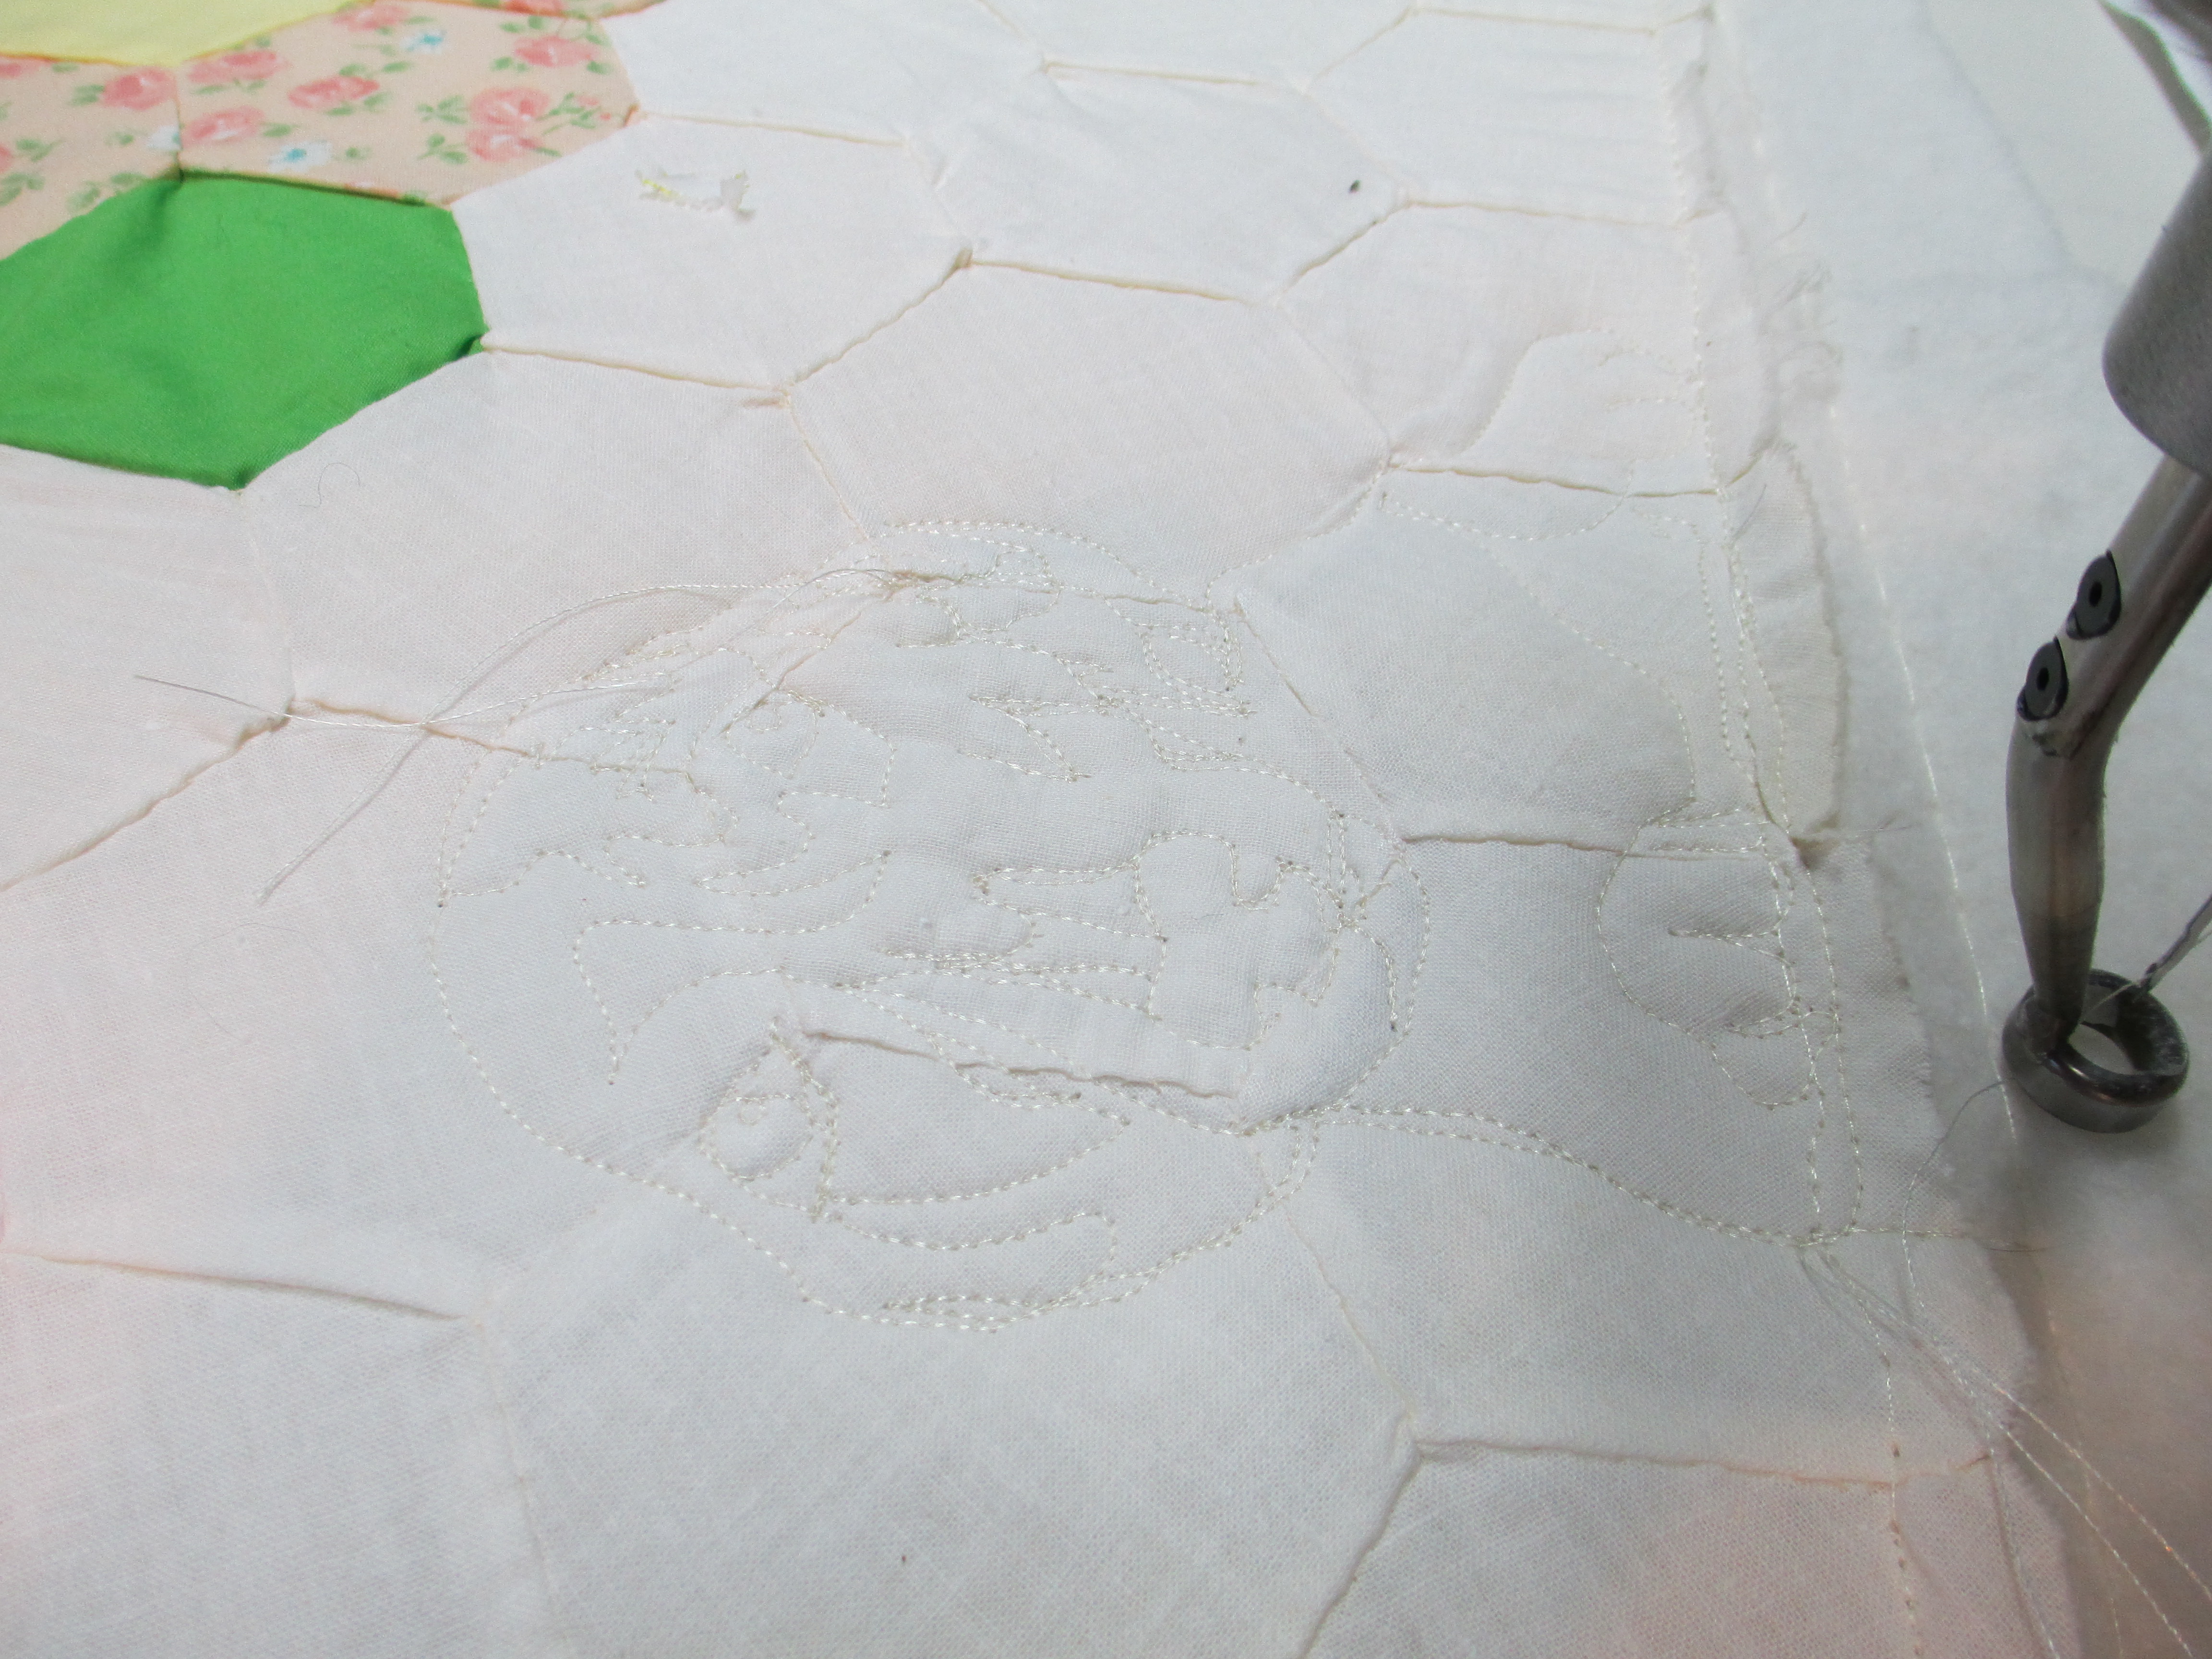
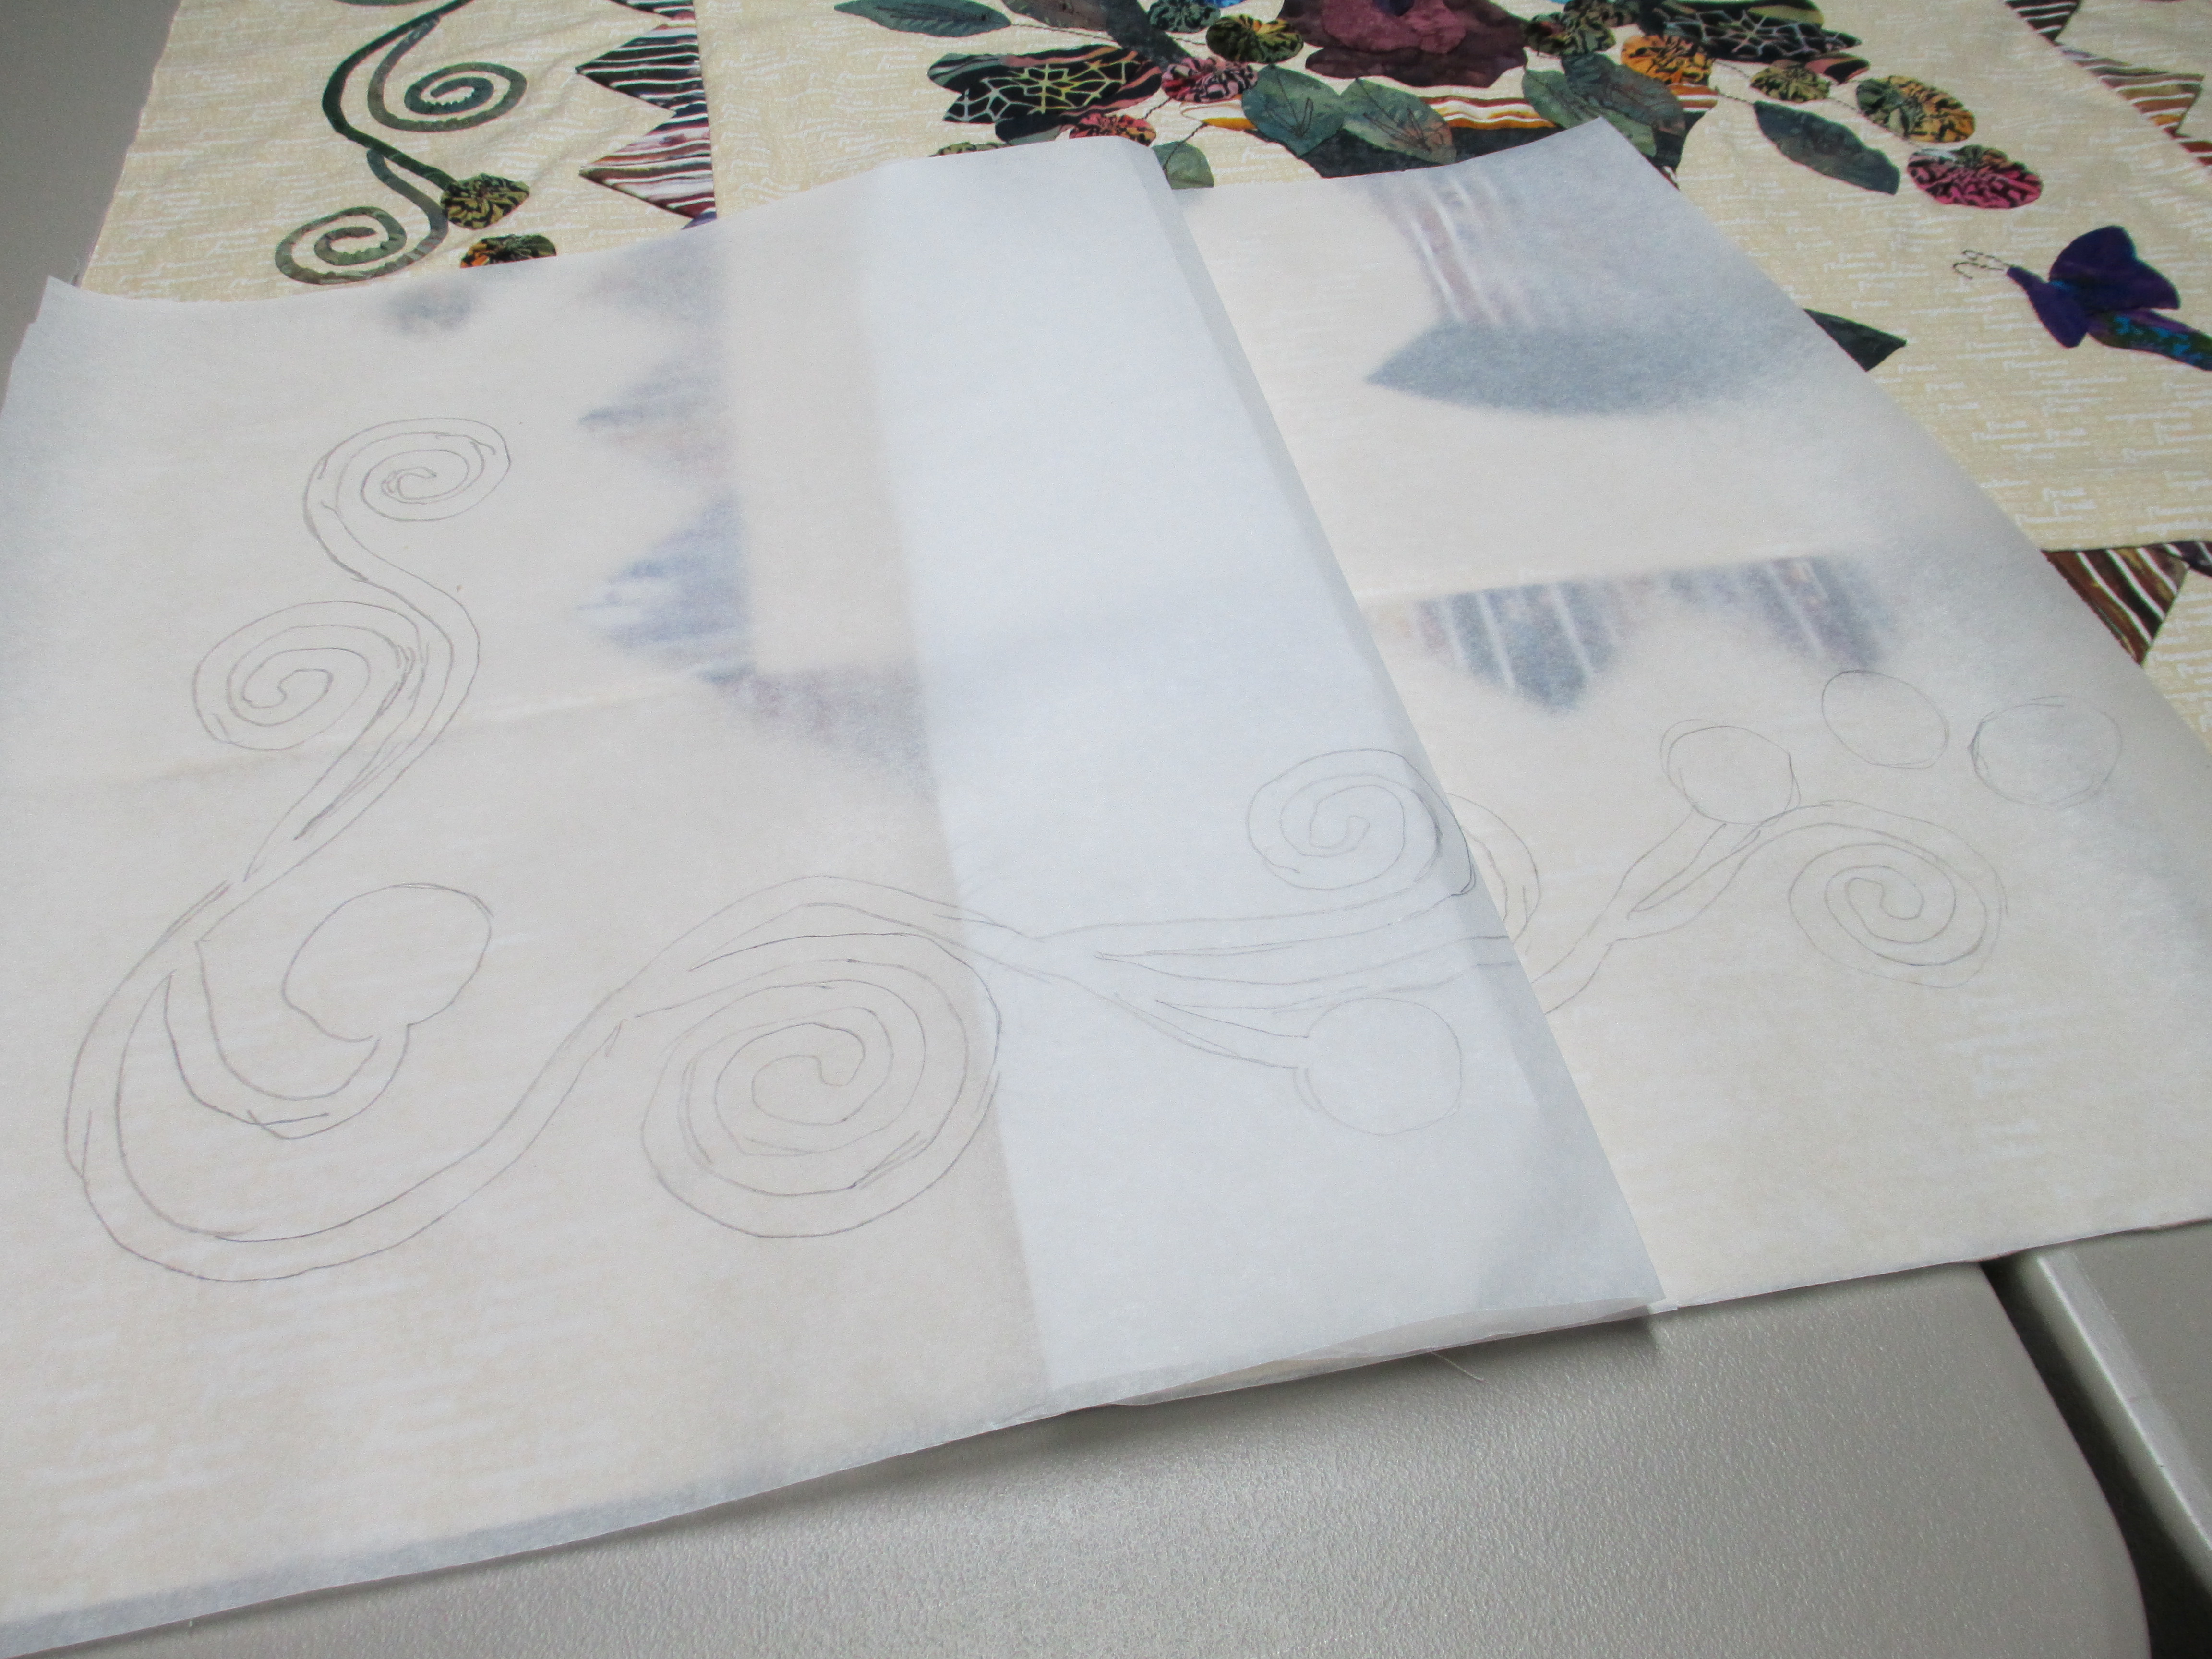
What she really wanted was viney leaves and flowers to match her applique.  This is what I did before adding my trademark signature “surprise” of thread art…

Wilmas quilt 2 final 013

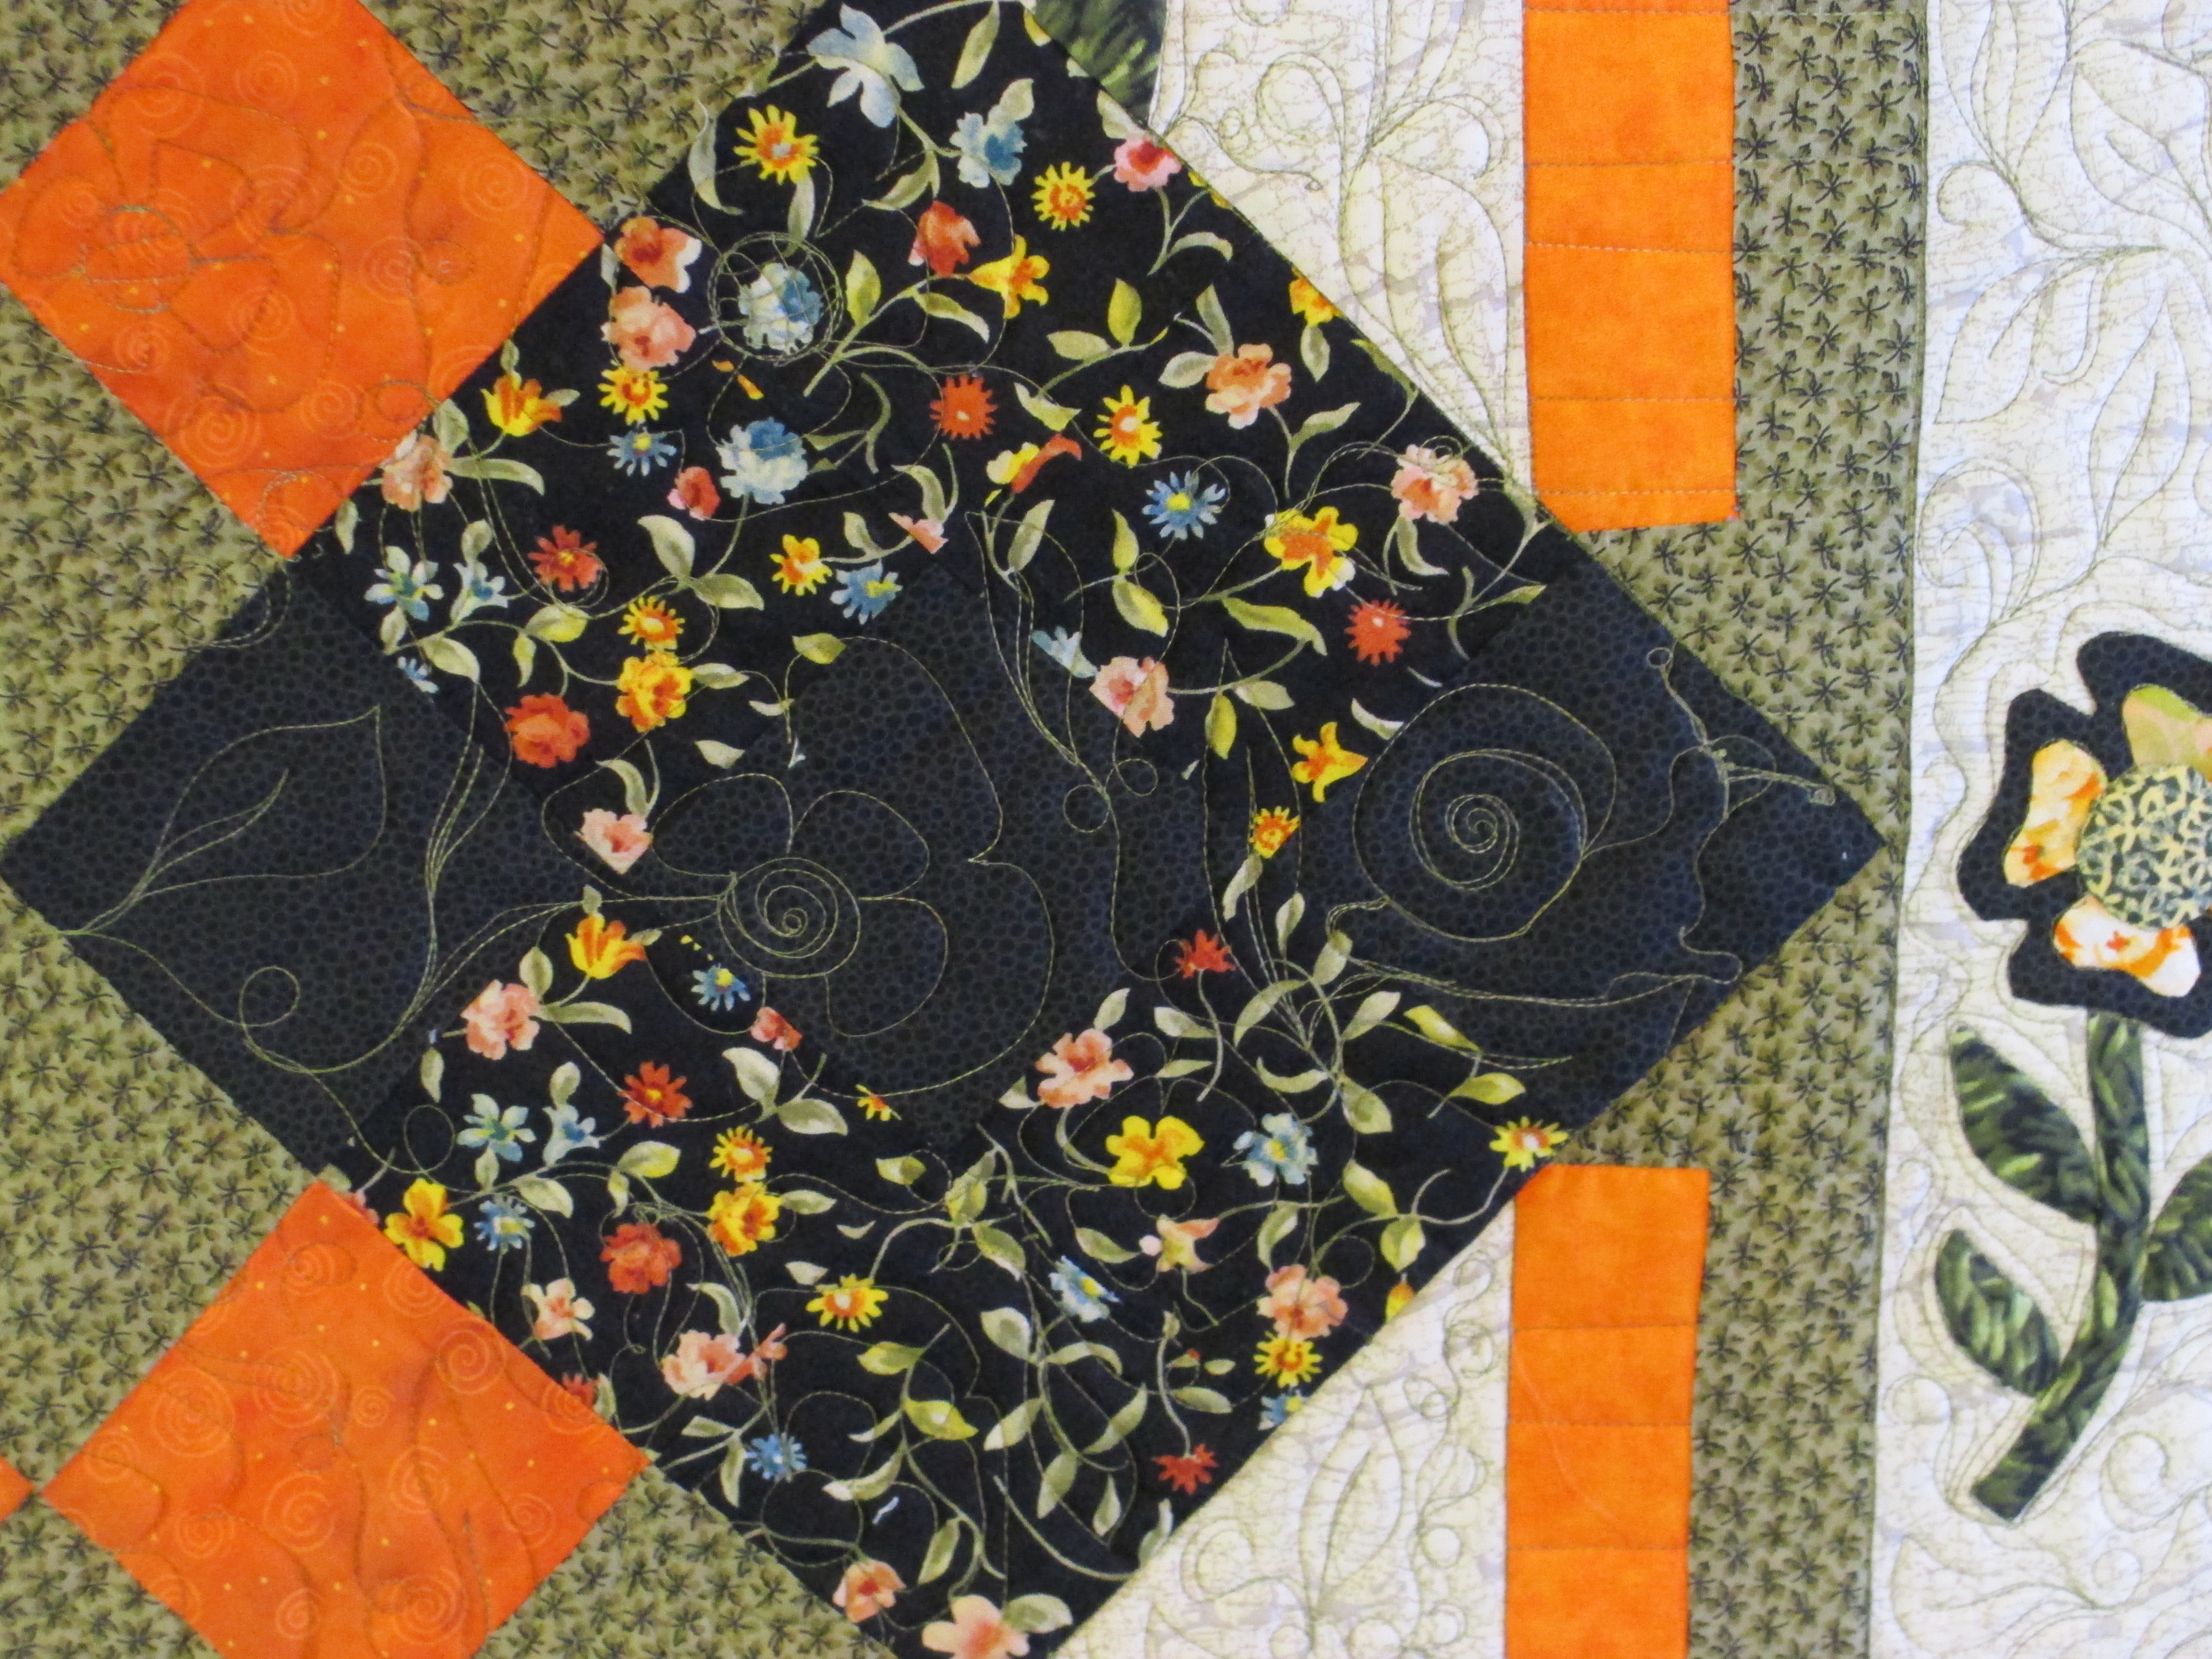
She also wanted piano keys, but she was worried how the green thread would show up against the orange striped border.  I was a bit worried how it would look, too, so I stitched right inside the parts with the green in it to help the green thread blend into the background (so how come my evil twin sister was so brazen with the creatures stitched into the black fabric?).

wilma 2 006

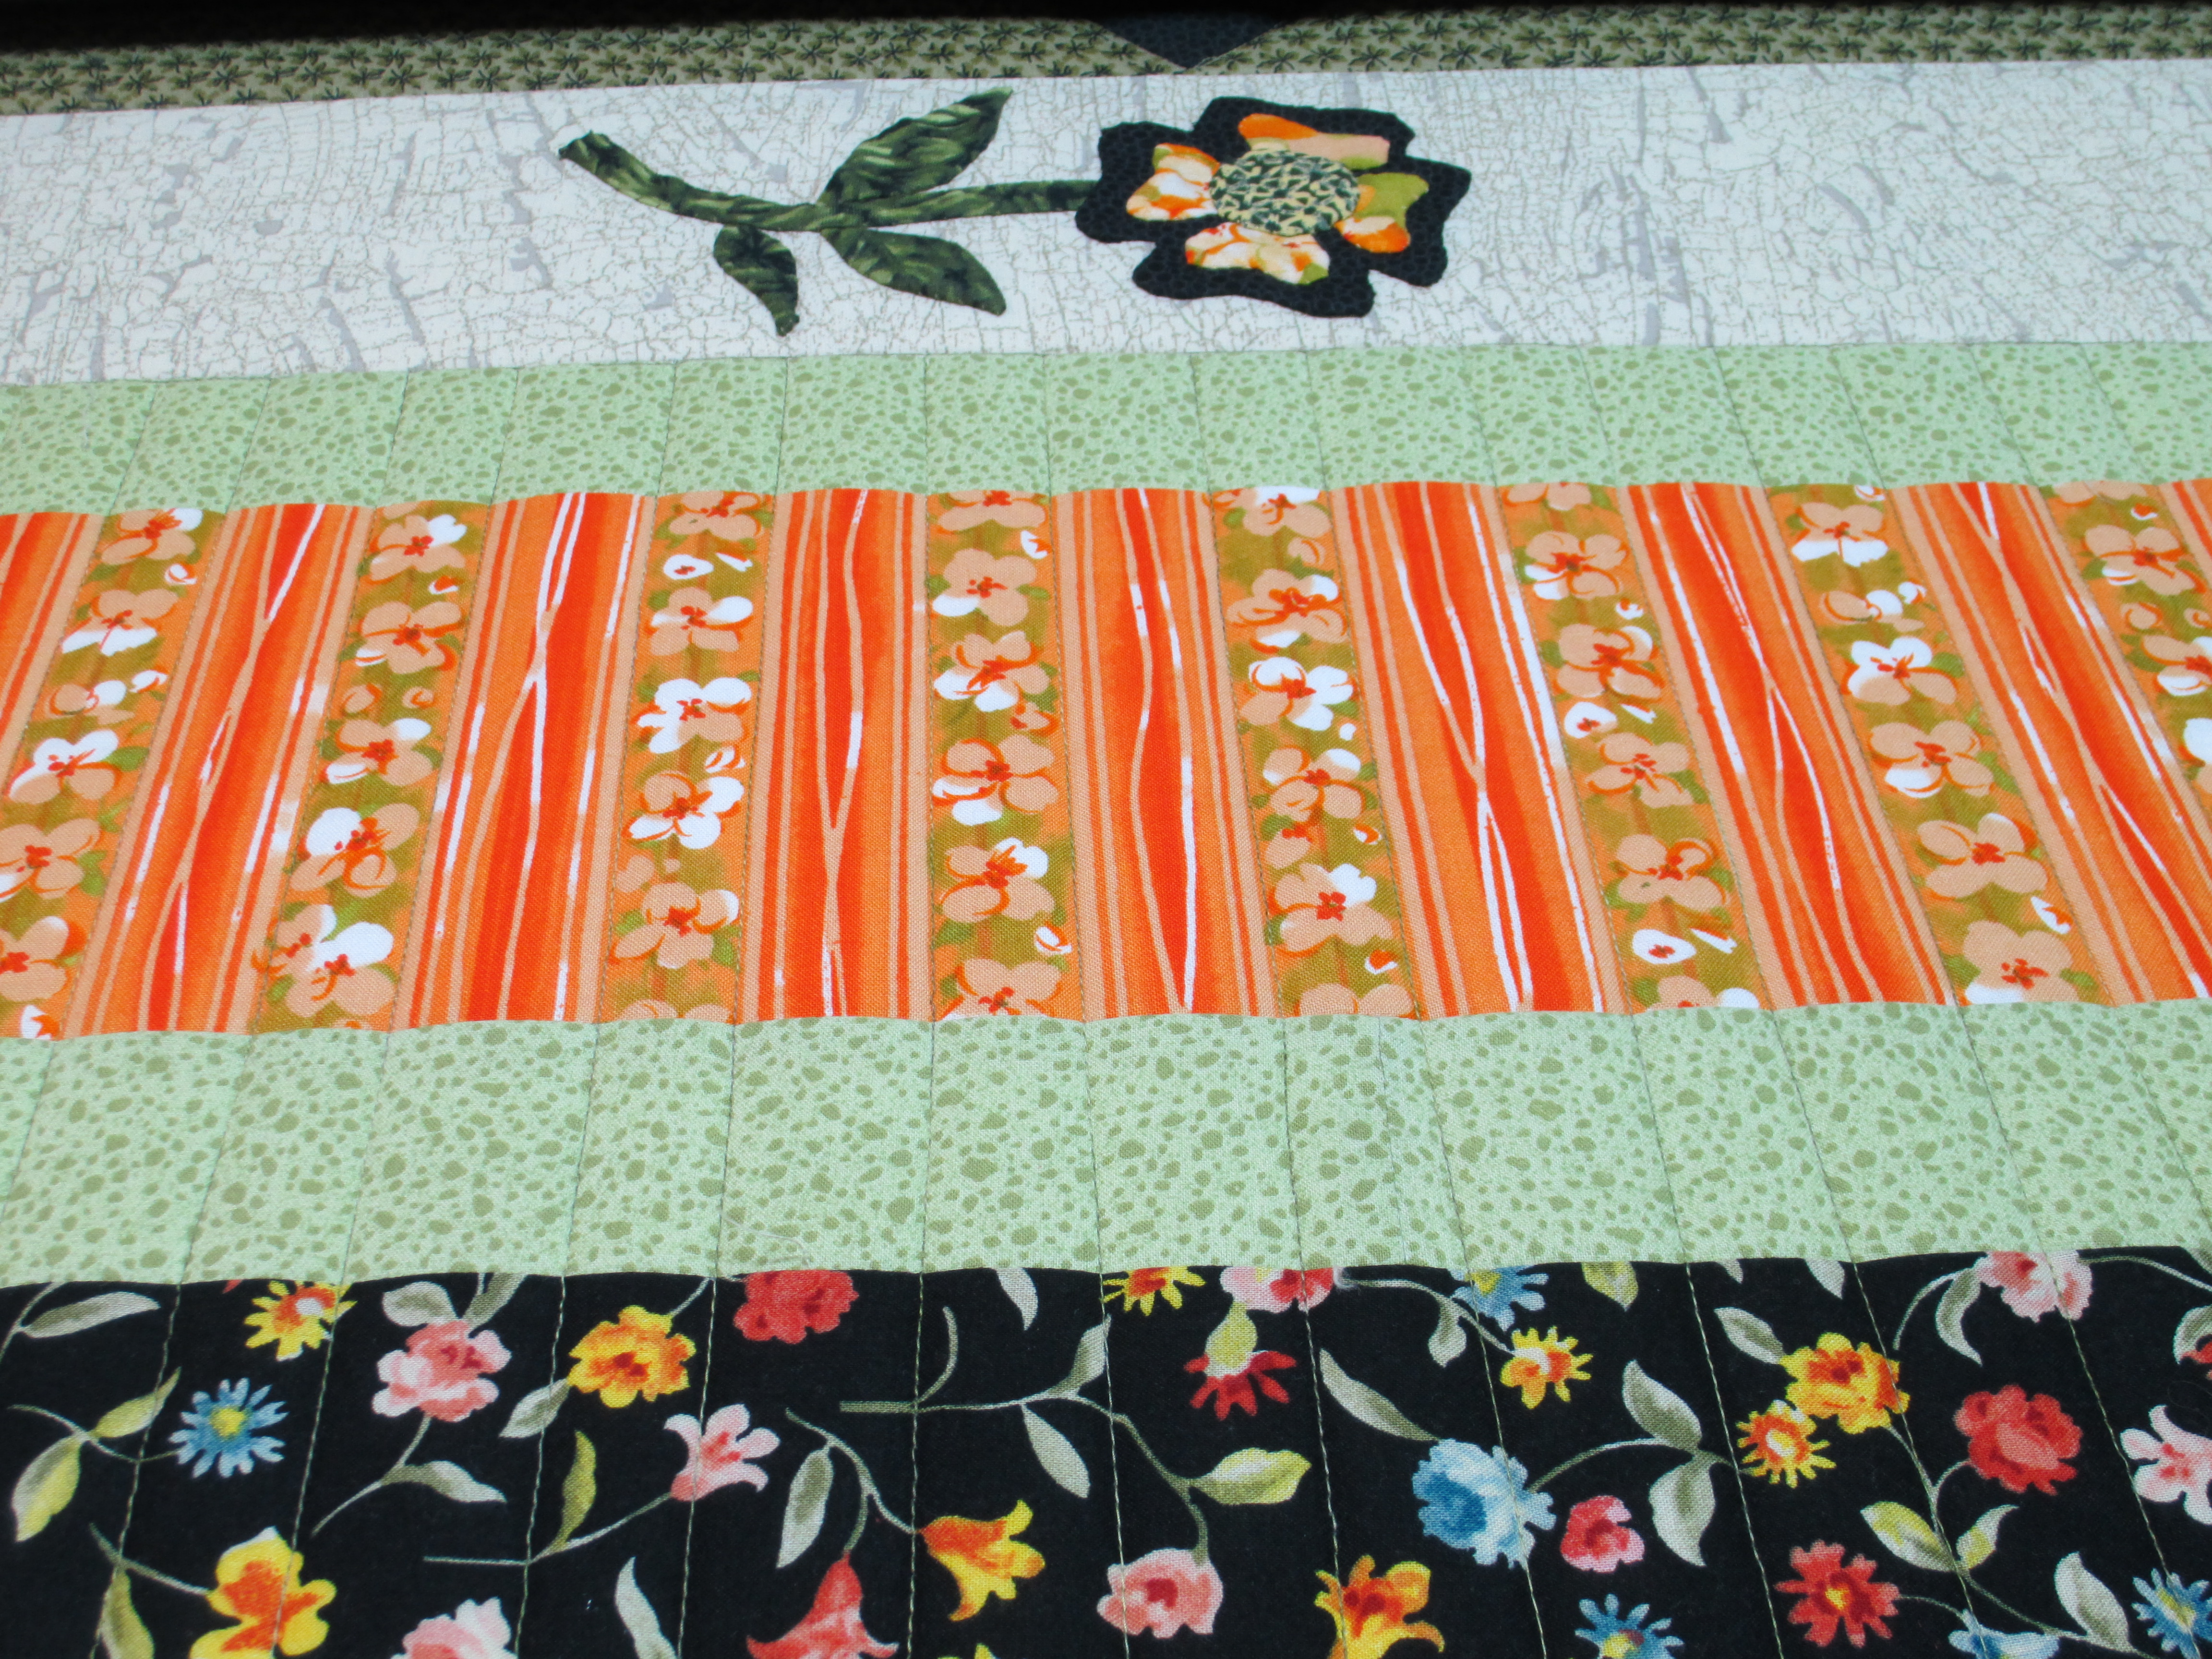
That meant I would need to measure out the stitching along the sides to match the different piano key widths of the bottom and top.  My straight line stitching needs a lot of practice… sigh…

wilma 2 005

But, here is the finished product.  From here, you can’t see any of the stitching, for which I am truly grateful.

Wilmas quilt 2 final 016

I love her applique work and the way she brought it all together!


Marking a Quilt

I know most quilters mark designs onto quilts, and I mark my own quilts all the time.  But, I am always afraid to mark on customers’ quilts.  So, I have been trying to find alternate methods of getting a design onto a quilt.   Remember the Press ‘n Seal method?  You have probably already tried the following strategies.  I have, too, but it’s been awhile since I’ve tried them, so they are new to me yet again.  One strategy I tried on Mickey’s quilt last week was to bring my laser light to the front of my machine instead of using it in the back for pantographs.  You can see how I drew her dog onto the quilt.  On the left is the picture of her dog in black and white.  I took a green highlighter and marked on the paper what I wanted to draw onto the quilt.  Can you see the little red dot under the dog’s paw?  That’s the laser light that is attached to the front of the machine.  When I move the laser light along where I highlighted, I will be drawing with thread onto the quilt.  You can see the finished product on the right.

MD quilt 001      MD quilt 002

It’s not perfect, but it is one way for me to avoid marking on a quilt.

With the quilt I am working on right now, I am trying onion skin paper.  I’ve tried tracing paper and vellum.  Today I used the onion skin paper.  I bought a roll of this from Du-All Art & Drafting Supplies.  It’s 50 yards long, so hopefully it will last awhile.  The cost, with shipping, was about $32.

The artist for this quilt wanted her applique to shine.  She had twisted vines along 2 corners, leaving the opposite 2 corners blank.  I could have quilted anything in there.  A lot of people would have put feathers in there.  Personally, I think feathers are sometimes over done.  I love them, but I also love to see variety in quilting.  So, I decided to use this quilter’s applique as the basis for the quilting motif along the blank corners.  I figured that would better show off her applique.  First I traced her design onto the onion skin paper.

marking quilts 001

Then, I adapted her design to fit into the empty corners, by folding the paper and creating new curls in the vines.

marking quilts 002 marking quilts 003

You can see here that the design is too long, so I will just take the vine from that curved corner and stretch it around to meet her appliqued vine (the area between my fingers).

marking quilts 005

Now I have the 2 corner vines drawn onto new paper and ready for quilting.

marking quilts 007

I’ve got it pinned onto the quilt and am ready to stitch-in-the-ditch (SID) around her appliqued vines and will stitch through the onion skin paper onto the quilt.

marking quilts 008

After I quilted through the paper and quilt sandwich, I ripped the paper off.  It snapped off cleaner than both tracing paper and vellum.  I like it!  So, I think my preference between tracing paper, vellum, and onion skin paper would have to be the onion skin paper.  Good thing I’ve got a 50 yard roll, because I’m sure I’ll be using it for future projects.

Stay tuned for pictures of the finished product in the near future!  I’ll be filling in the area around the applique with stippling so it will pop!