Warning! I’m having a bit of a pity party right now, so if you would rather surround yourself with positive vibes, please do not continue reading beyond this point.
The REAL cost of machine quilting
The REAL cost of machine quilting
The REAL cost of machine quilting
Warning! I’m having a bit of a pity party right now, so if you would rather surround yourself with positive vibes, please do not continue reading beyond this point.
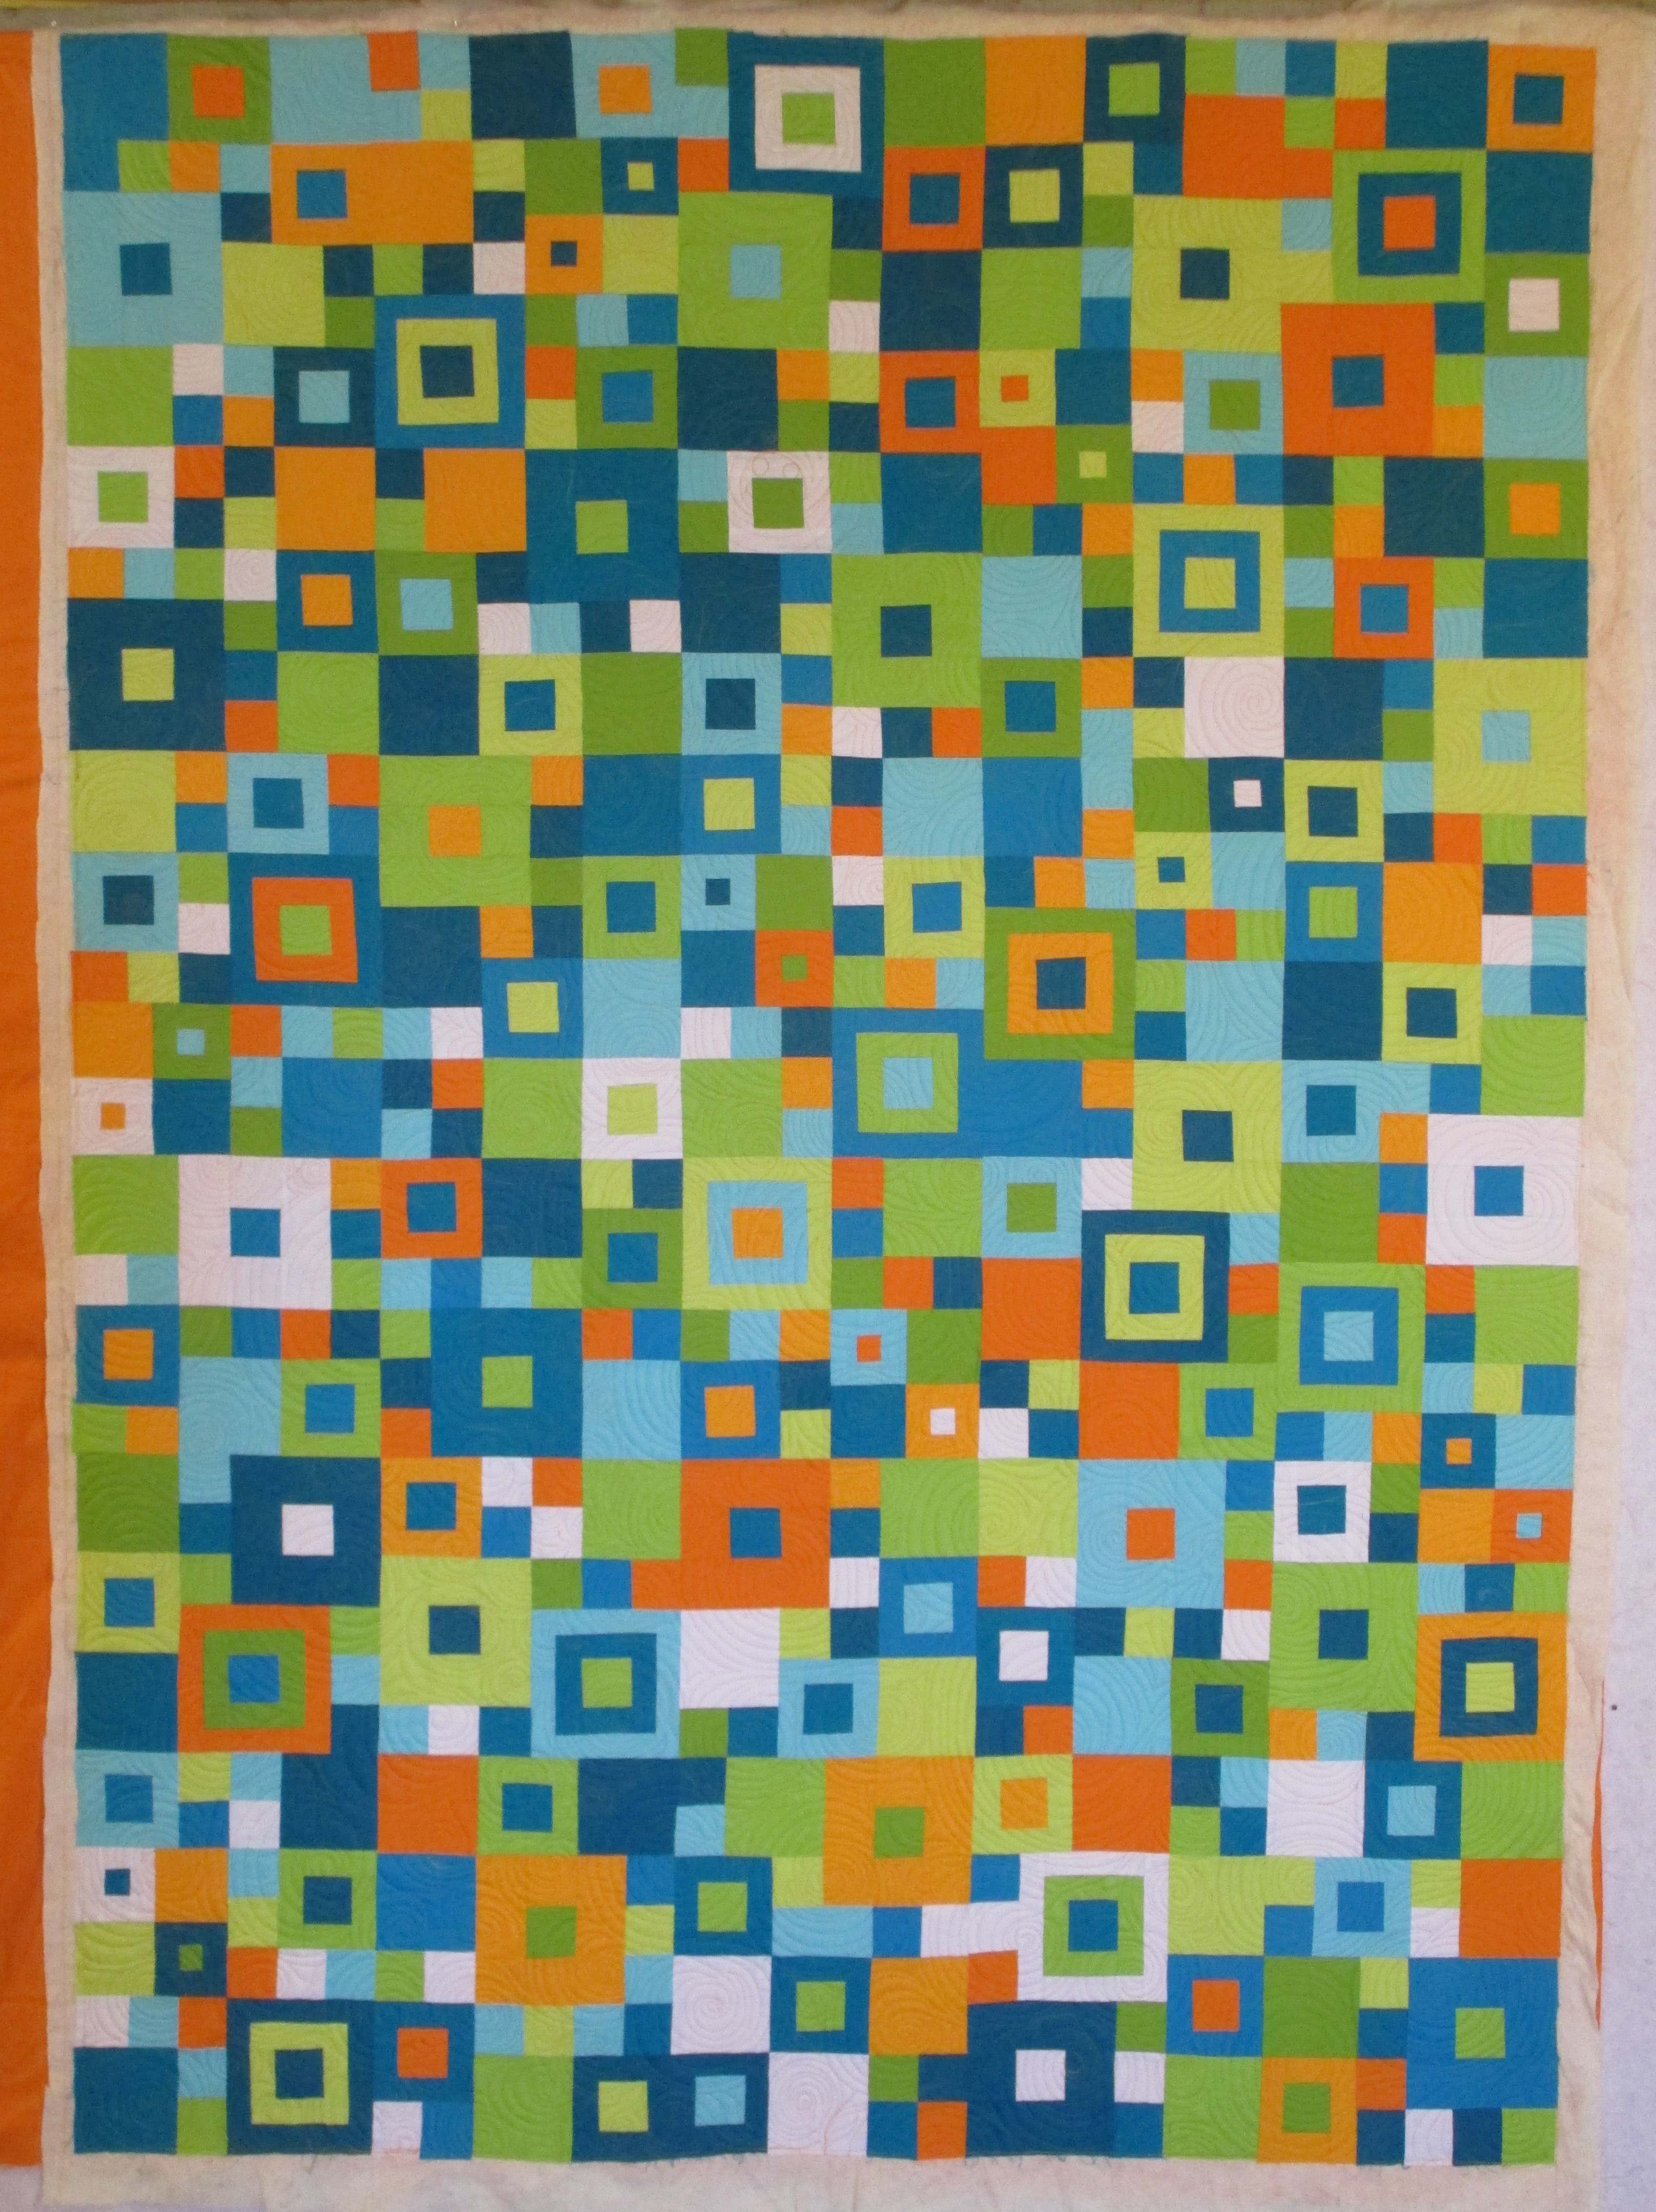
Jackie and Wilma have been so gracious lately to let me quilt their quilts and they seem thrilled when they see them. I don’t see what they see. Can you tell me? Here is Jackie’s daughter’s quilt… Kat’s quilt. I love the bright solids in this quilt, don’t you? Lots of squares, so it kind of reminds me of a city block… for whatever reason…
Jackie wanted something round quilted onto it, to balance the squares and chose the following quilting design. We used light orange thread on this, a good choice, imho. Pay no attention to that man behind the curtain mess behind the quilt. Yes, I work in an unfinished gray dungeon. Quilts like this make my work so much brighter. 🙂

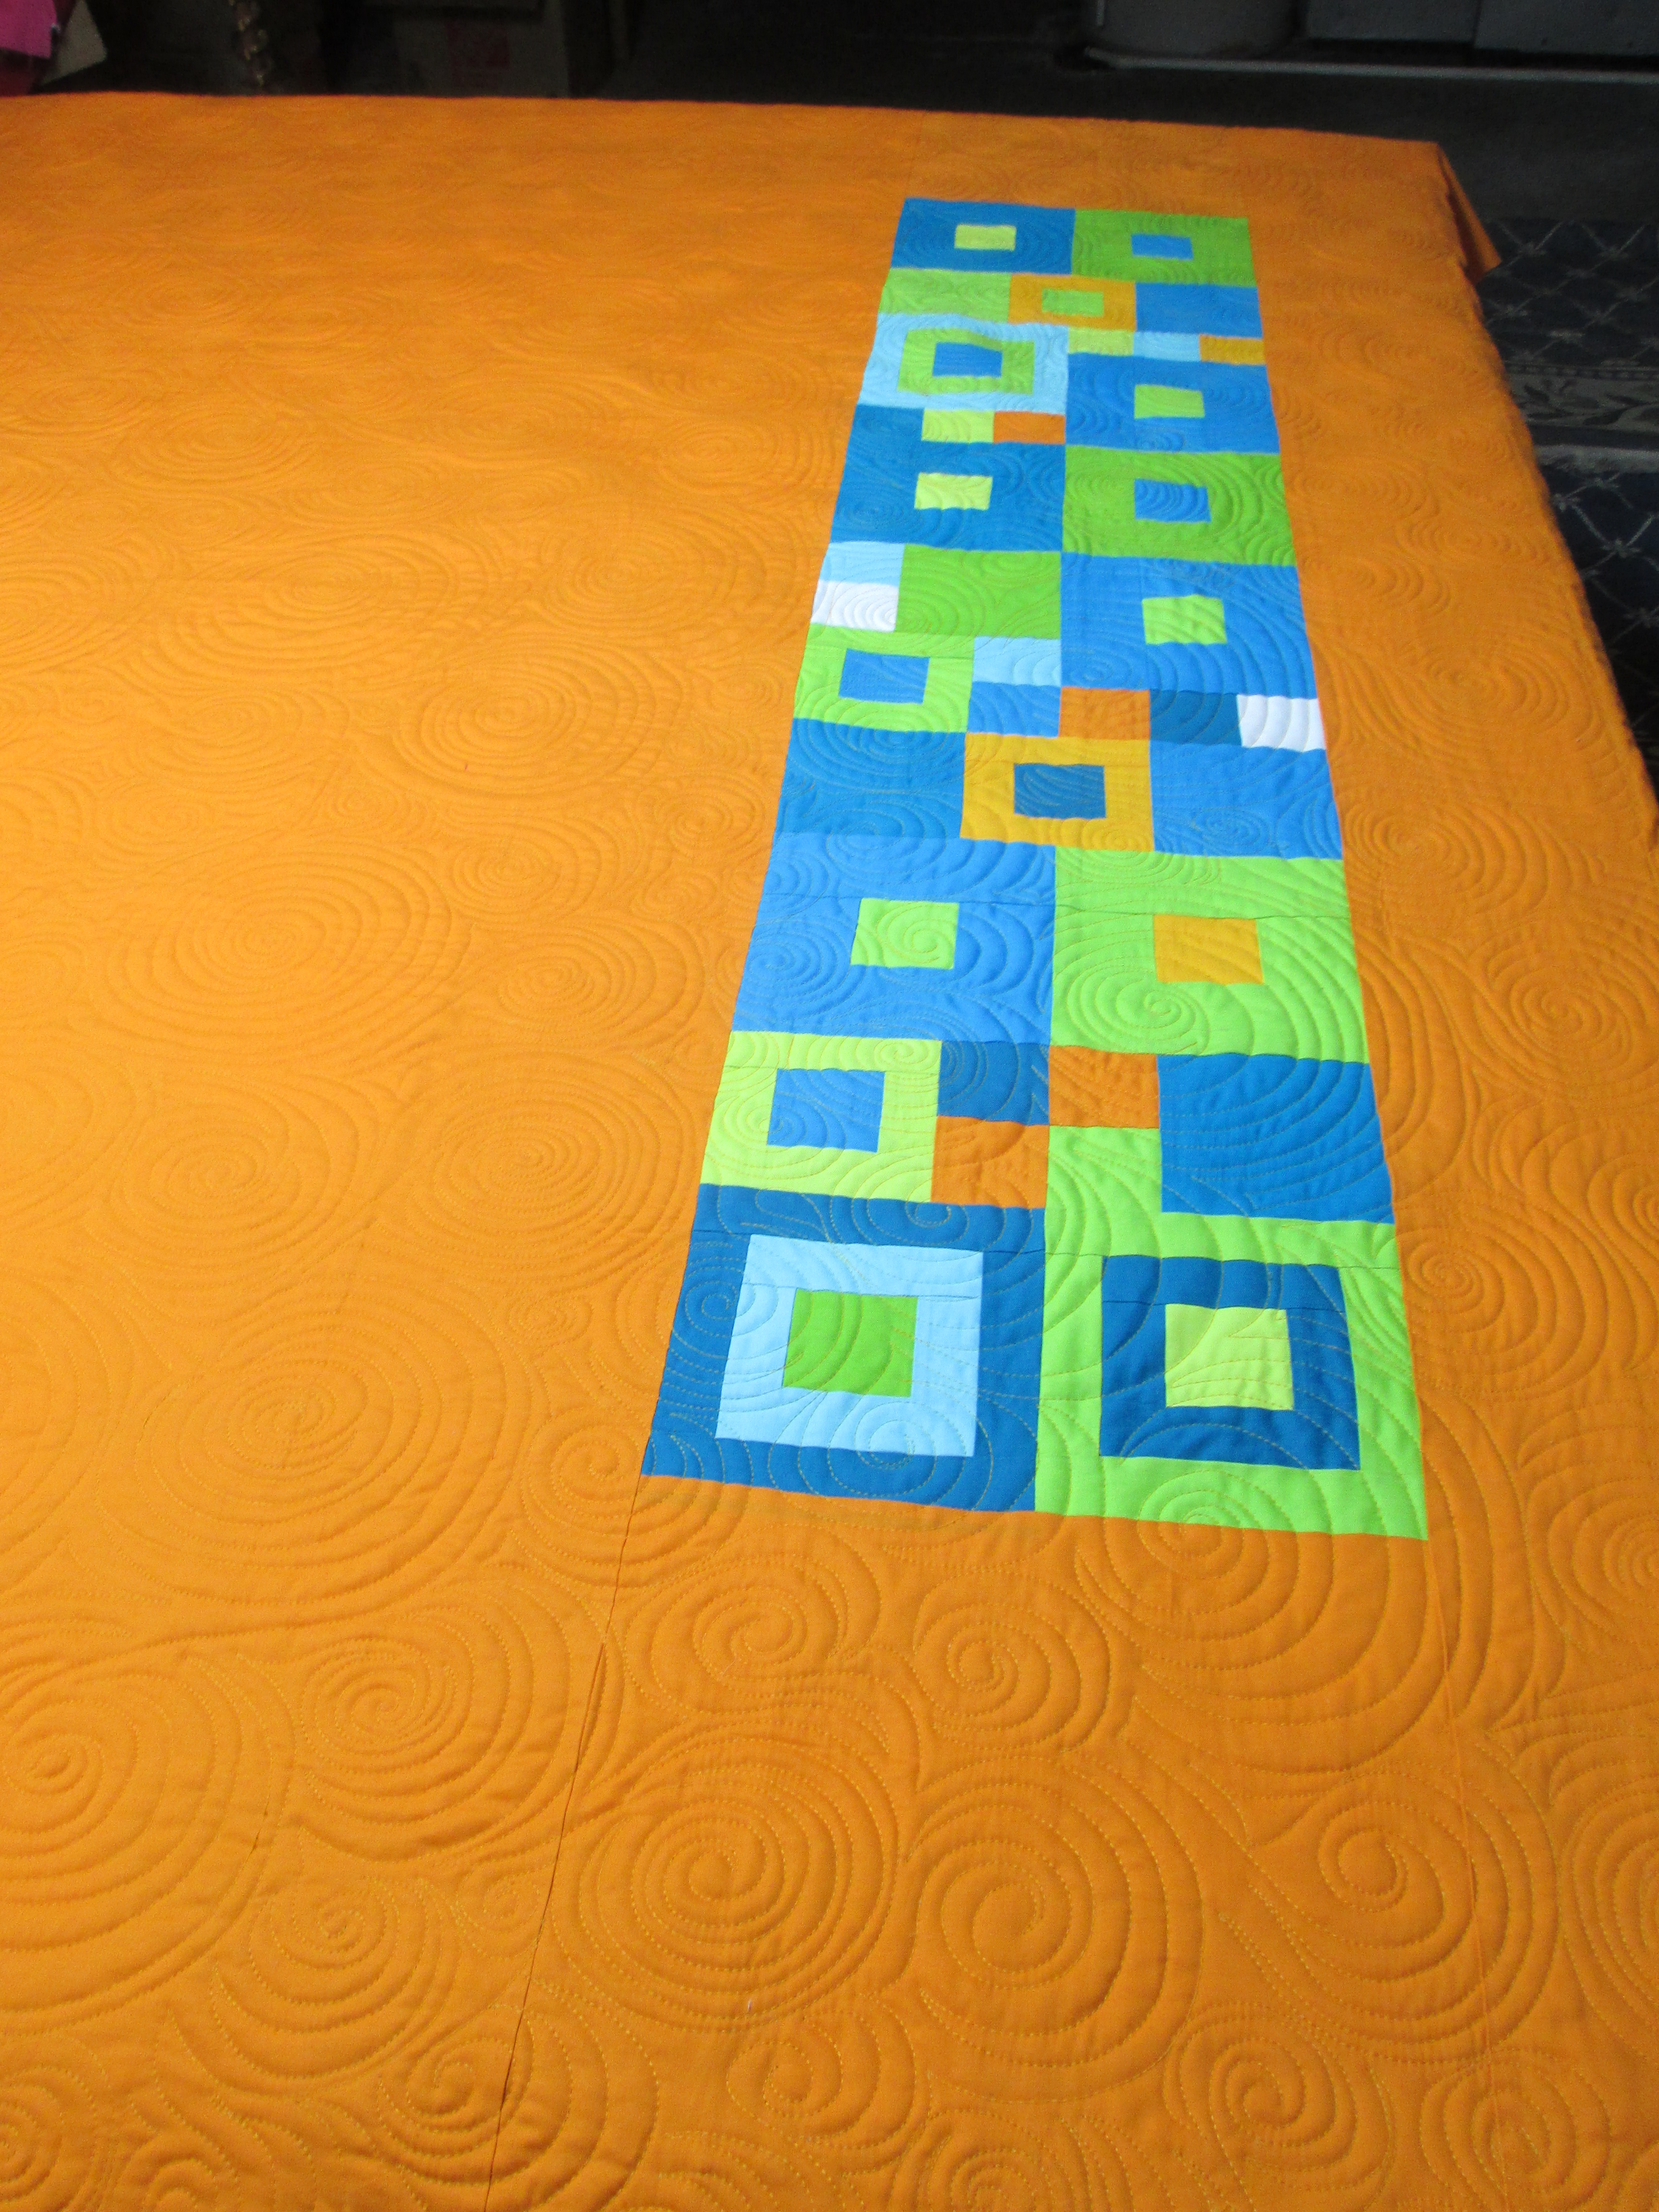
Here’s a shot of the finished product “relaxing” on the table. Yes, I let the quilts relax overnight, so that the fabric that was stretched on the frame can relax, the batting can “breathe,” and the stitches can snuggle down into the quilt. That way I can check the next day to see if I missed any spots or if I need to add more stitching or fix something.

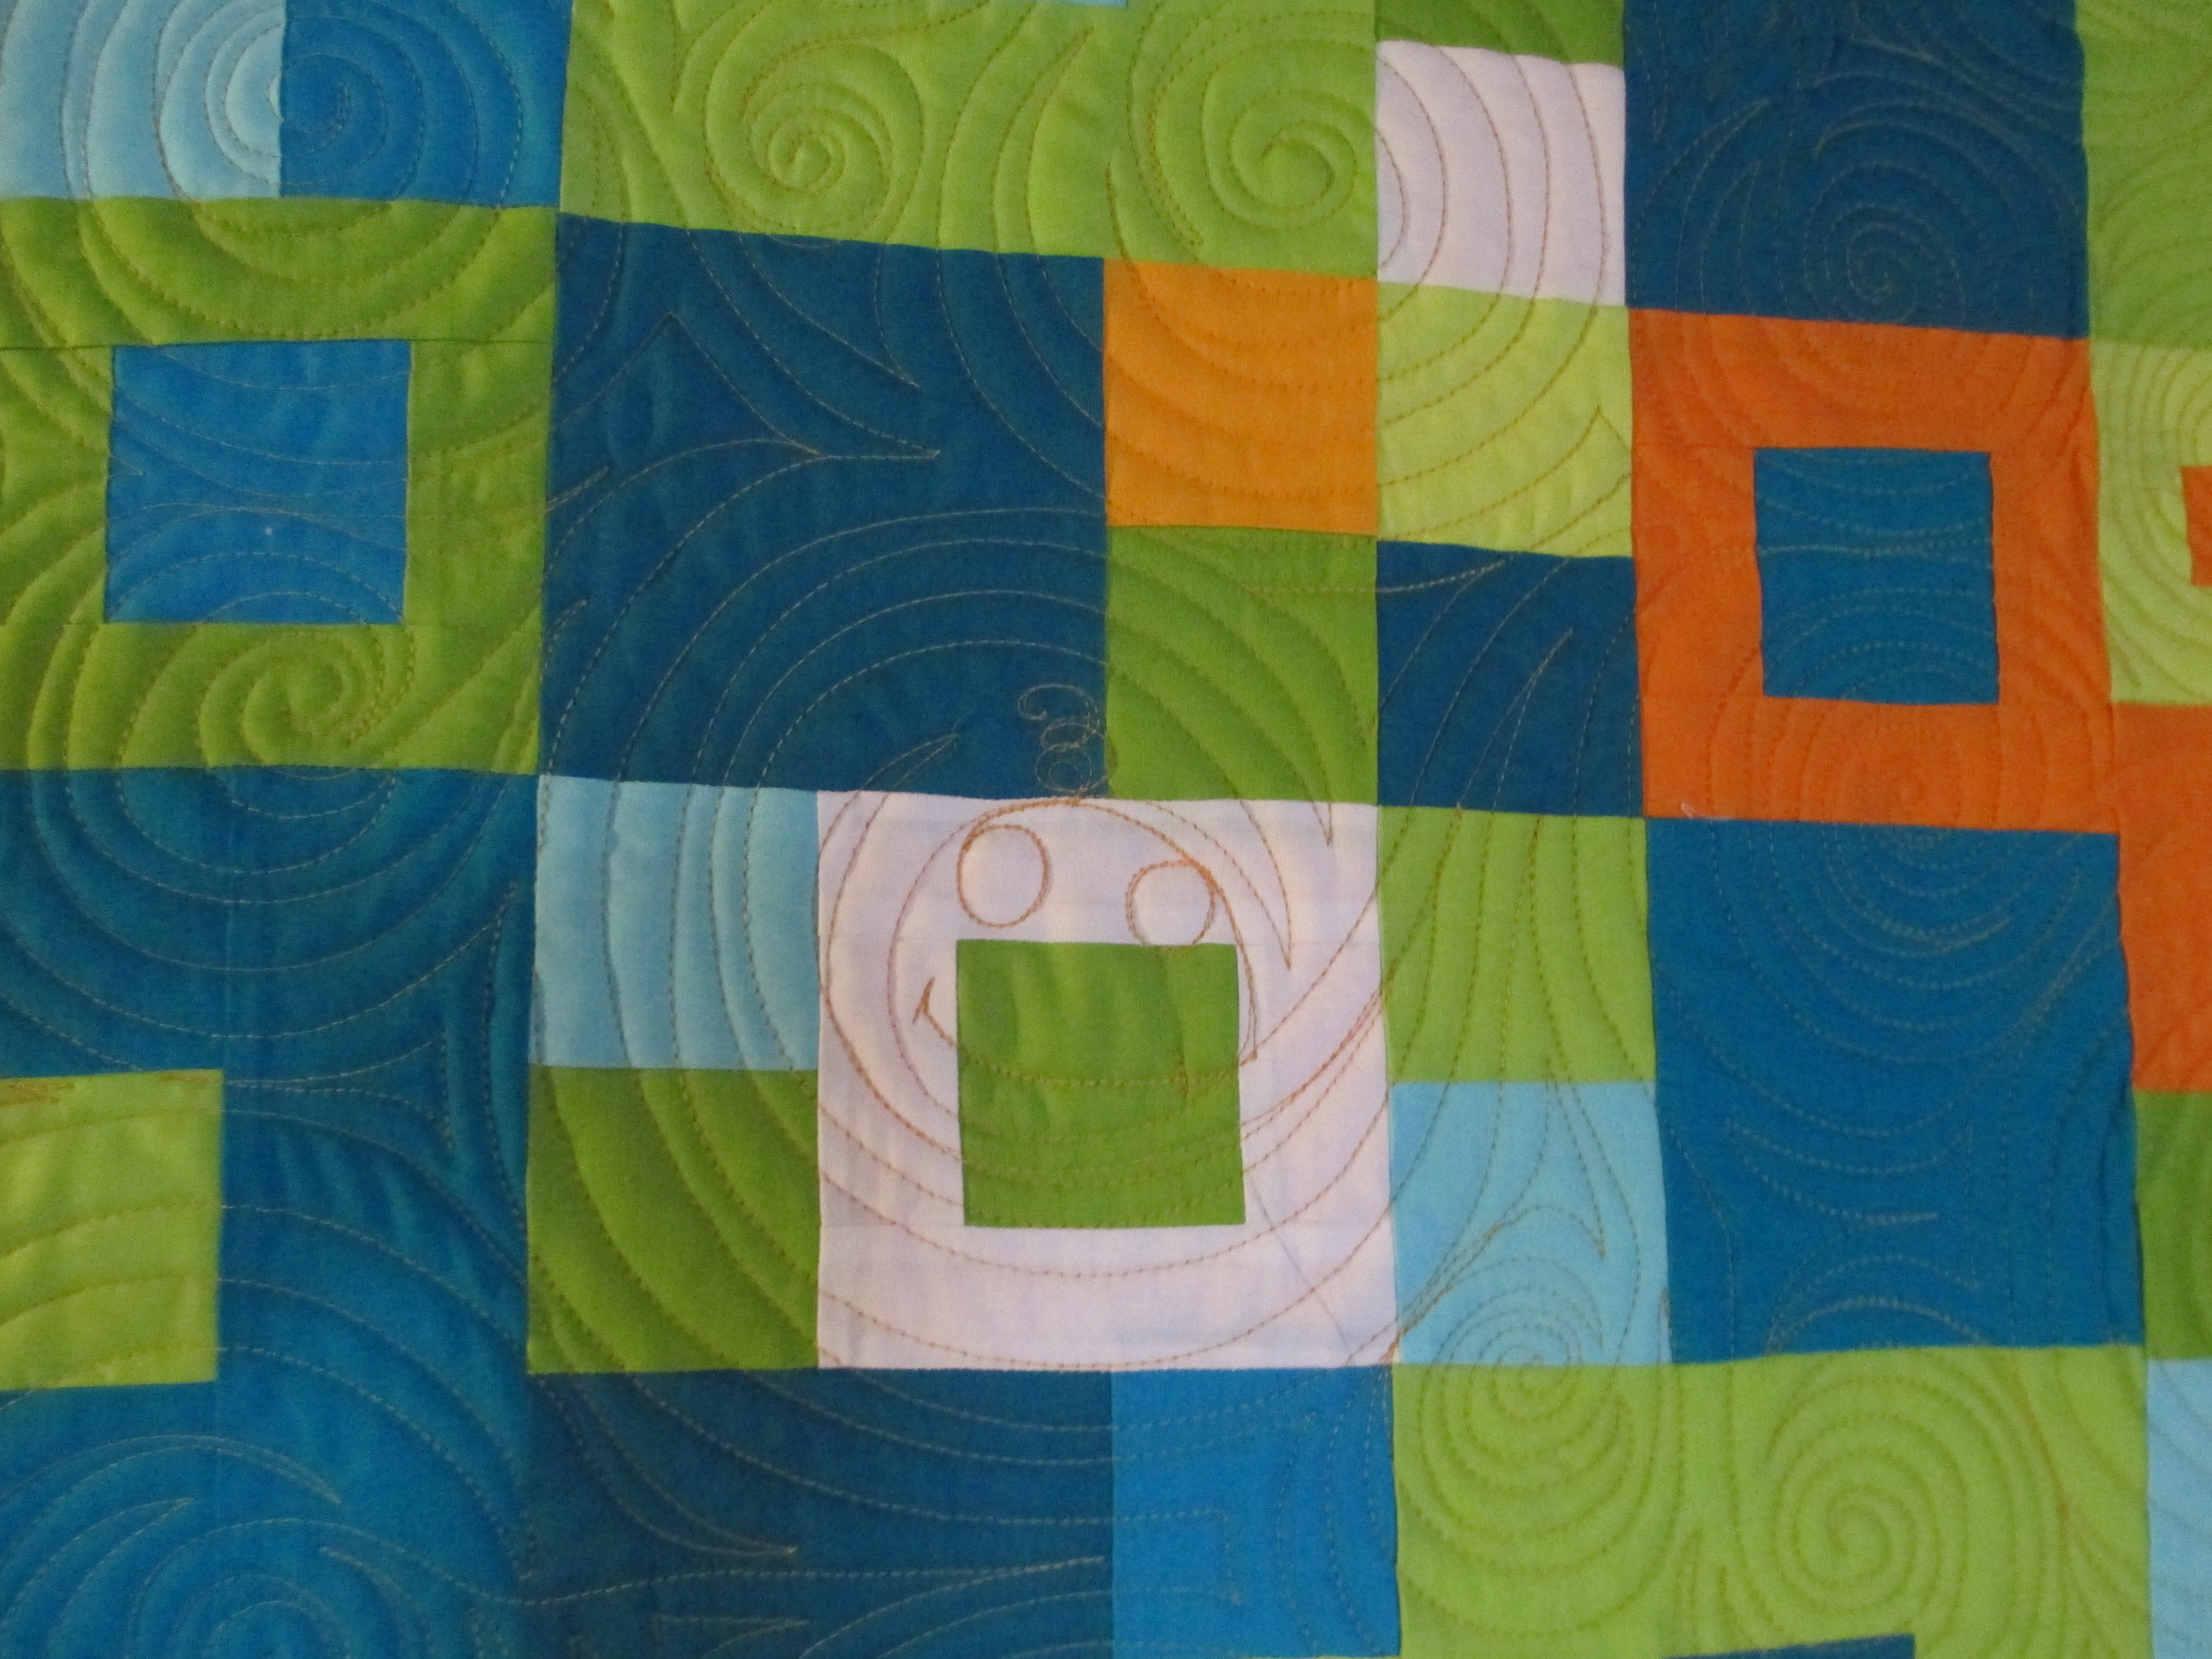
And, here’s a shot of the back. Wasn’t Kat creative in putting this group of blocks into the solid back panel? I know a lot of people are doing that, but I thought this one was extra cool. I loaded the quilt sideways so the top and bottom were on the sides of the frames. This row of blocks was near the bottom of the frame. I now wish I had loaded this side at the top, so it would be just a little farther from the side edge. Lesson learned!
In any case, Jackie was happy with the finished product, when I gave it to her today. She is such a dear for being thrilled. And, yes, I know that sounds silly, too, but when others are happy, it makes me happy. I wonder if/when Jackie or Kat will notice the Smiley Face my evil twin snuck into the quilting…
First off, let me show you the quilting that didn’t show up on Jackie’s Quilt post.

Stitching this Pantograph was so easy peasy I felt guilty charging Jackie for the quilting.
After I finished her quilt, I caught up on this charity quilt that I haven’t been able to get to in a couple of months. 
 At this point, I just wanted to finish it, so I opted for a quick edge 2 edge design and then
 failed at attempted to add a matching border. It turned out okay. Not happy with the border, but it’s done. Our guild has a charity sewing day every February. Kits are made up for us to piece together and then to quilt. I was hoping for a bigger quilt, but this is what I was given, and it’s just as well since it’s taken me this long to finish it.
What I am currently working on is the following quilt. My new favorite kind of fabric is solid colored fabric. I love the colors in this quilt and how they pop against each other.

Jackie says her daughter, Kat, can outquilt her any day. I don’t know about that, but I do love this quilt Kat put together. She just wanted circles quilted all over it to break up the squares, so here is what I’ve done so far.


The thread is a light orange – I think this was a good choice on the customer’s part. As for the circles… my circles aren’t perfect – they are done freehand. I like the circles against the squares, another good choice on the customer’s part. I’m always impressed with my customers’ choices. I learn a lot from their tastes and their styles. I’ll post more pictures when I am done.
Jackie bought this quilt kit from Lucky Charms Quilt Store in Chapman, KS. She just wanted a pantograph quilted into the quilt to break up the straight lines and to also go with the backing fabric that looks like ocean waves. It was kind of a nice break to not have to think about what […]
Okay, I admit it. I cannot stop myself from drawing stuff on customer quilts that they don’t ask for. One of my customers has nicknamed me “Sneaky.” The problem is… I’ll be quilting along and my brain will say that something such as a frog would look cool on this quilt.
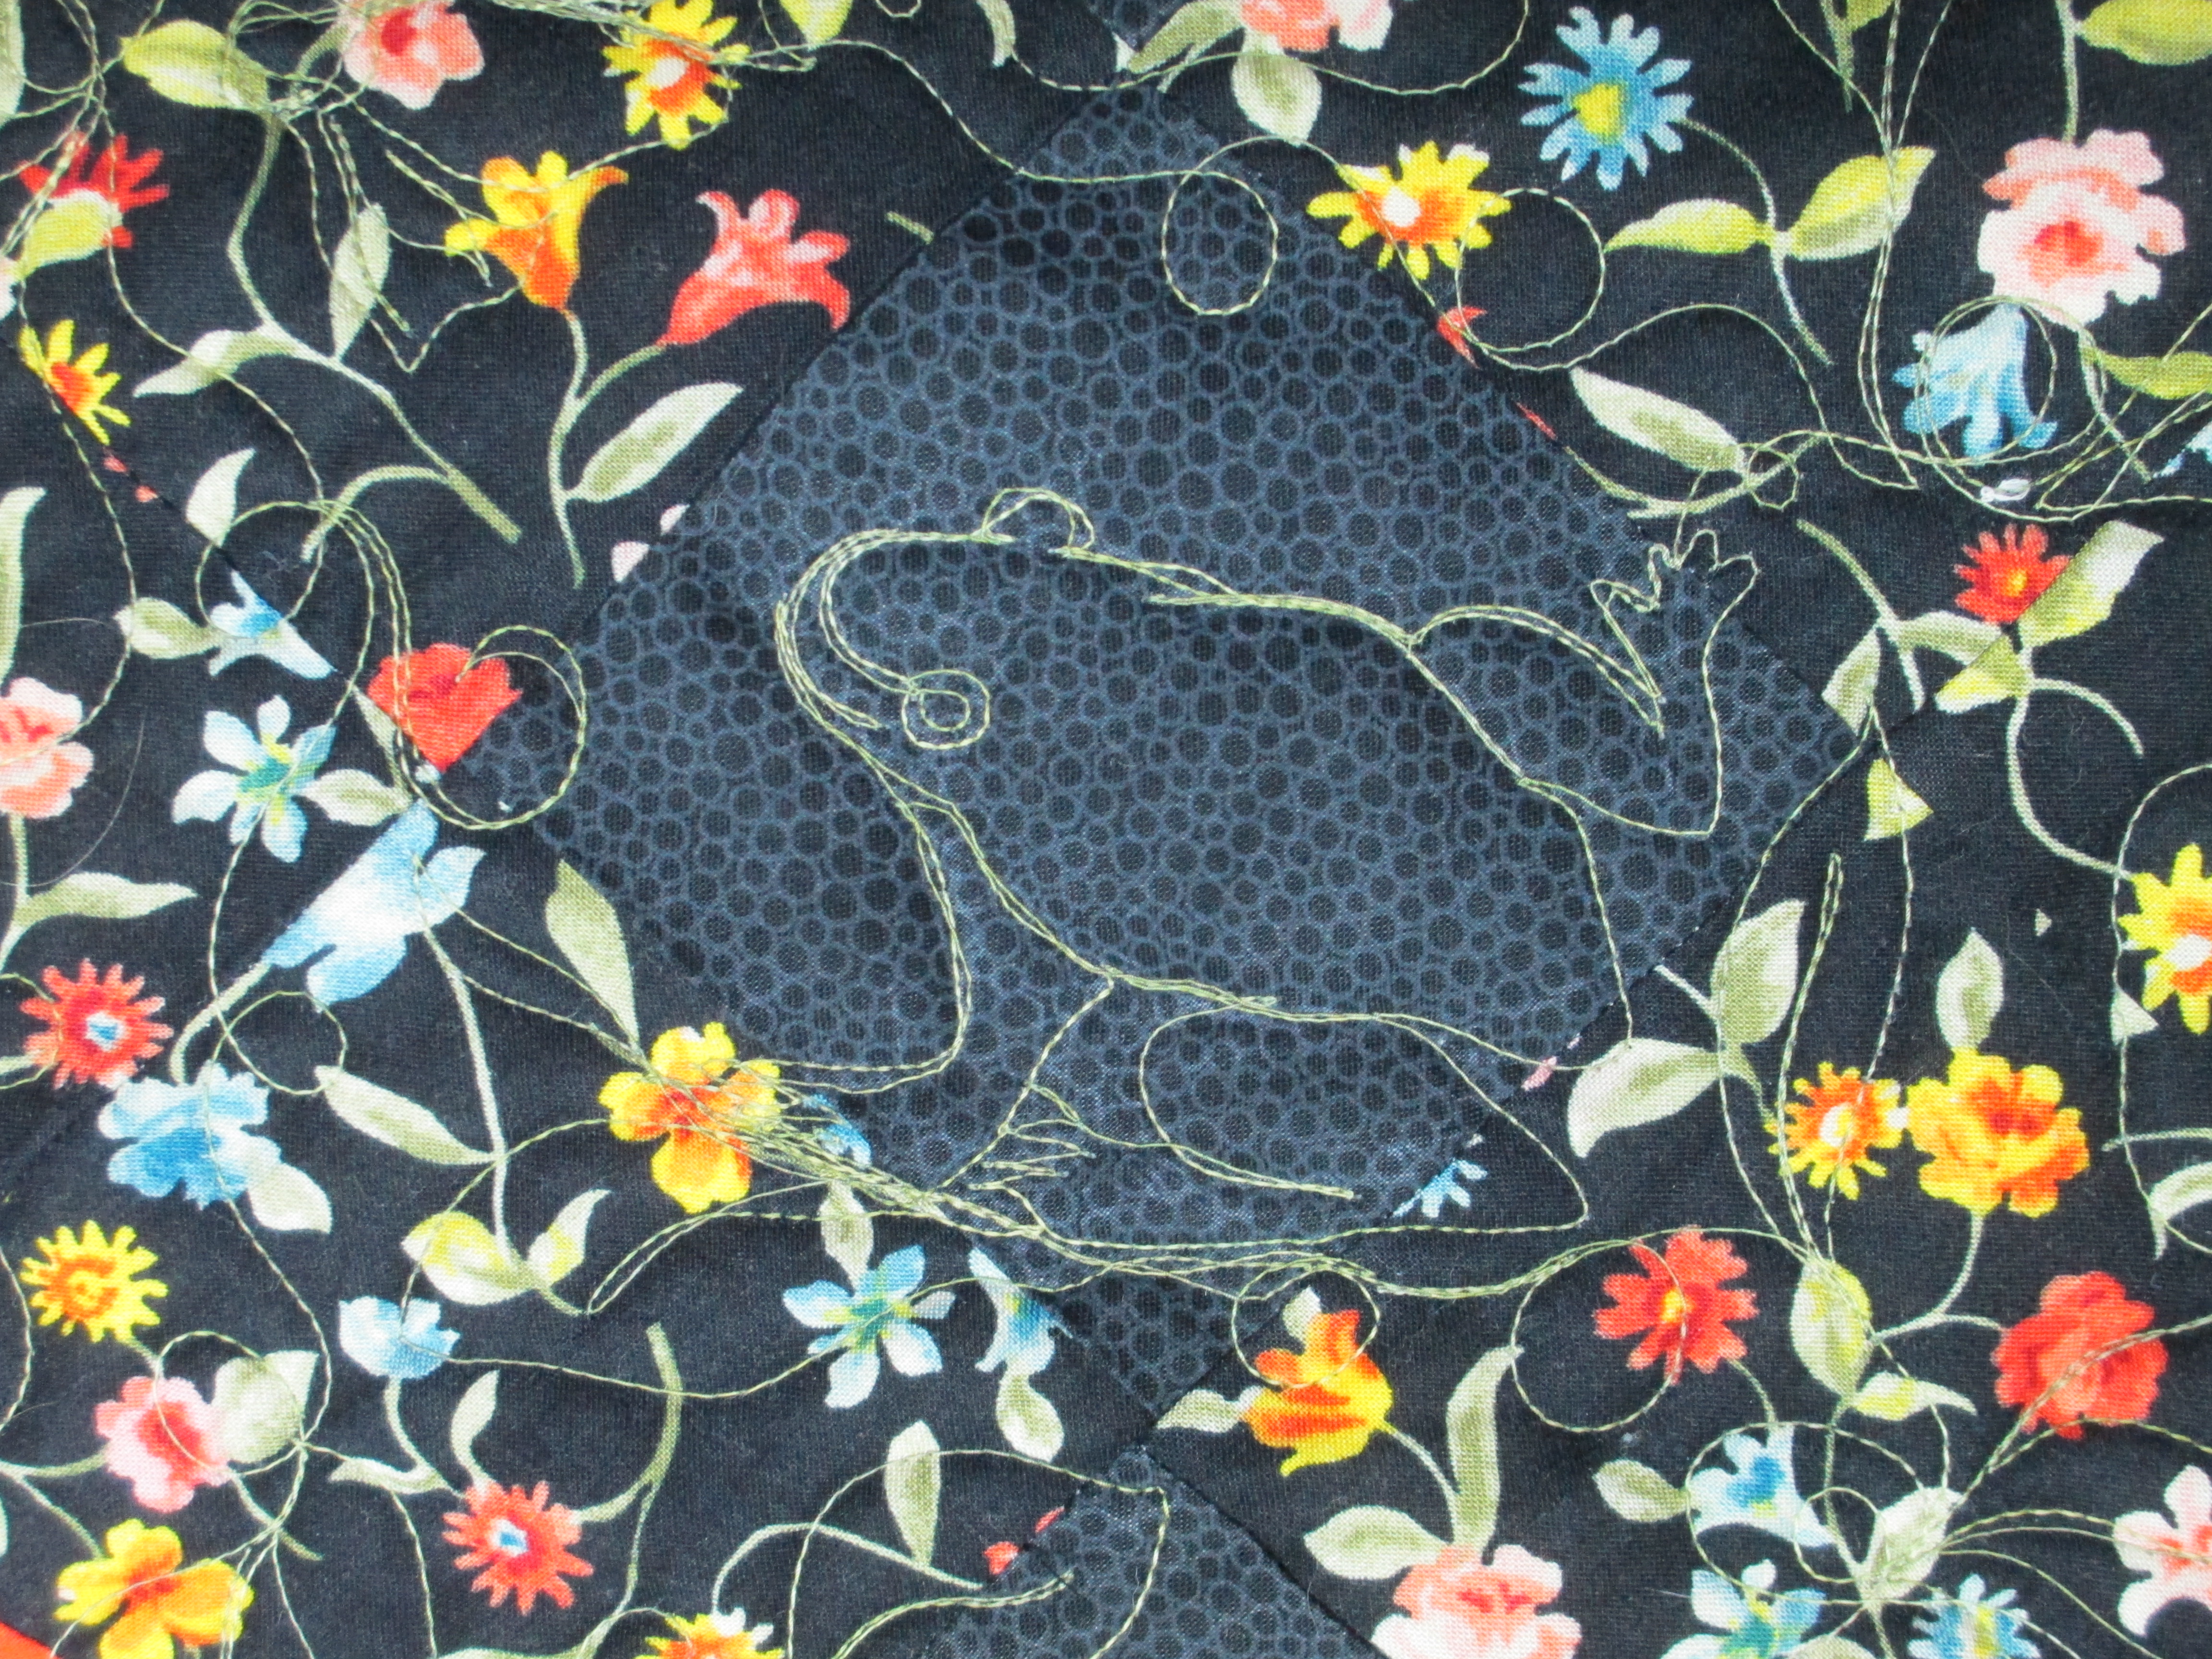
Now, I know better than that! It’s not my quilt, and I tell my brain that, but before I know it, I am stitching a frog into the quilt. I honestly don’t know what happened to me with this quilt. I am quite embarrassed at how bold my “evil twin sister” was in putting these items on this customer quilt. All I wanted was for my quilting to complement the customers quilt top.


Did you notice they are all drawn into the black spaces where they can easily be seen? WTH??? I get embarrassed by my quilting anyhow and don’t want it screaming at the world, so what came over me (oops! I mean my evil twin sister) with this one?
For those of you who don’t know what frogging is to a quilter, it’s where you rip out the stitches… rip it… rip it… rip it… Get it? I can only hope the customer will be okay with the results of this quilt, or I will certainly be frogging this one next week. 😦
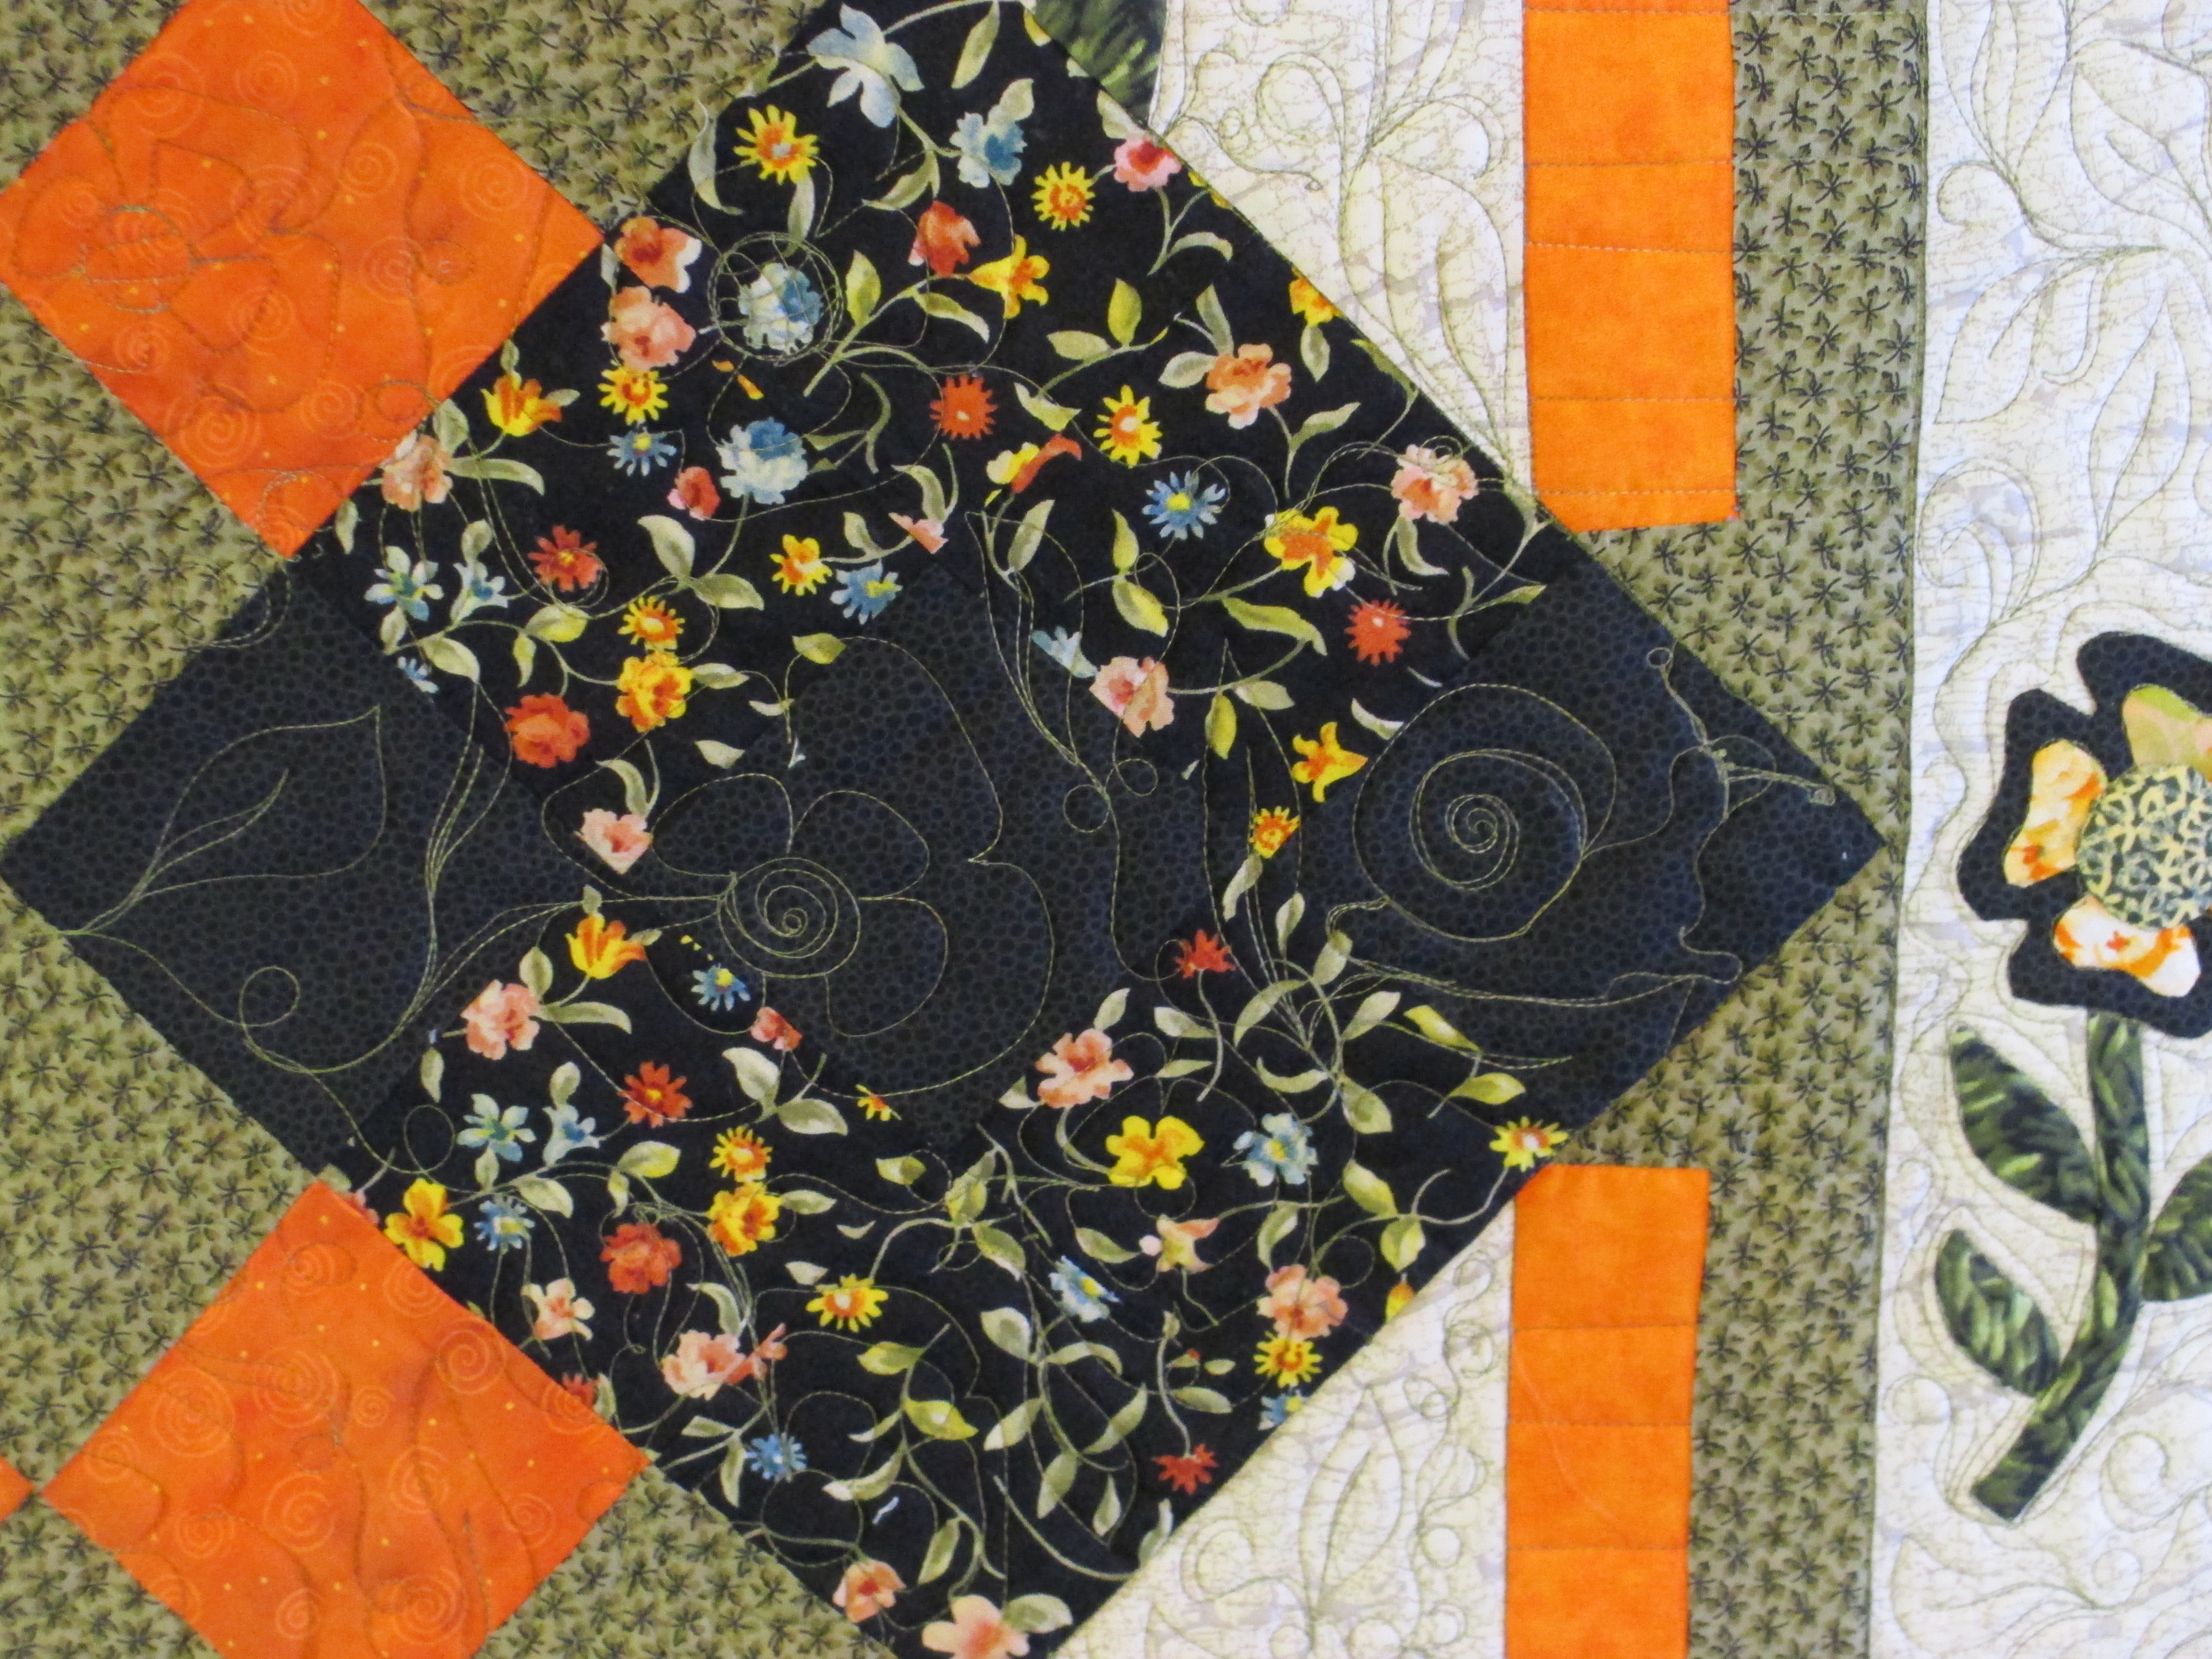
What she really wanted was viney leaves and flowers to match her applique. This is what I did before adding my trademark signature “surprise” of thread art…

She also wanted piano keys, but she was worried how the green thread would show up against the orange striped border. I was a bit worried how it would look, too, so I stitched right inside the parts with the green in it to help the green thread blend into the background (so how come my evil twin sister was so brazen with the creatures stitched into the black fabric?).
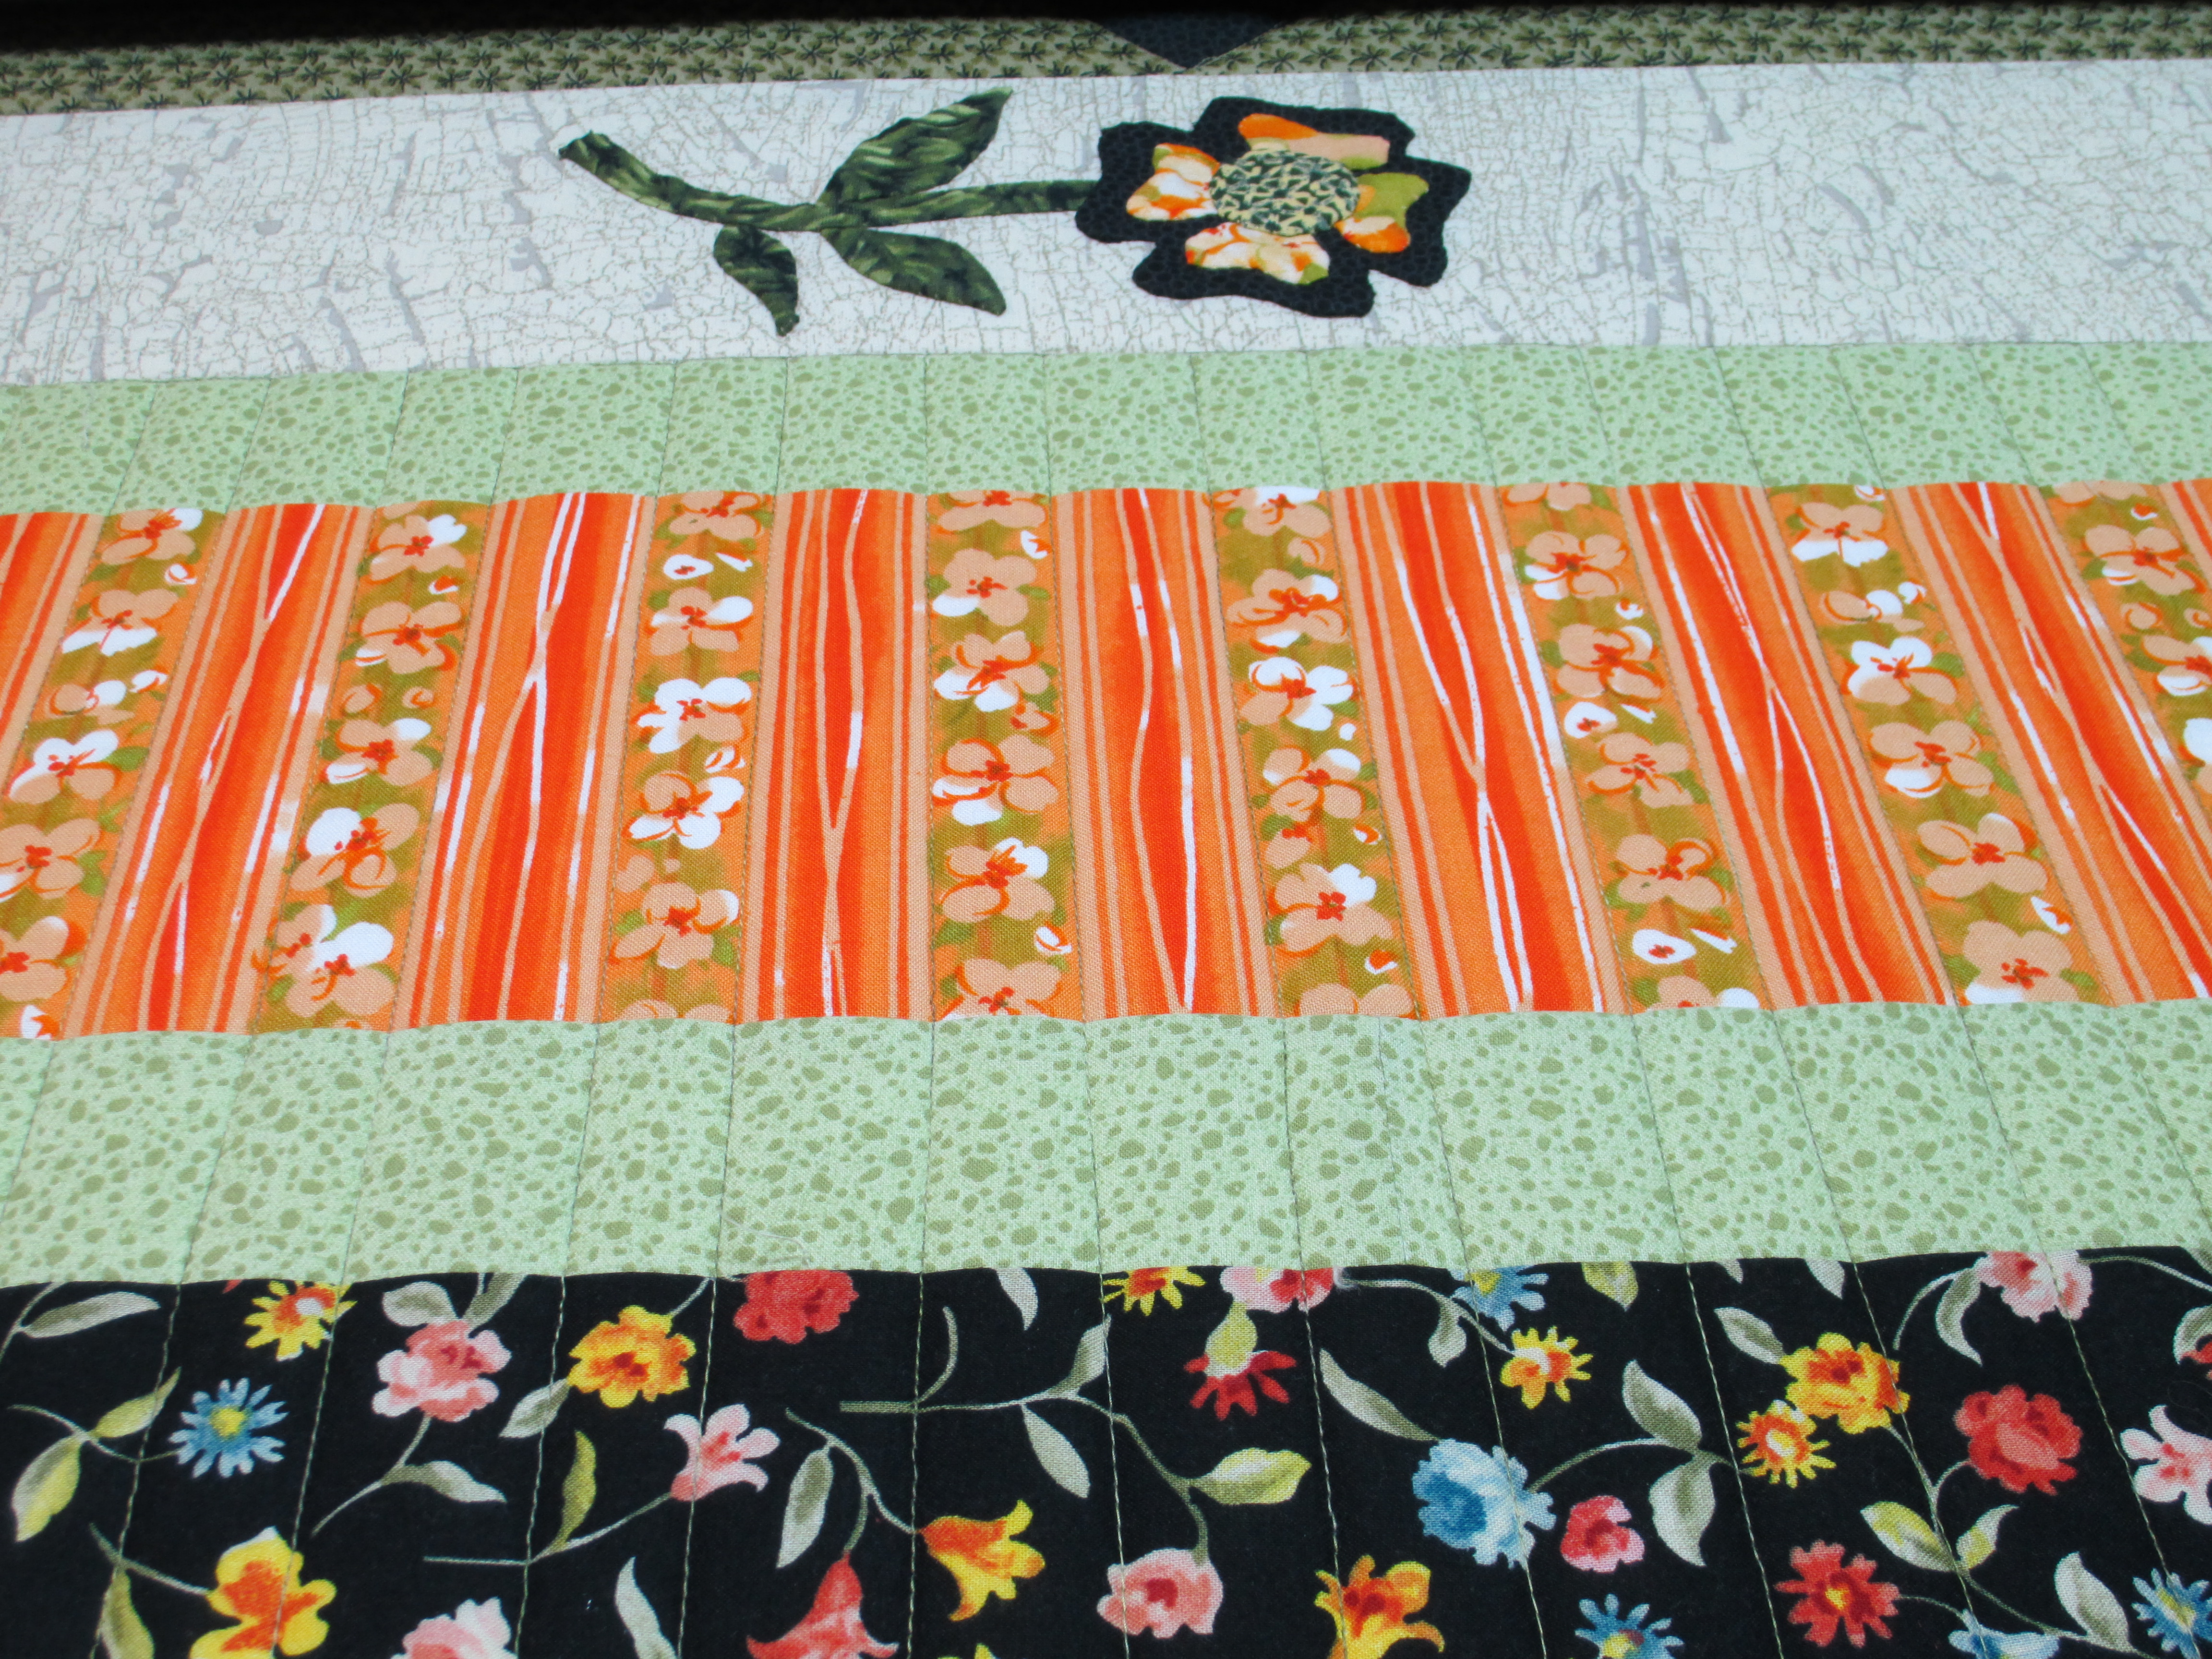
That meant I would need to measure out the stitching along the sides to match the different piano key widths of the bottom and top. My straight line stitching needs a lot of practice… sigh…

But, here is the finished product. From here, you can’t see any of the stitching, for which I am truly grateful.

I love her applique work and the way she brought it all together!
Have any of you heard of the Giveaway Directory for Crafters? If not, click on it and head on over there to see what other bloggers are giving away. Personally, I have stopped playing on the giveaway posts because I have yet to win anything. It’s probably a reason I don’t really post giveaways either. But, there are plenty of folks who do participate and who do win. So, if you are feeling lucky, check out what they have to give away and head on over to their blogs! Good luck!
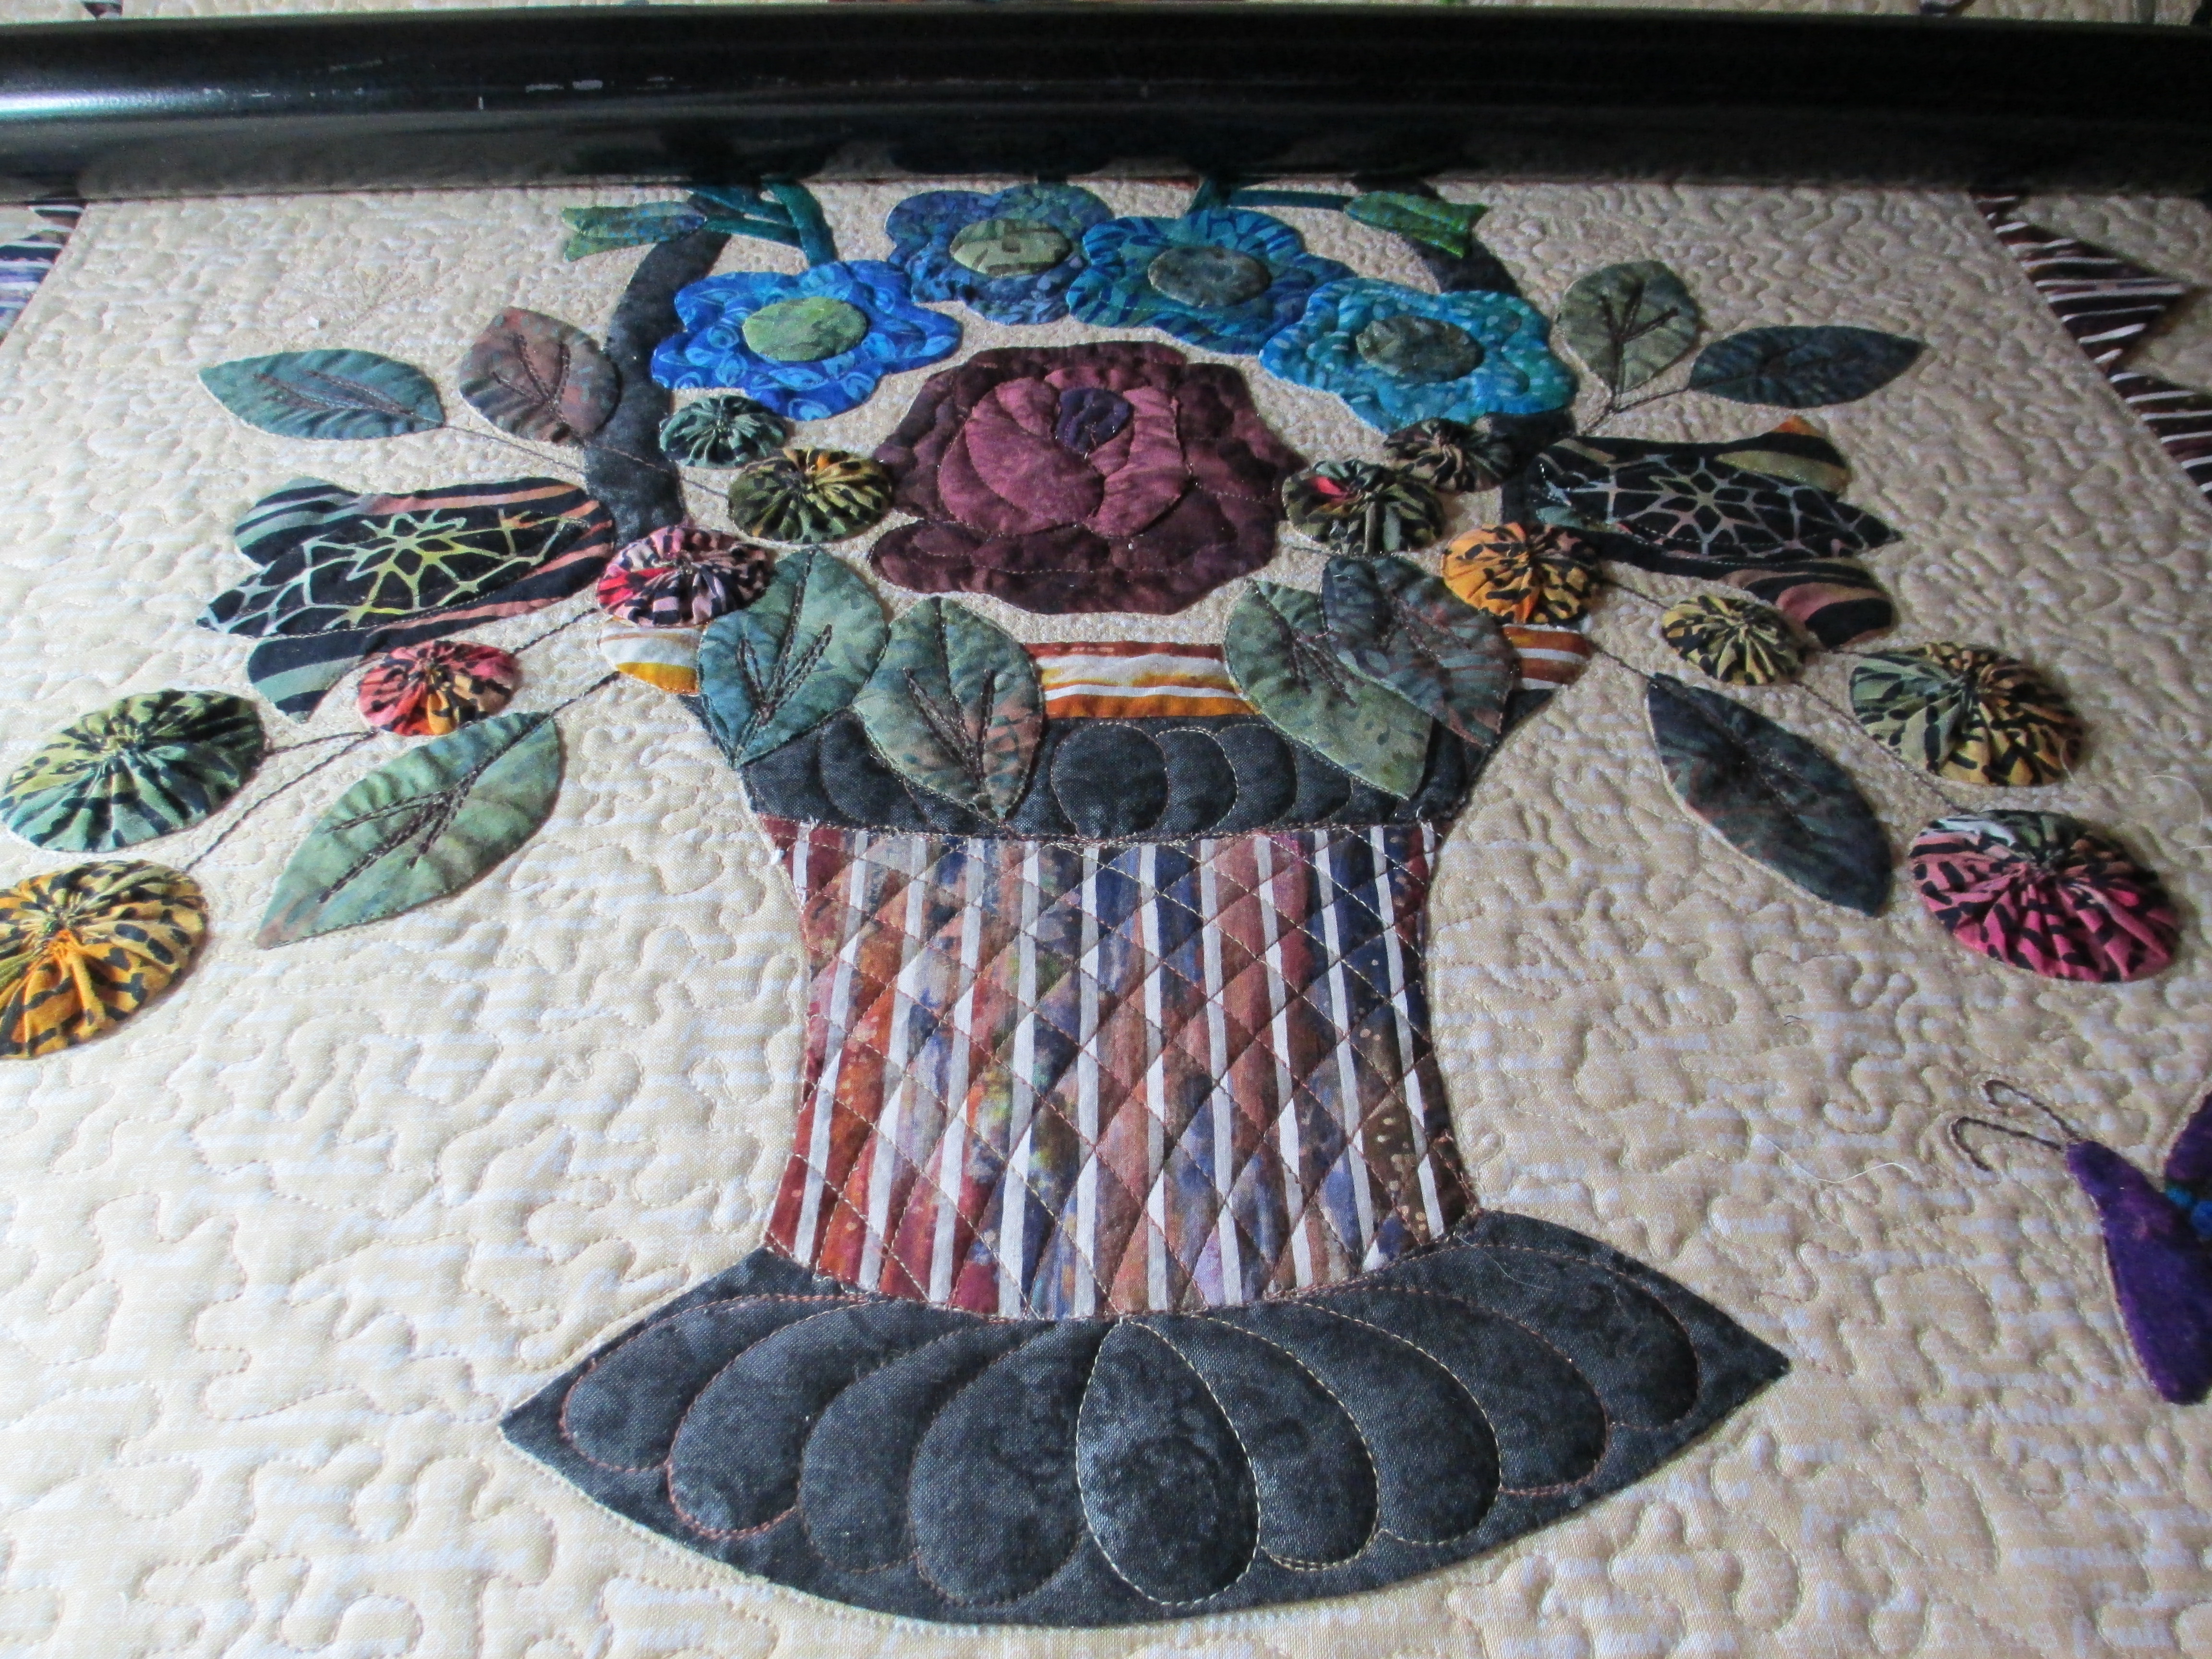
Here is my latest customer quilt, finished. She did all this by hand; needle-turn applique. Isn’t it beautiful?

And, here is a picture of just the basket of flowers.
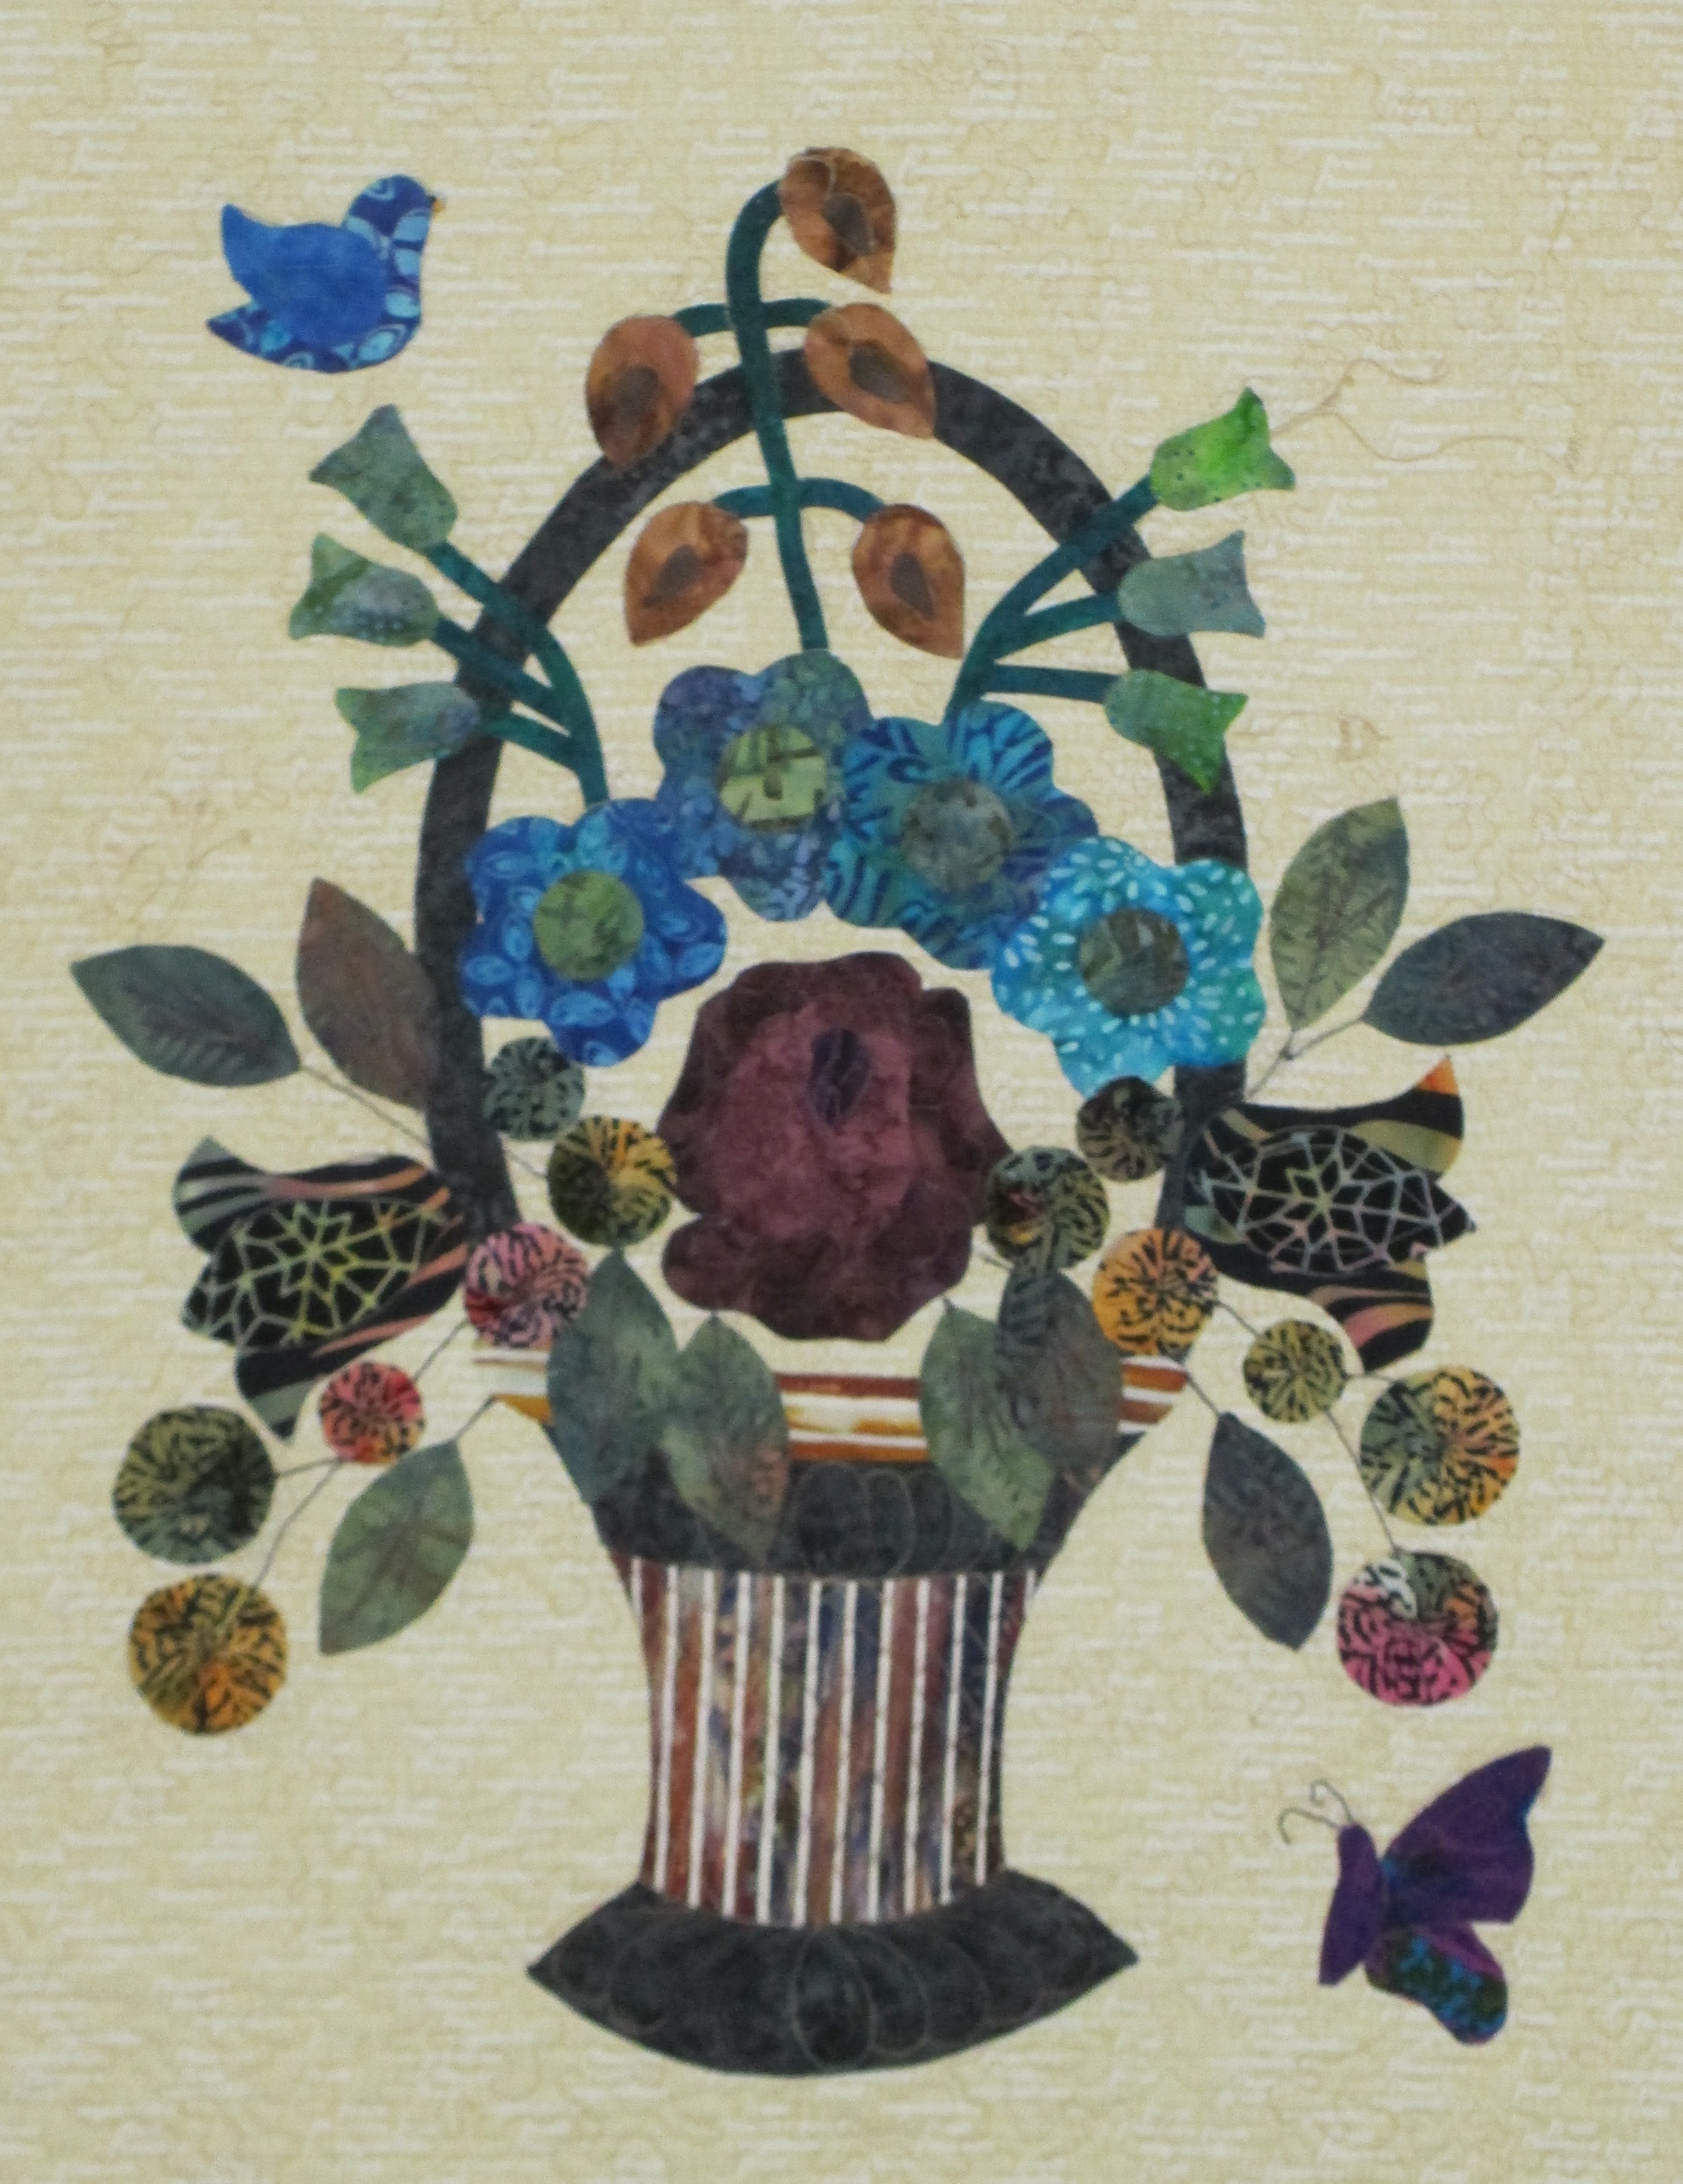
I love her selection of batik fabrics and how she coordinated it all. She chose this color thread. What is strange is how it showed up on the background fabric. I swear it gives off a pinkish color in some places. It’s funny how you can see a thread in one light and it looks different in another or next to other colors, such as the colors in the batiks.

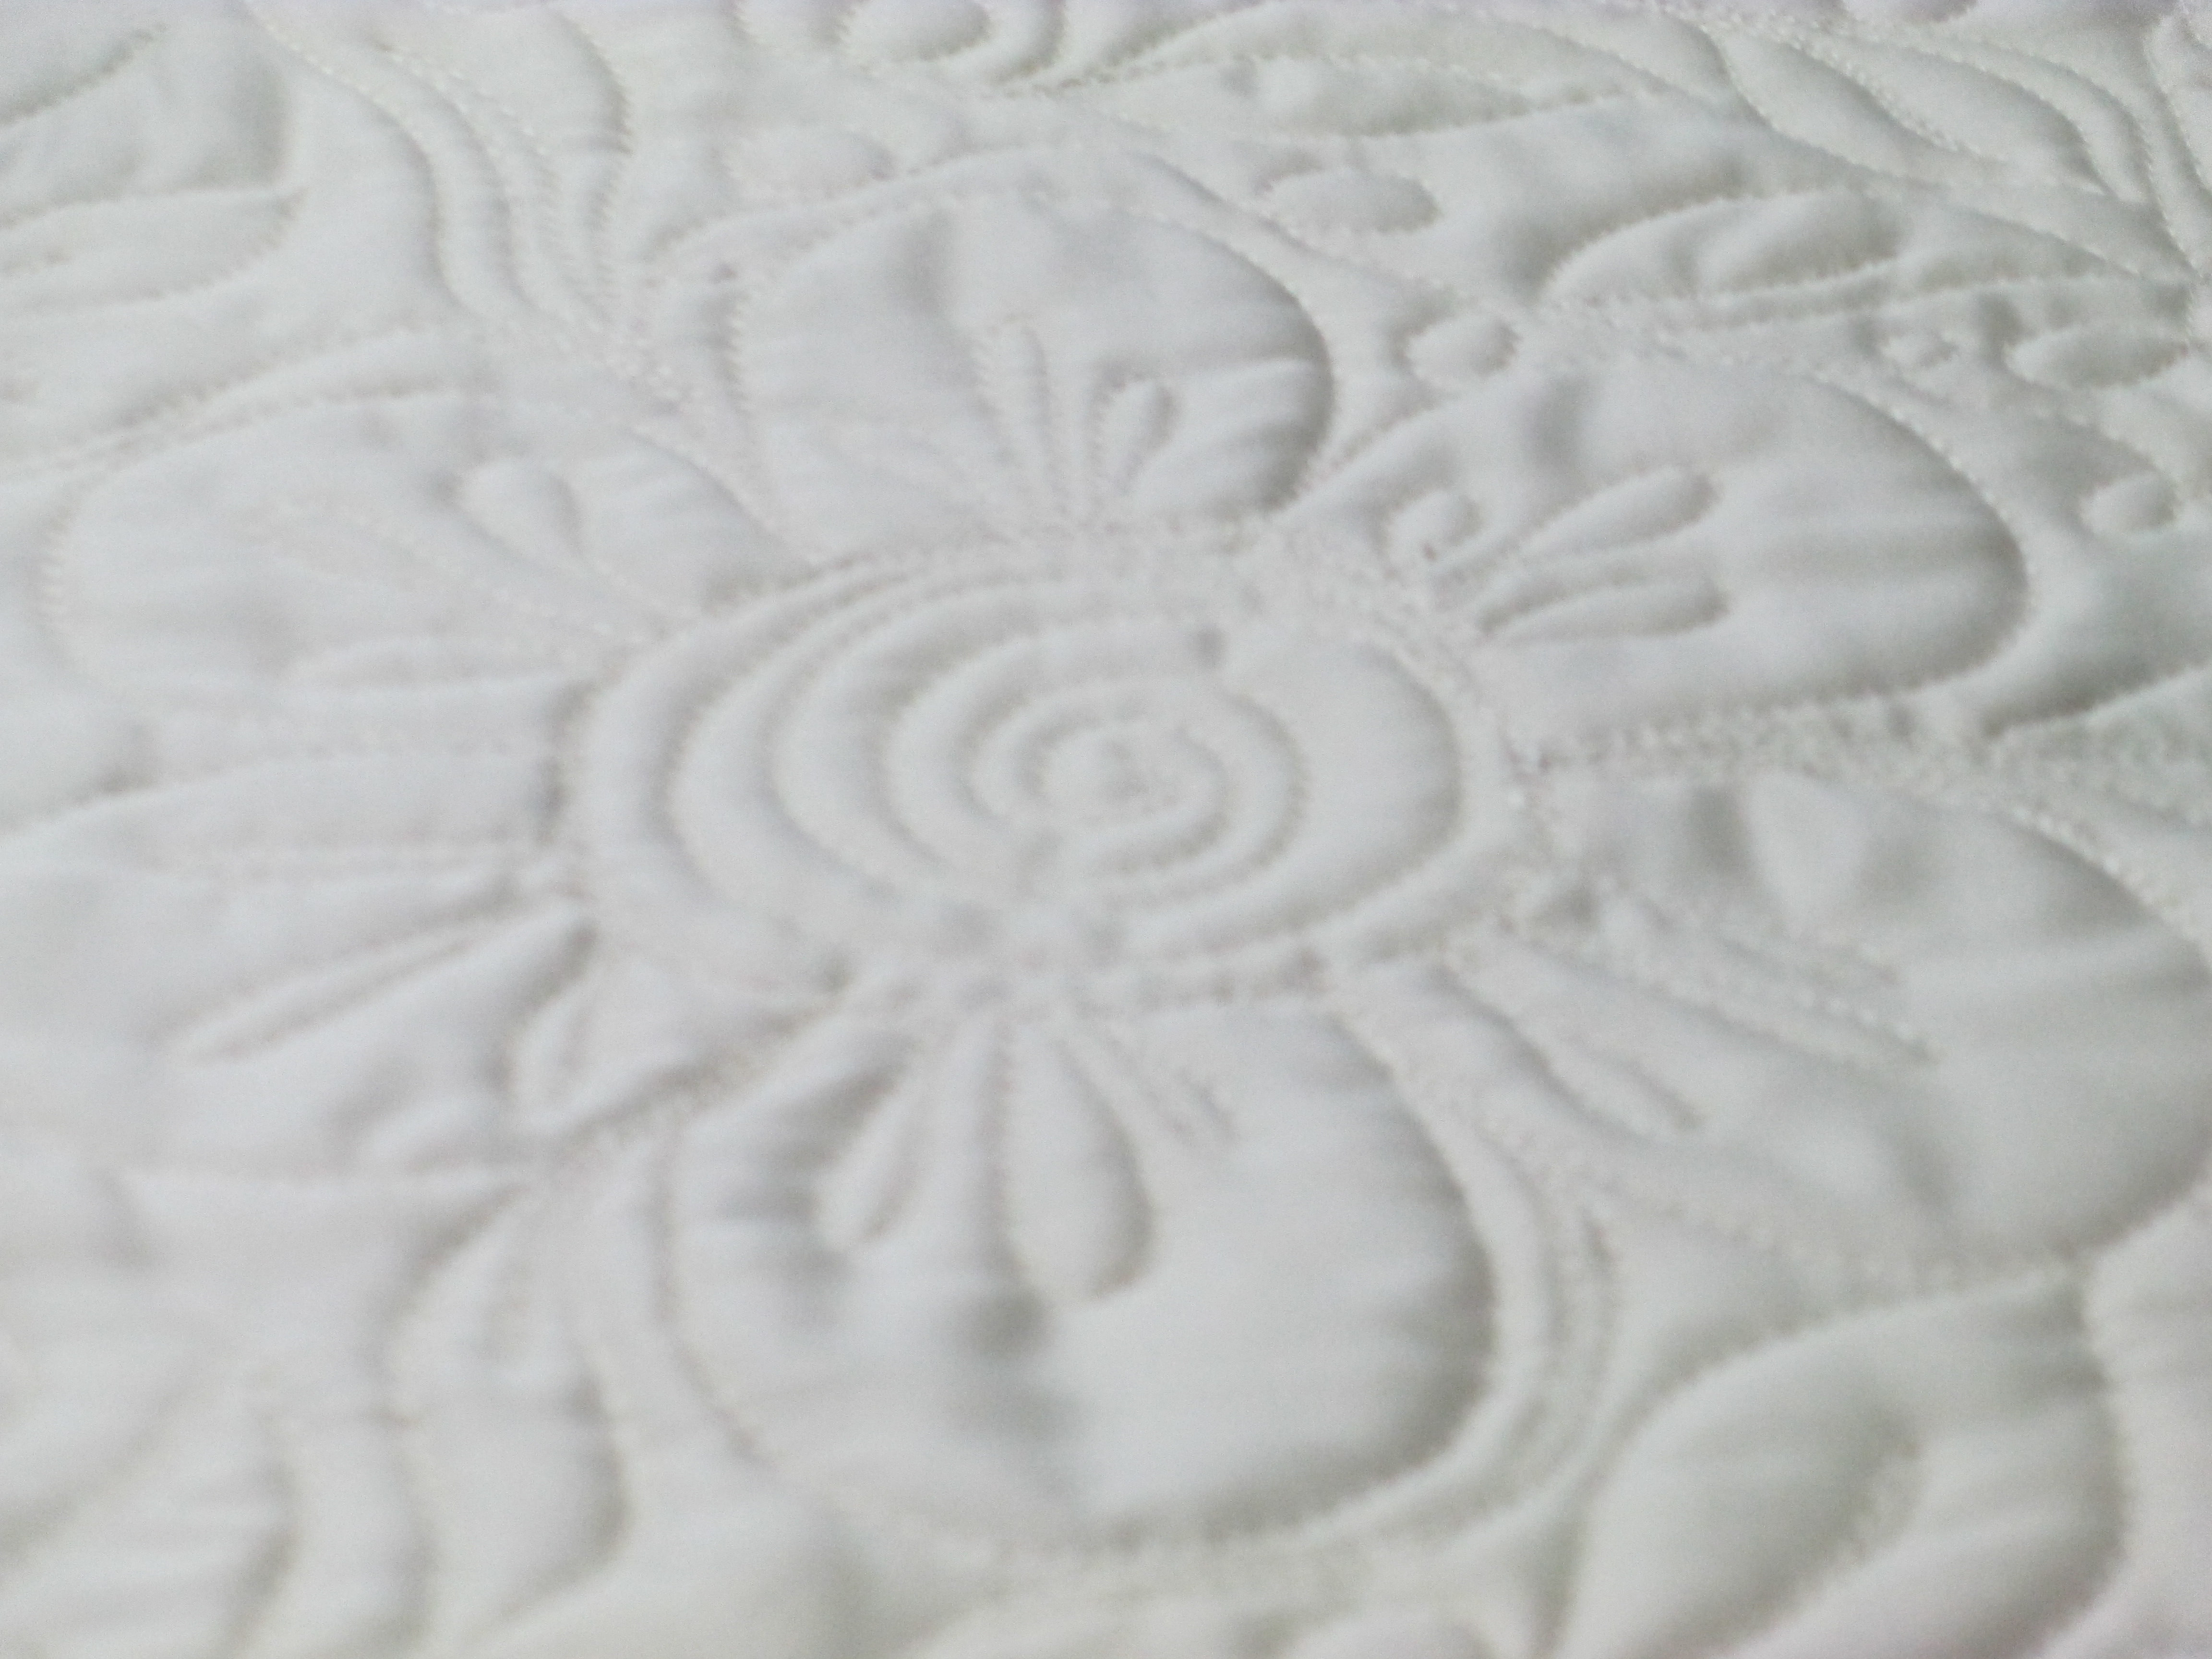
So, this is what I did with it. I was a bit stumped on what to quilt into the basket. There are lots of things you could quilt into it… berries and vines, flowers, etc. But, I opted for curved cross hatching, because I thought it would be better understated than too much. I didn’t want to over power the applique.
You know how I love to sneak stuff into my quilting. Well, I couldn’t resist adding a few surprises to add to the garden feeling of this quilt… one more reason why I didn’t want to add too much frilly stuff to the basket and opted for simple curved cross-hatching. See the overweight hummingbird drinking nectar from the wrong color bloom? That’s what happens when I freehand quilt a bird that is color-blind. 😉
 –
–
And, then there’s the confused bumblebee that looks like it has stingers on both ends…
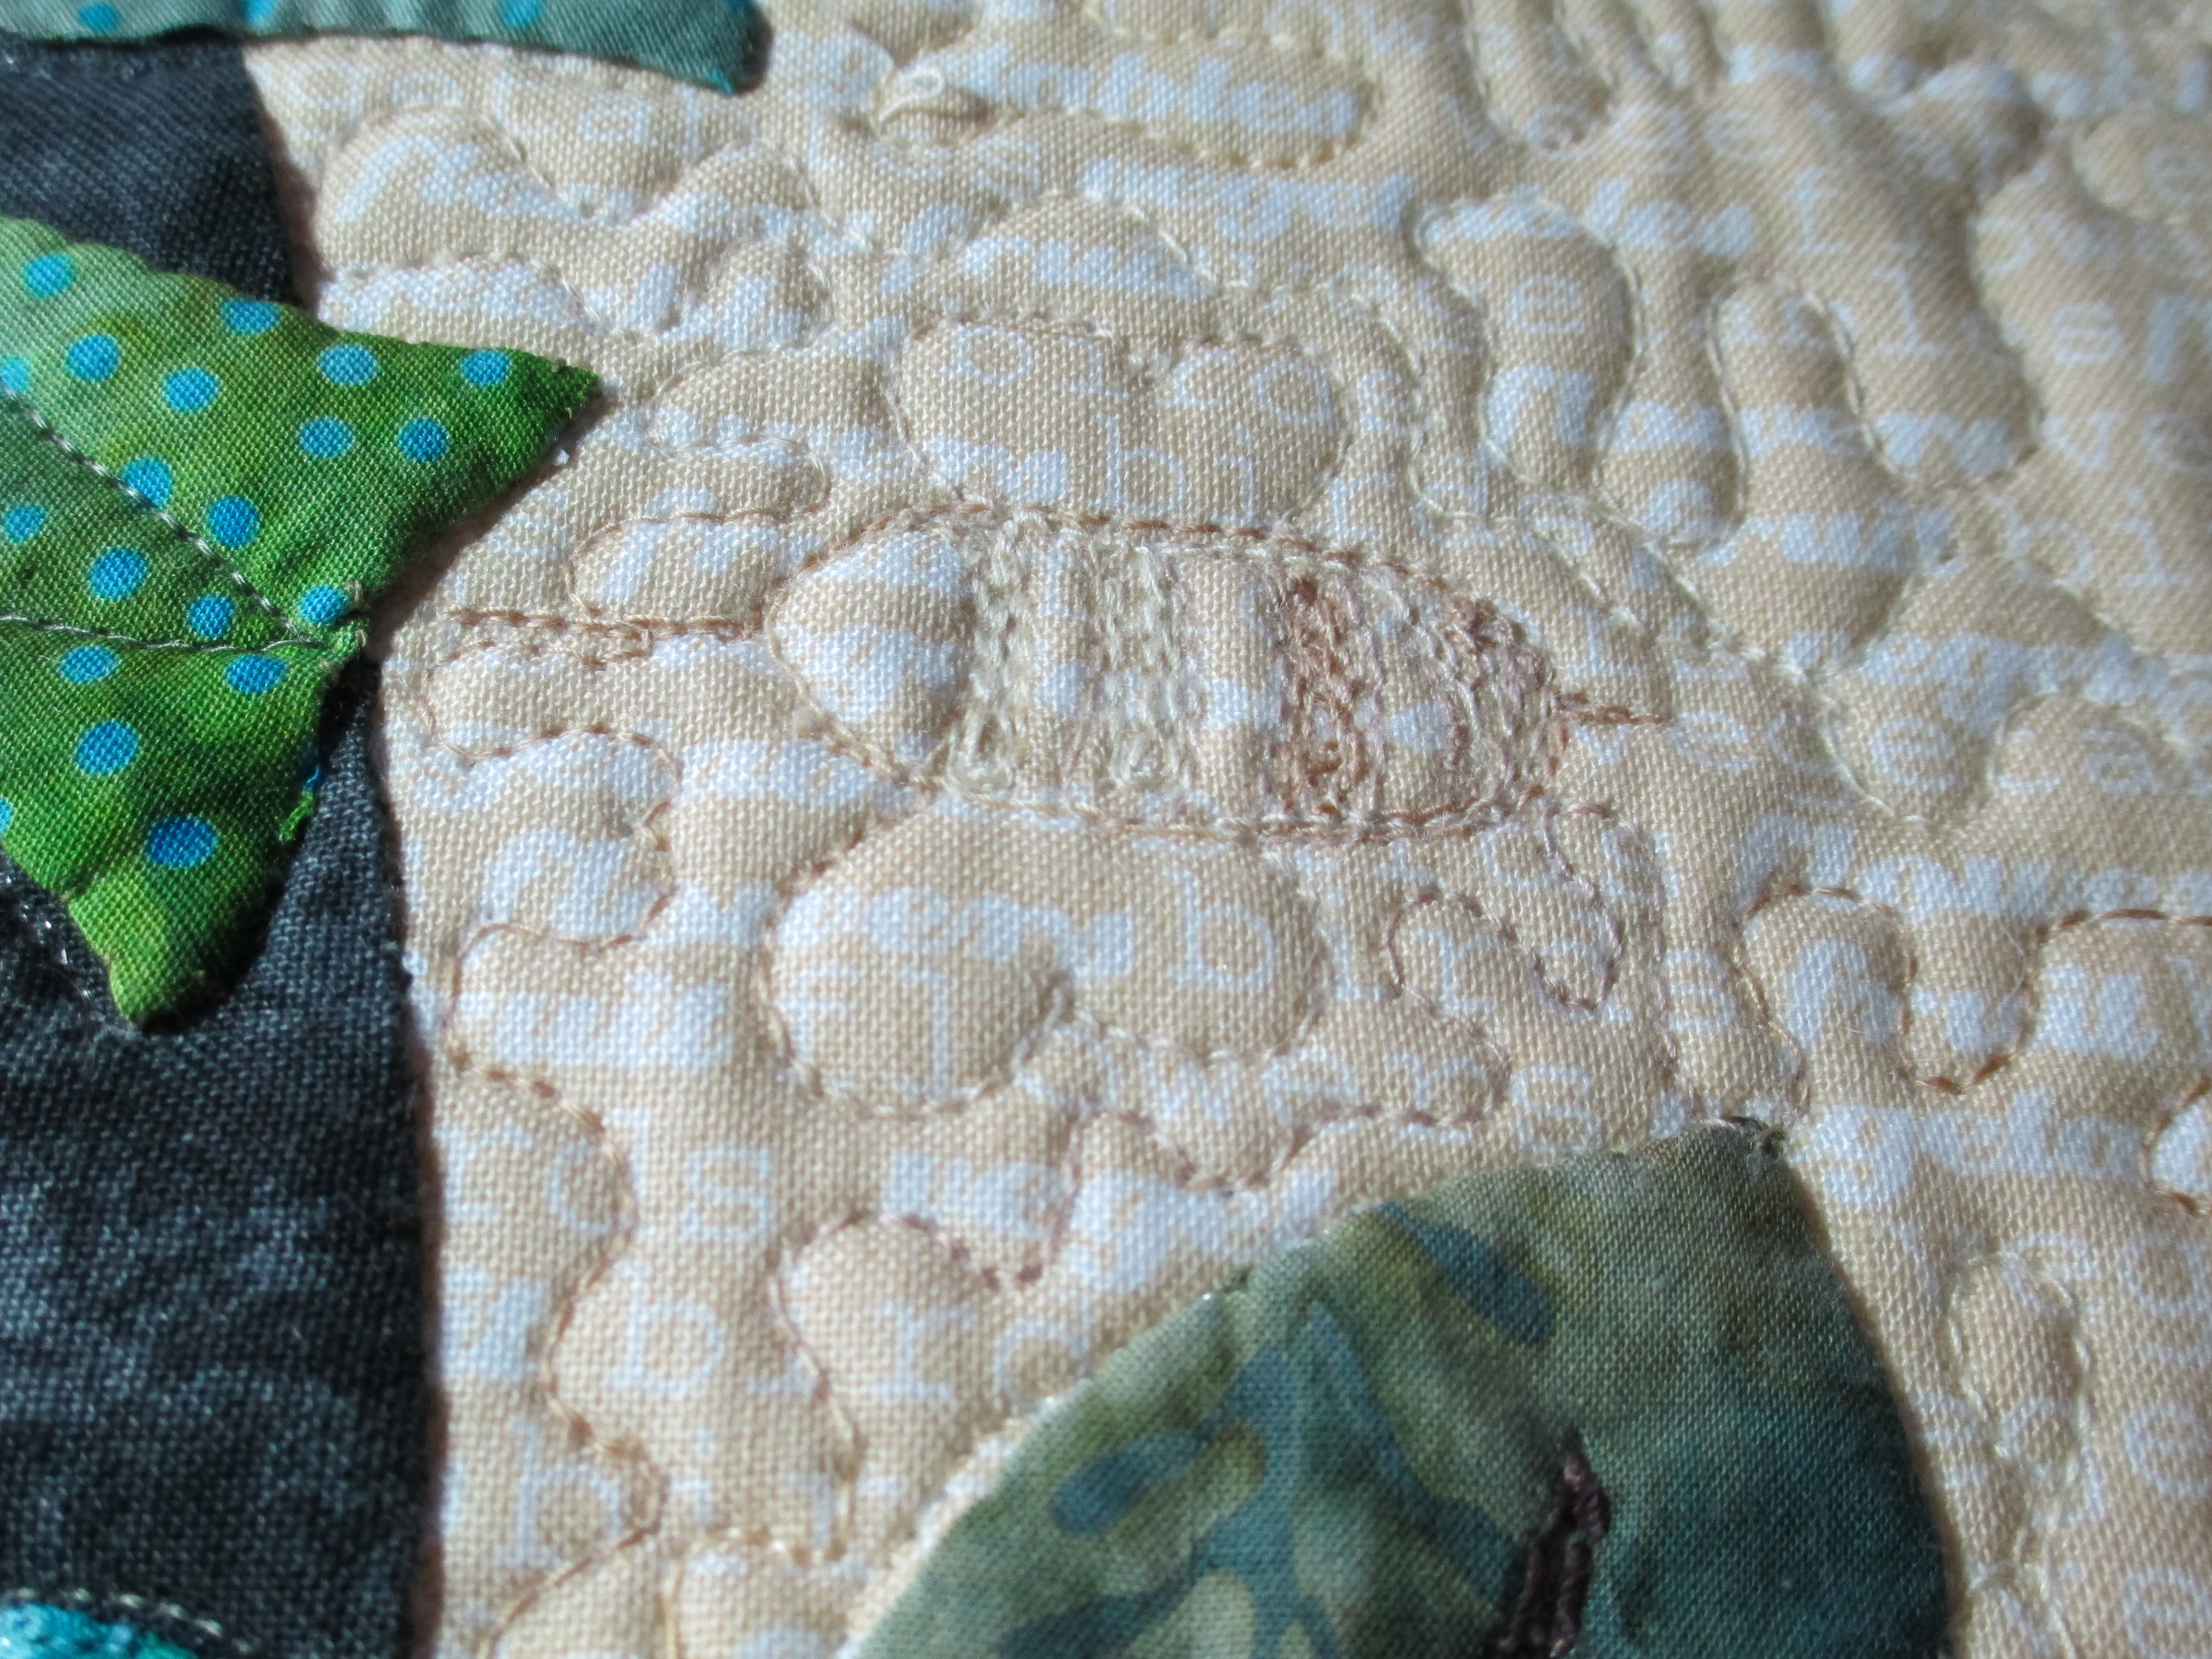
Or the butterfly that barely looks like a butterfly…

But, I am fairly happy with the quilted vine that looks kind of like the vines the customer appliqued onto her quilt… if I could just get those outlines more even and not fat in one place and skinny in another. I don’t know what happened there.

Okay, the one at the top of her quilt looks better. The good thing about being a quilter is that quilting isn’t usually the thing that pops out on a quilt; it’s the colors, the piecing and/or the applique. So, even though I am not as good as I would like to be (and I never will be – there’s ALWAYS room for improvement), it will still look good if the piecer/appliquer is good. And, she is!

When I first saw this lovely quilt, I was concerned about the prairie points sticking up after quilt. You know how quilting will draw up your fabric? Well, the prairie points were not quilted, so I was worried I would ruin her quilt. But, they actually lay fairly flat and look really nice as an frame for her bouquet. This quilt gets returned to her tomorrow. I hope she is happy with it and that she likes it! I was honored to get to be the quilter for this quilt and for her. She is a special lady who does so much for so many others. I hope when she looks at this quilt on her wall that is makes her smile.
I know most quilters mark designs onto quilts, and I mark my own quilts all the time. But, I am always afraid to mark on customers’ quilts. So, I have been trying to find alternate methods of getting a design onto a quilt. Remember the Press ‘n Seal method? You have probably already tried the following strategies. I have, too, but it’s been awhile since I’ve tried them, so they are new to me yet again. One strategy I tried on Mickey’s quilt last week was to bring my laser light to the front of my machine instead of using it in the back for pantographs. You can see how I drew her dog onto the quilt. On the left is the picture of her dog in black and white. I took a green highlighter and marked on the paper what I wanted to draw onto the quilt. Can you see the little red dot under the dog’s paw? That’s the laser light that is attached to the front of the machine. When I move the laser light along where I highlighted, I will be drawing with thread onto the quilt. You can see the finished product on the right.

It’s not perfect, but it is one way for me to avoid marking on a quilt.
With the quilt I am working on right now, I am trying onion skin paper. I’ve tried tracing paper and vellum. Today I used the onion skin paper. I bought a roll of this from Du-All Art & Drafting Supplies. It’s 50 yards long, so hopefully it will last awhile. The cost, with shipping, was about $32.
The artist for this quilt wanted her applique to shine. She had twisted vines along 2 corners, leaving the opposite 2 corners blank. I could have quilted anything in there. A lot of people would have put feathers in there. Personally, I think feathers are sometimes over done. I love them, but I also love to see variety in quilting. So, I decided to use this quilter’s applique as the basis for the quilting motif along the blank corners. I figured that would better show off her applique. First I traced her design onto the onion skin paper.

Then, I adapted her design to fit into the empty corners, by folding the paper and creating new curls in the vines.

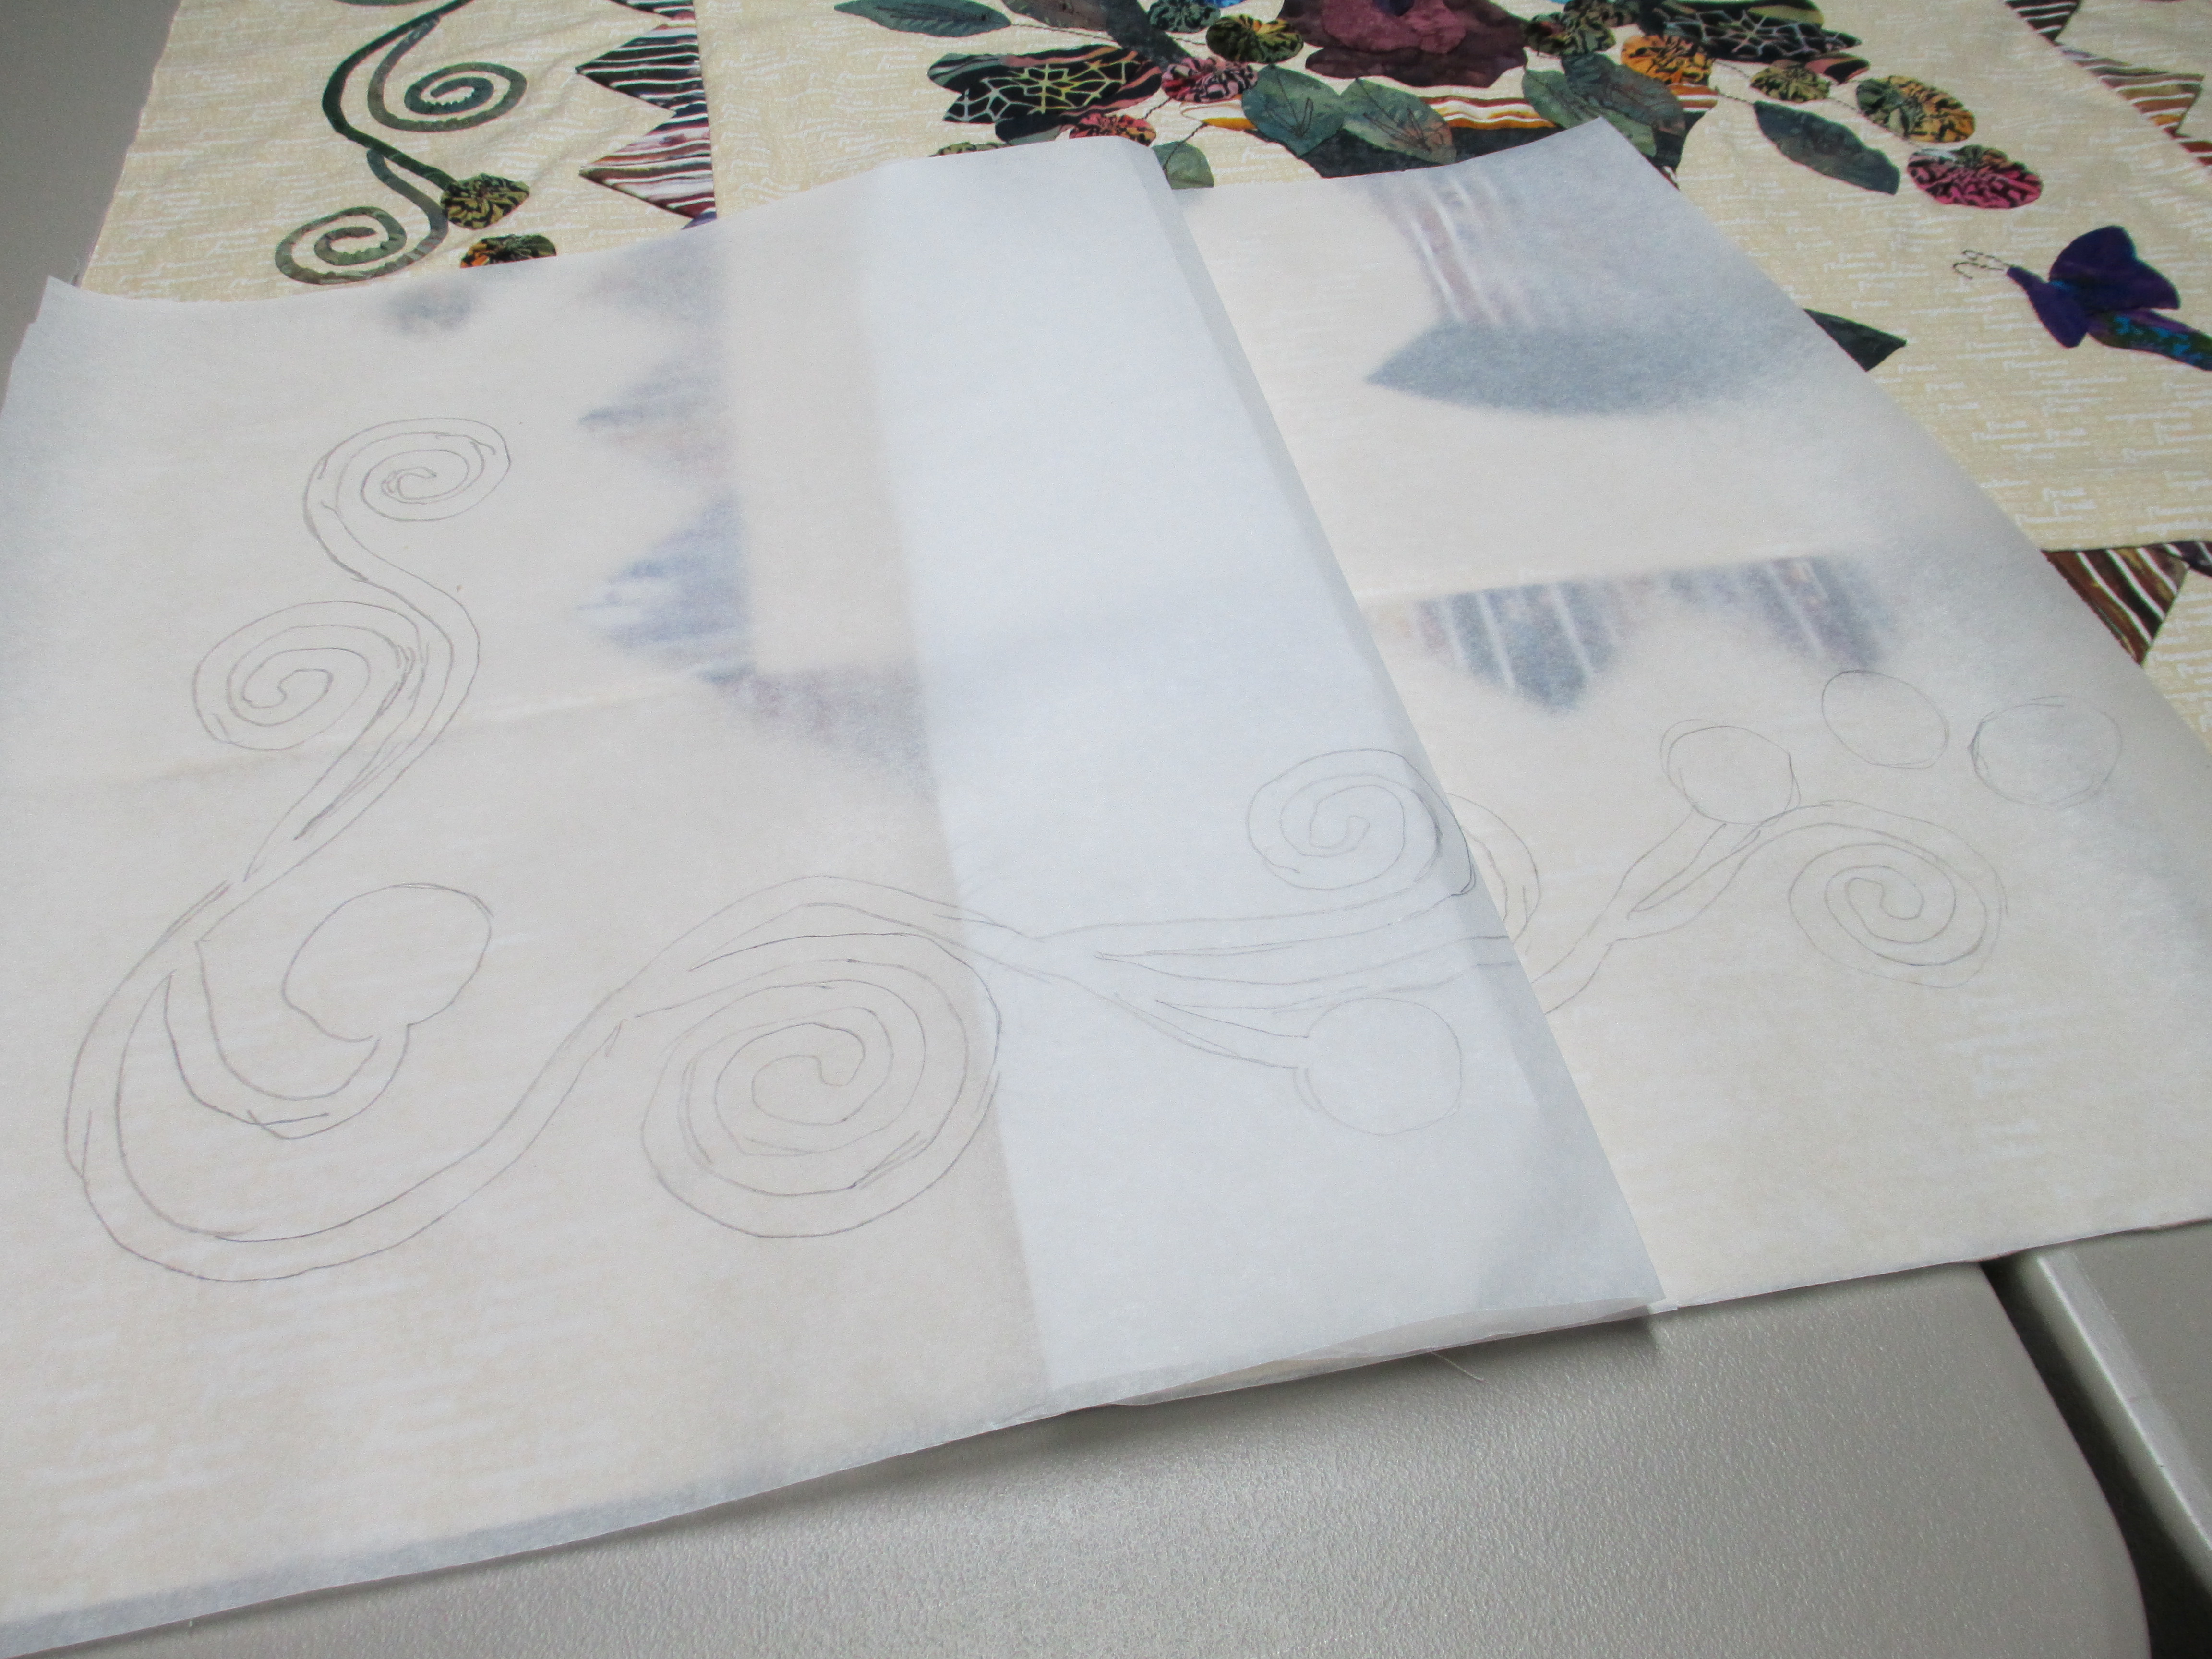
You can see here that the design is too long, so I will just take the vine from that curved corner and stretch it around to meet her appliqued vine (the area between my fingers).

Now I have the 2 corner vines drawn onto new paper and ready for quilting.

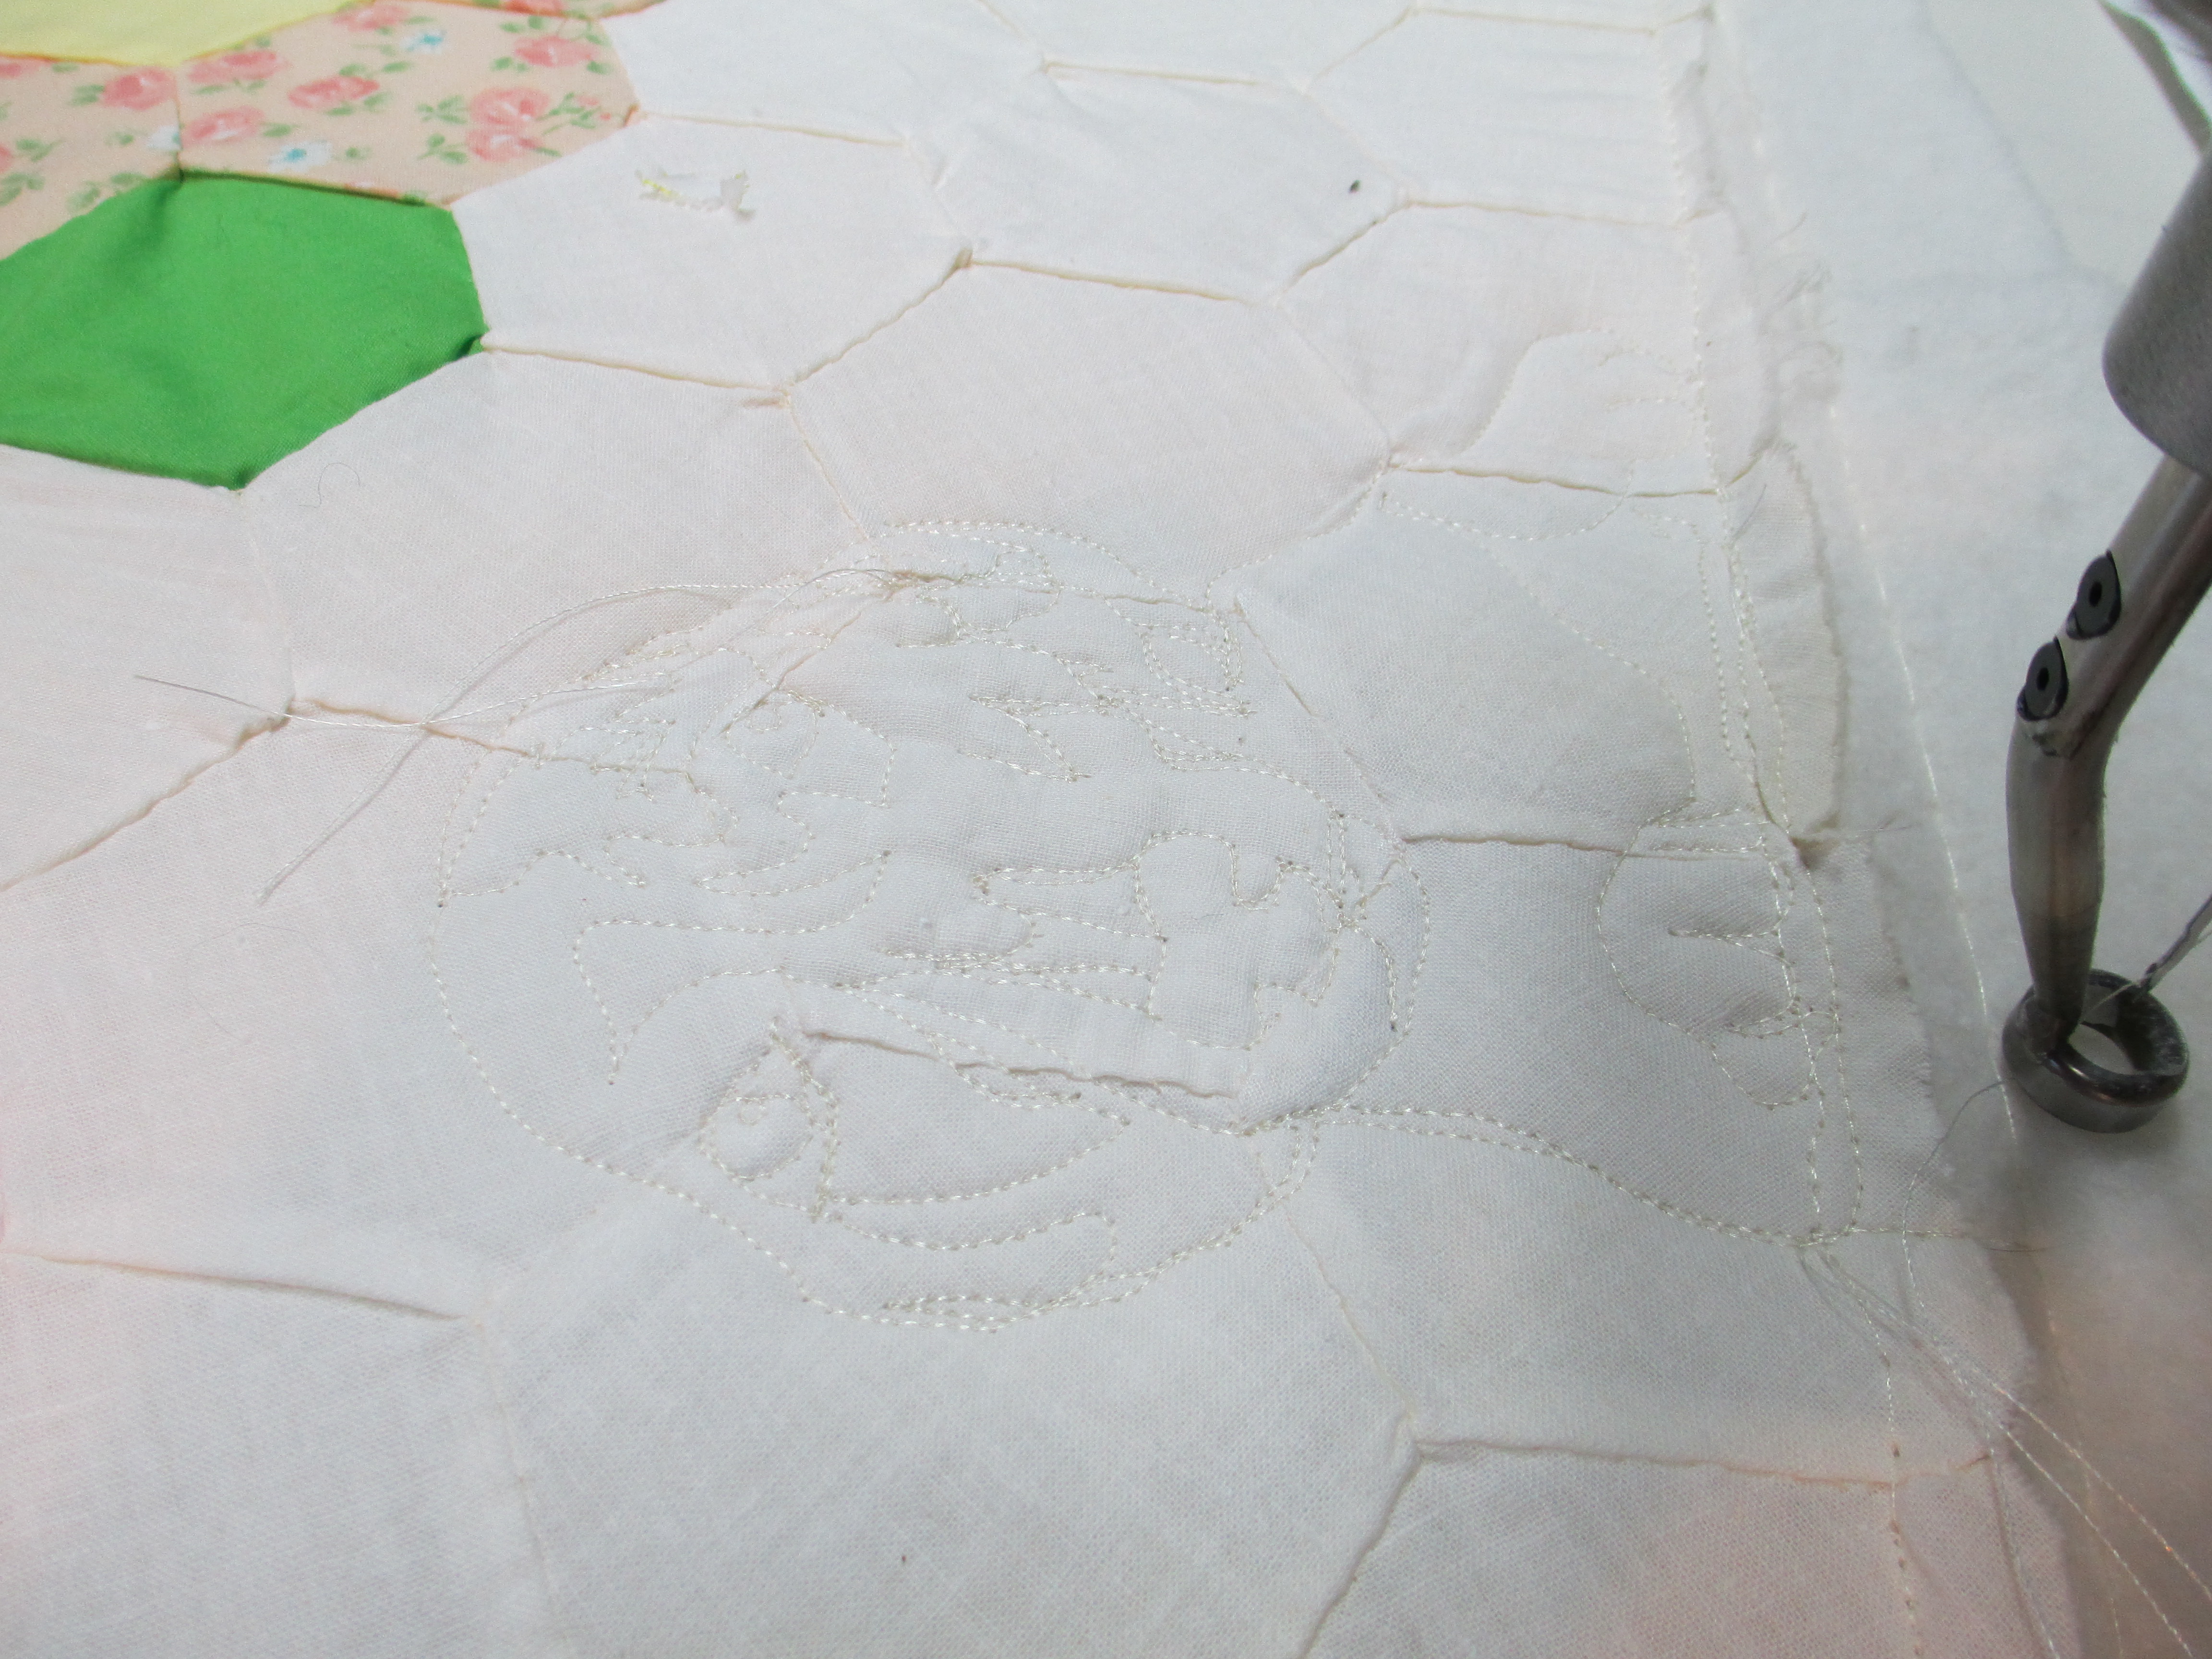
I’ve got it pinned onto the quilt and am ready to stitch-in-the-ditch (SID) around her appliqued vines and will stitch through the onion skin paper onto the quilt.

After I quilted through the paper and quilt sandwich, I ripped the paper off. It snapped off cleaner than both tracing paper and vellum. I like it! So, I think my preference between tracing paper, vellum, and onion skin paper would have to be the onion skin paper. Good thing I’ve got a 50 yard roll, because I’m sure I’ll be using it for future projects.
Stay tuned for pictures of the finished product in the near future! I’ll be filling in the area around the applique with stippling so it will pop!
I’ve been working on a quilt for Mickey Depre. You may or may not know her as the author of
 .
.
You can find Mickey on Facebook at www.facebook.com/PiecedHexiesWithMickeyDepre. She also has a website at www.mdquilts.com and her blog is at www.itsafiberlife.blogspot.com. Mickey has a very creative mind that often goes in overdrive, so she has been very busy lately. Just this week she was working on taping videos for Craftsy and she is currently in the process of writing her next pieced hexies book as well.
So, she asked me to help her out a bit with this (what I call “vintage”) quilt top she got from ebay. She needed it quilted and she gave me full range on what I thought should be done with it. You know, that can be lethal, for some people. Well, I sure didn’t want to mess it up, and, honestly, I wondered why on earth she would choose me to quilt for her. So, I was going to do my best with what I’ve got.

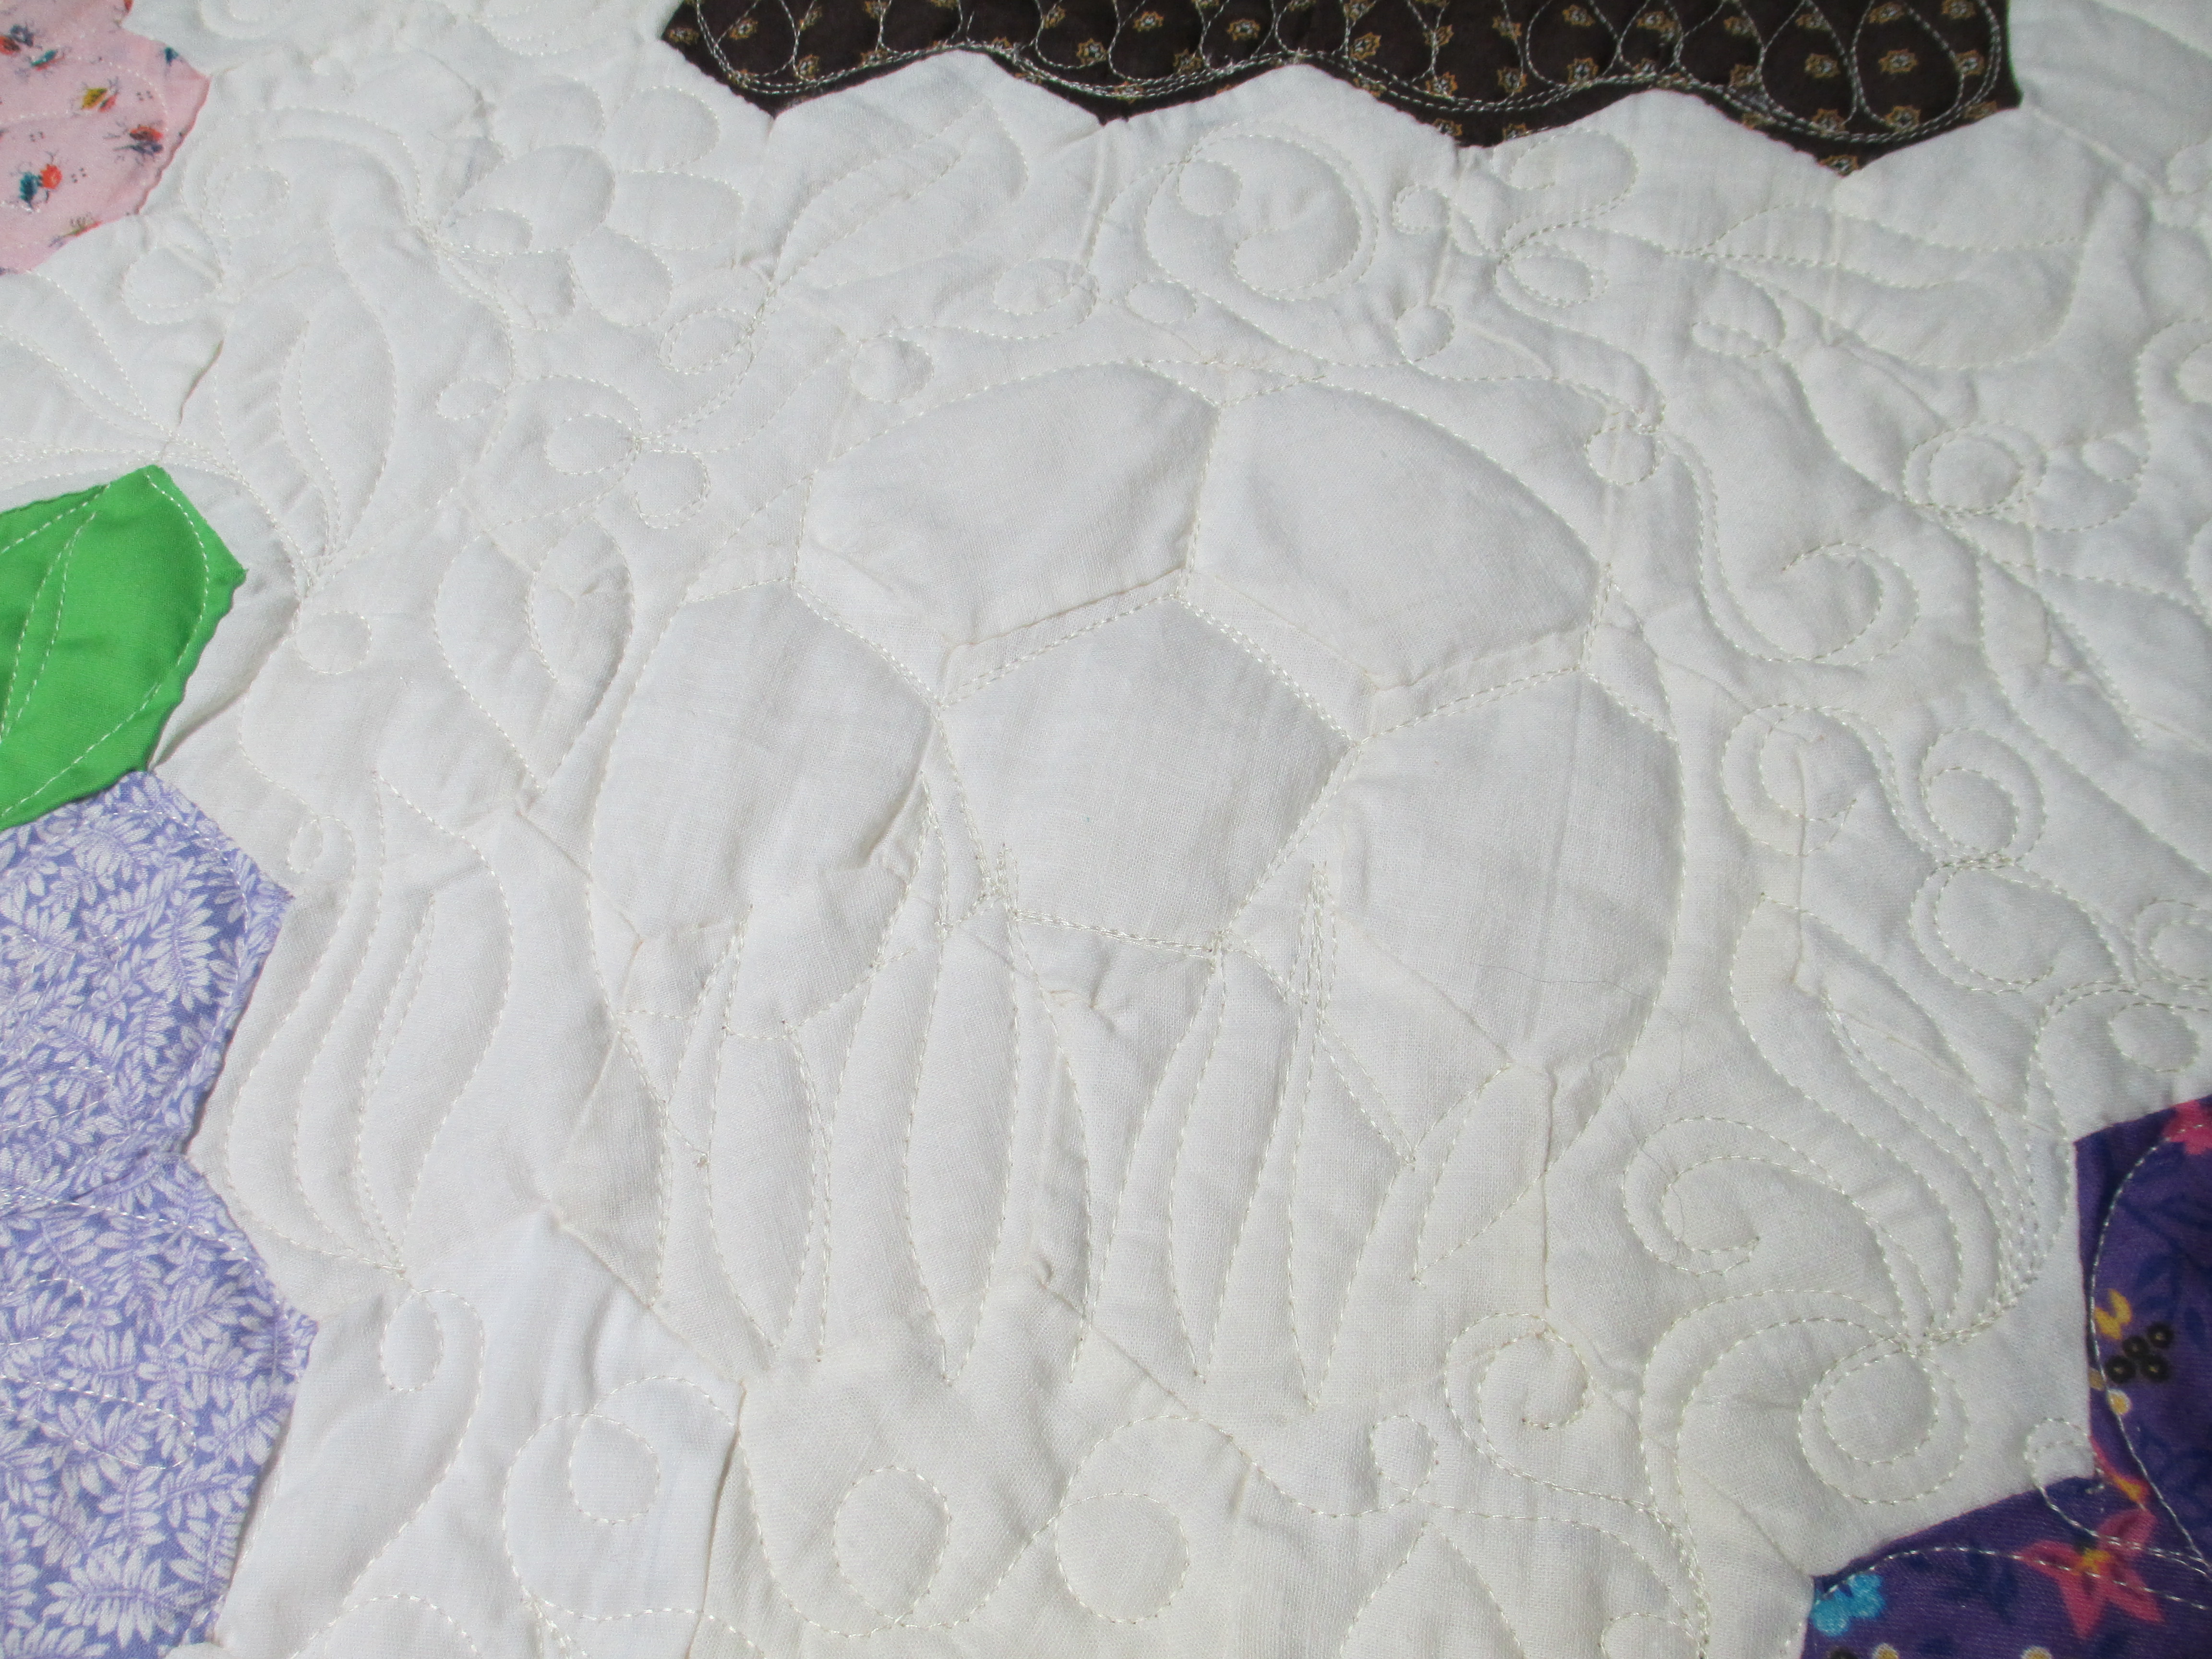
And, what I’ve got is the ability to draw from pictures using thread. Would that make me a thread artist then? I LOVE whimsy and fun things, so I knew I wanted to draw stuff like that on her quilt… if she was okay with that. And, she was! For whatever reason, in my mind I pictured her dog peeking around the baskets and playing in this garden of hexie flowers. So, although I was going to quilt the flowers to look like flowers, there were 2 side borders that needed to be filled with <something>. I extended flowers and leaves into those borders, added a few baskets of flowers and put a couple of dogs out in that negative space as well.
Here is a shot of flowers in the baskets.

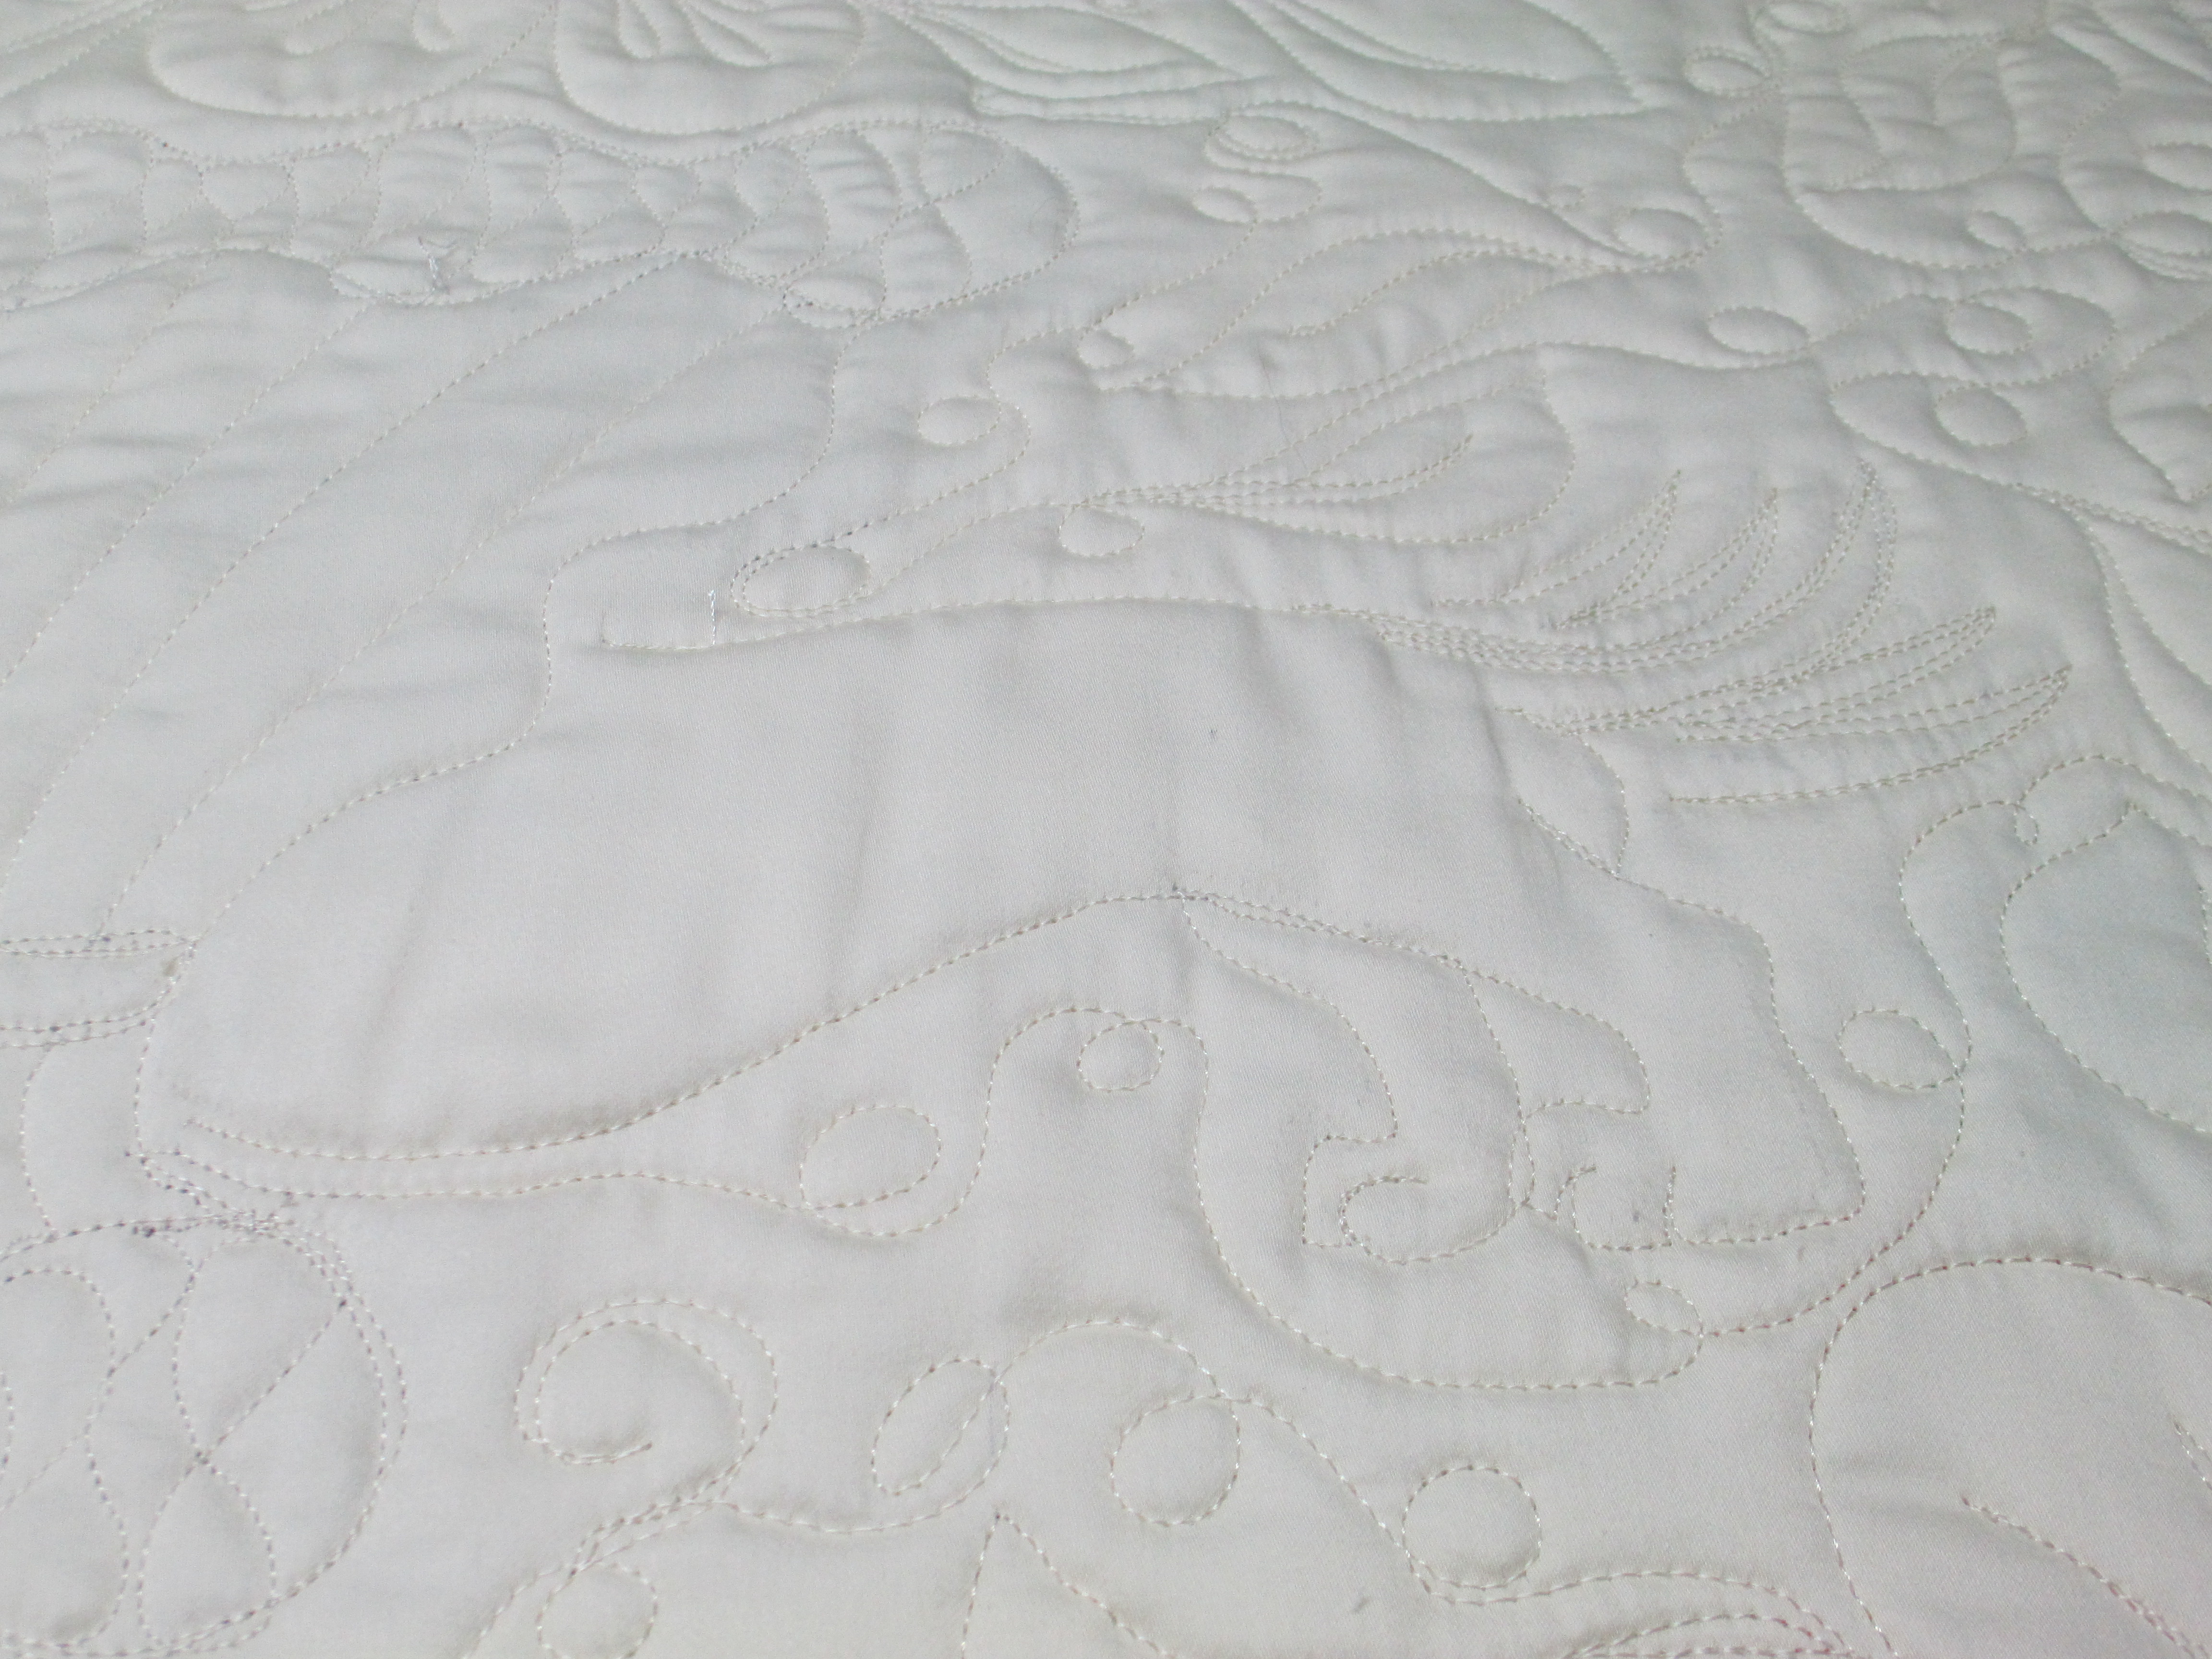
The backing fabric is 100% combed cotton. I thought it was polished cotton and bought it because some friends said the feel of that polished cotton on the backs of quilts is scrumptious. When I got it home and took it out of its protective wrap, it looked like cotton sateen. Okay, I think I can live with that. But, I was almost horrified when I took the quilt off the machine after quilting this quilt and looked at the back. Most great quilters I know like to quilt with solid colored fabric and, even better, they like to quilt with unusual fabrics, mostly to show off the quilting. You can’t see the quilting too well on the front sides of quilts, but if you have a solid color backing, you can see it there. And, you can “really” see it well if it is on shiny fabric. This is where my horror lay. It looked like satin on the back of this down-to-earth and “functional” quilt. Not only that, but you could REALLY see my quilting! My eyes bulged and I lost my breath (and not in a good way). You see, I am still a little insecure about my quilting abilities and am not sure I’m ready to have my thread art screaming to the world, “Look at me! Look at me!”
I tried to get some good shots so you could see the “sheen” of this backing fabric. Here is one of the flowers.
Do you see the dog wagging its tail?
Here’s one of the dog’s face.

Here’s a few of the front side. Mickey and her husband are hockey fans, I believe, so it would have been nice to add that to the quilt for one more personal touch. But, how do you get that to fit in a spring garden? Well, soccer is *kind of* like hockey, right? So, I put a soccer ball in the garden for their dog to play with.
Their dog looking at the soccer ball…

Here is one of the wonky baskets of flowers I quilted into the side borders.

And, finally, before I was done, I had to add one more picture of their dog in the middle of the bottom of the quilt, peeking out at them. You might barely be able to make out the “Peek a Boo!” I quilted right above the dog. The word “Peek” is right under the pink flower on the left. It’s written at an angle into an arc around the top of the dog. Can you find it?

I had so much fun quilting this for Mickey. I hope she will be happy with the quilting and can live with the backing fabric. O_O
If you haven’t had a chance yet, hop on over to Mickey’s website and take a look at some of her creative work!
