Urban and Amish; Classic Quilts and Modern Updates is written by Myra Harder.

Myra takes Amish quilts and shows you how to make them and than also offers a different, more modern approach to making the same kinds of blocks for each Amish block. For example, she starts with the traditional “Pineapple” Block in traditional Amish colors.

Then she offers its more modern counterpart in large scale prints and lighter colored backgrounds to give it a totally new look.

“Lone Star” as the Amish quilt…

And “Urban Ohio” as its modern counterpart…

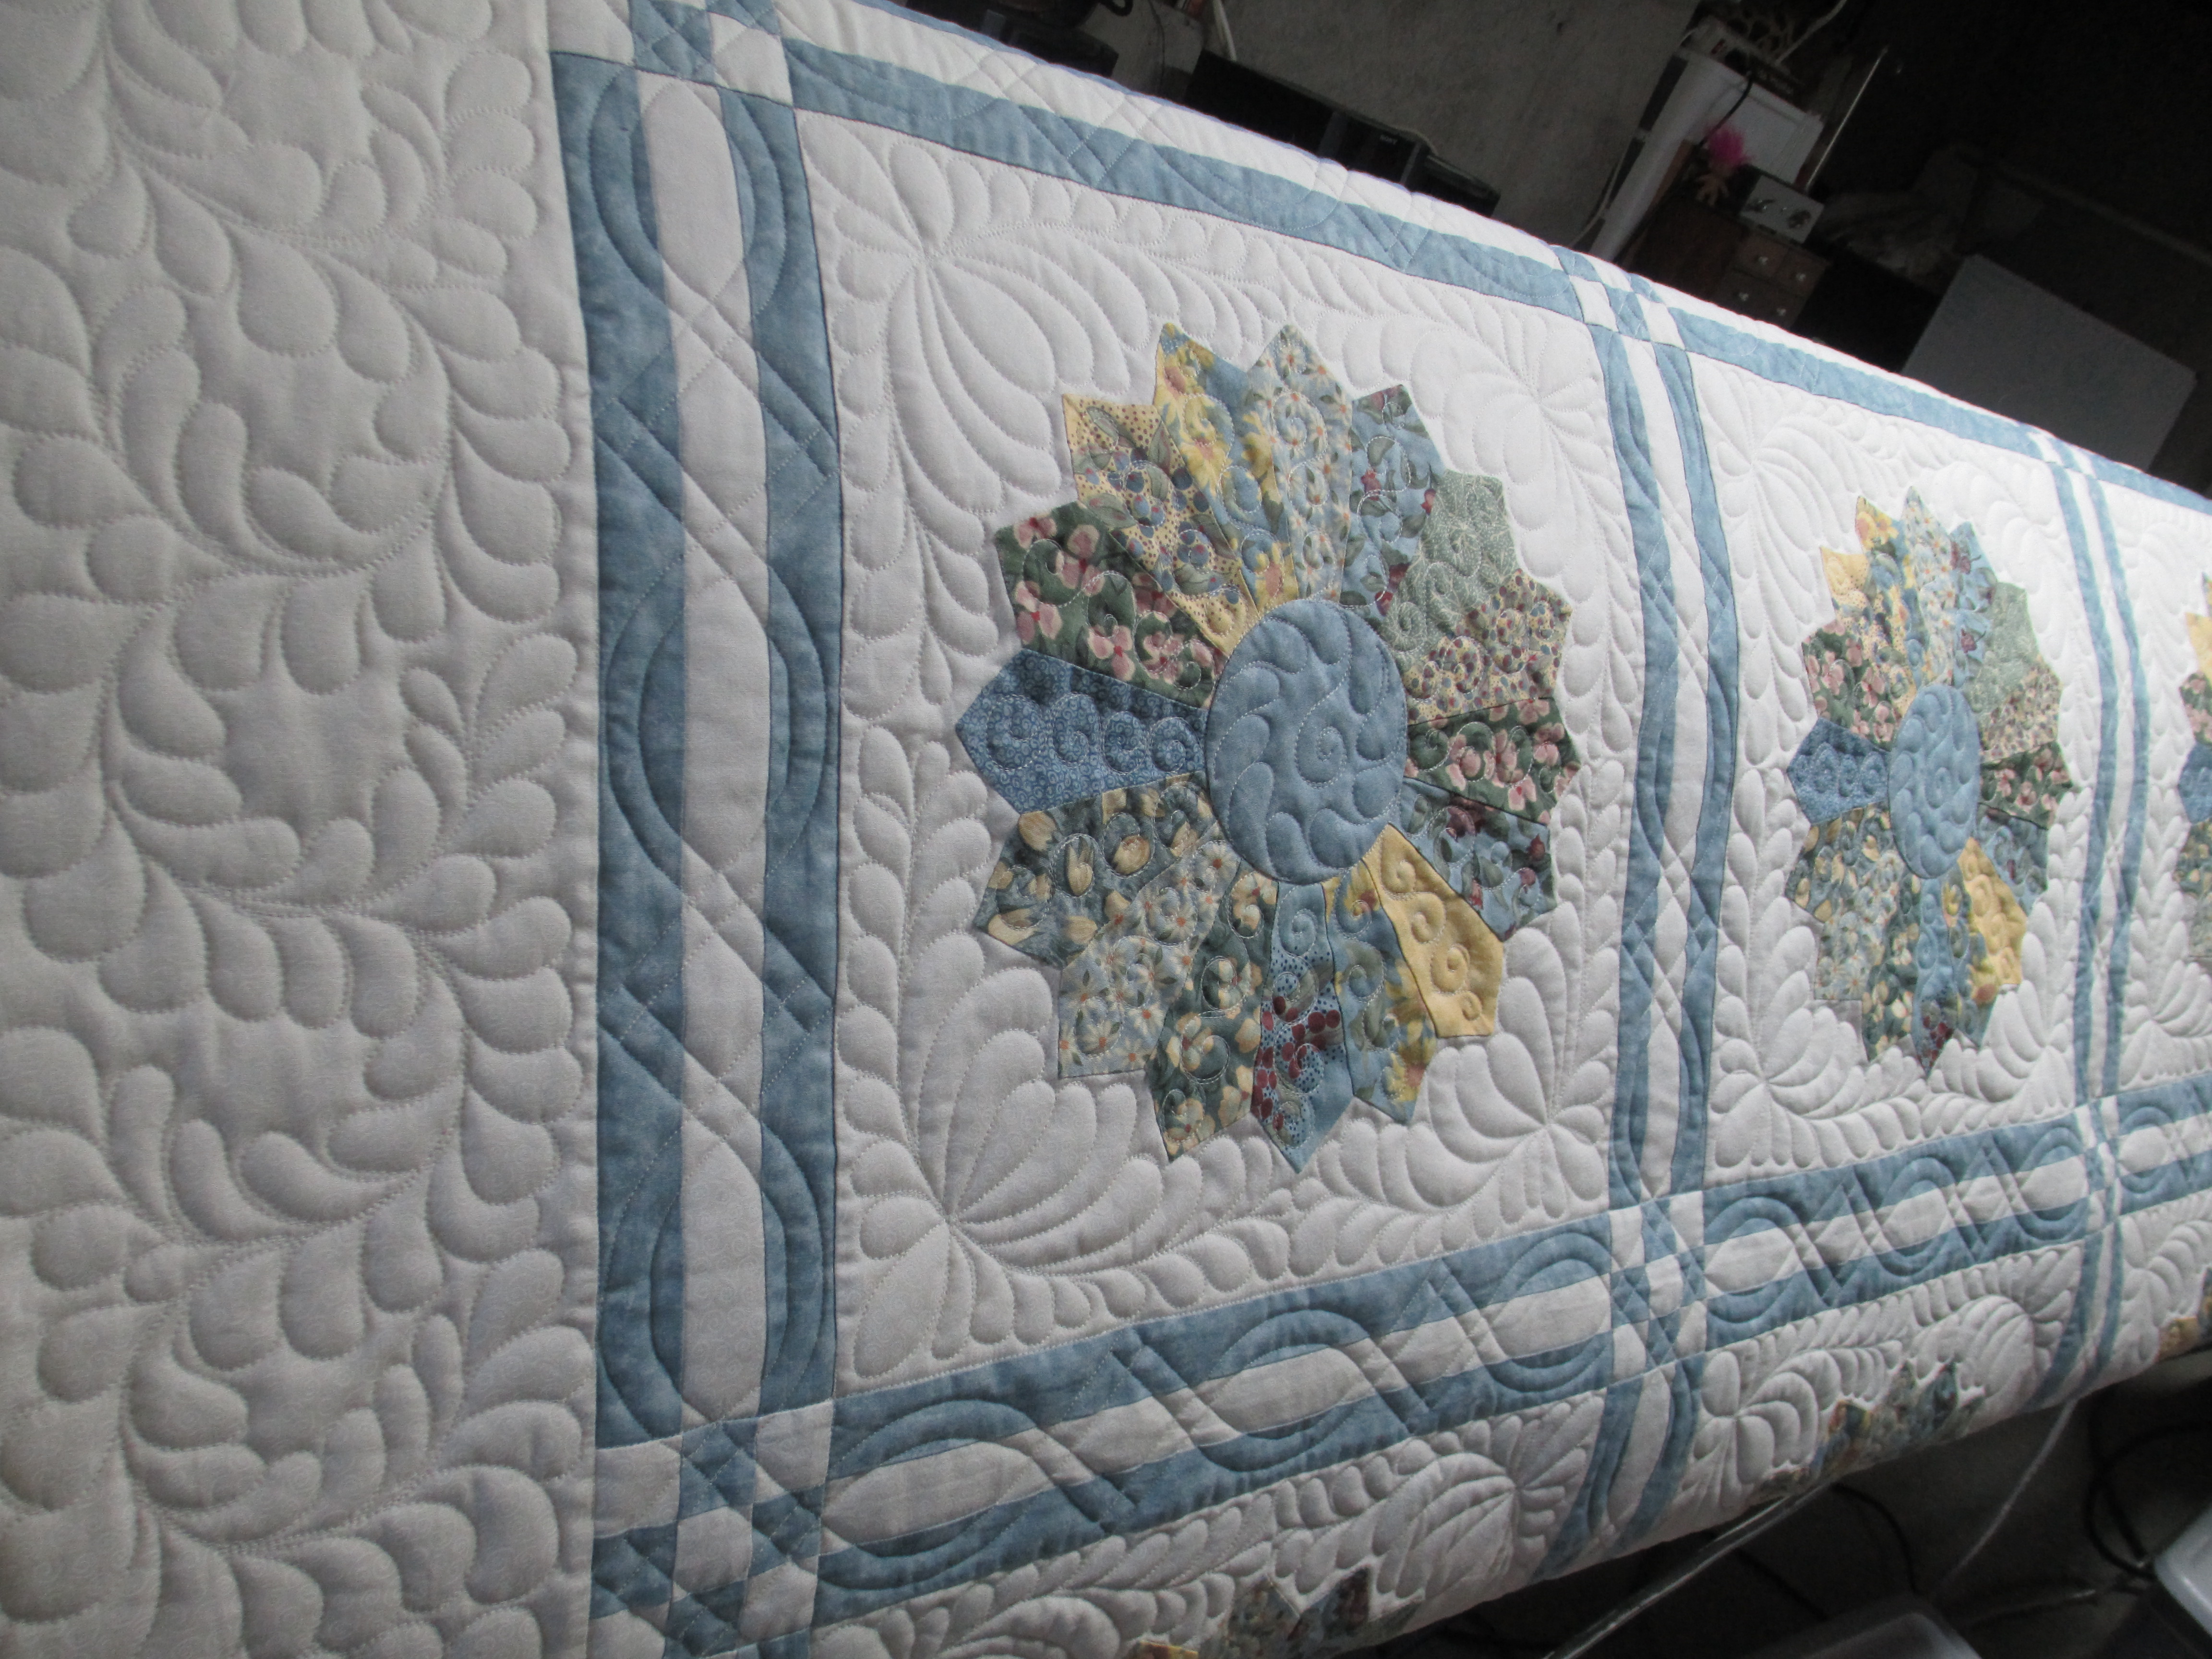
“Trip Around the World” as the Amish quilt…

And, “Trip to New York” as its modern counterpart. “Trip Around the World” is made by cutting strips and sewing them back together. “Trip to New York” is made the same way (with strips), but in this quilt you see a more “urban” and modern quilt.

All in all, I found this to be a very interesting book and enjoyed it very much. It is well thought out and the instructions are clear-cut and easy to follow. I think if you look into this book, it will spark your creativity in surprising ways. To find out more about this book, go to Martingale’s website here.