Forest Galorest

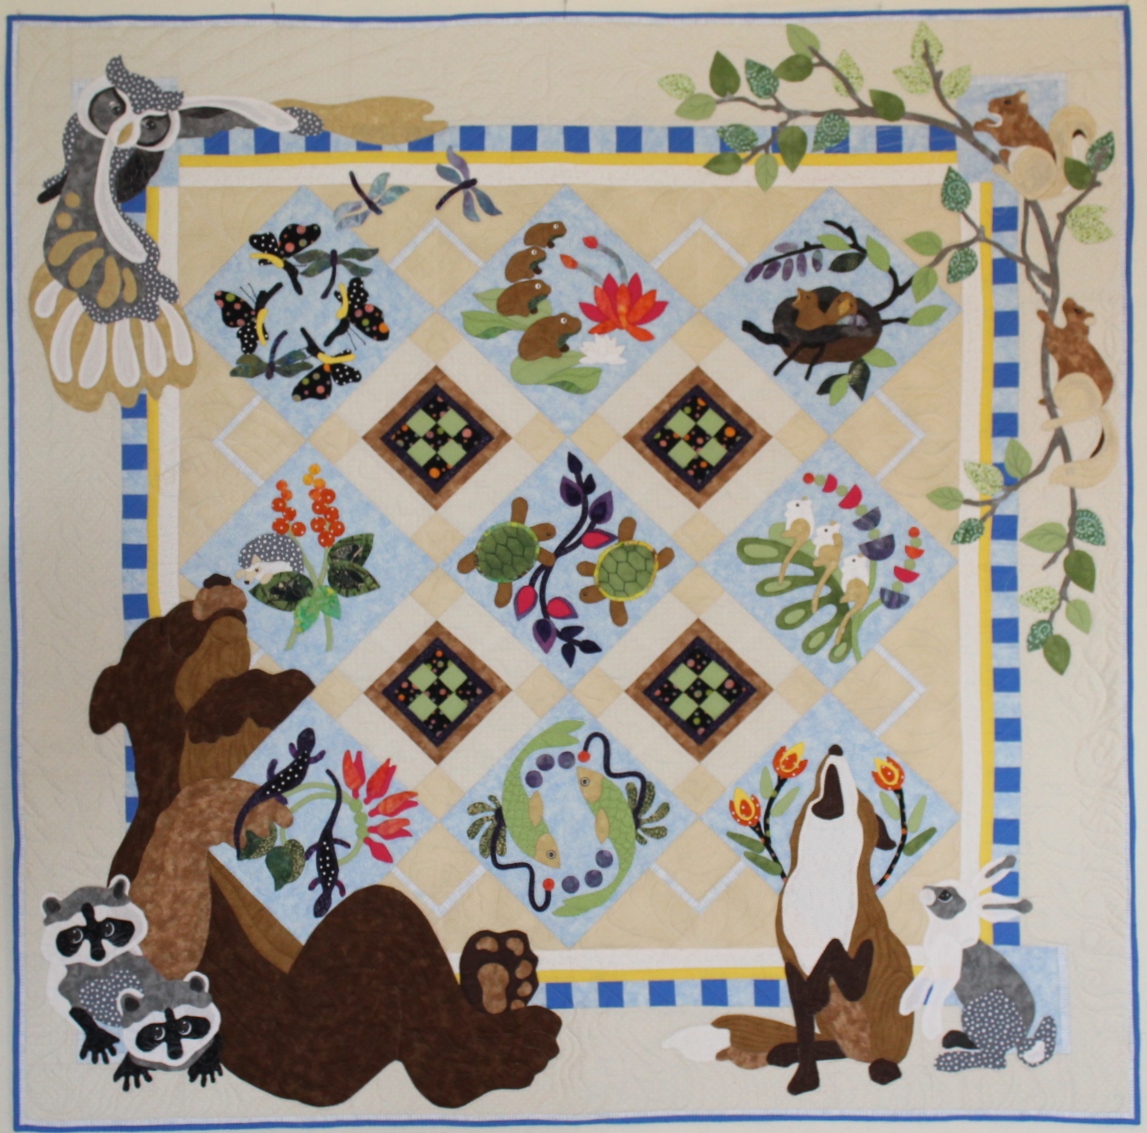
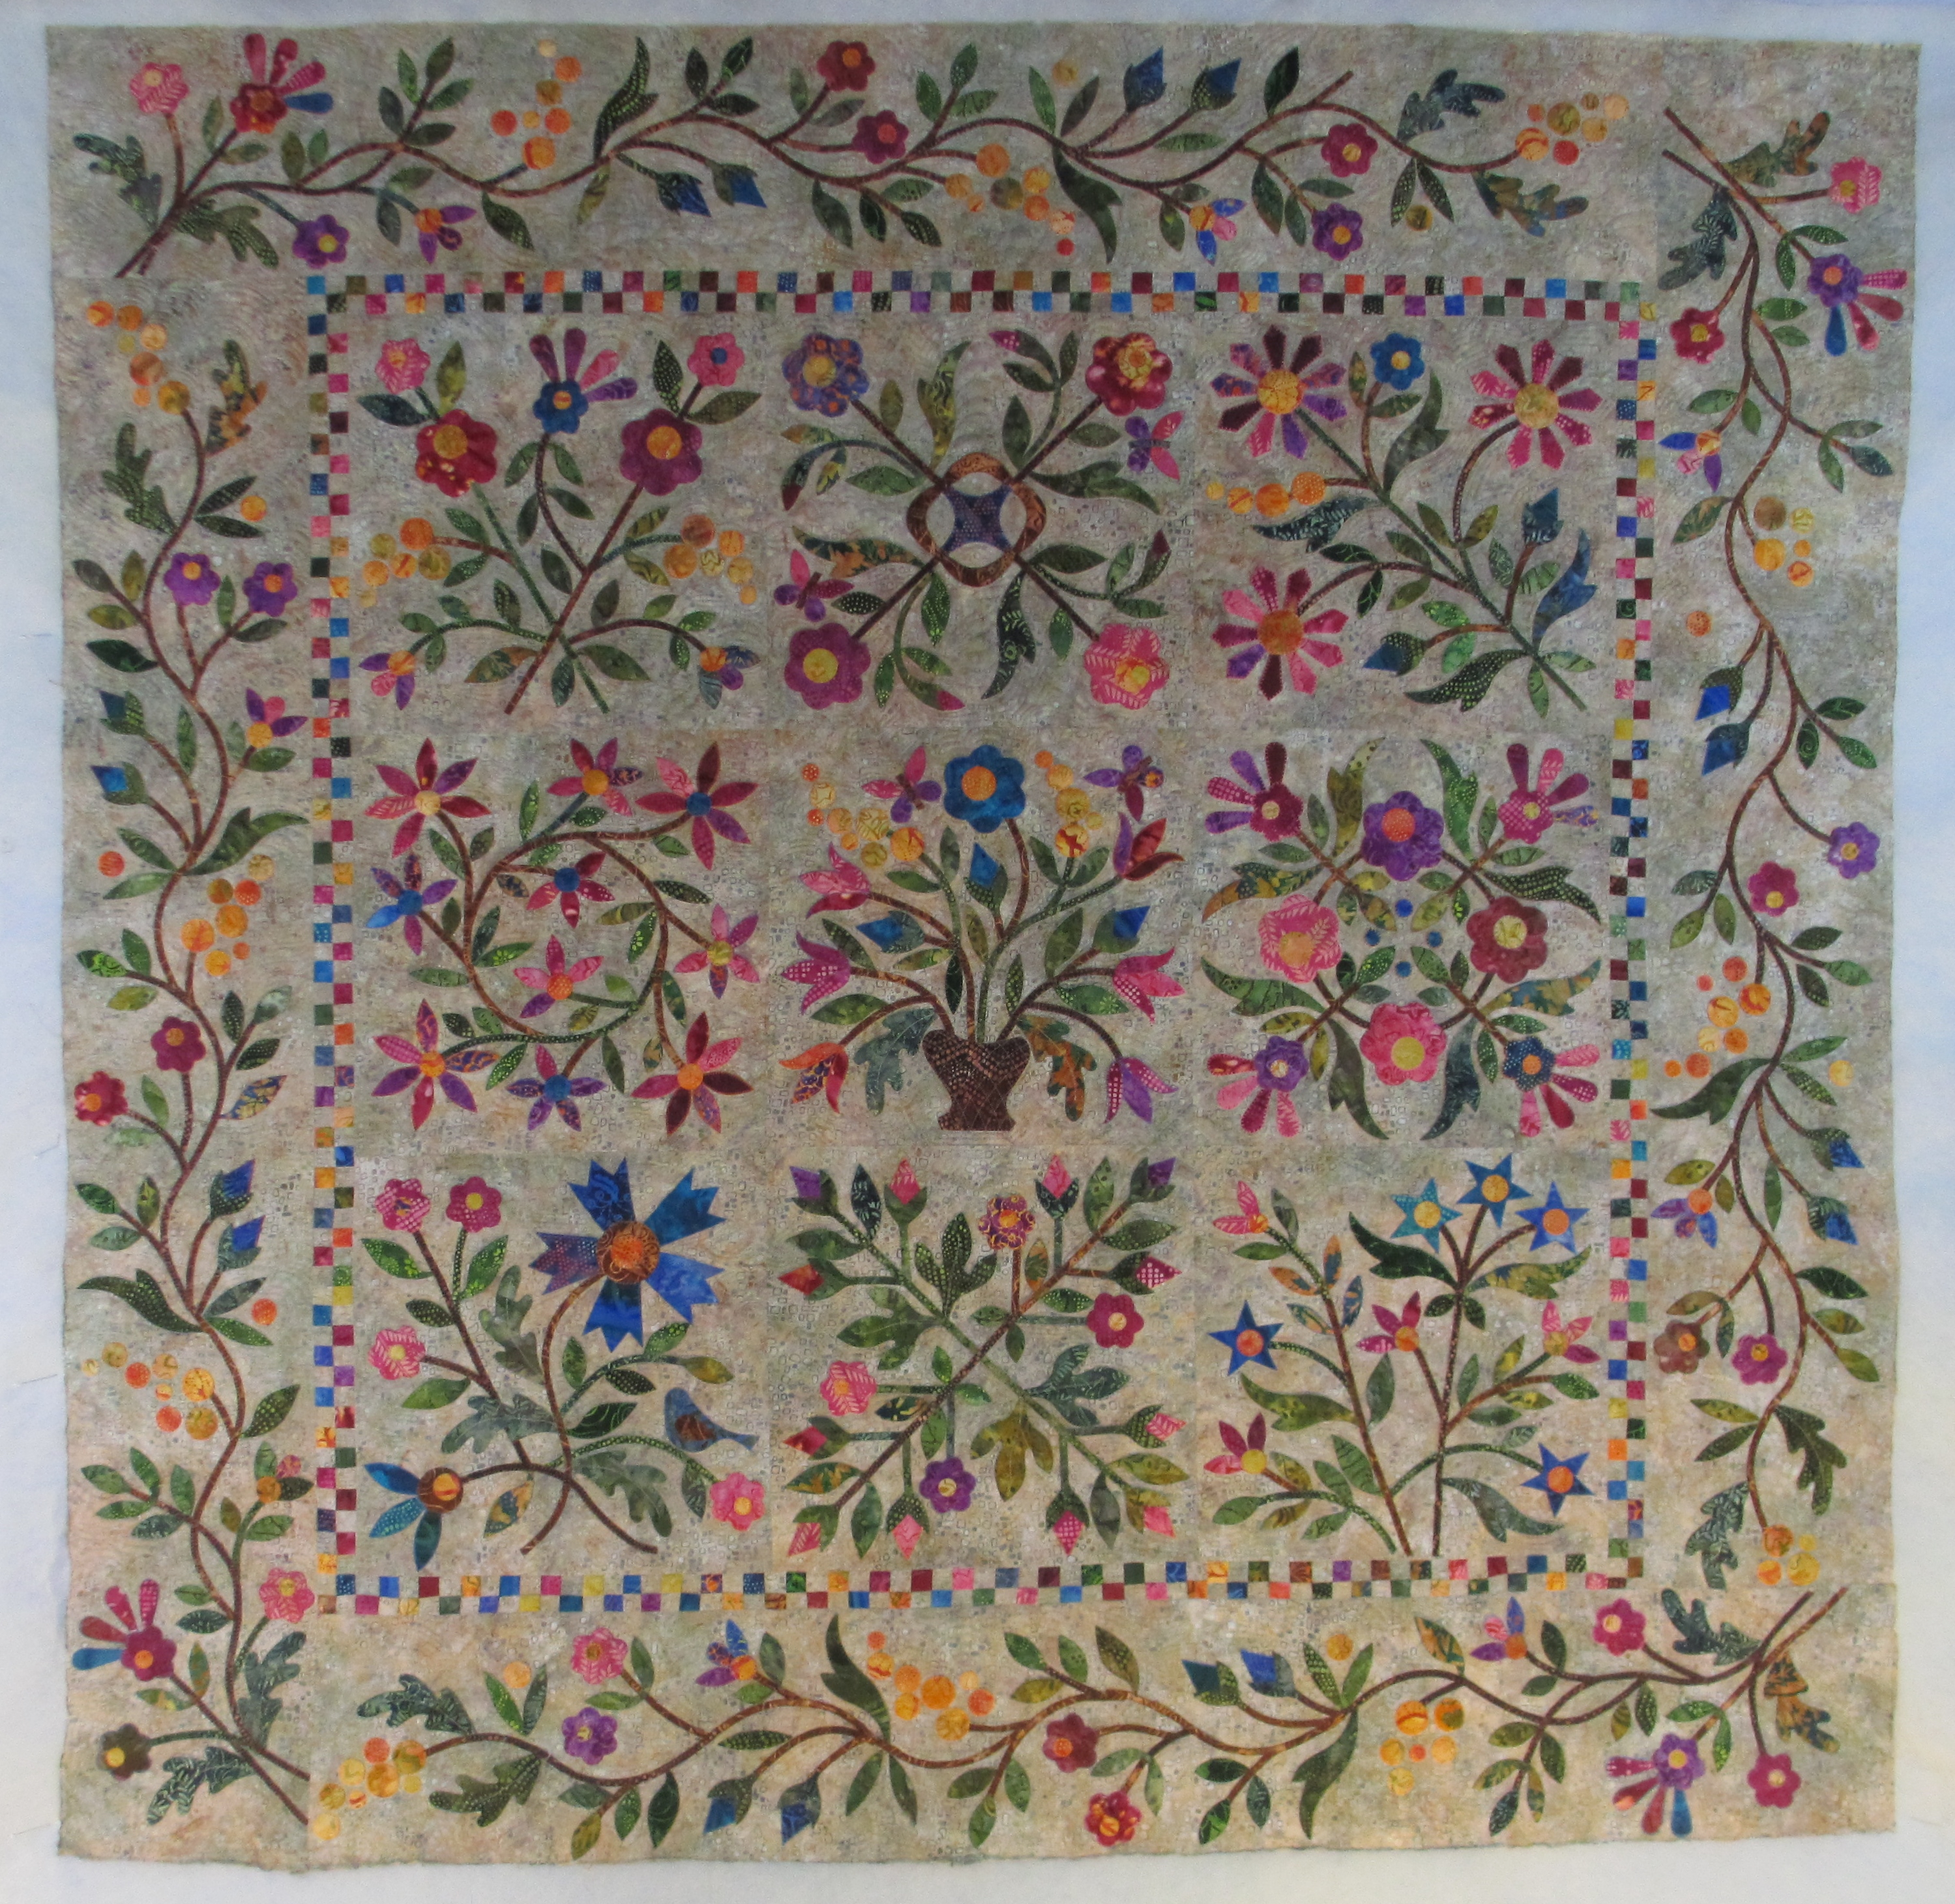
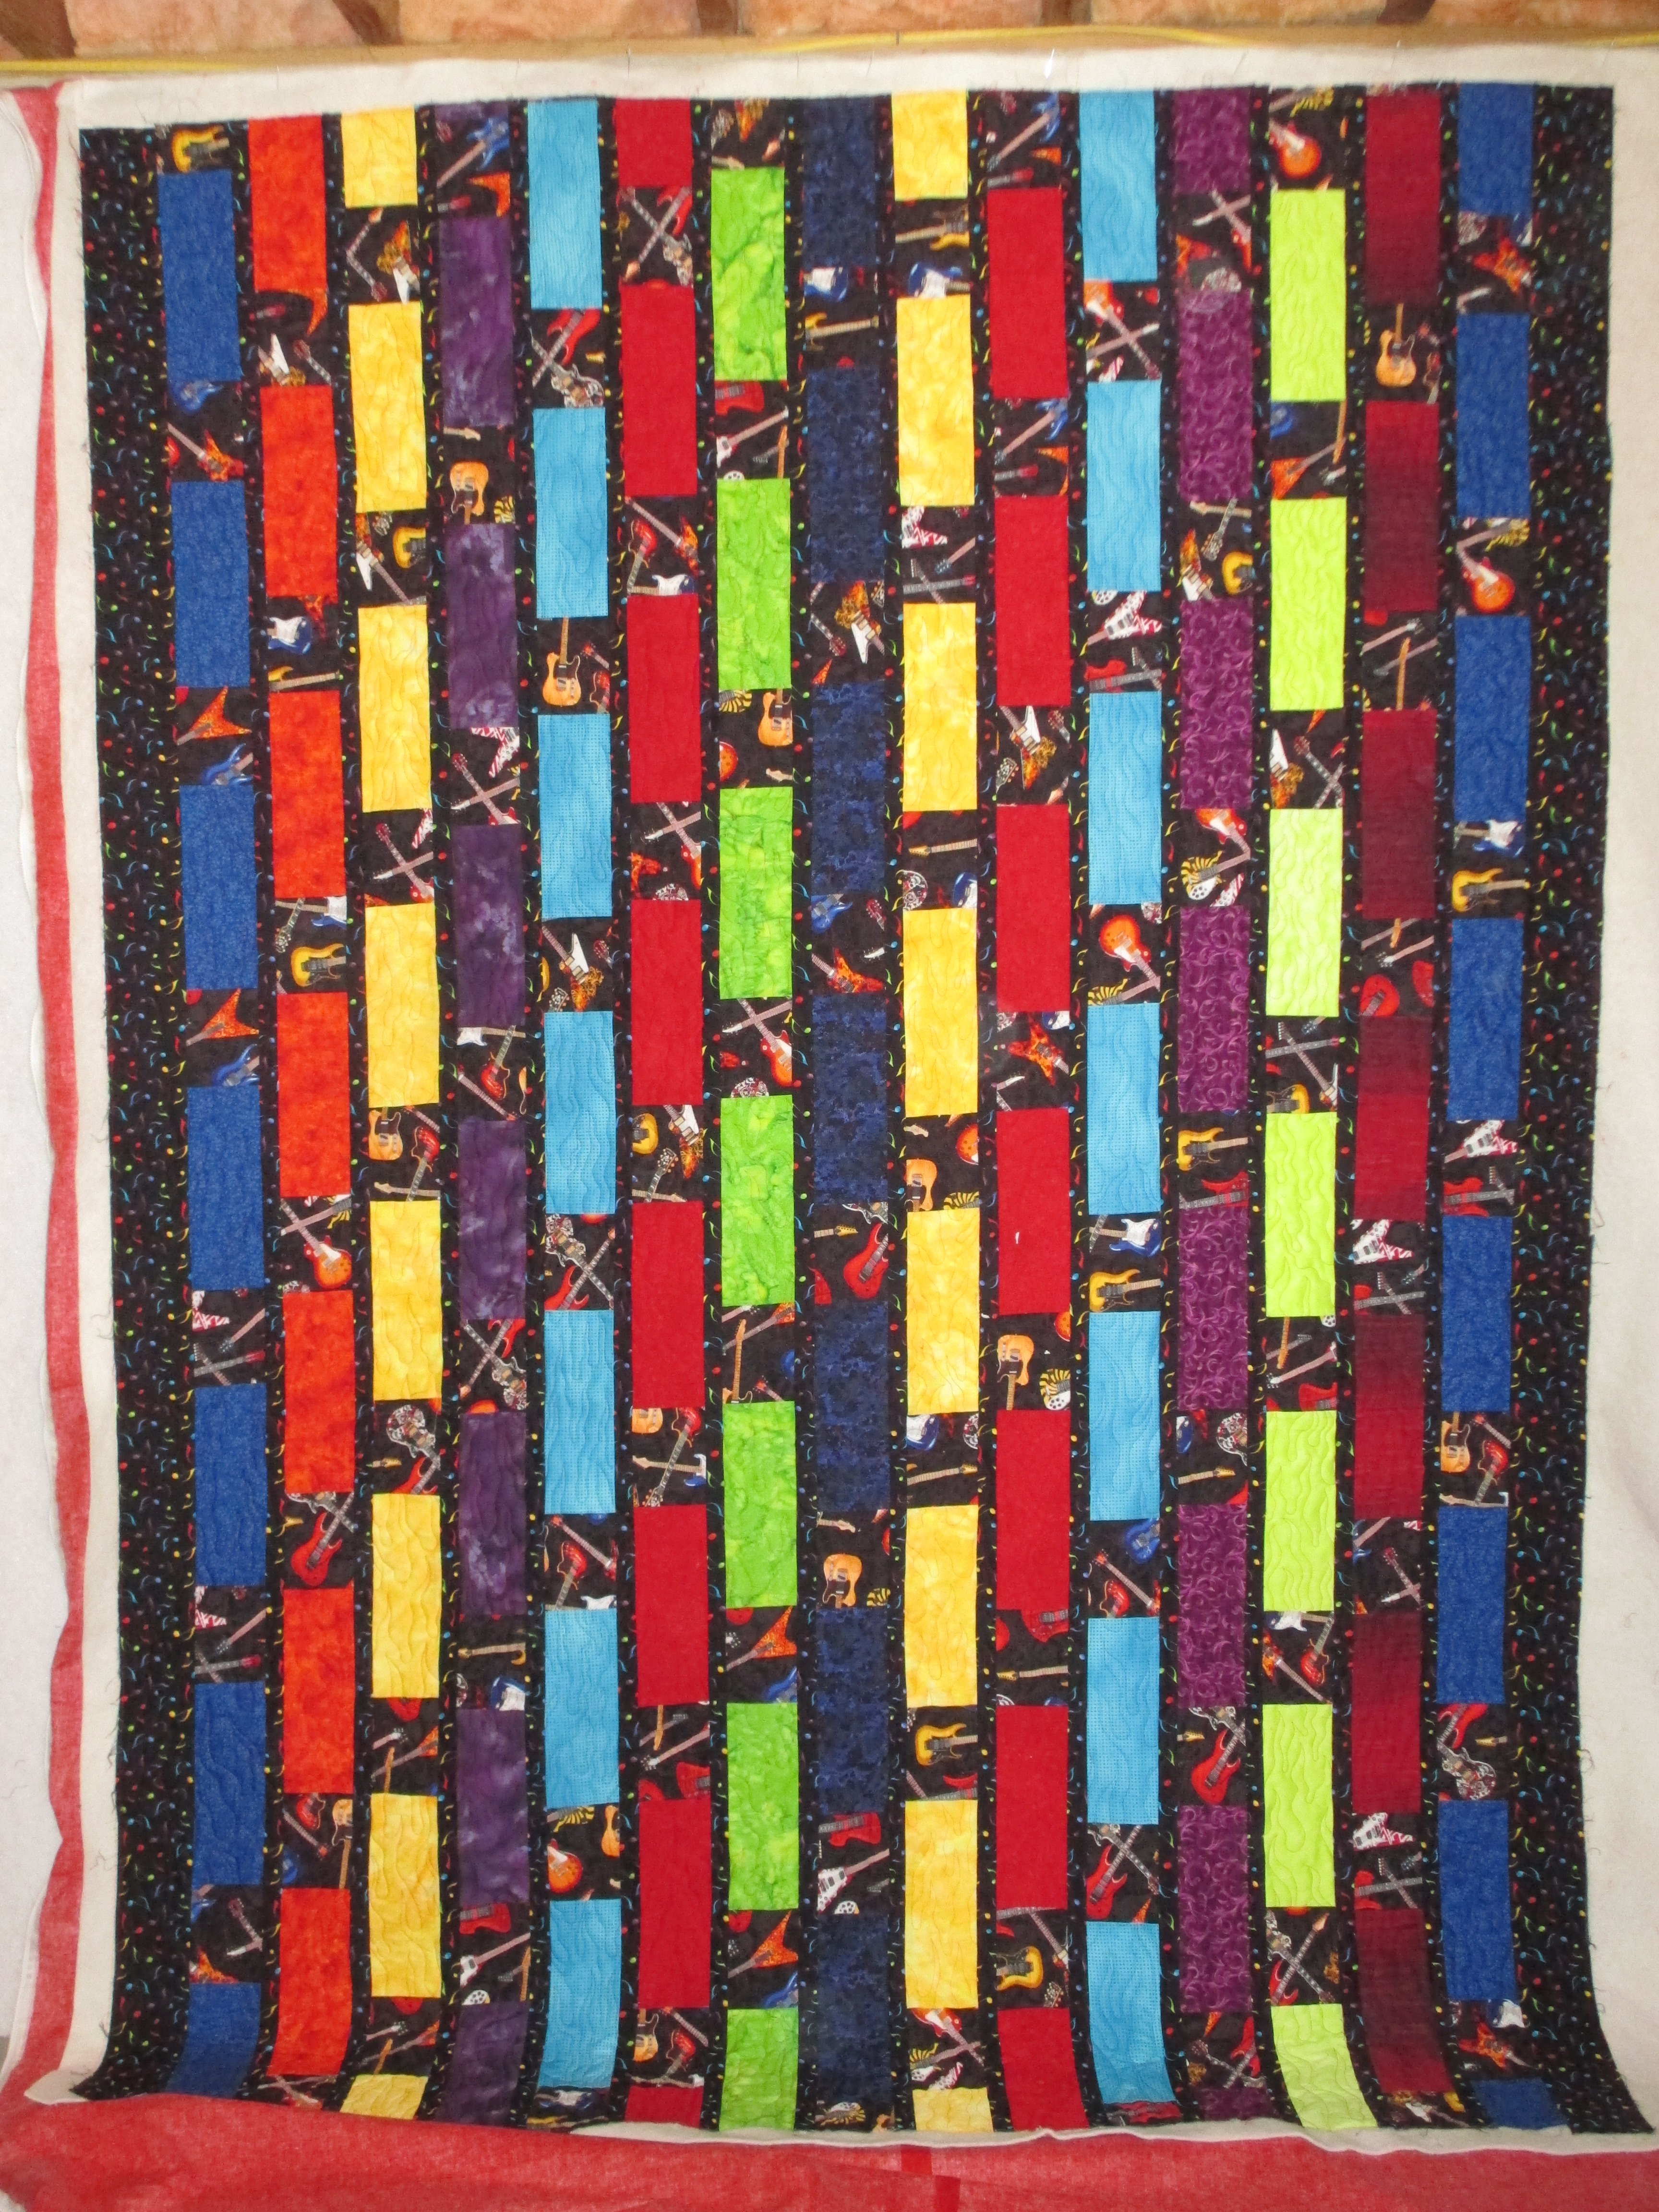
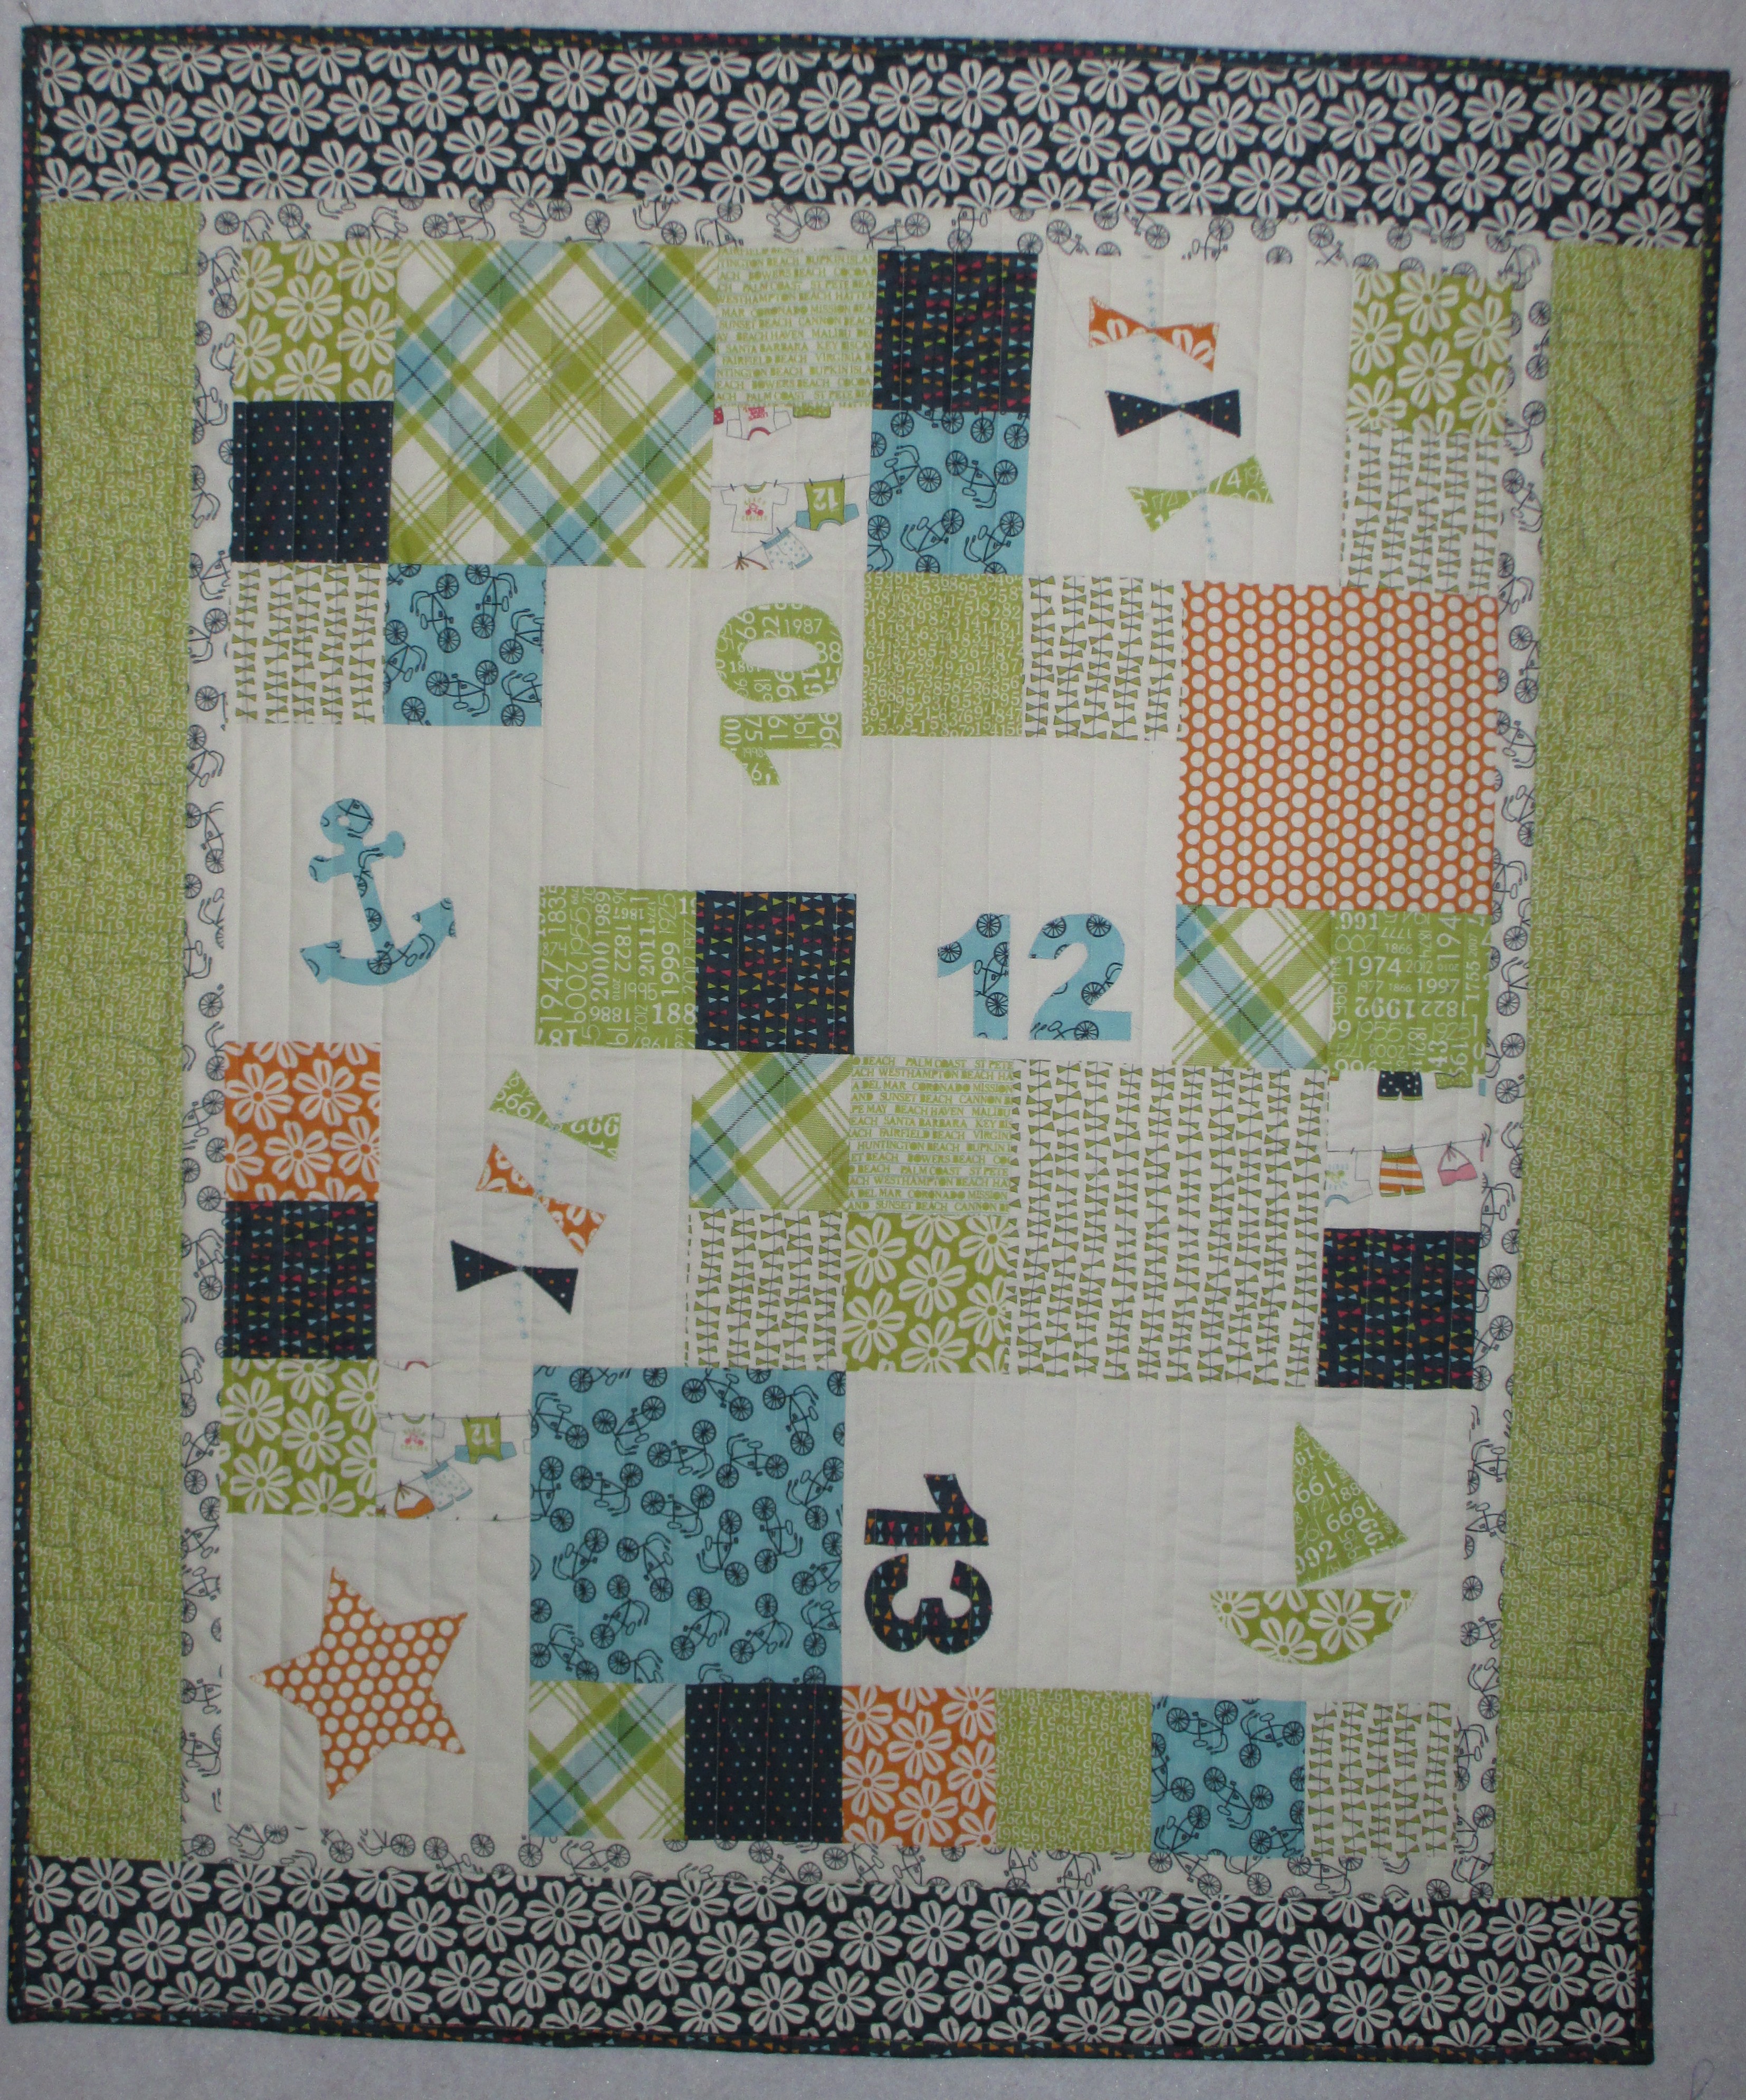
I loved this pattern from Java House Quilts the first time I saw it.  If you love it as well, you can purchase it yourself here.  I started working on this quilt back in September.  The applique would be needle-turned, meaning by hand.  The edges would be turned under and stitched down by hand vs fusing down a raw edge applique onto the background and machine finishing the edges (a tedious, but much quicker method).  I figured it would take me about 2 years to finish; a nice project for me to work on in the evenings before bedtime.  My daughter was going to start “trying” to get pregnant soon.  Maybe this would make a nice baby quilt.  If she never conceived, I could keep this quilt for myself (trying not to get my hopes up).  Her older sister took several years of trying to conceive naturally and then several attempts of in vitro before getting pregnant.  So, 2 years… I would have plenty of time to casually work on this quilt.

Then, in October, she told me she was pregnant.  Or, was it late September?  She was due June 2nd.  I was shocked, floored.  Surely, it was too soon to know for sure… a false positive…  I admit it.  One of my first thoughts was about this quilt.  How on earth would I get it done in time?  It has plenty of big pieces but also LOTS of tiny pieces.  I figured I’d better get busy.  As I got farther and farther into this quilt, I was kicking myself for not machine appliqueing it.  It is what it is.  And, I am done now.  I’m late for the arrival, but I am done.  He’s about a week old now and a cutie patooty!

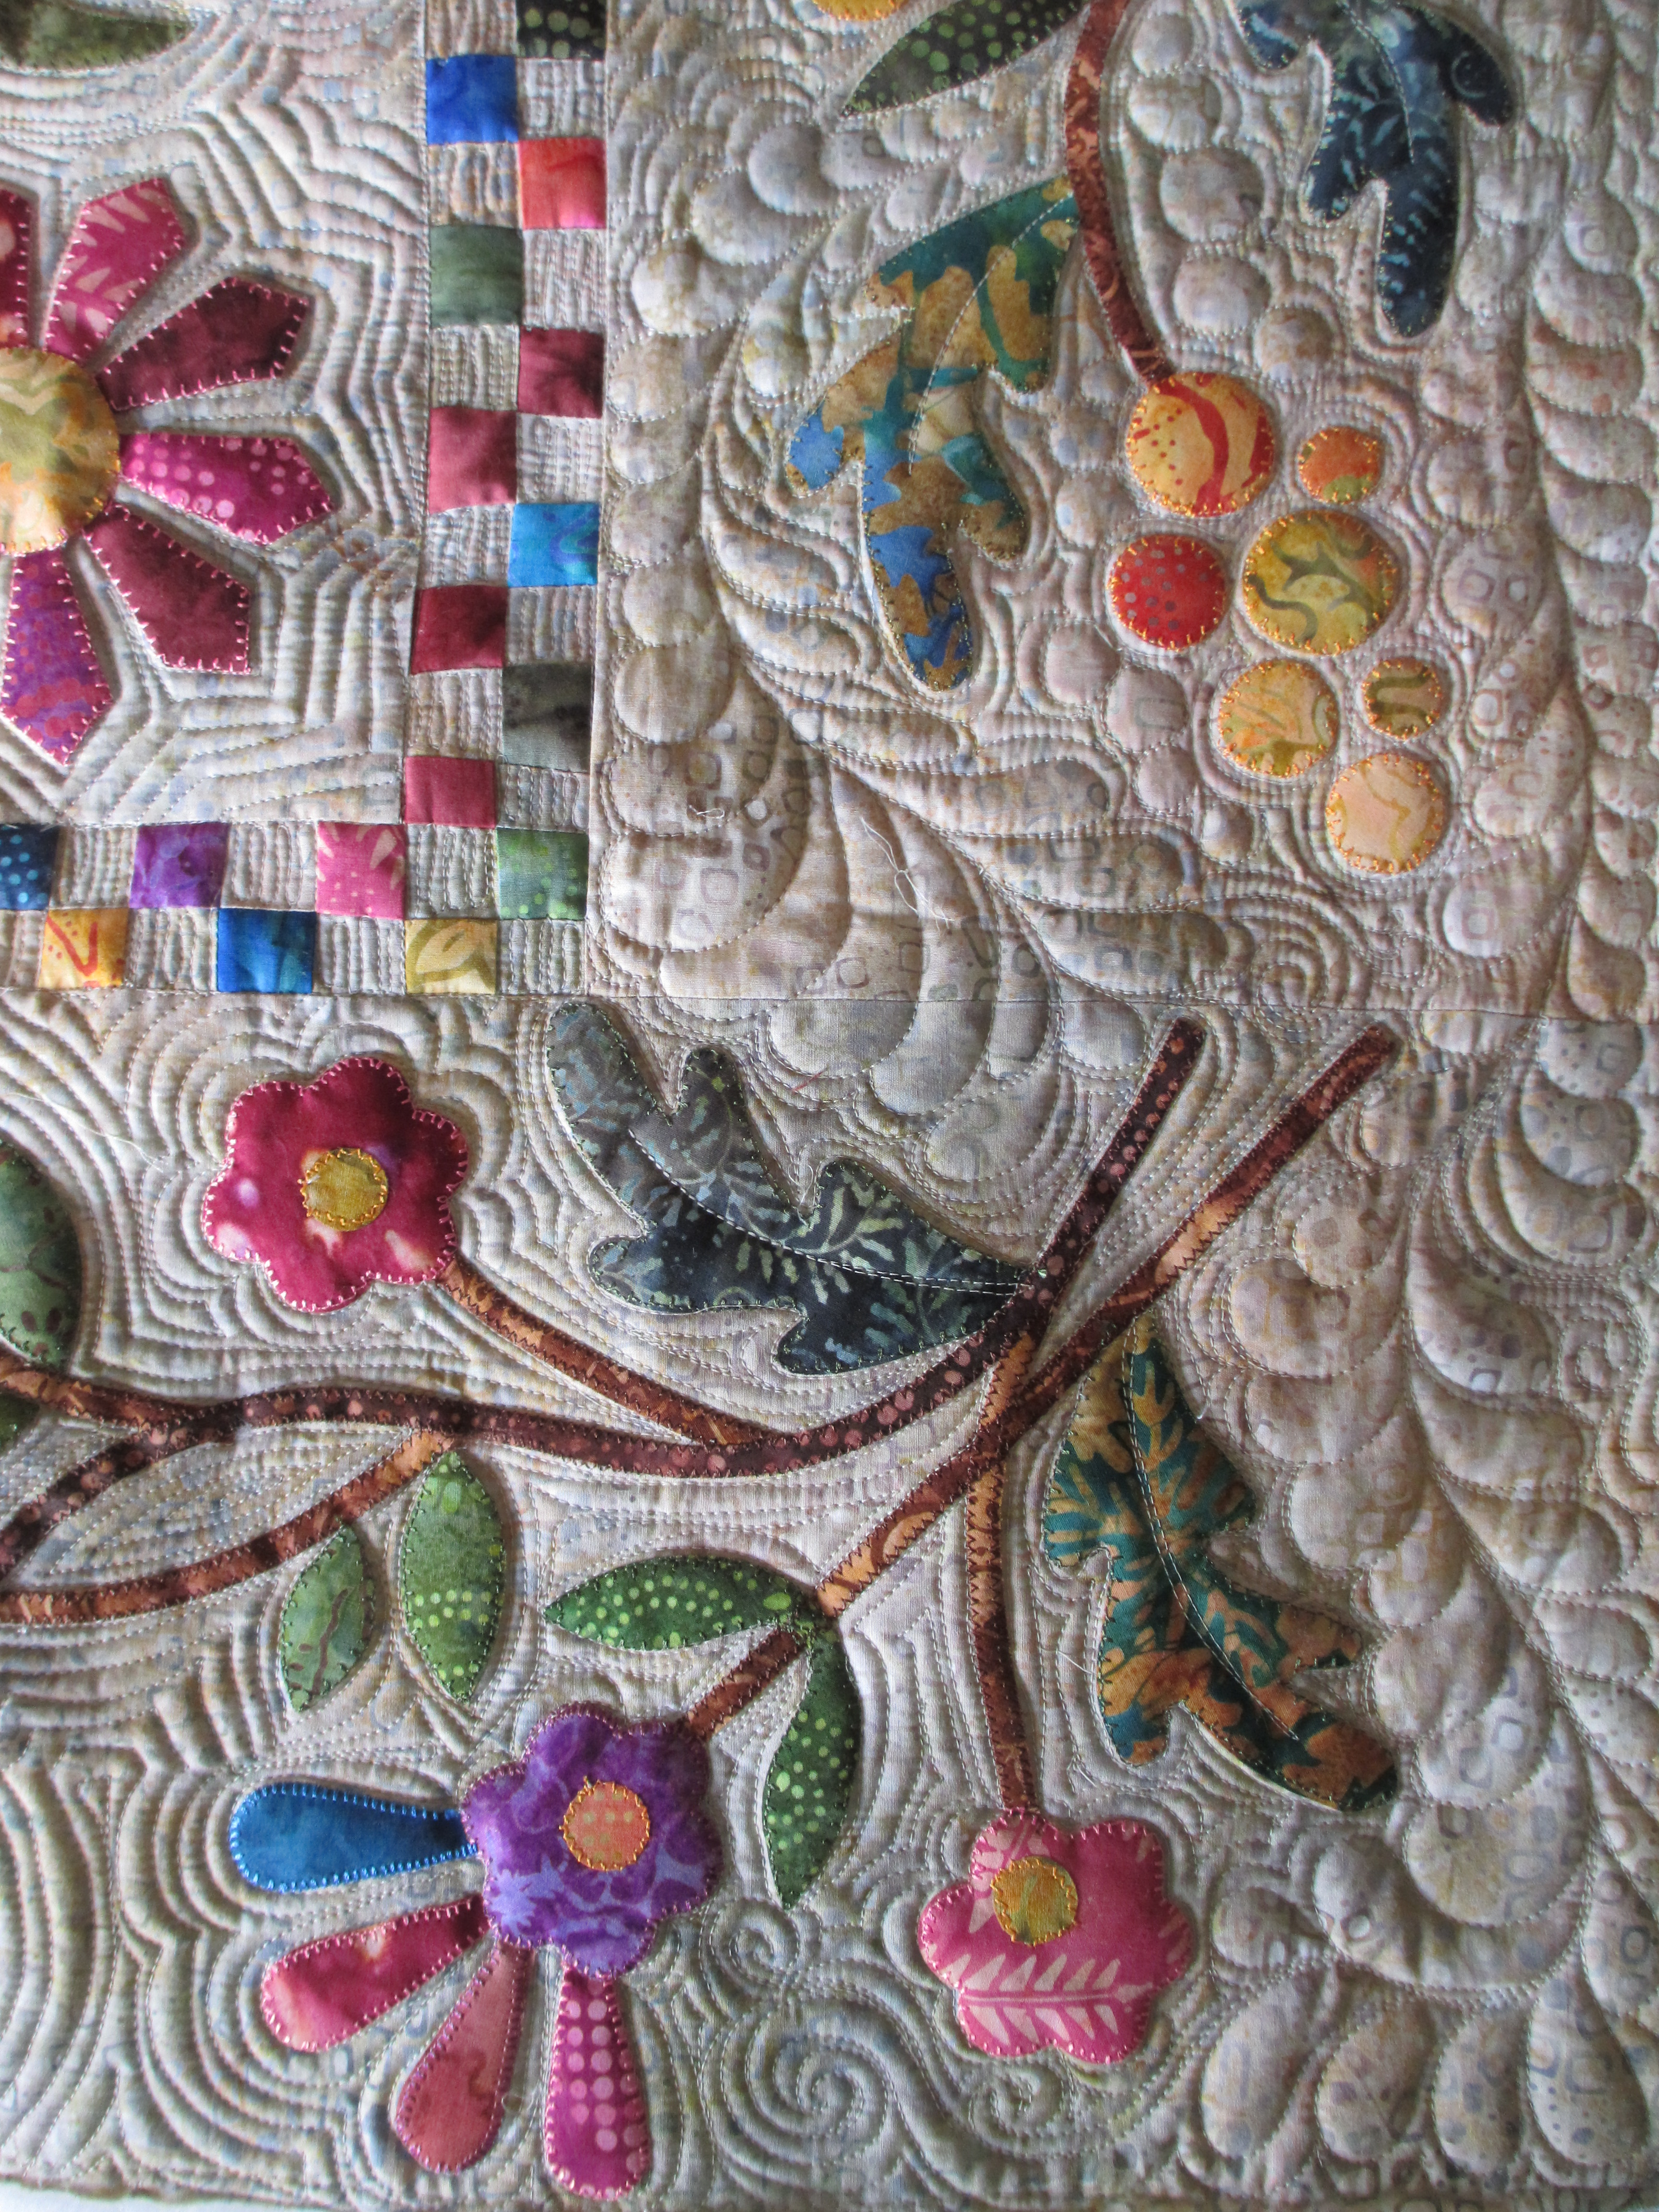
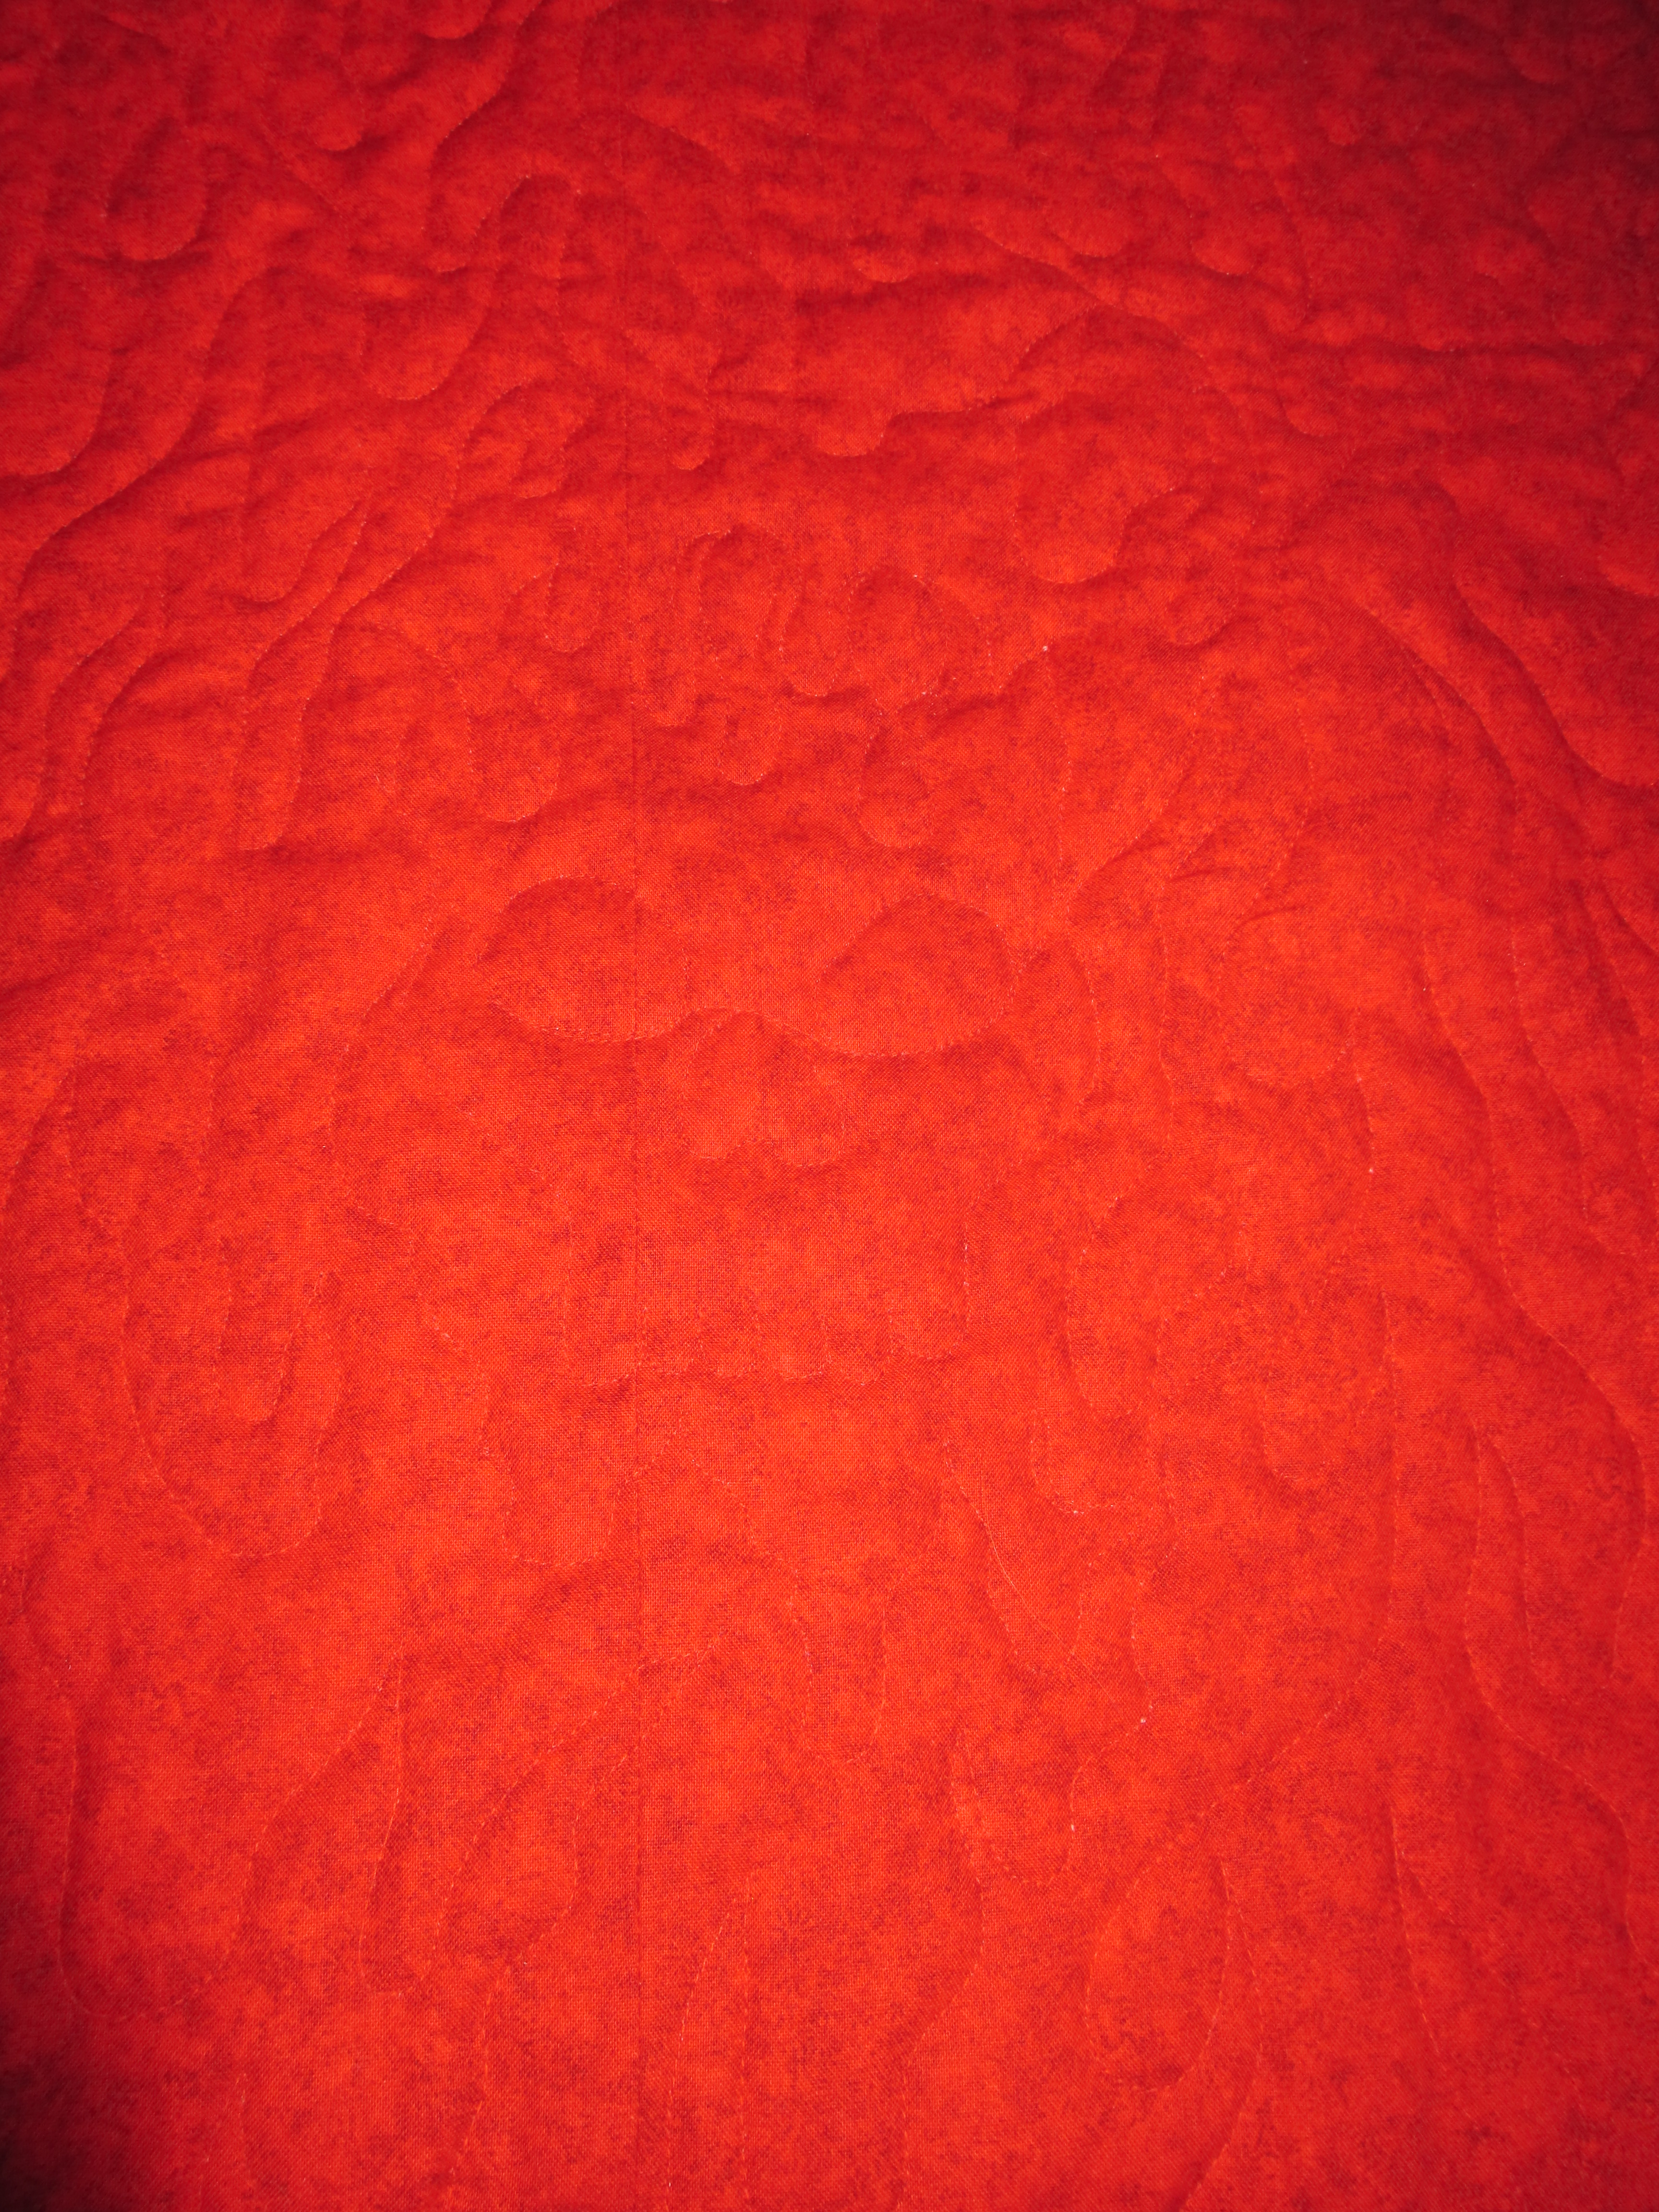
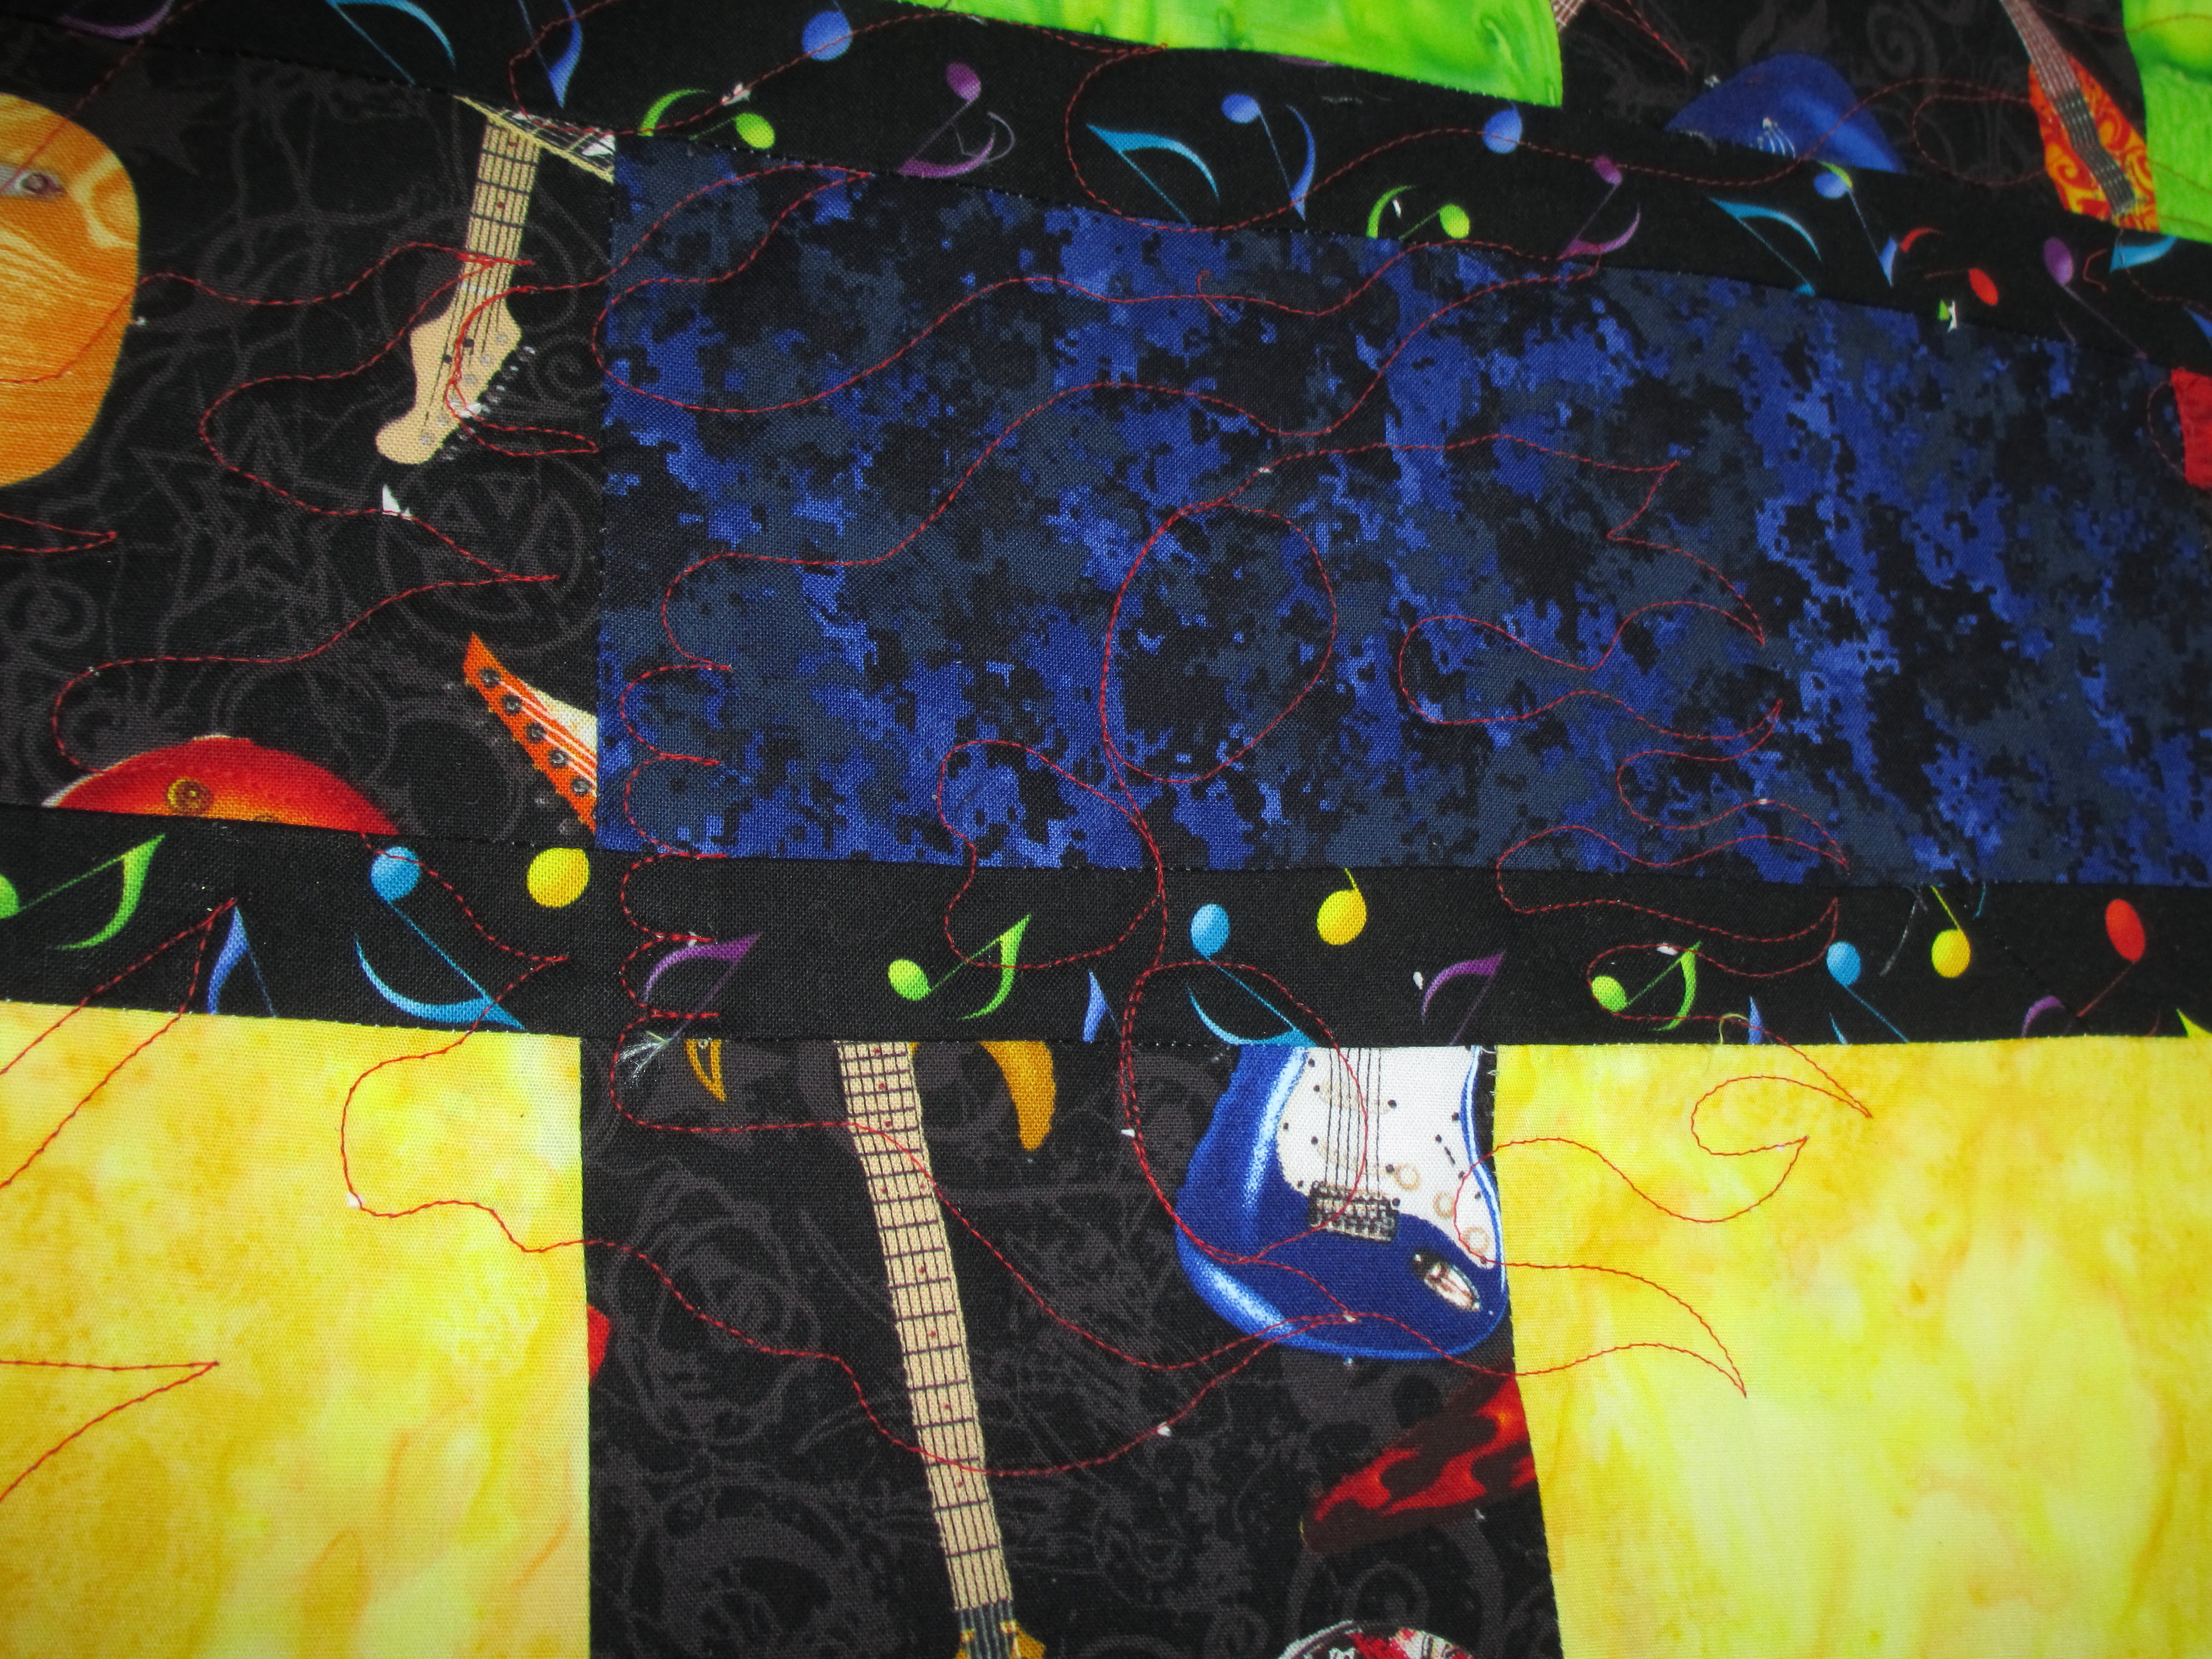
The question once I finished it was how to quilt it.  The more quilting you do on a quilt, the more thread you add to that quilt and the heavier and stiffer it gets.  This was for a baby, so I wanted it to be soft… or at least as soft as I could make it and still add details to it.  You will notice there are plenty of gaps in the quilting where it seems like there should be more quilting.  That was intentional to prevent the quilt from becoming too stiff and heavy.  I stitched down enough to give the effect of what I wanted and then let the rest go.  Sometimes you’ve just gotta “let it go.” 😉  My desired effect was playful, yet polished.

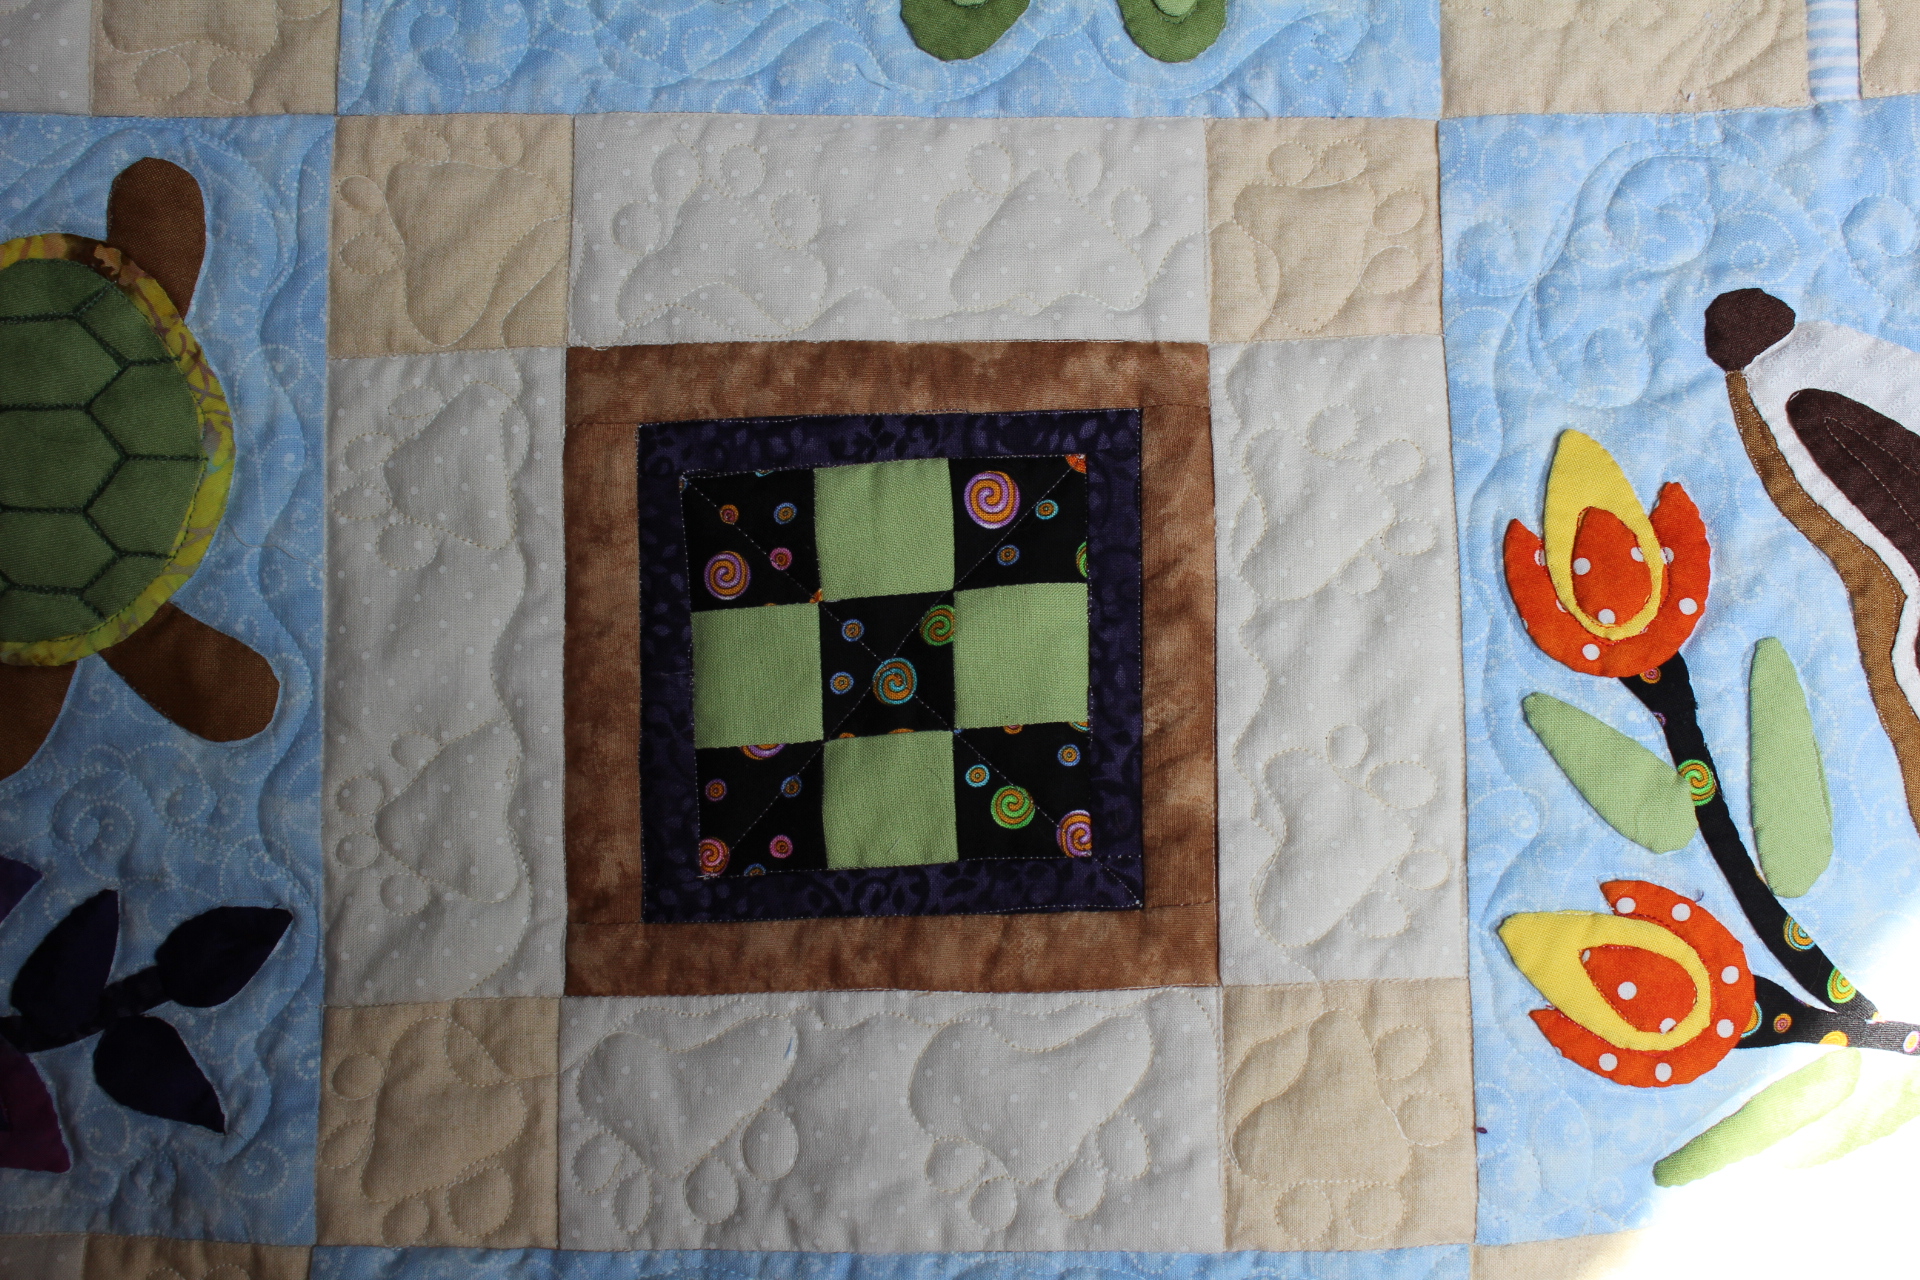
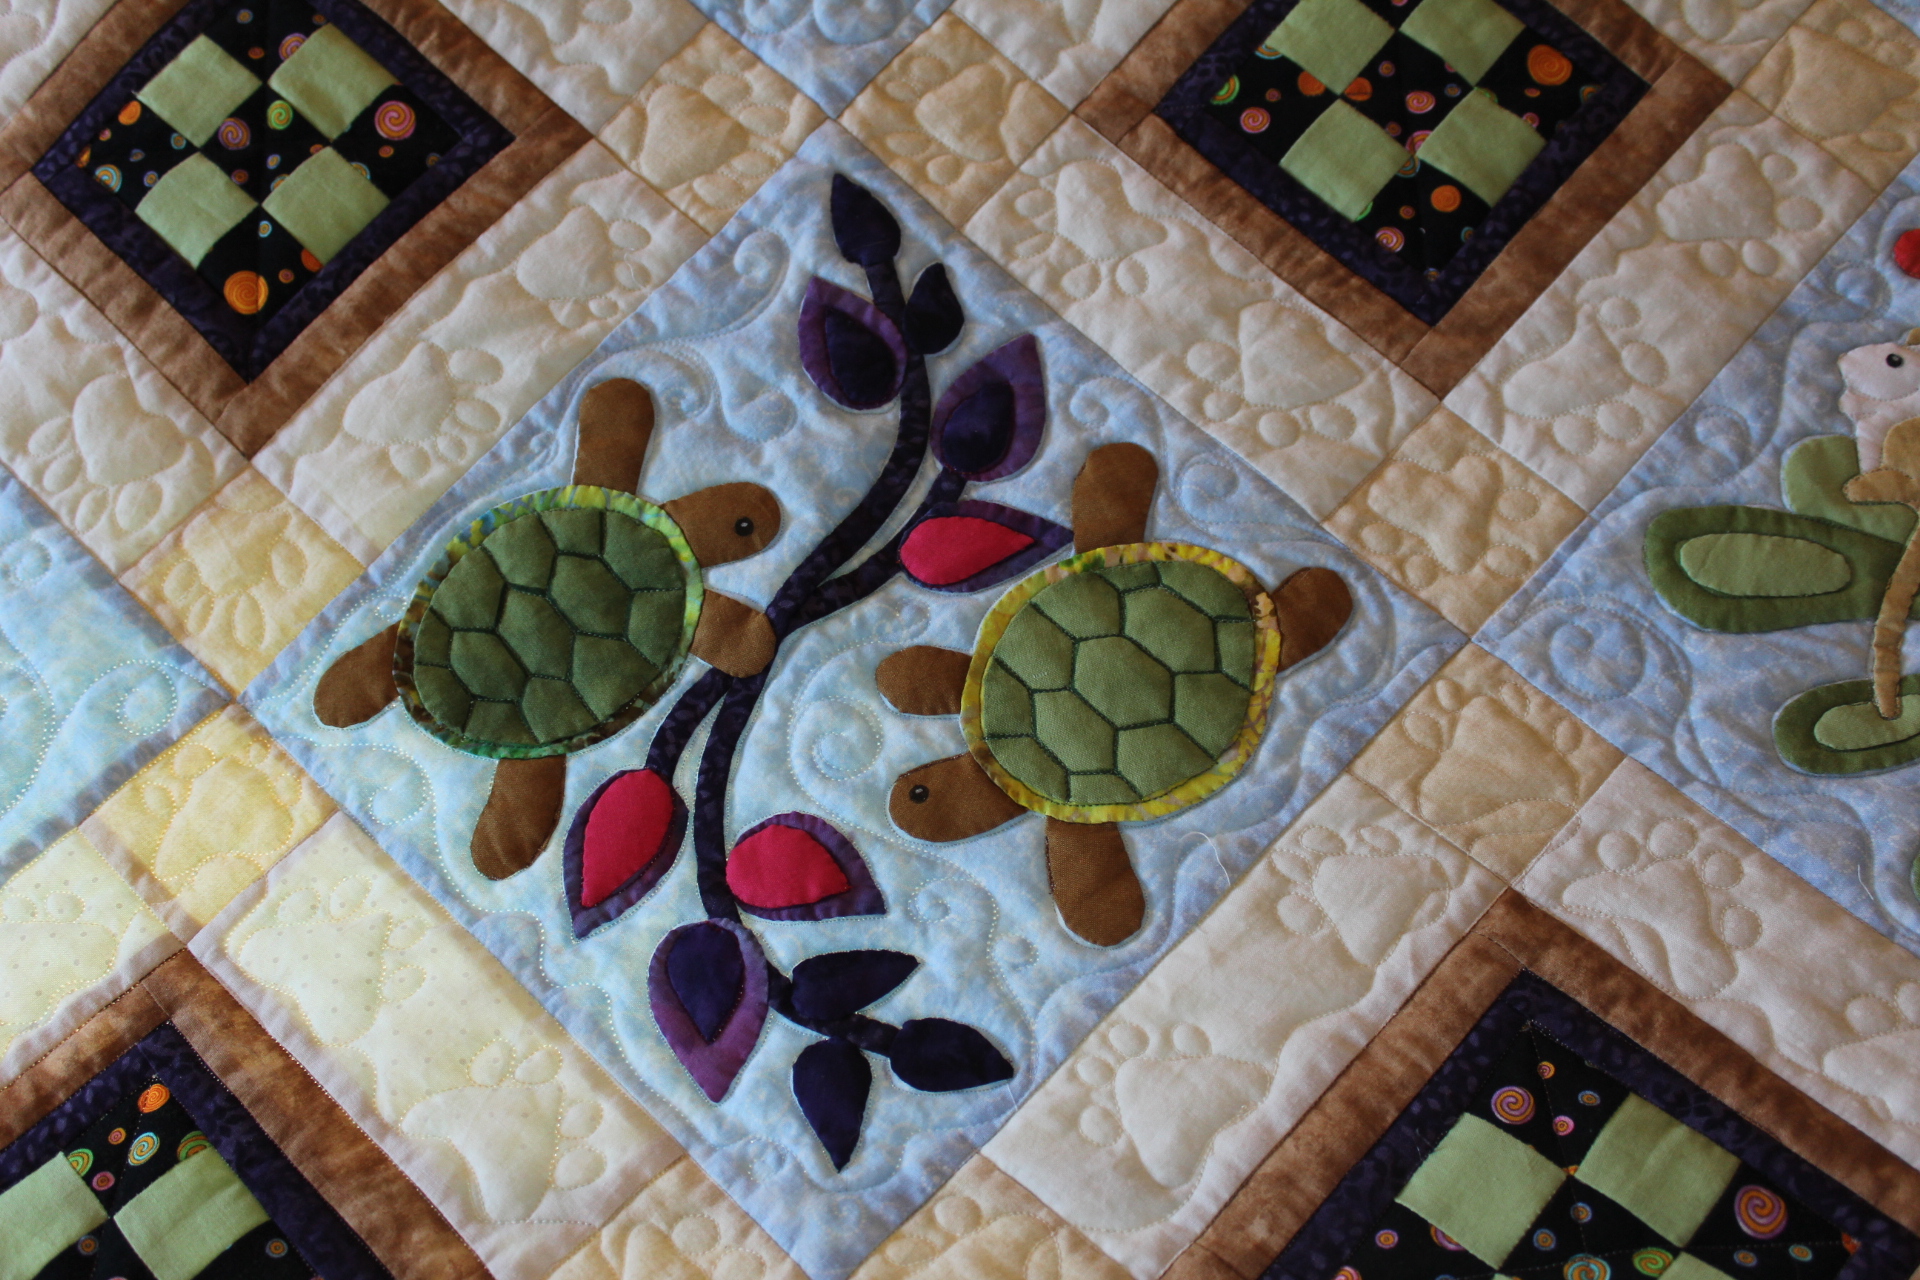
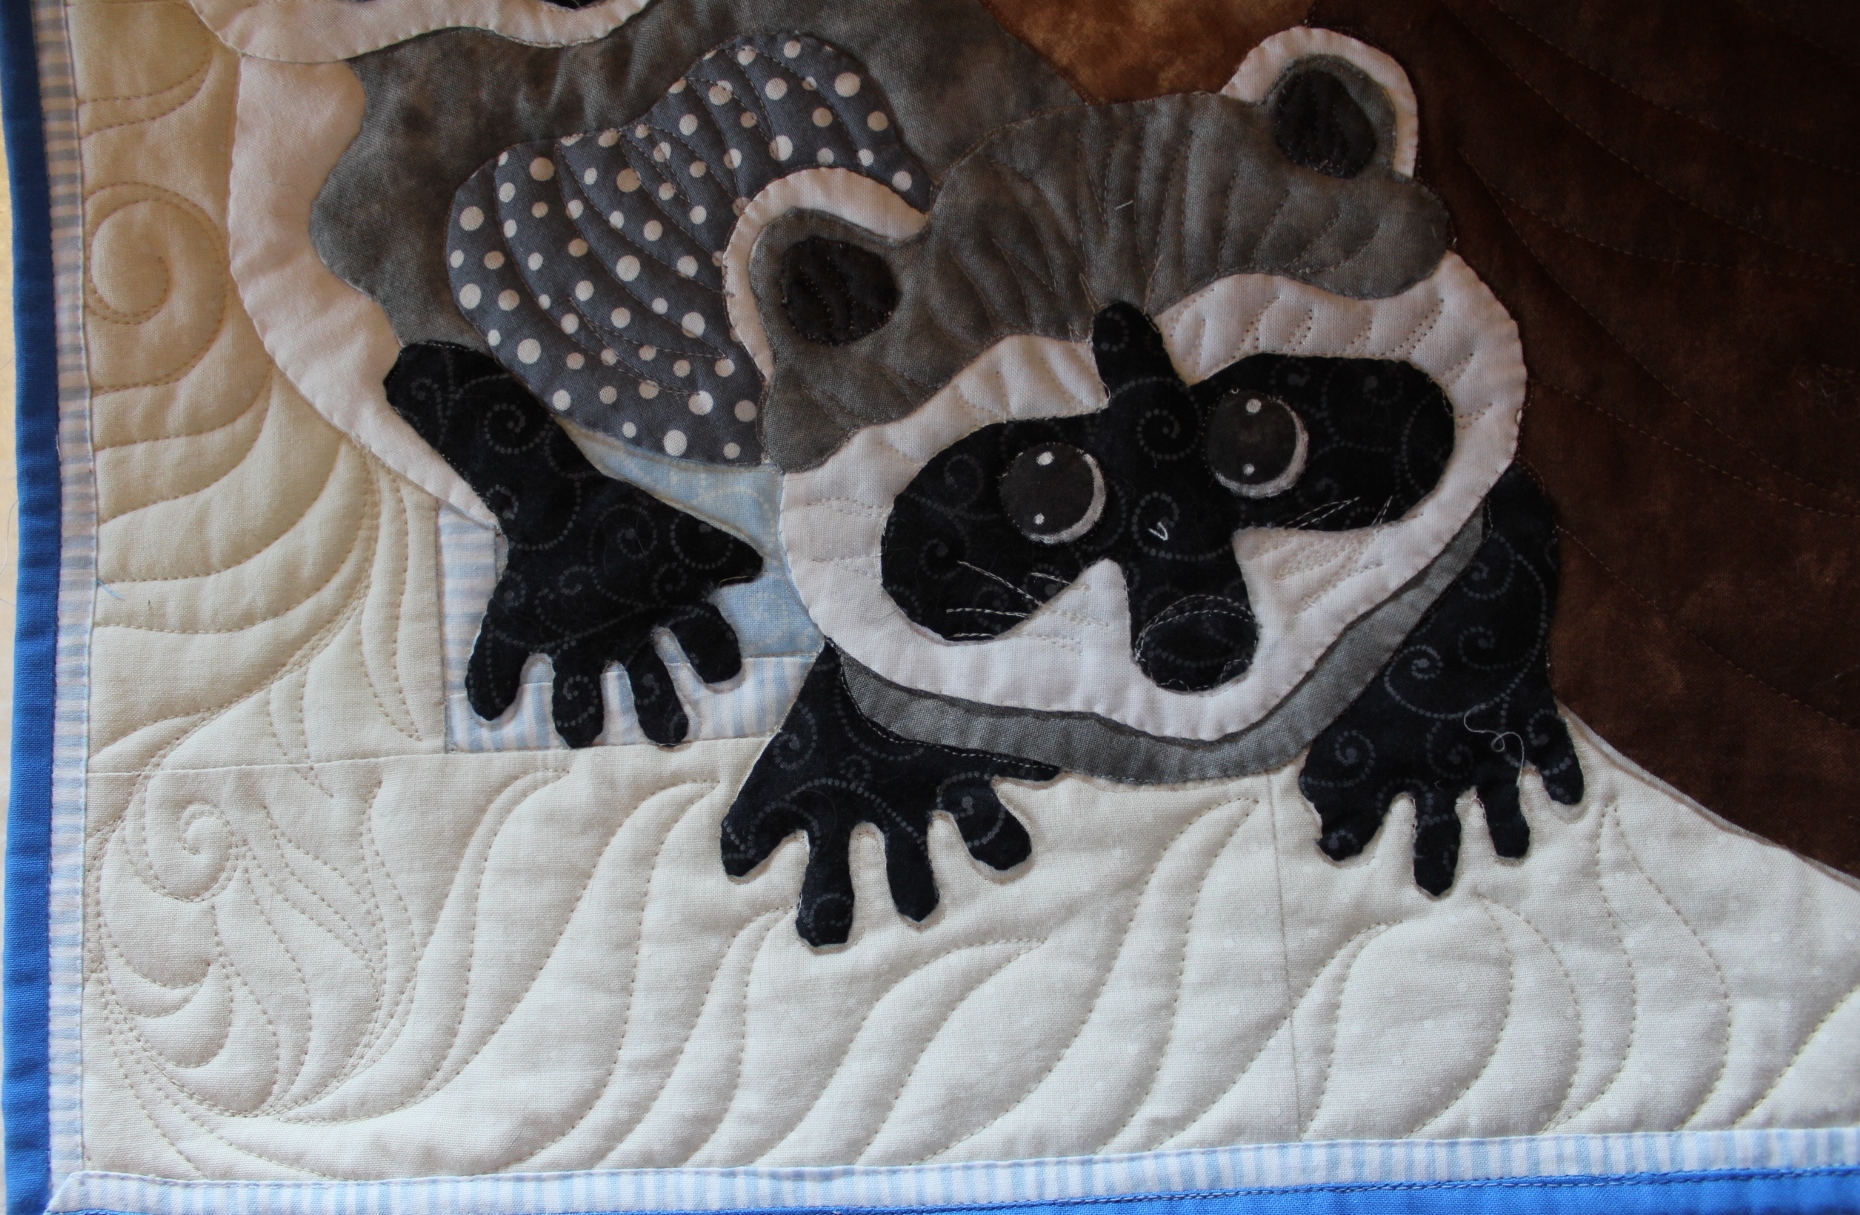
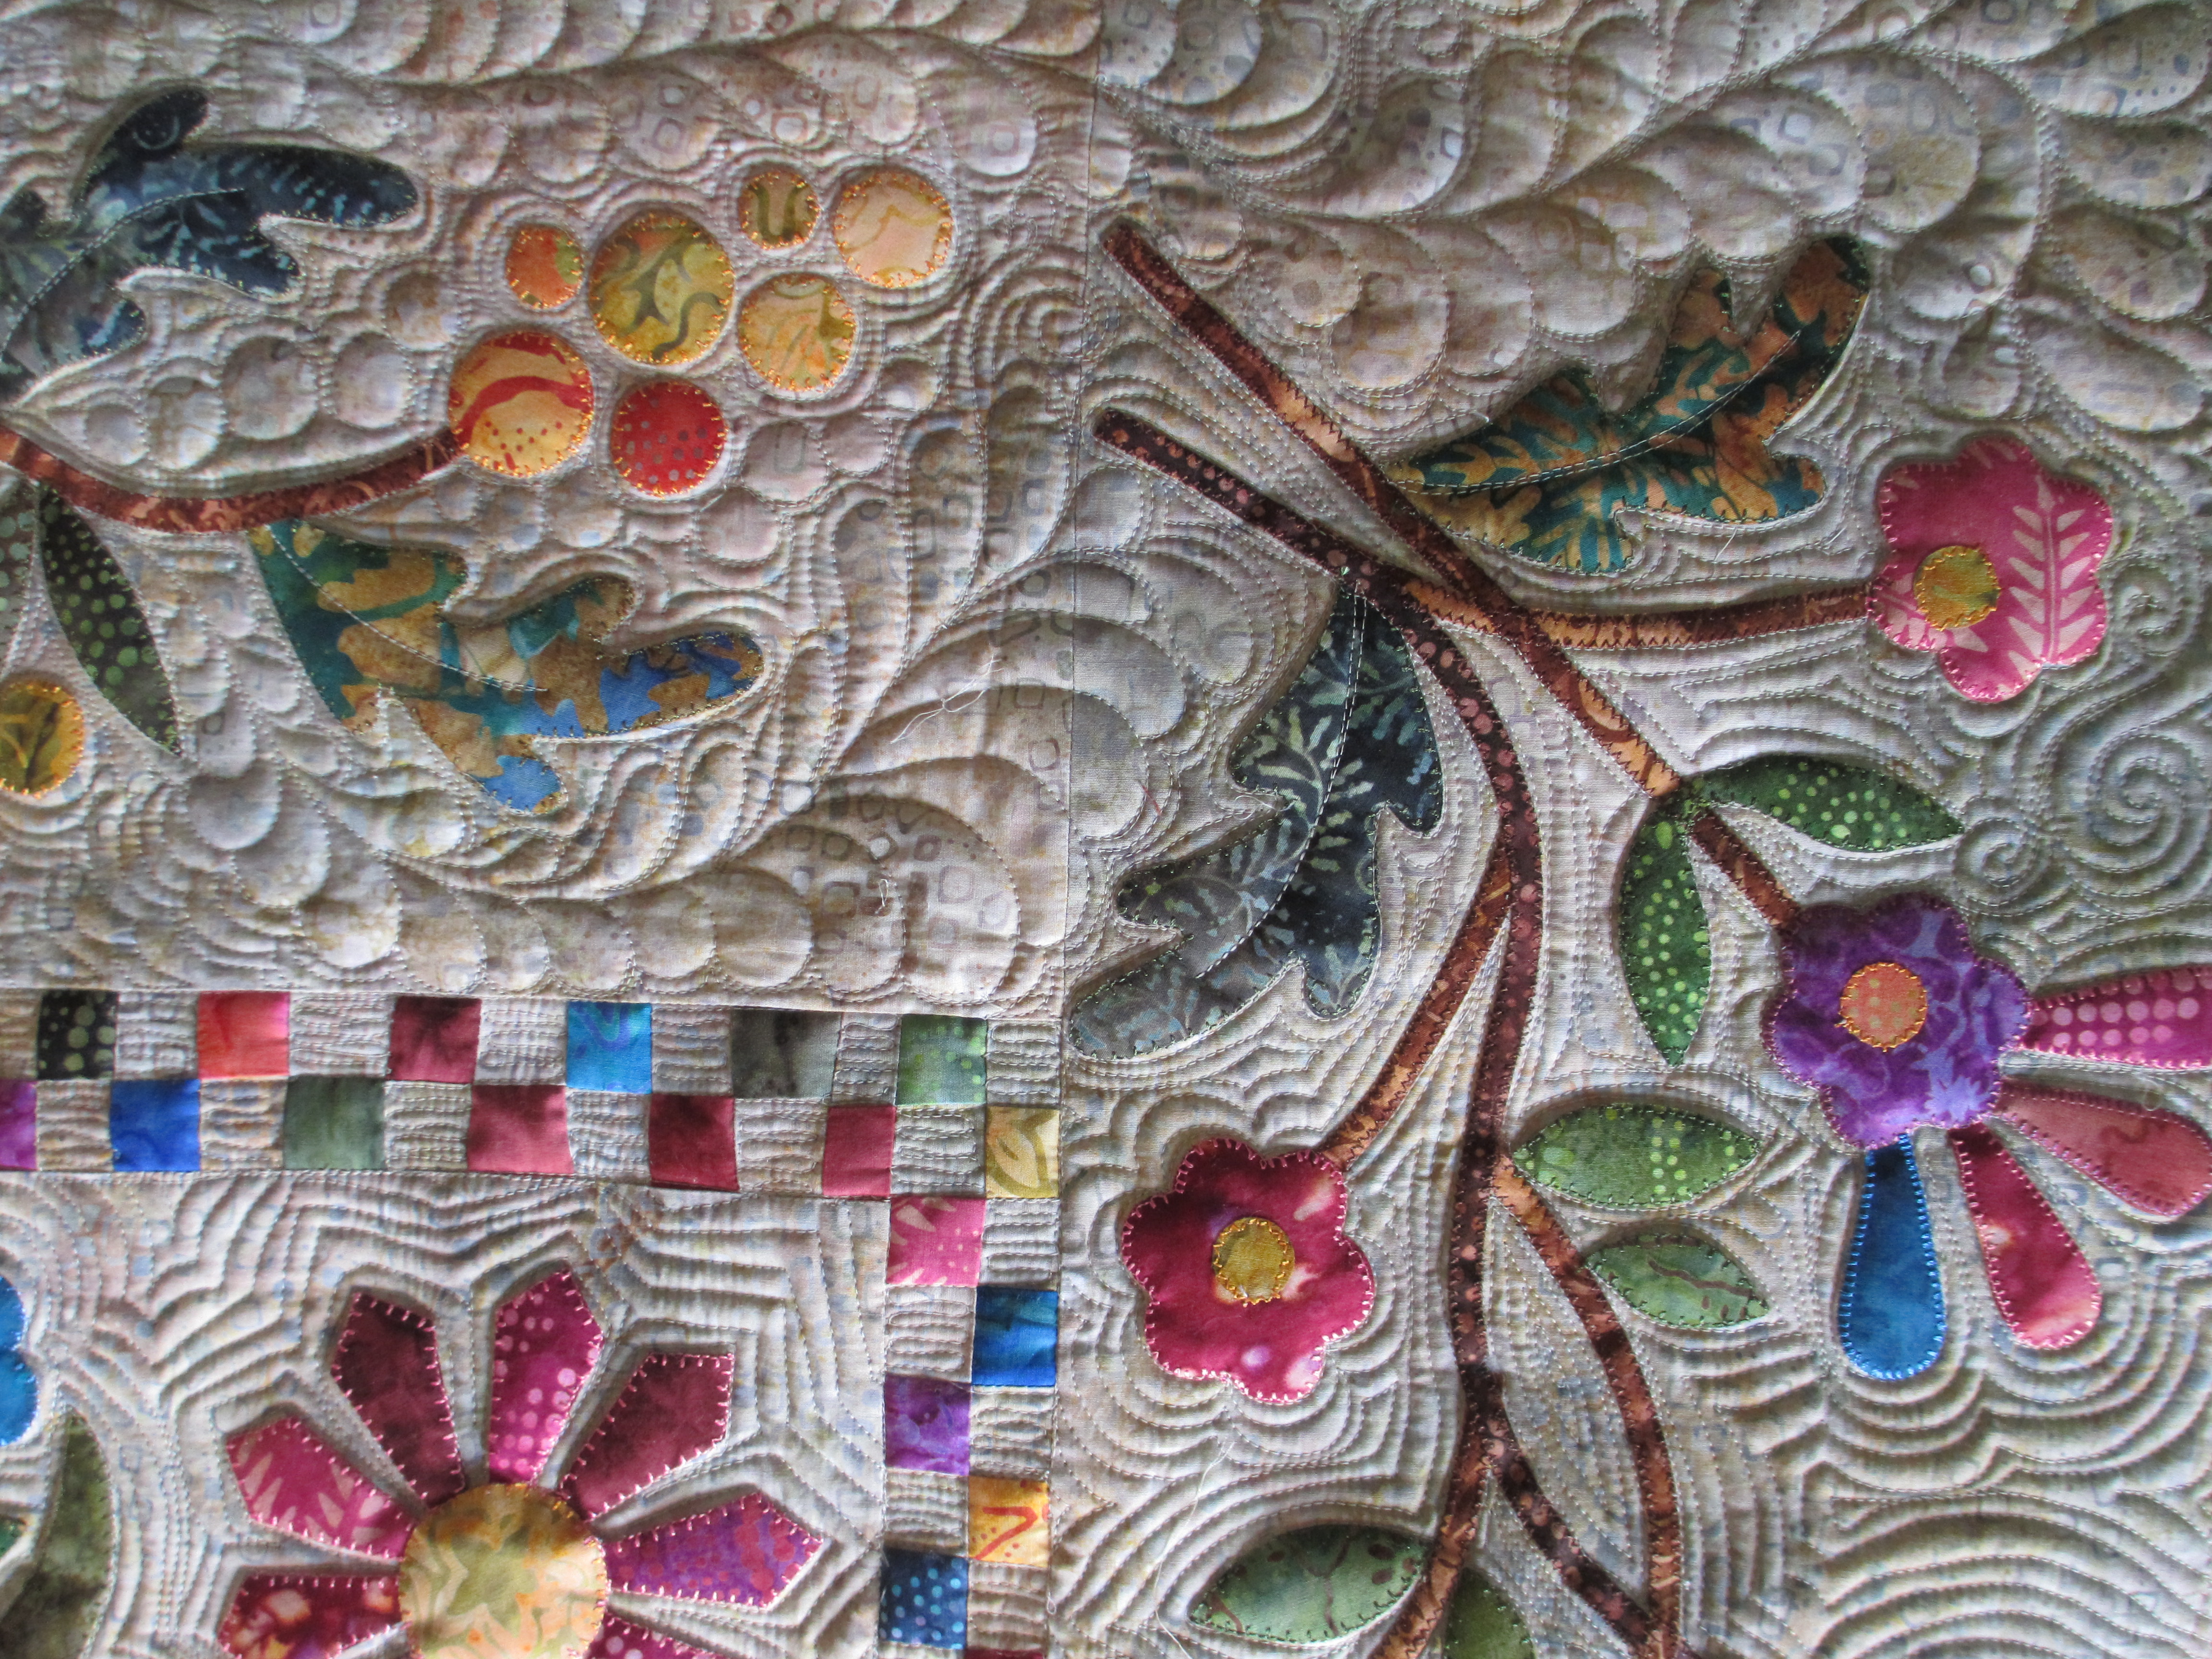
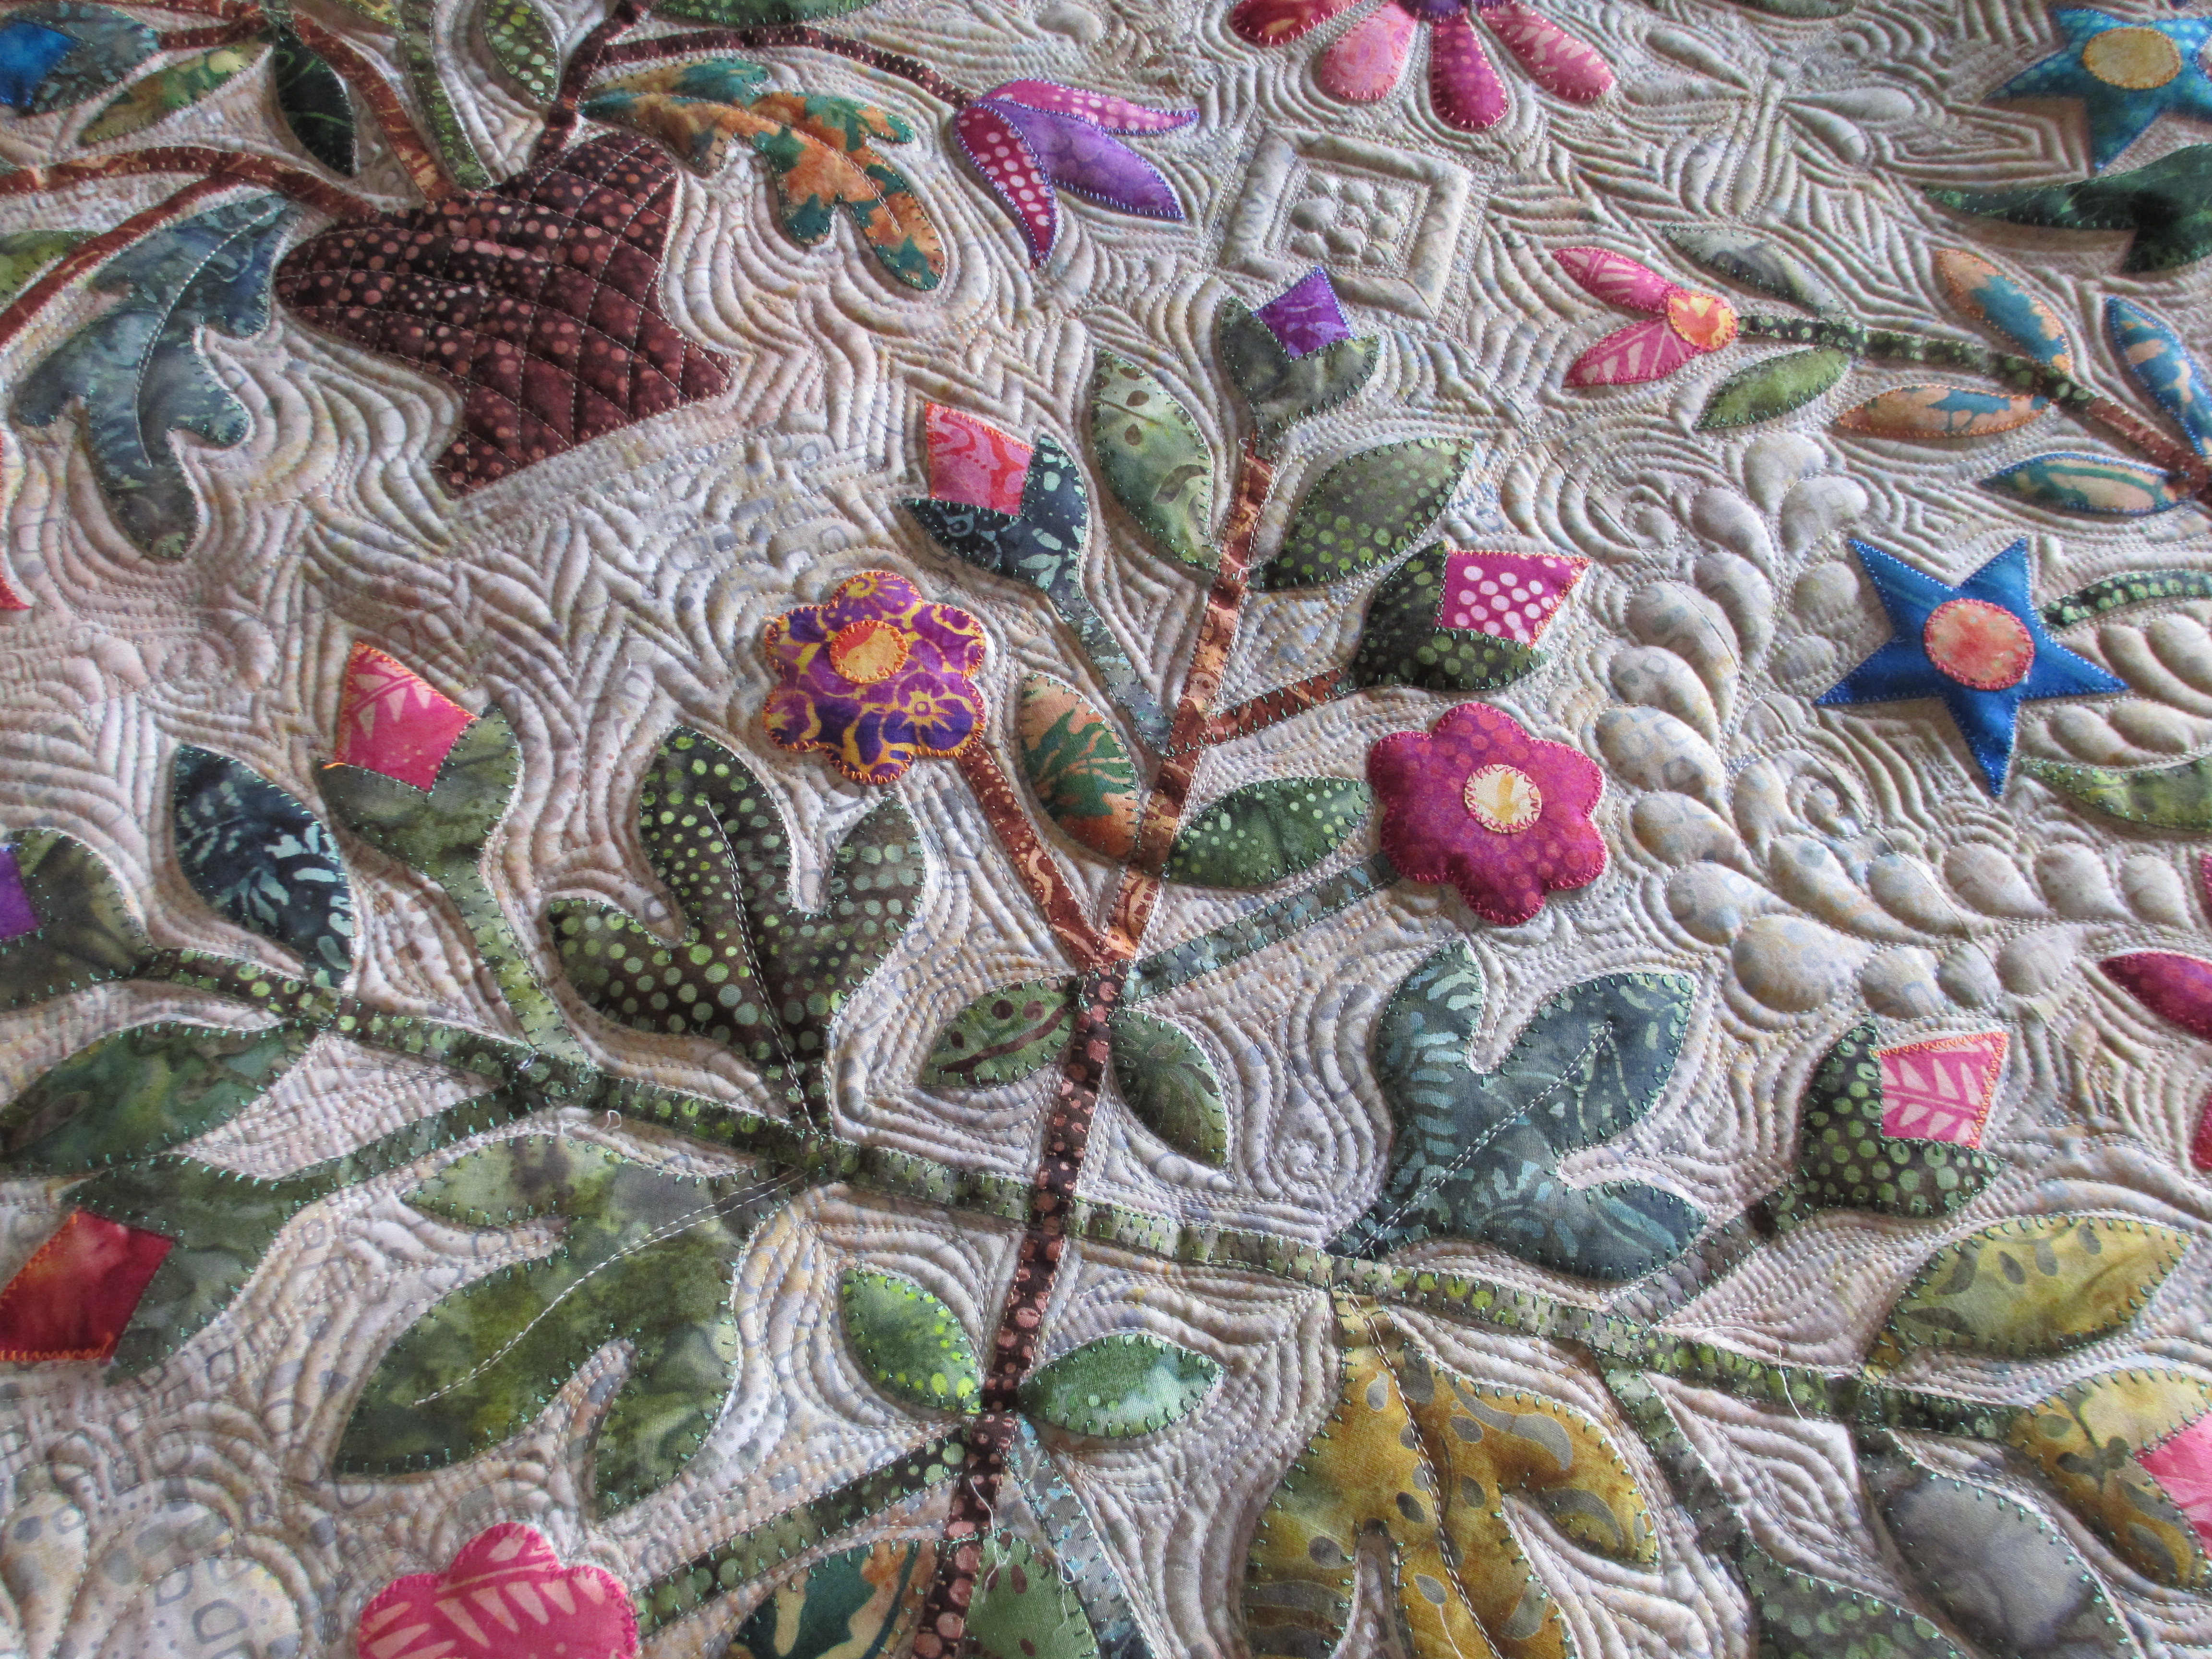
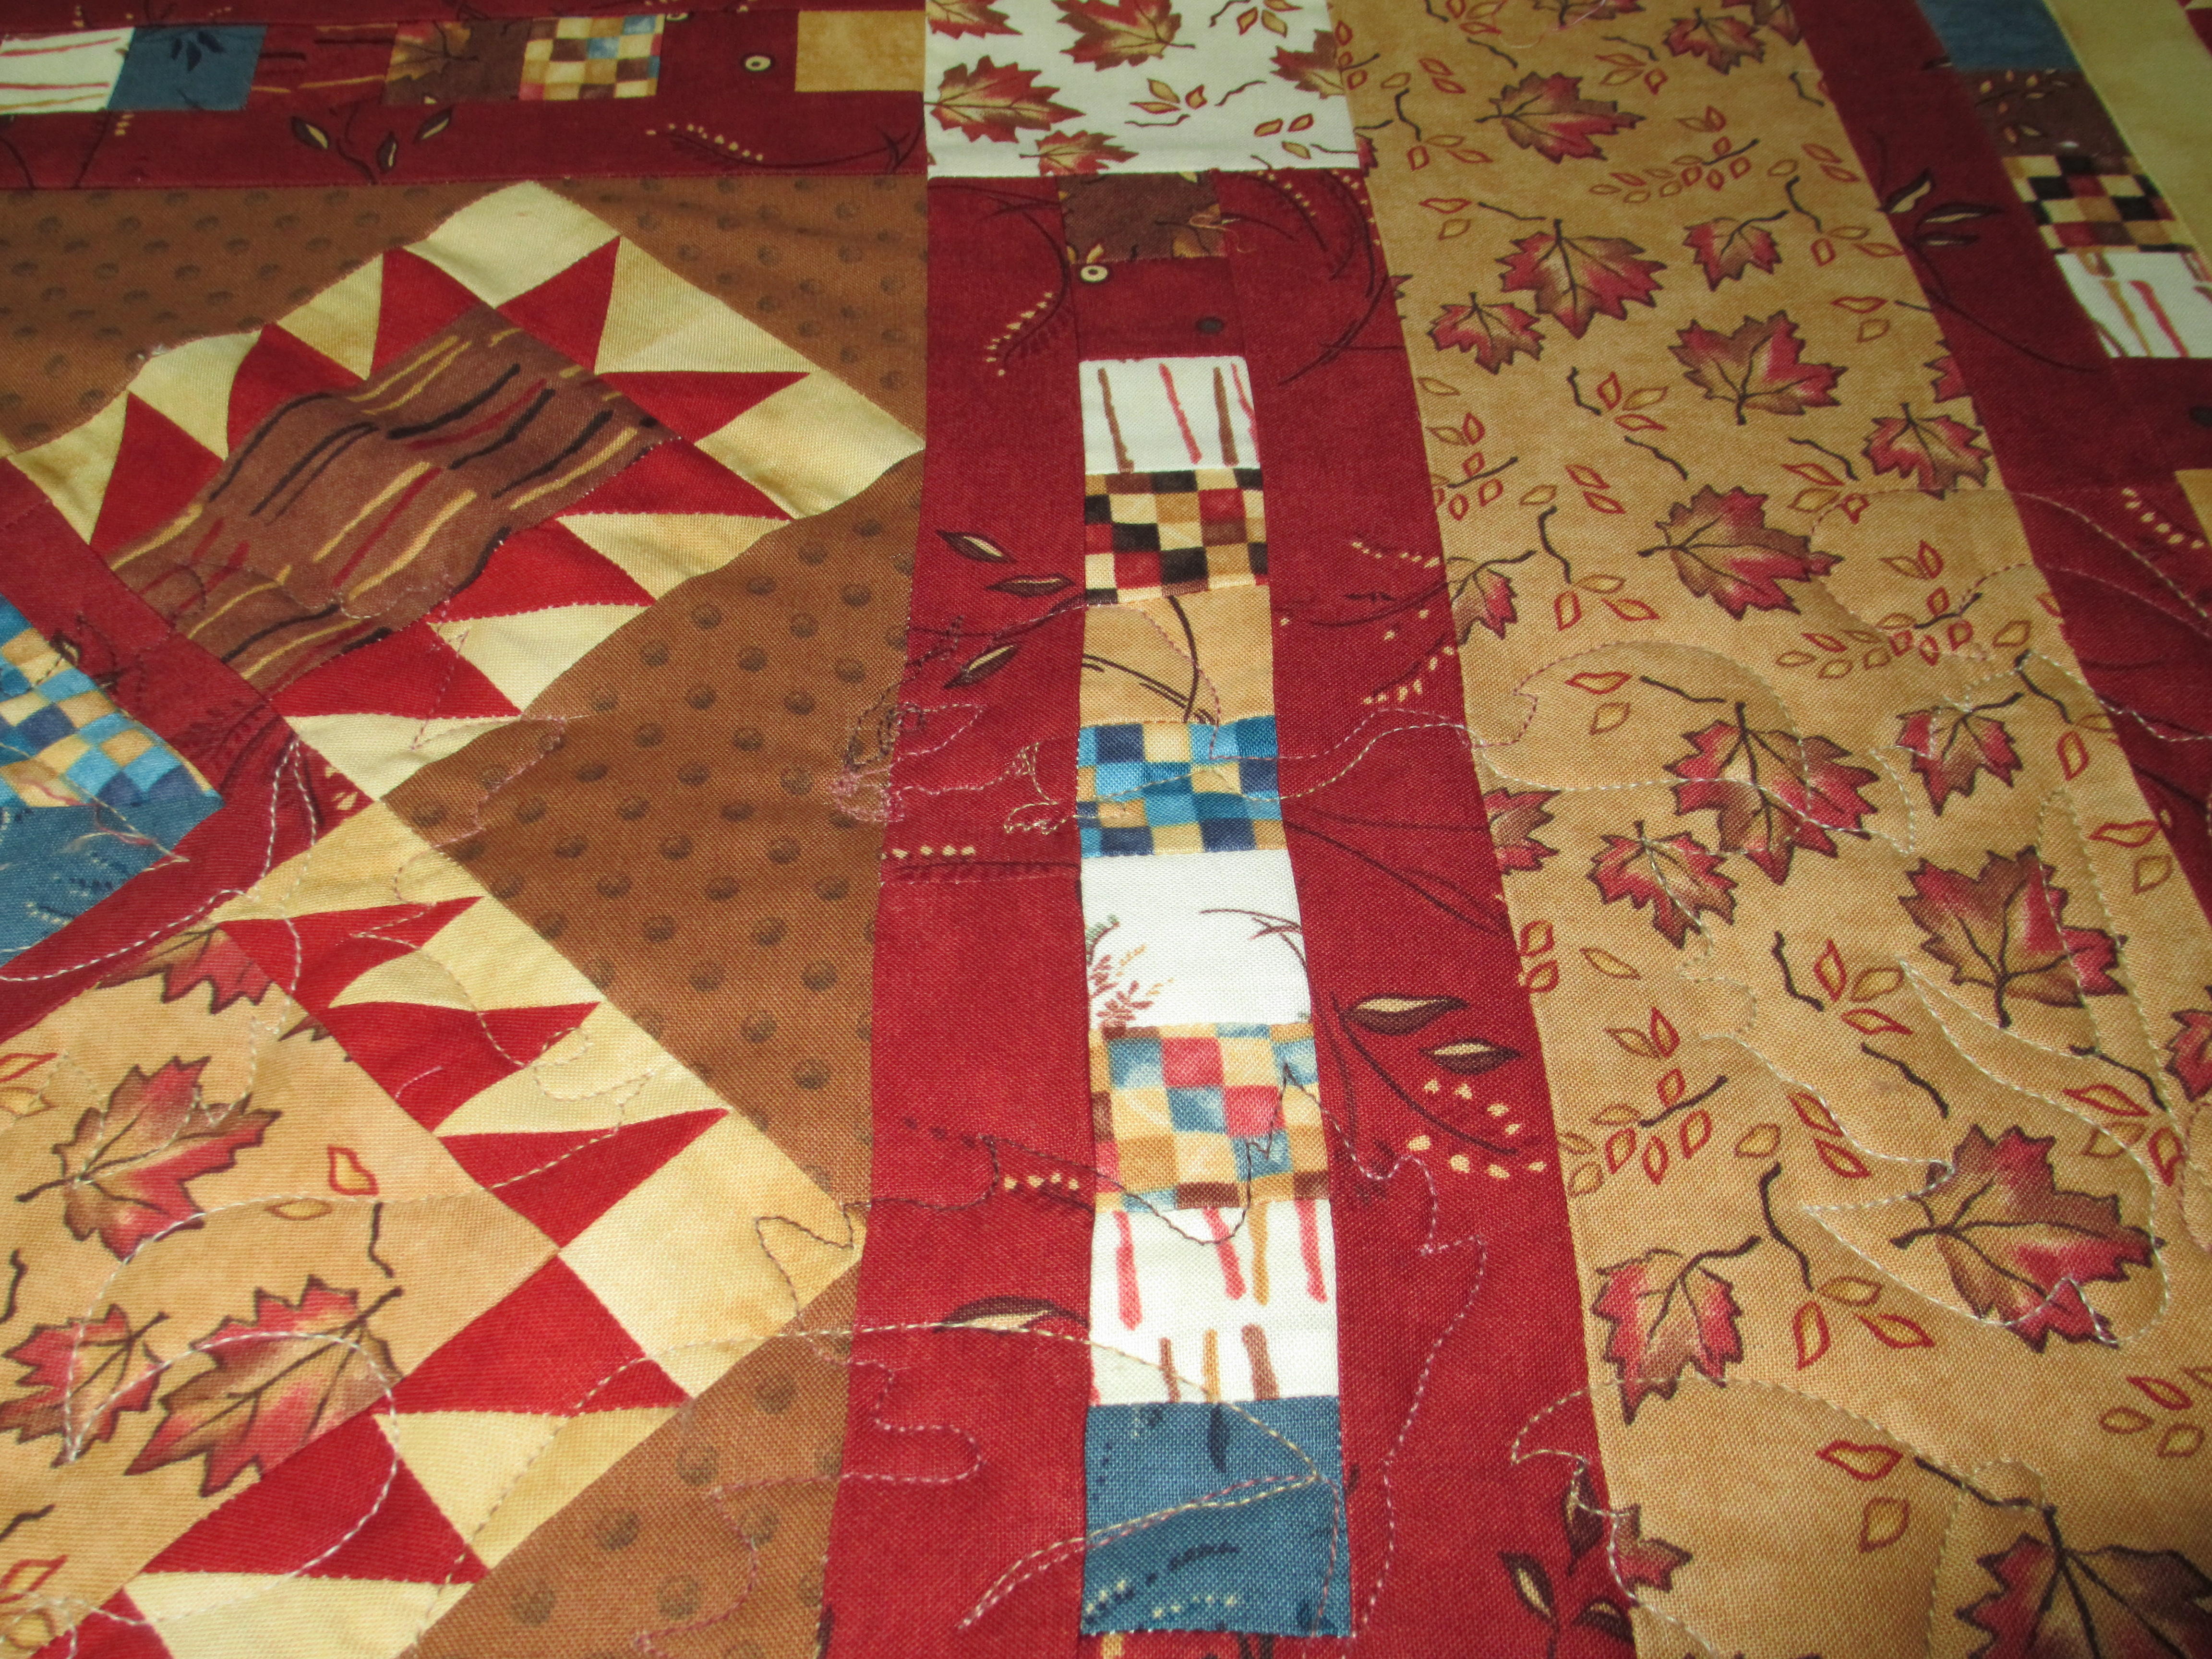
Simple swirls were stitched inside the appliqued blocks around the animals and flowers.  My instinct was to put something formal on the outside edges of the pieced blocks, but I ended up putting animal paws there instead.  They are not perfect, by any stretch of the imagination, but it’s okay (Let it go!).  The way you make these animal paws is to stitch a curvy triangle with 2 ovals going up one side and 2 ovals going back down the other side, all as a continuous path with no starts and stops.


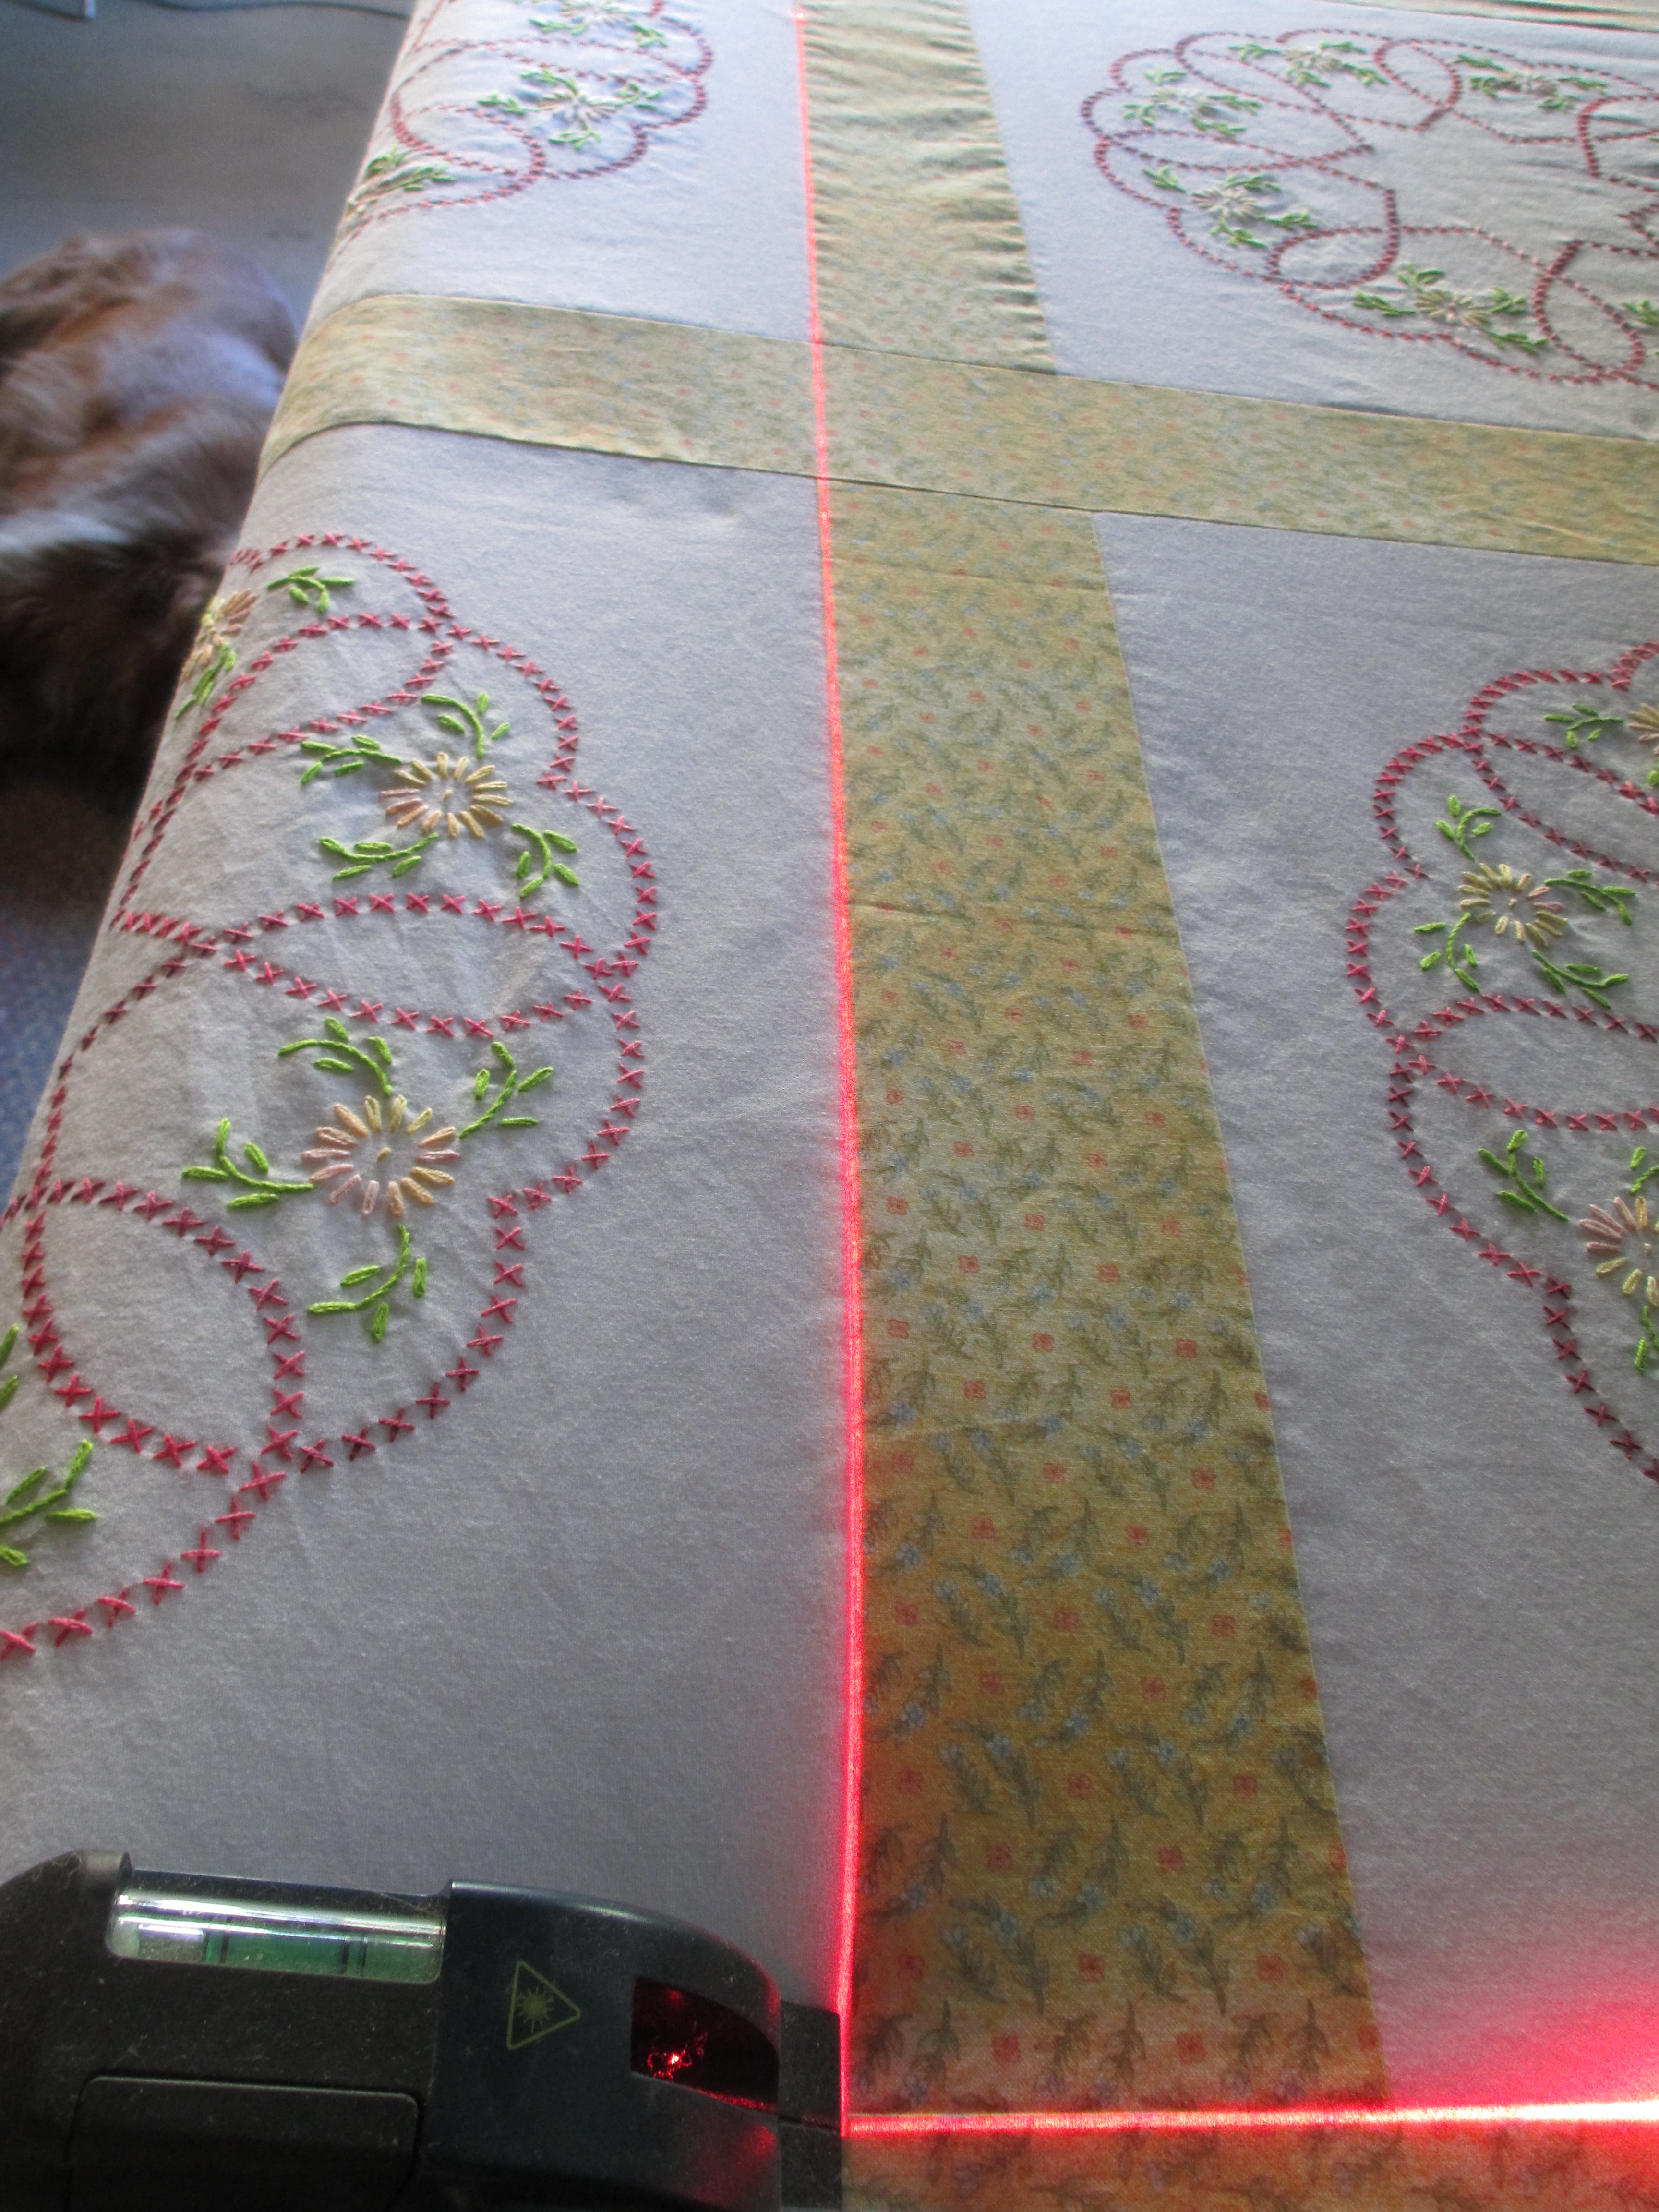
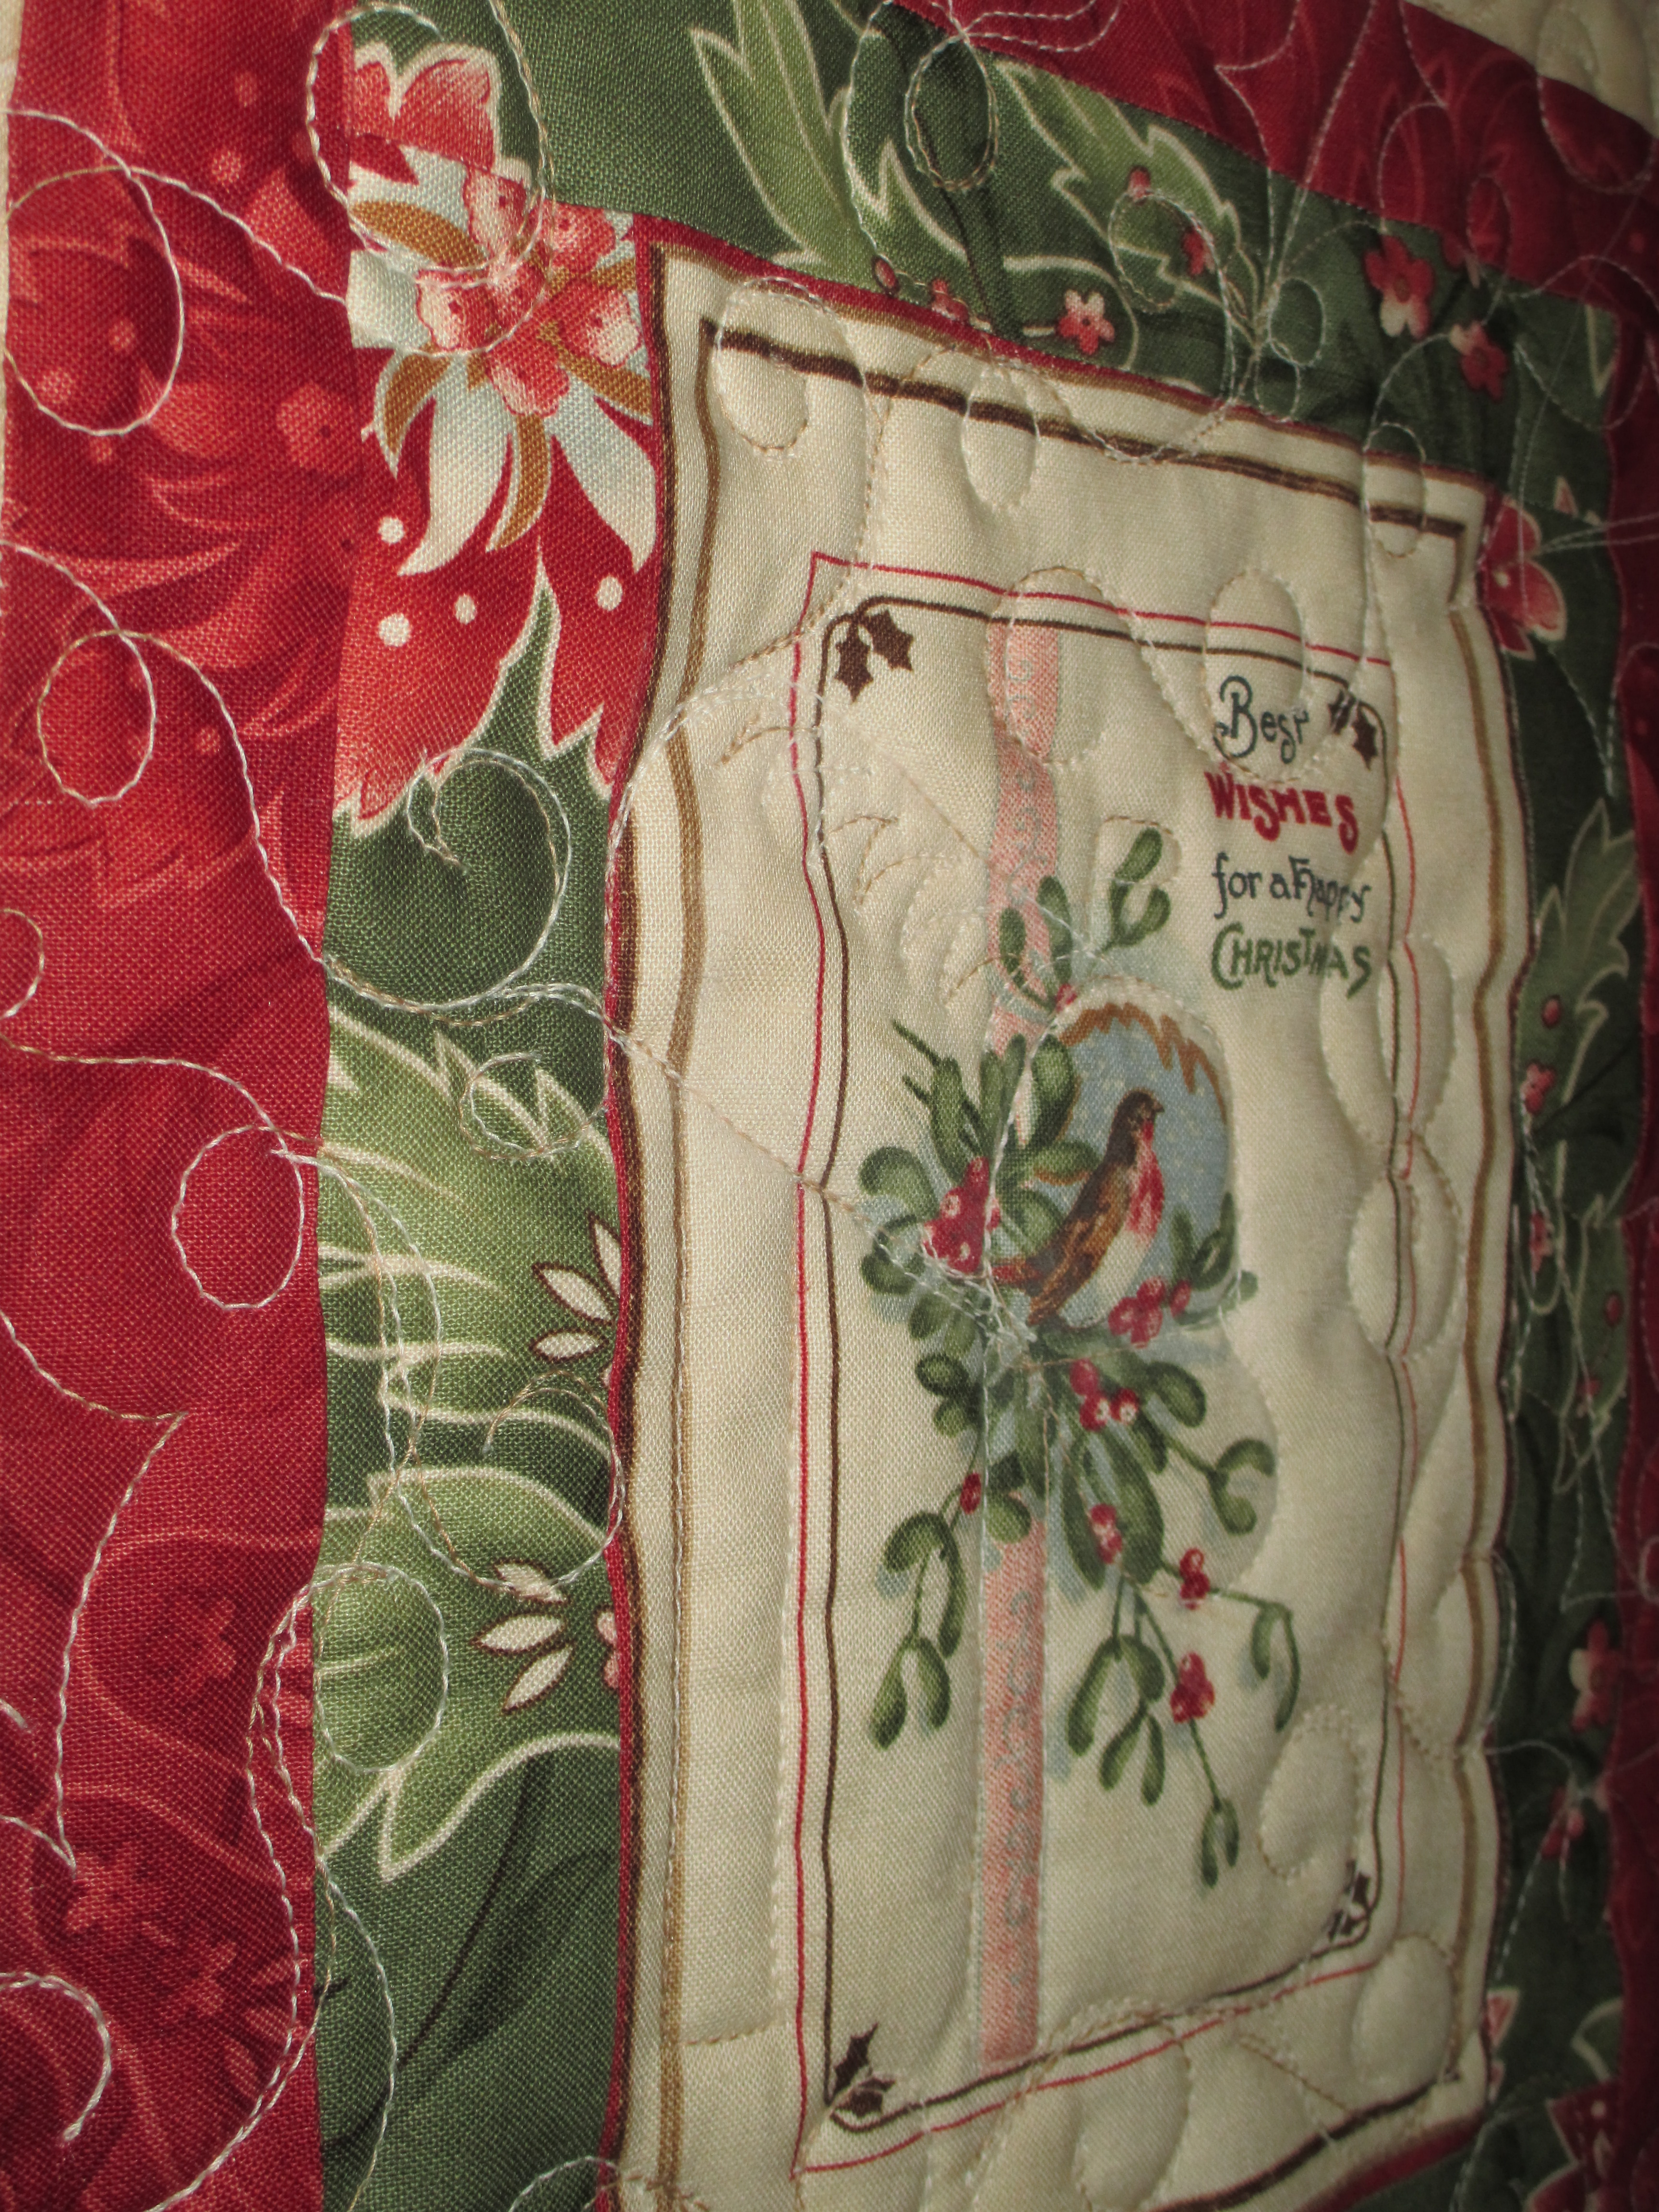
What should I do with those outside odd blocks along the border?  I could have added nature scenes, but that would involve intense stitching.  It needed to be open and flowing.  So, I opted for something formal and polished in those areas; feathers and curved cross-hatching.  Traditional feathers would be nice, but I chose bumpy ones to mimic butterfly wings.

I did sneak some playfulness into some of those areas.


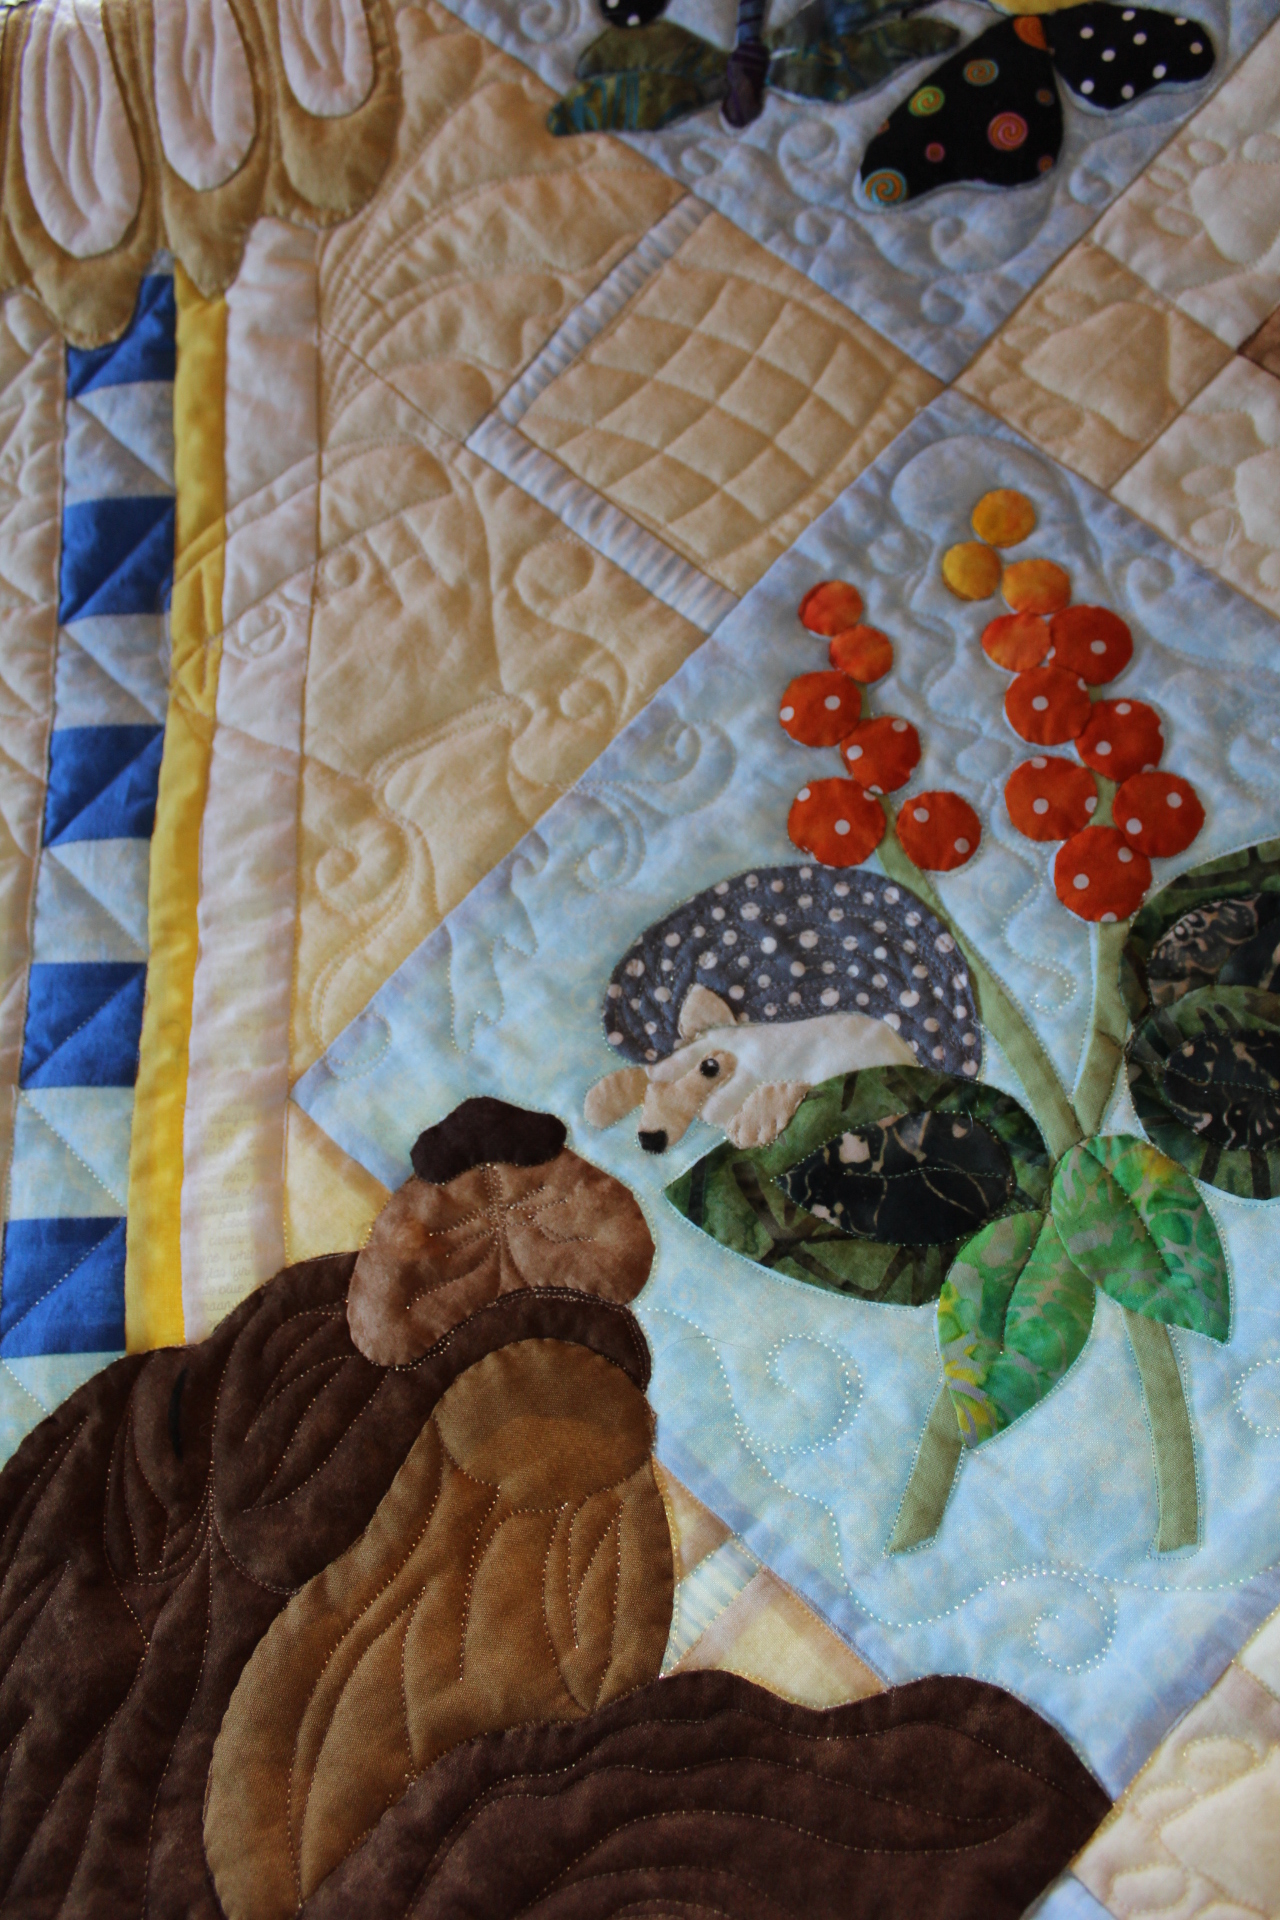
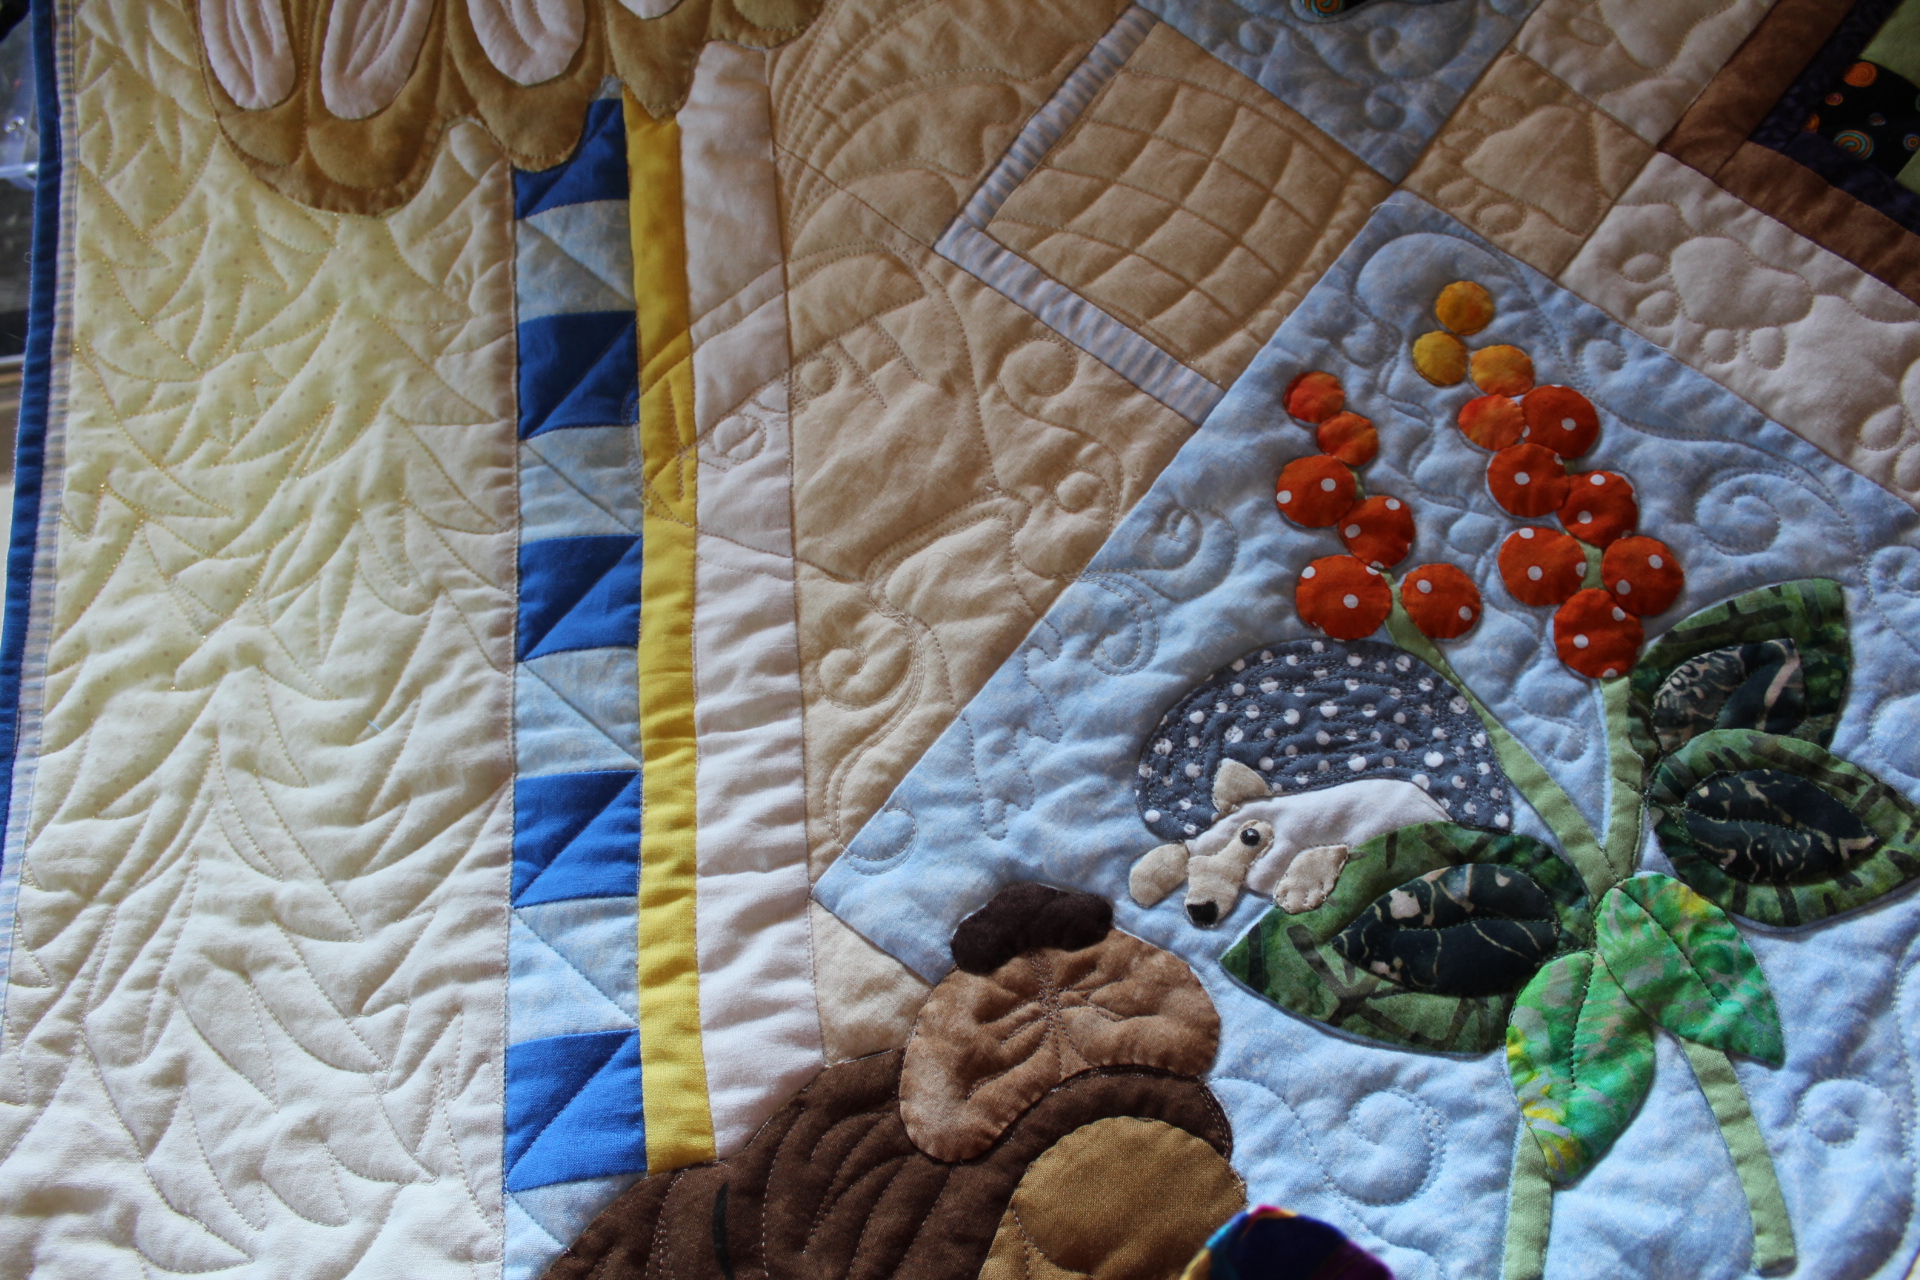
As for the borders, I started at the bottom and stitched a very loose fern to mimic a grassy look.

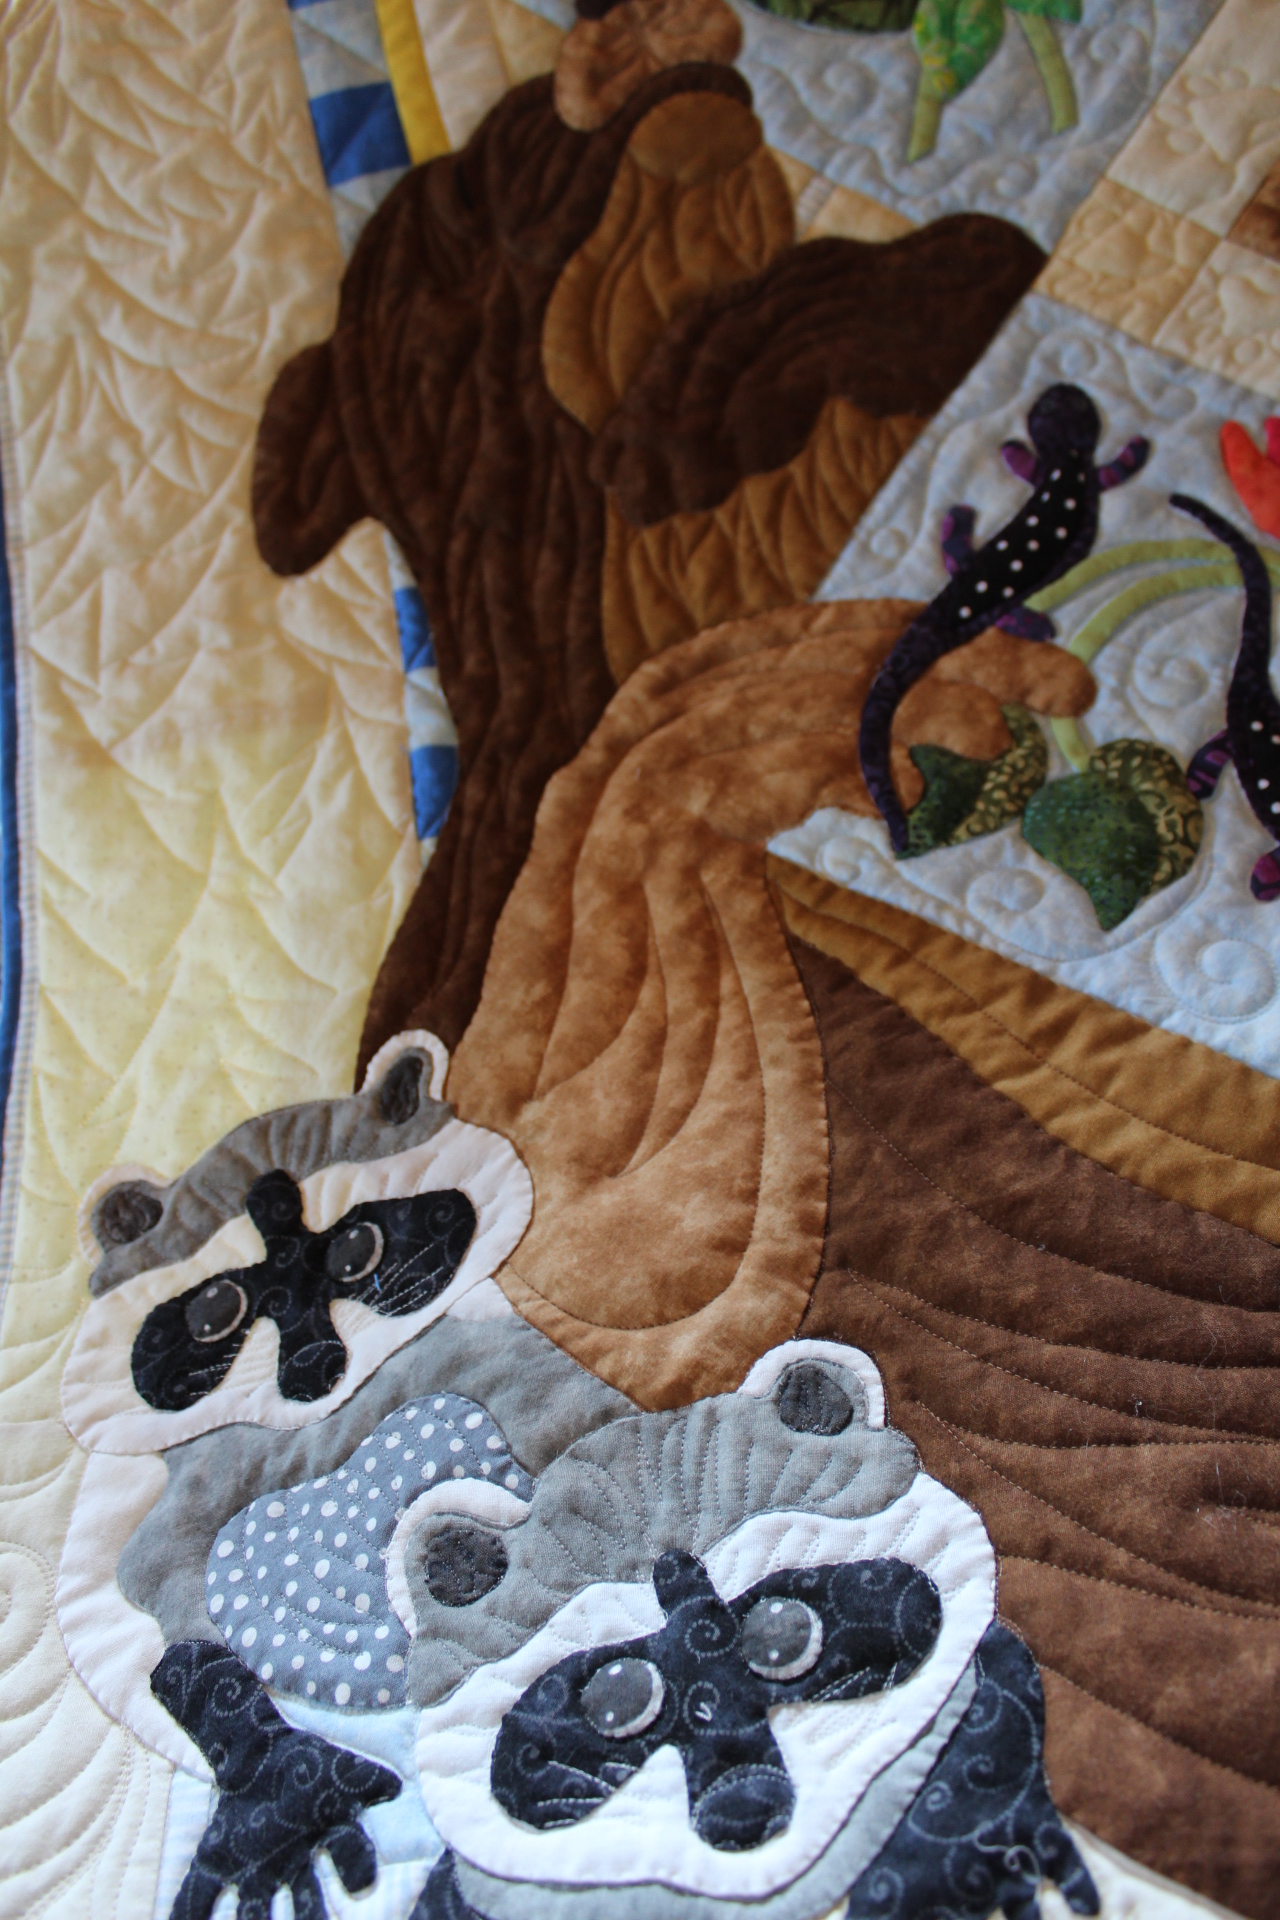
Moving up the sides, I stitched pine trees on the left by the raccoons and bear.  My pine trees got worse as I stitched more and more of them (Let it go!) up towards the owl.

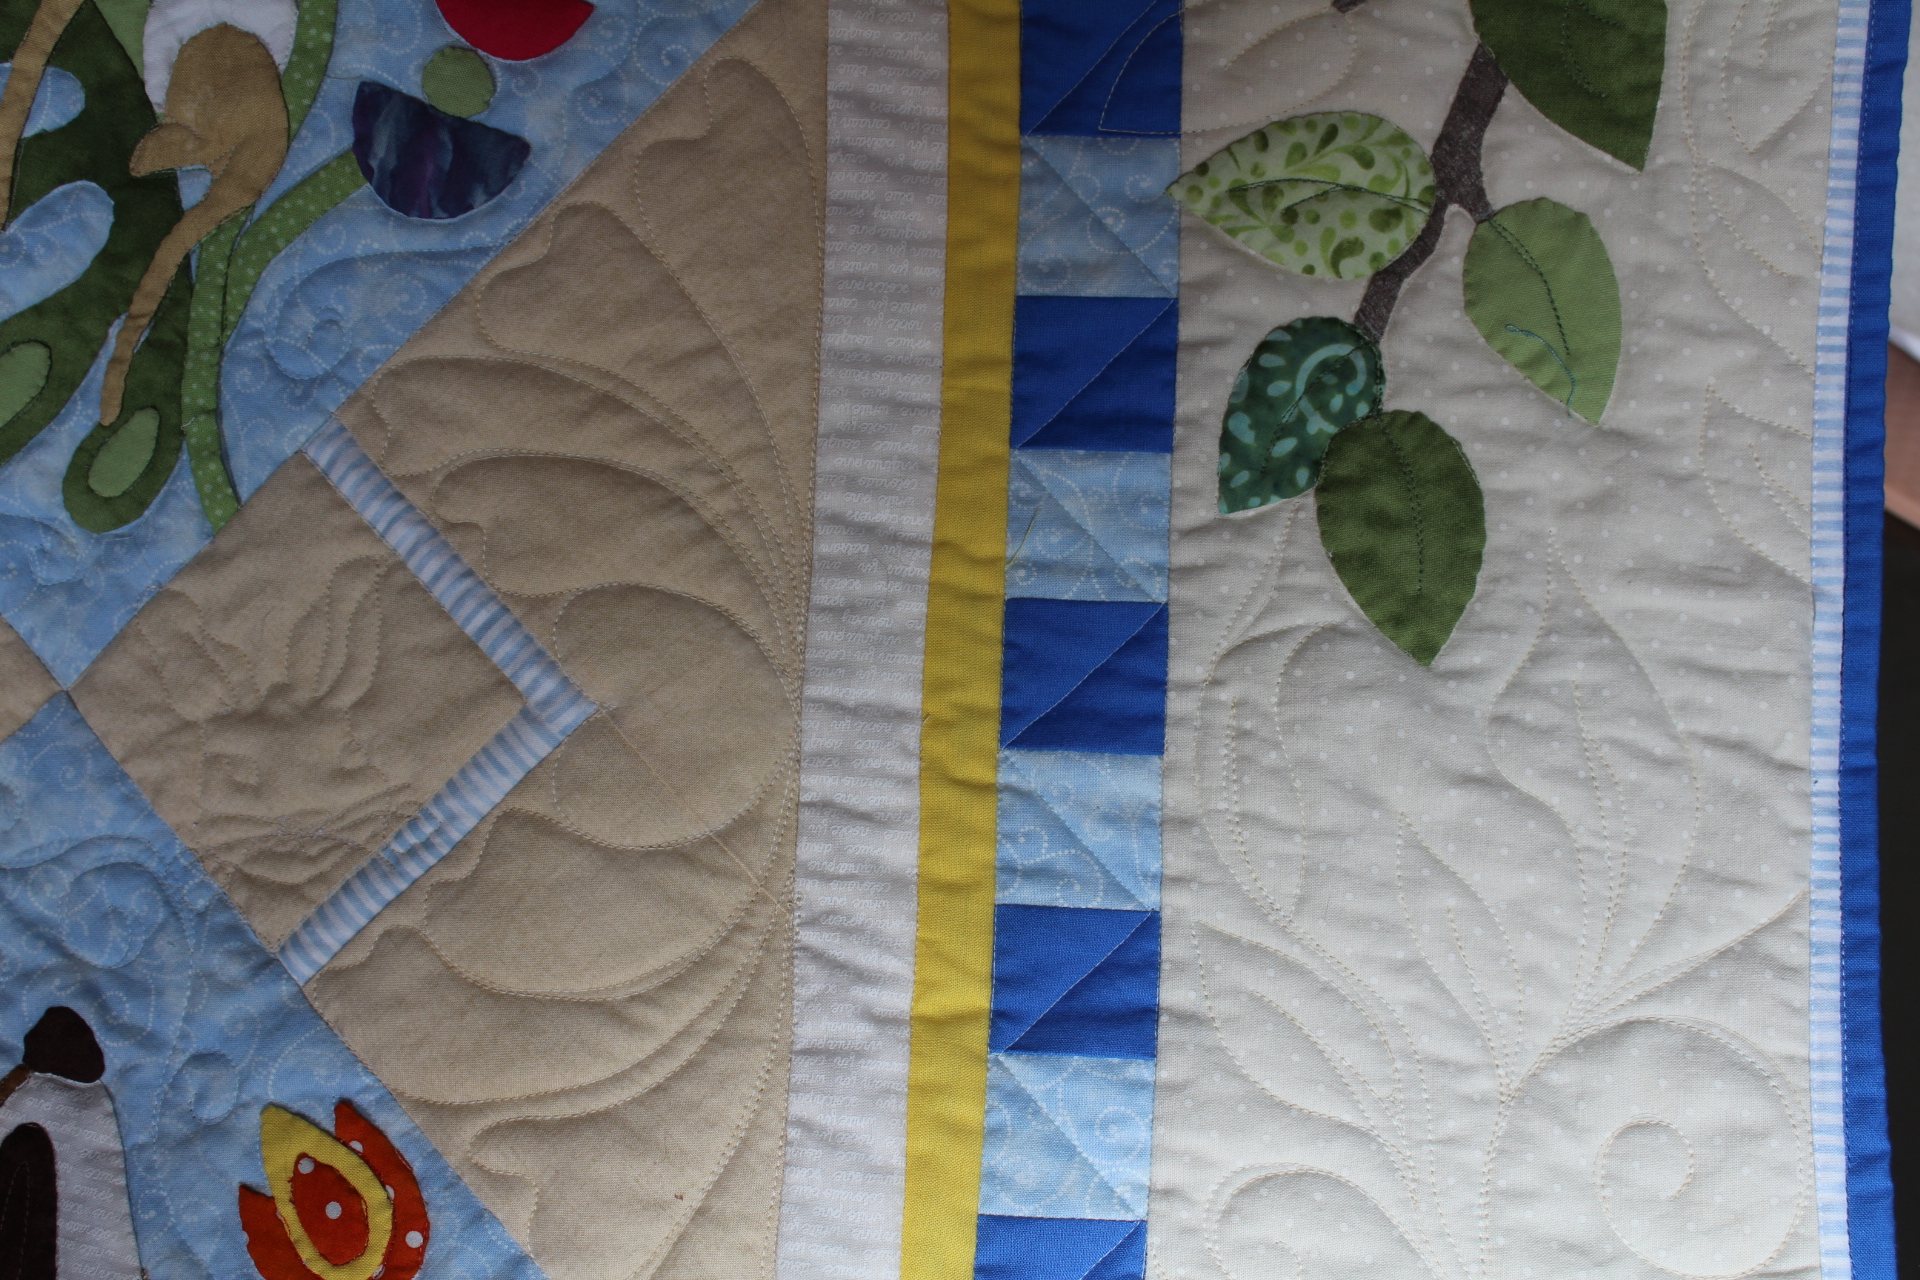
On the right, I transitioned the ferns into leafy vines to meet the squirrels at the top.

At the top I transitioned the leafy vines to meet the rays of whatever that circle thing is around the owl’s head.  It could be the moon.  Or, it could be the sun.  Whatever your imagination sees is what it is.

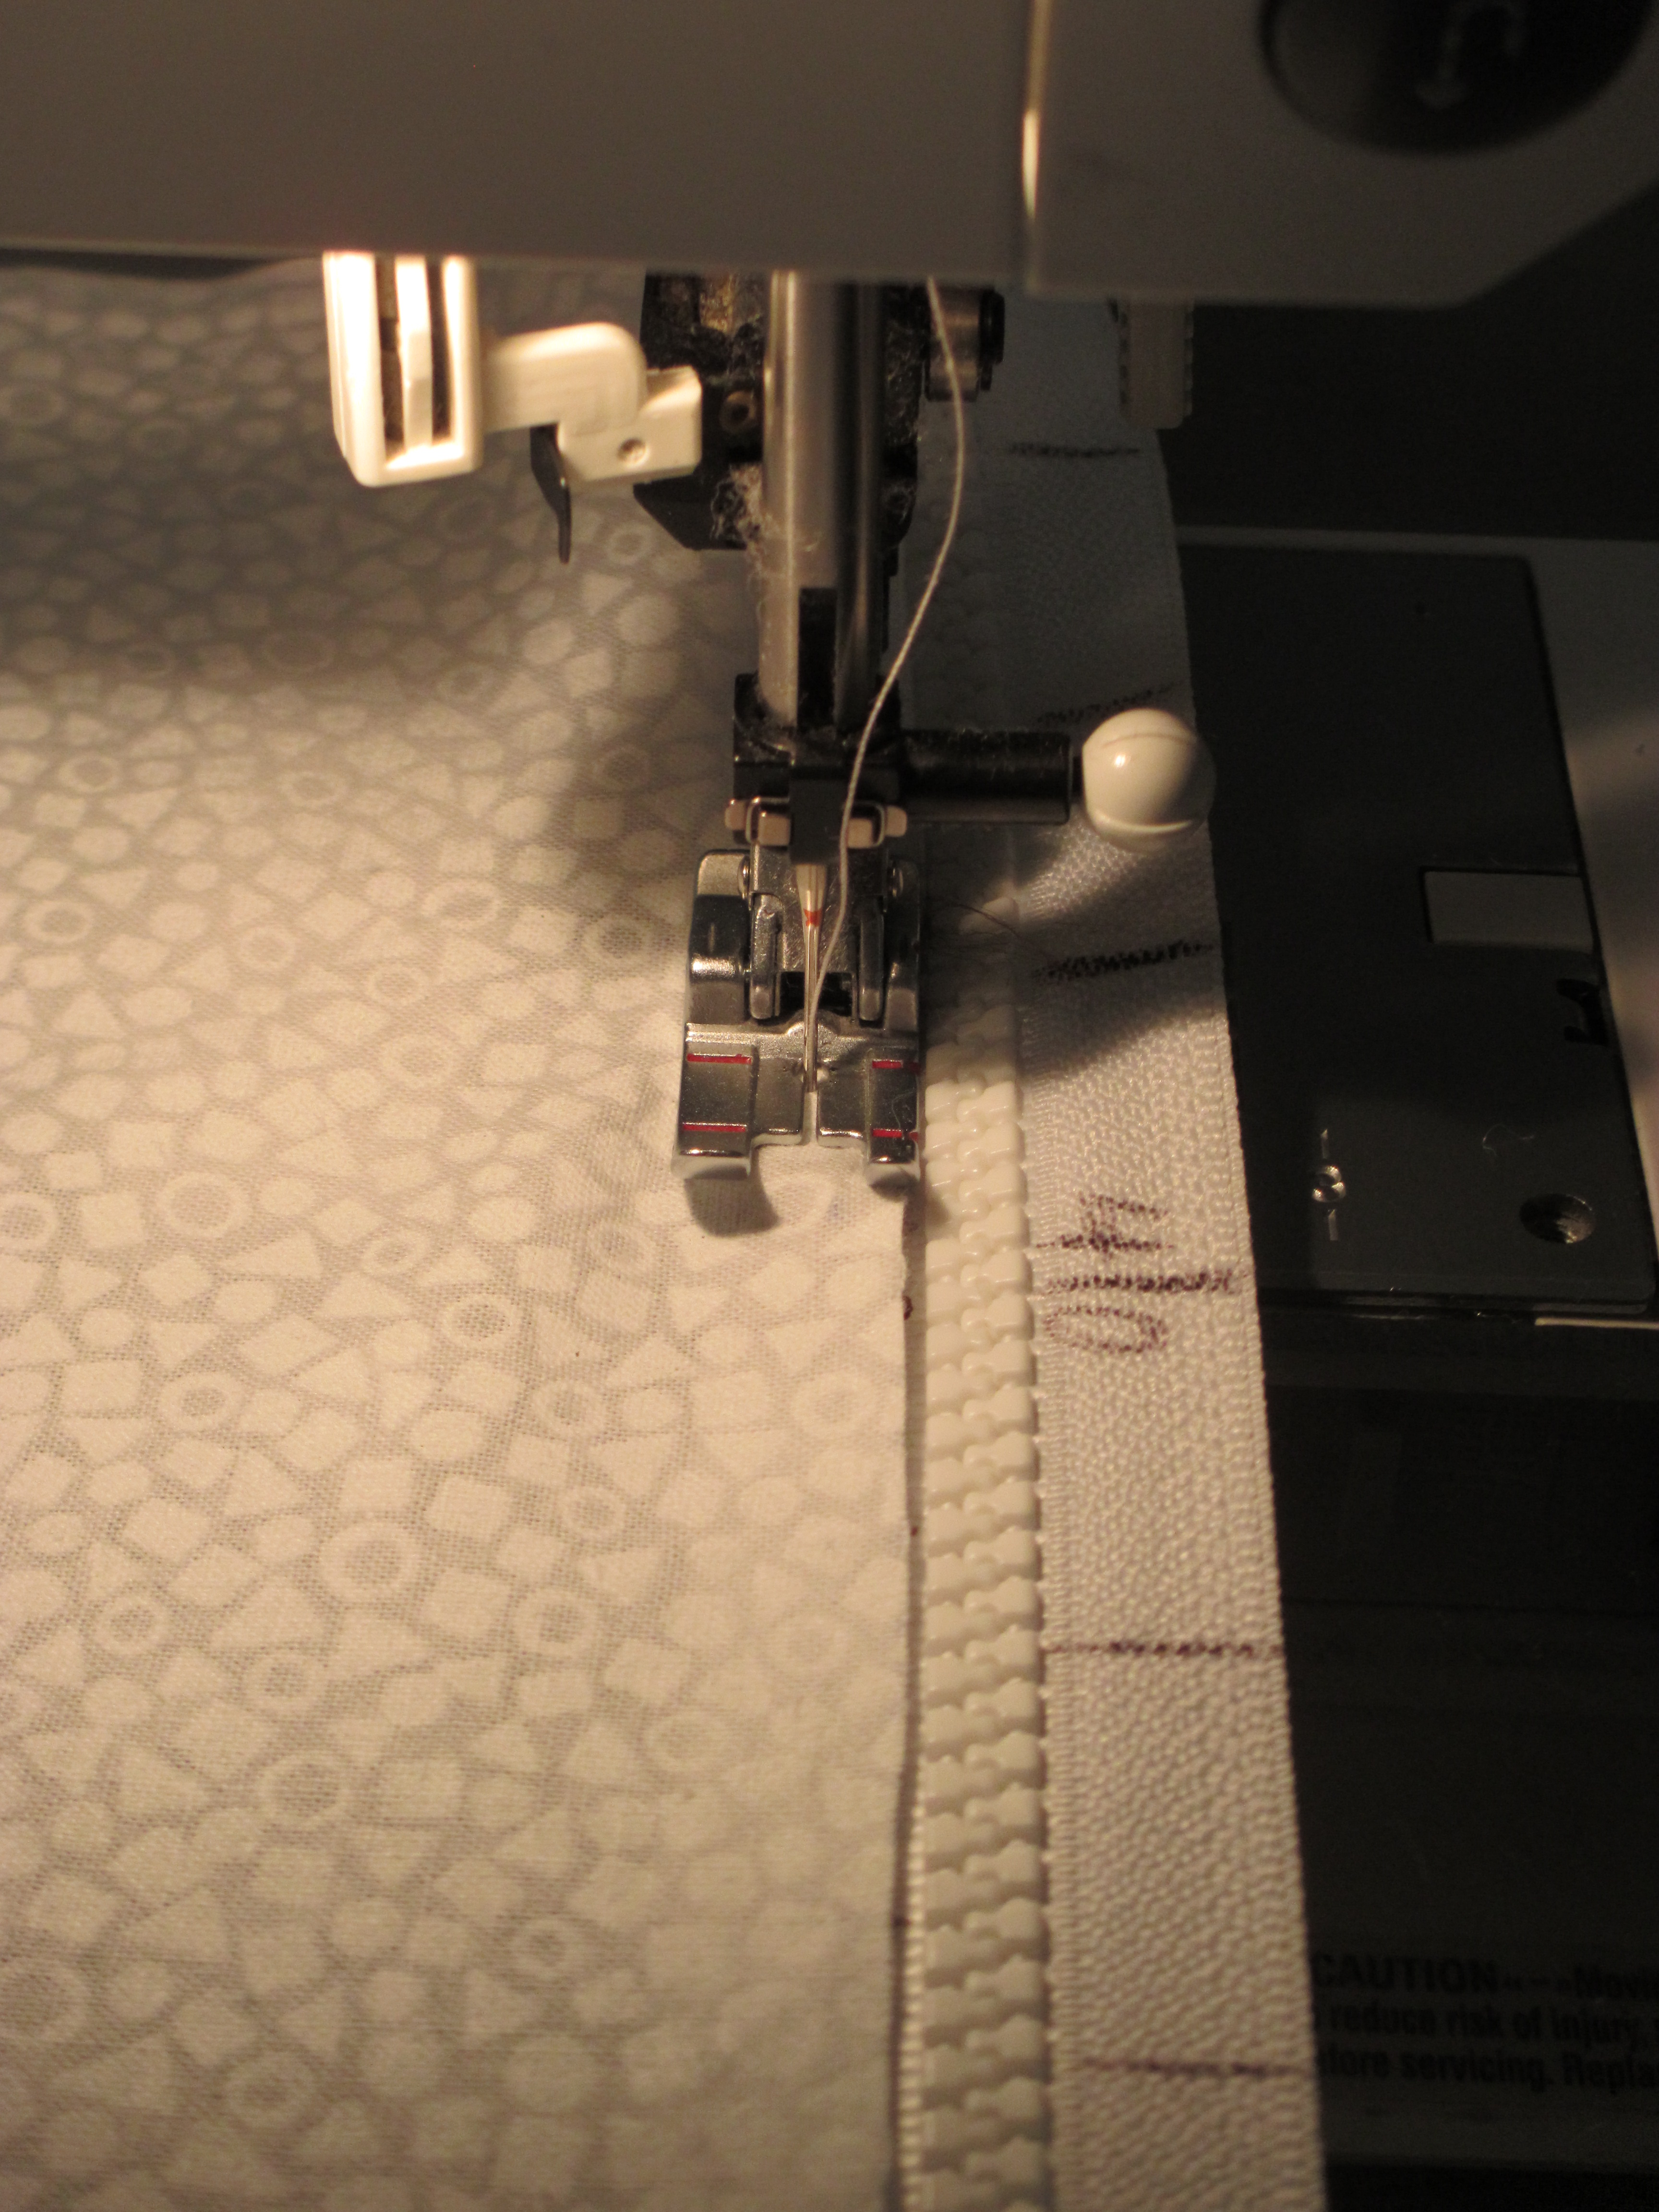
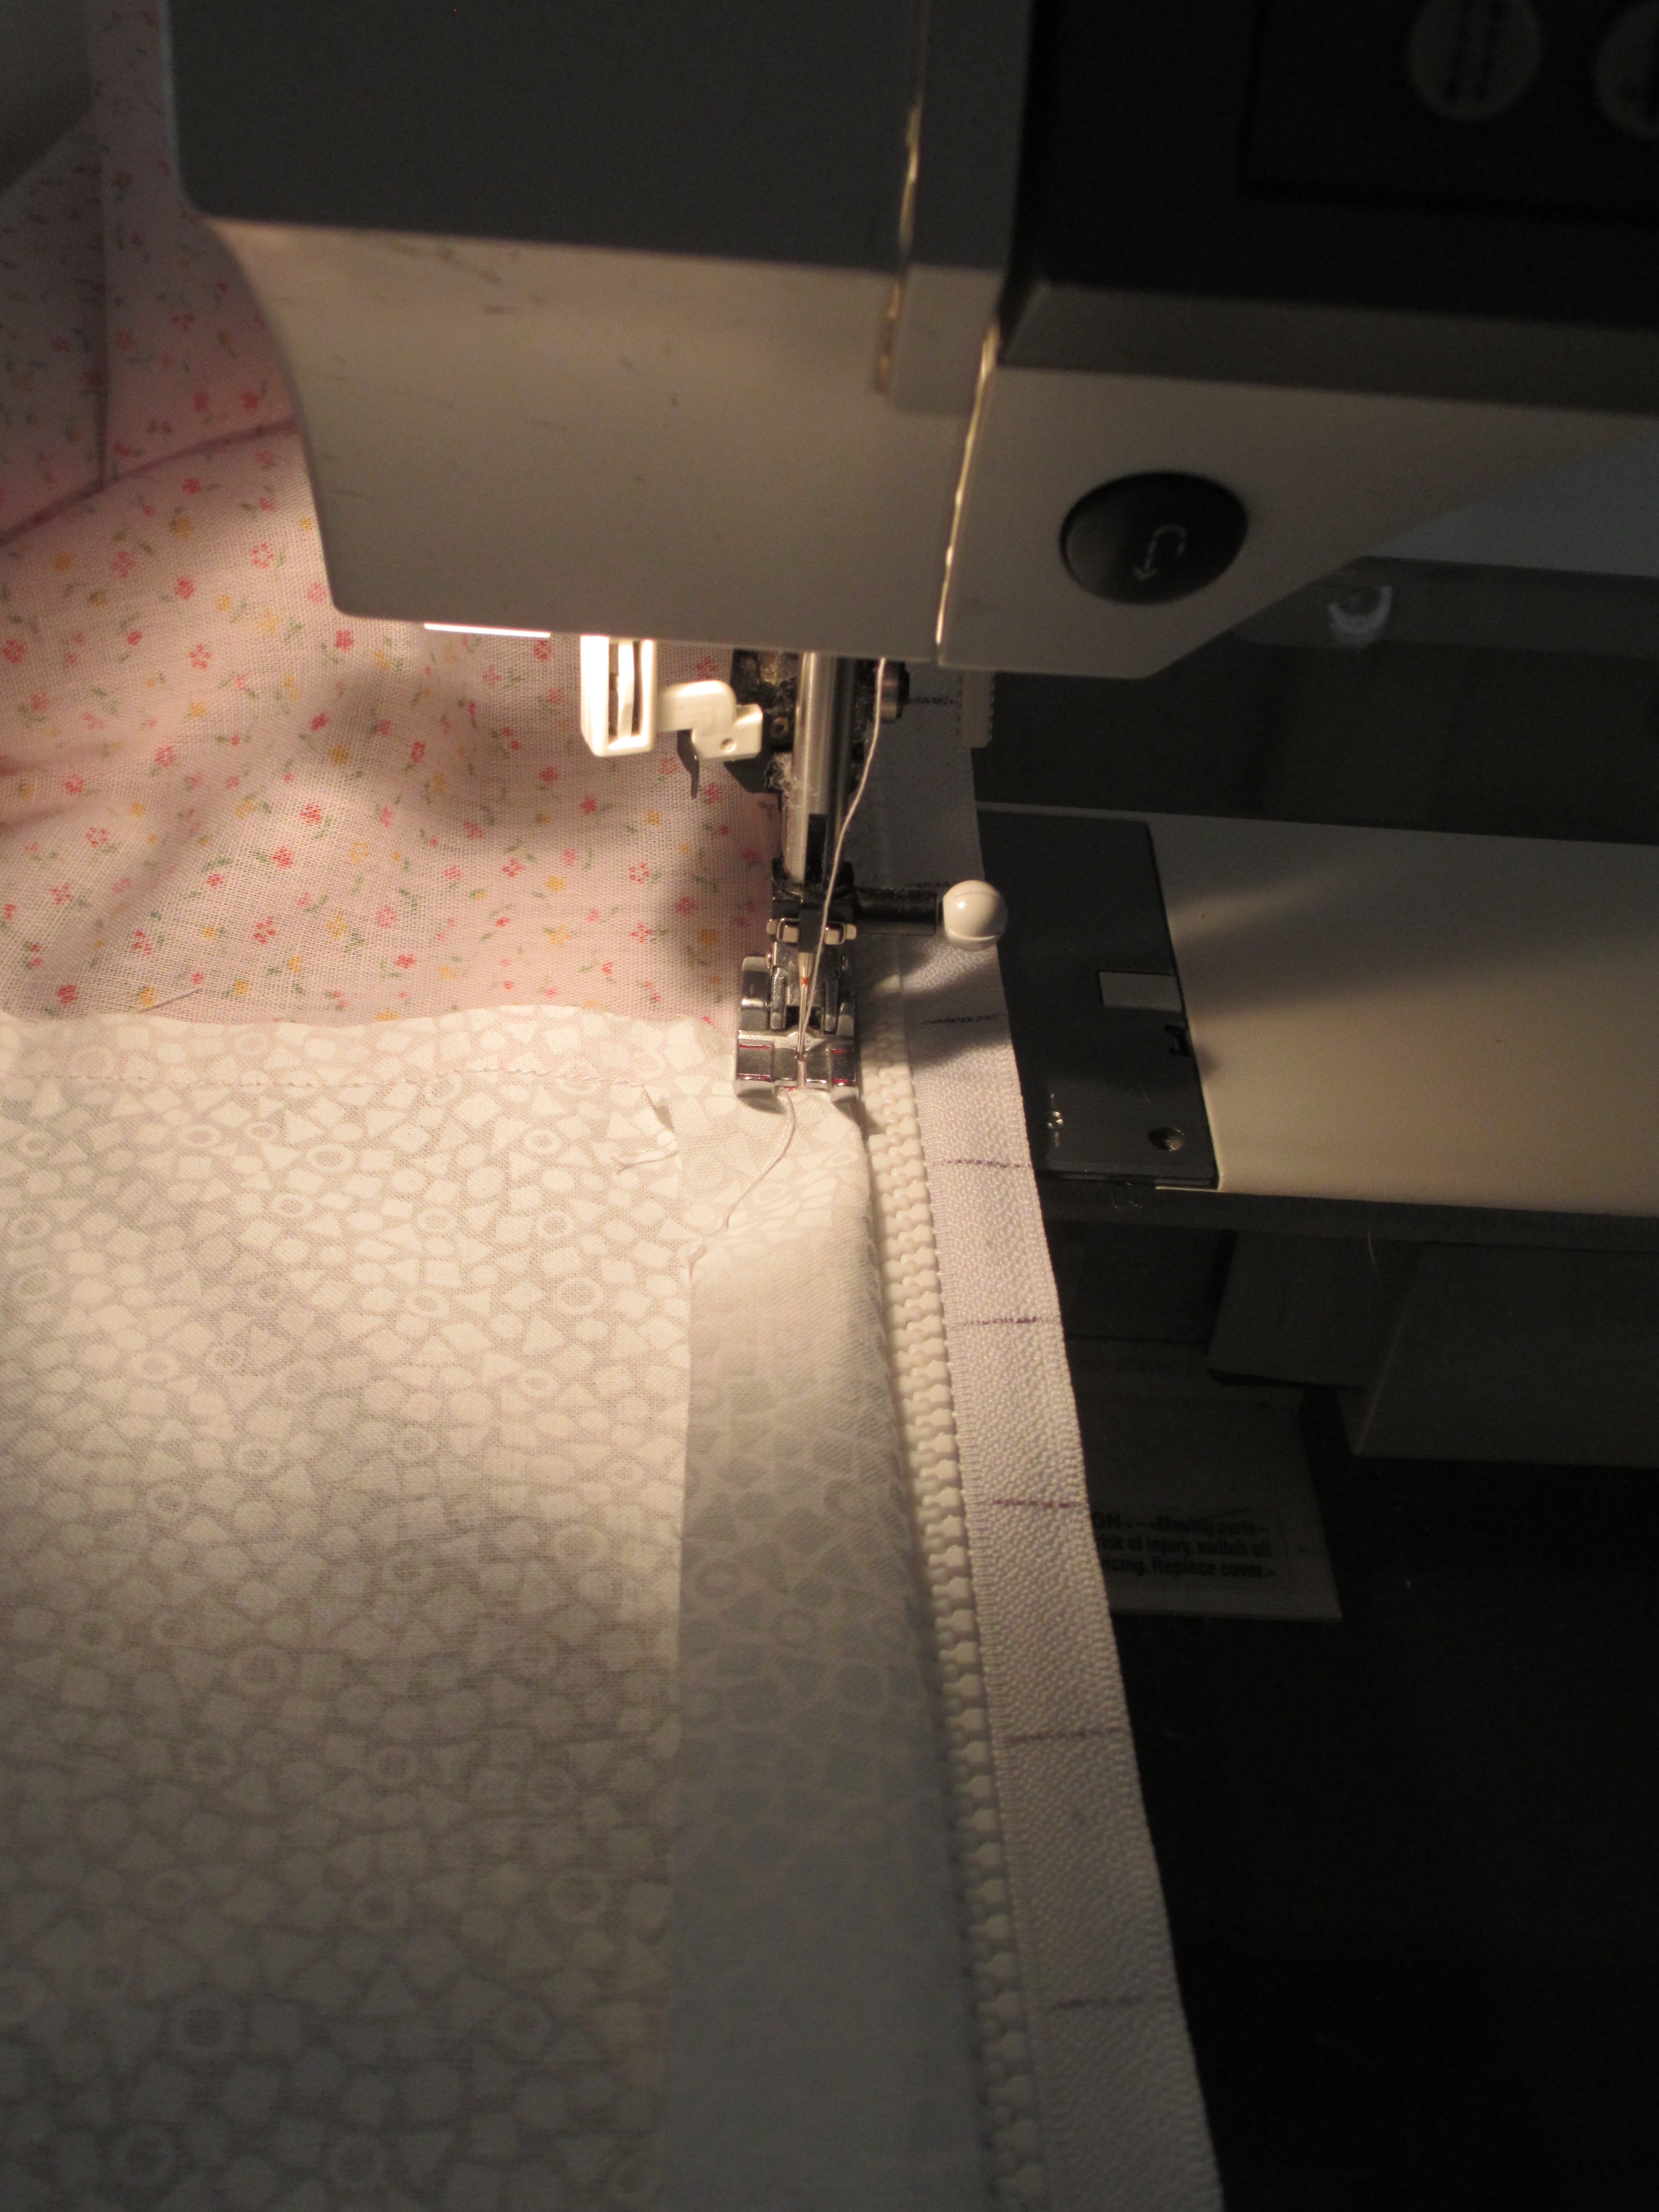
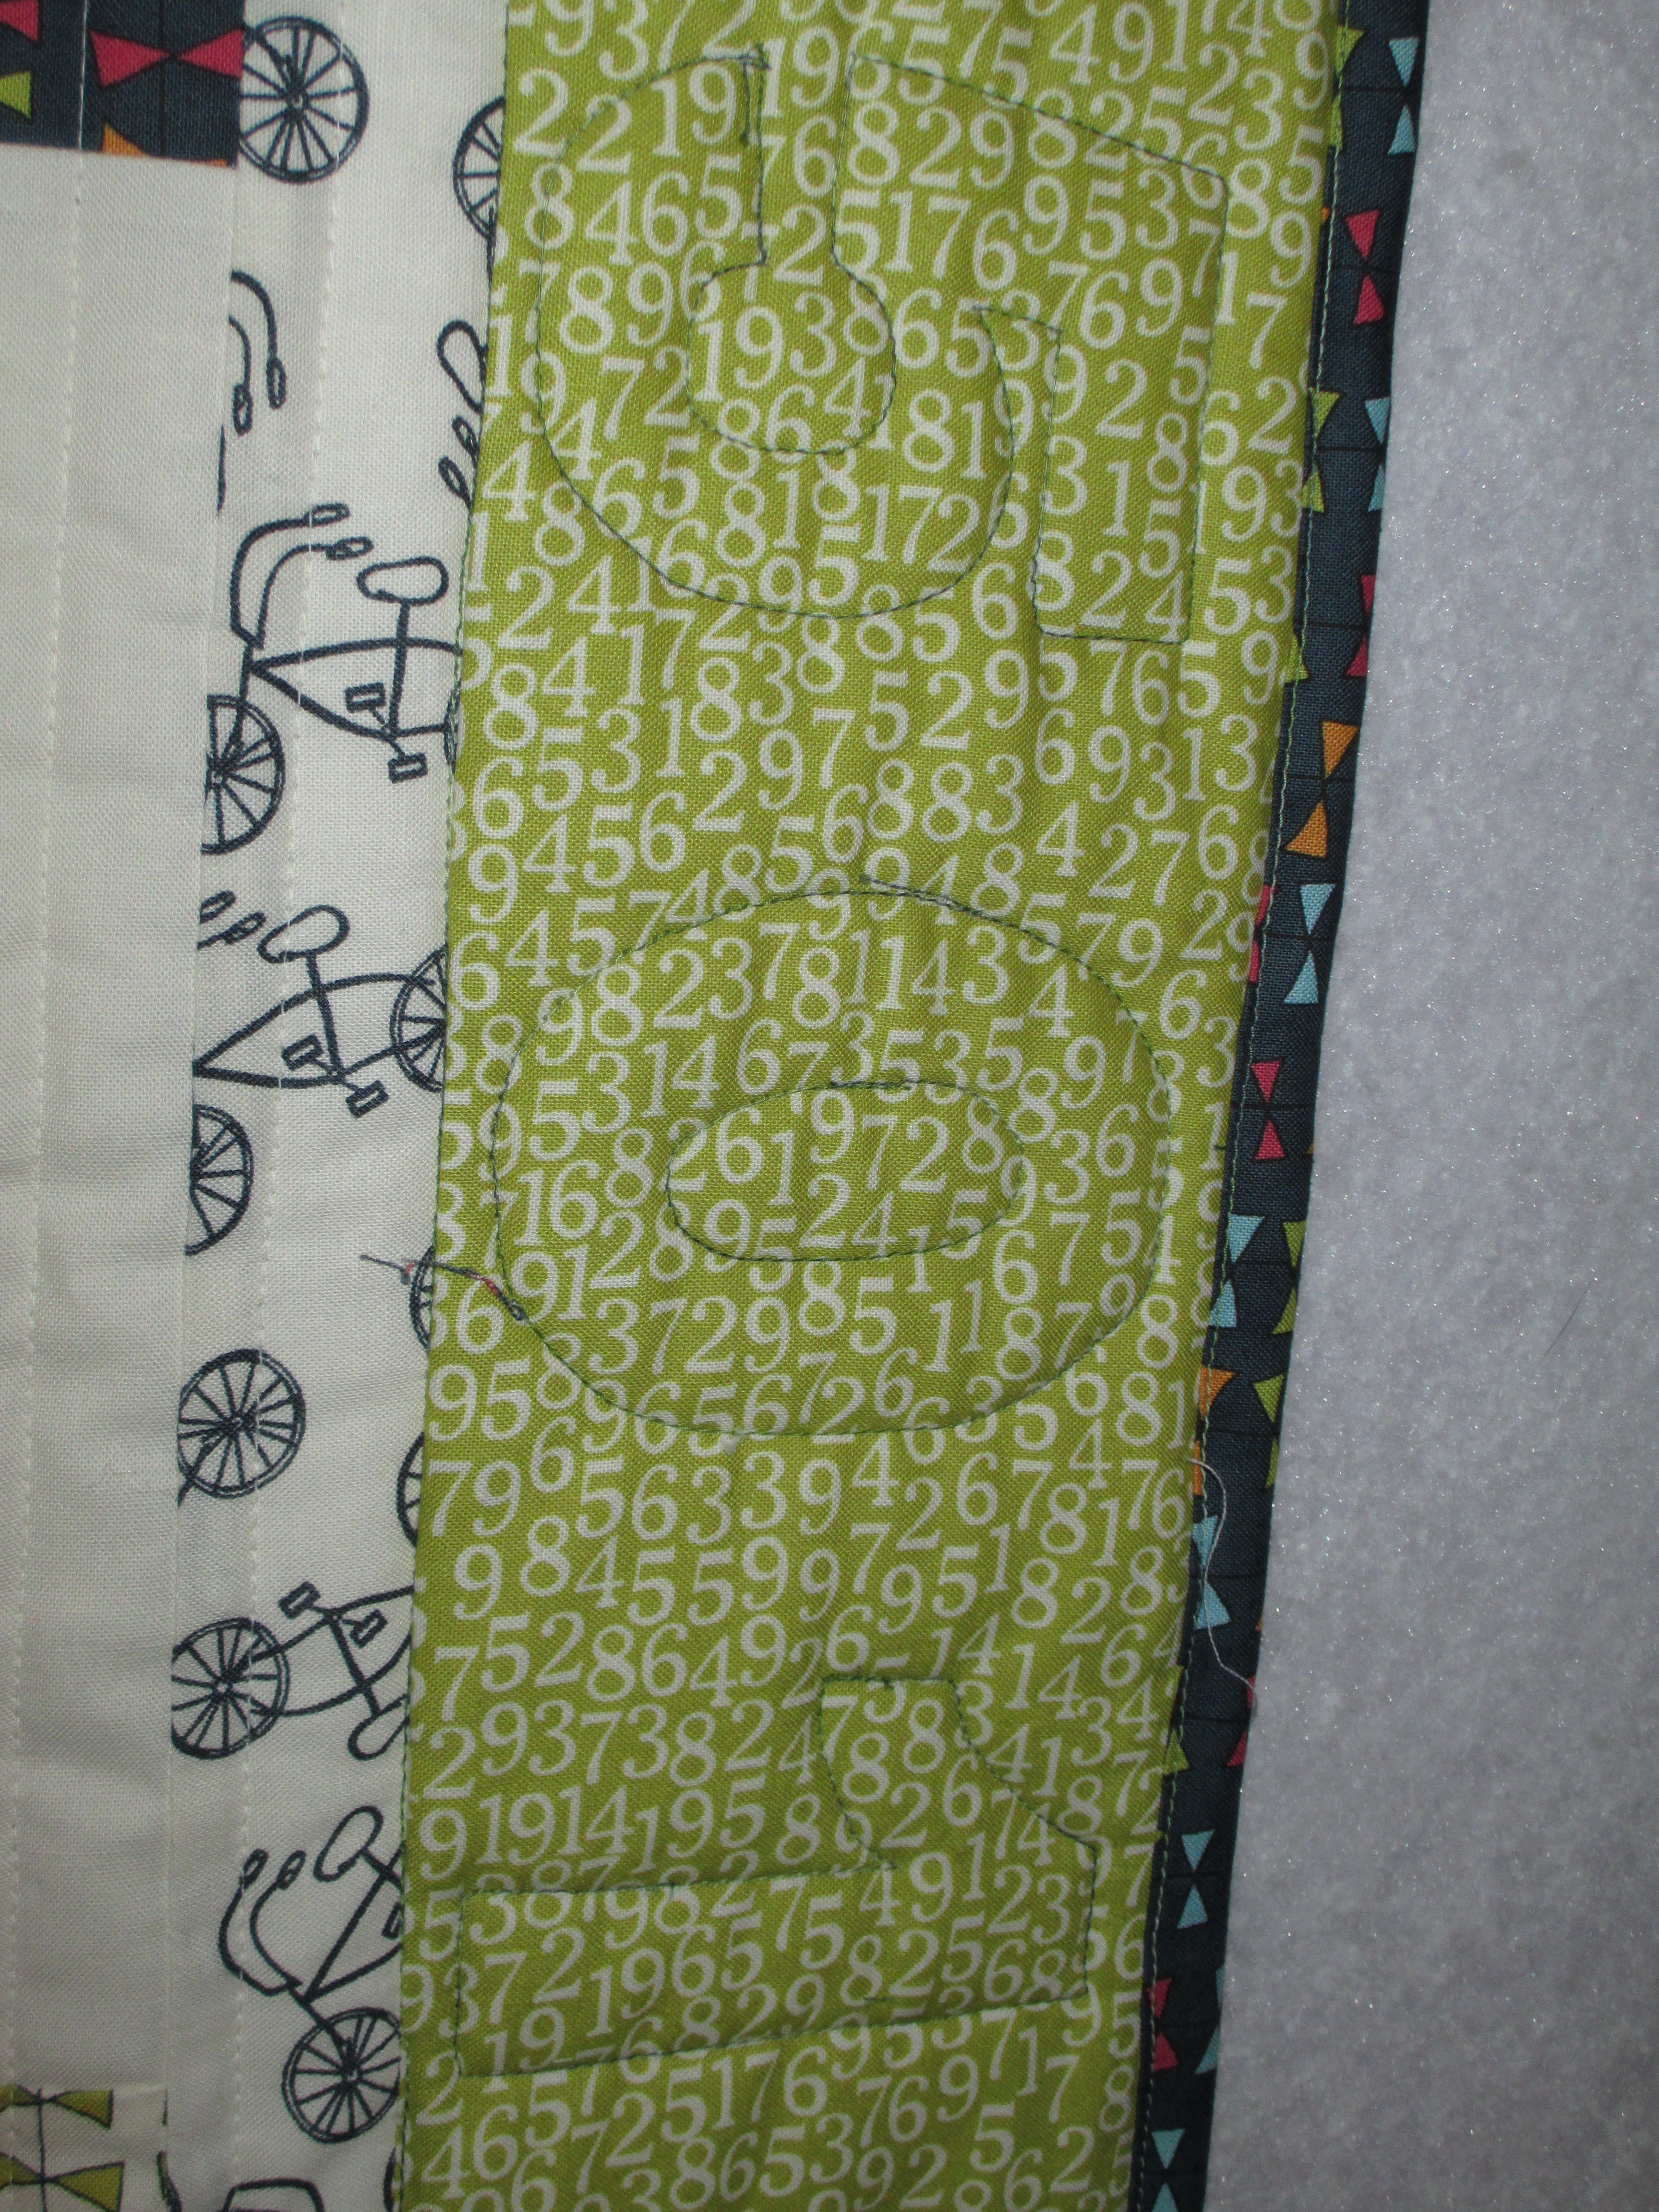
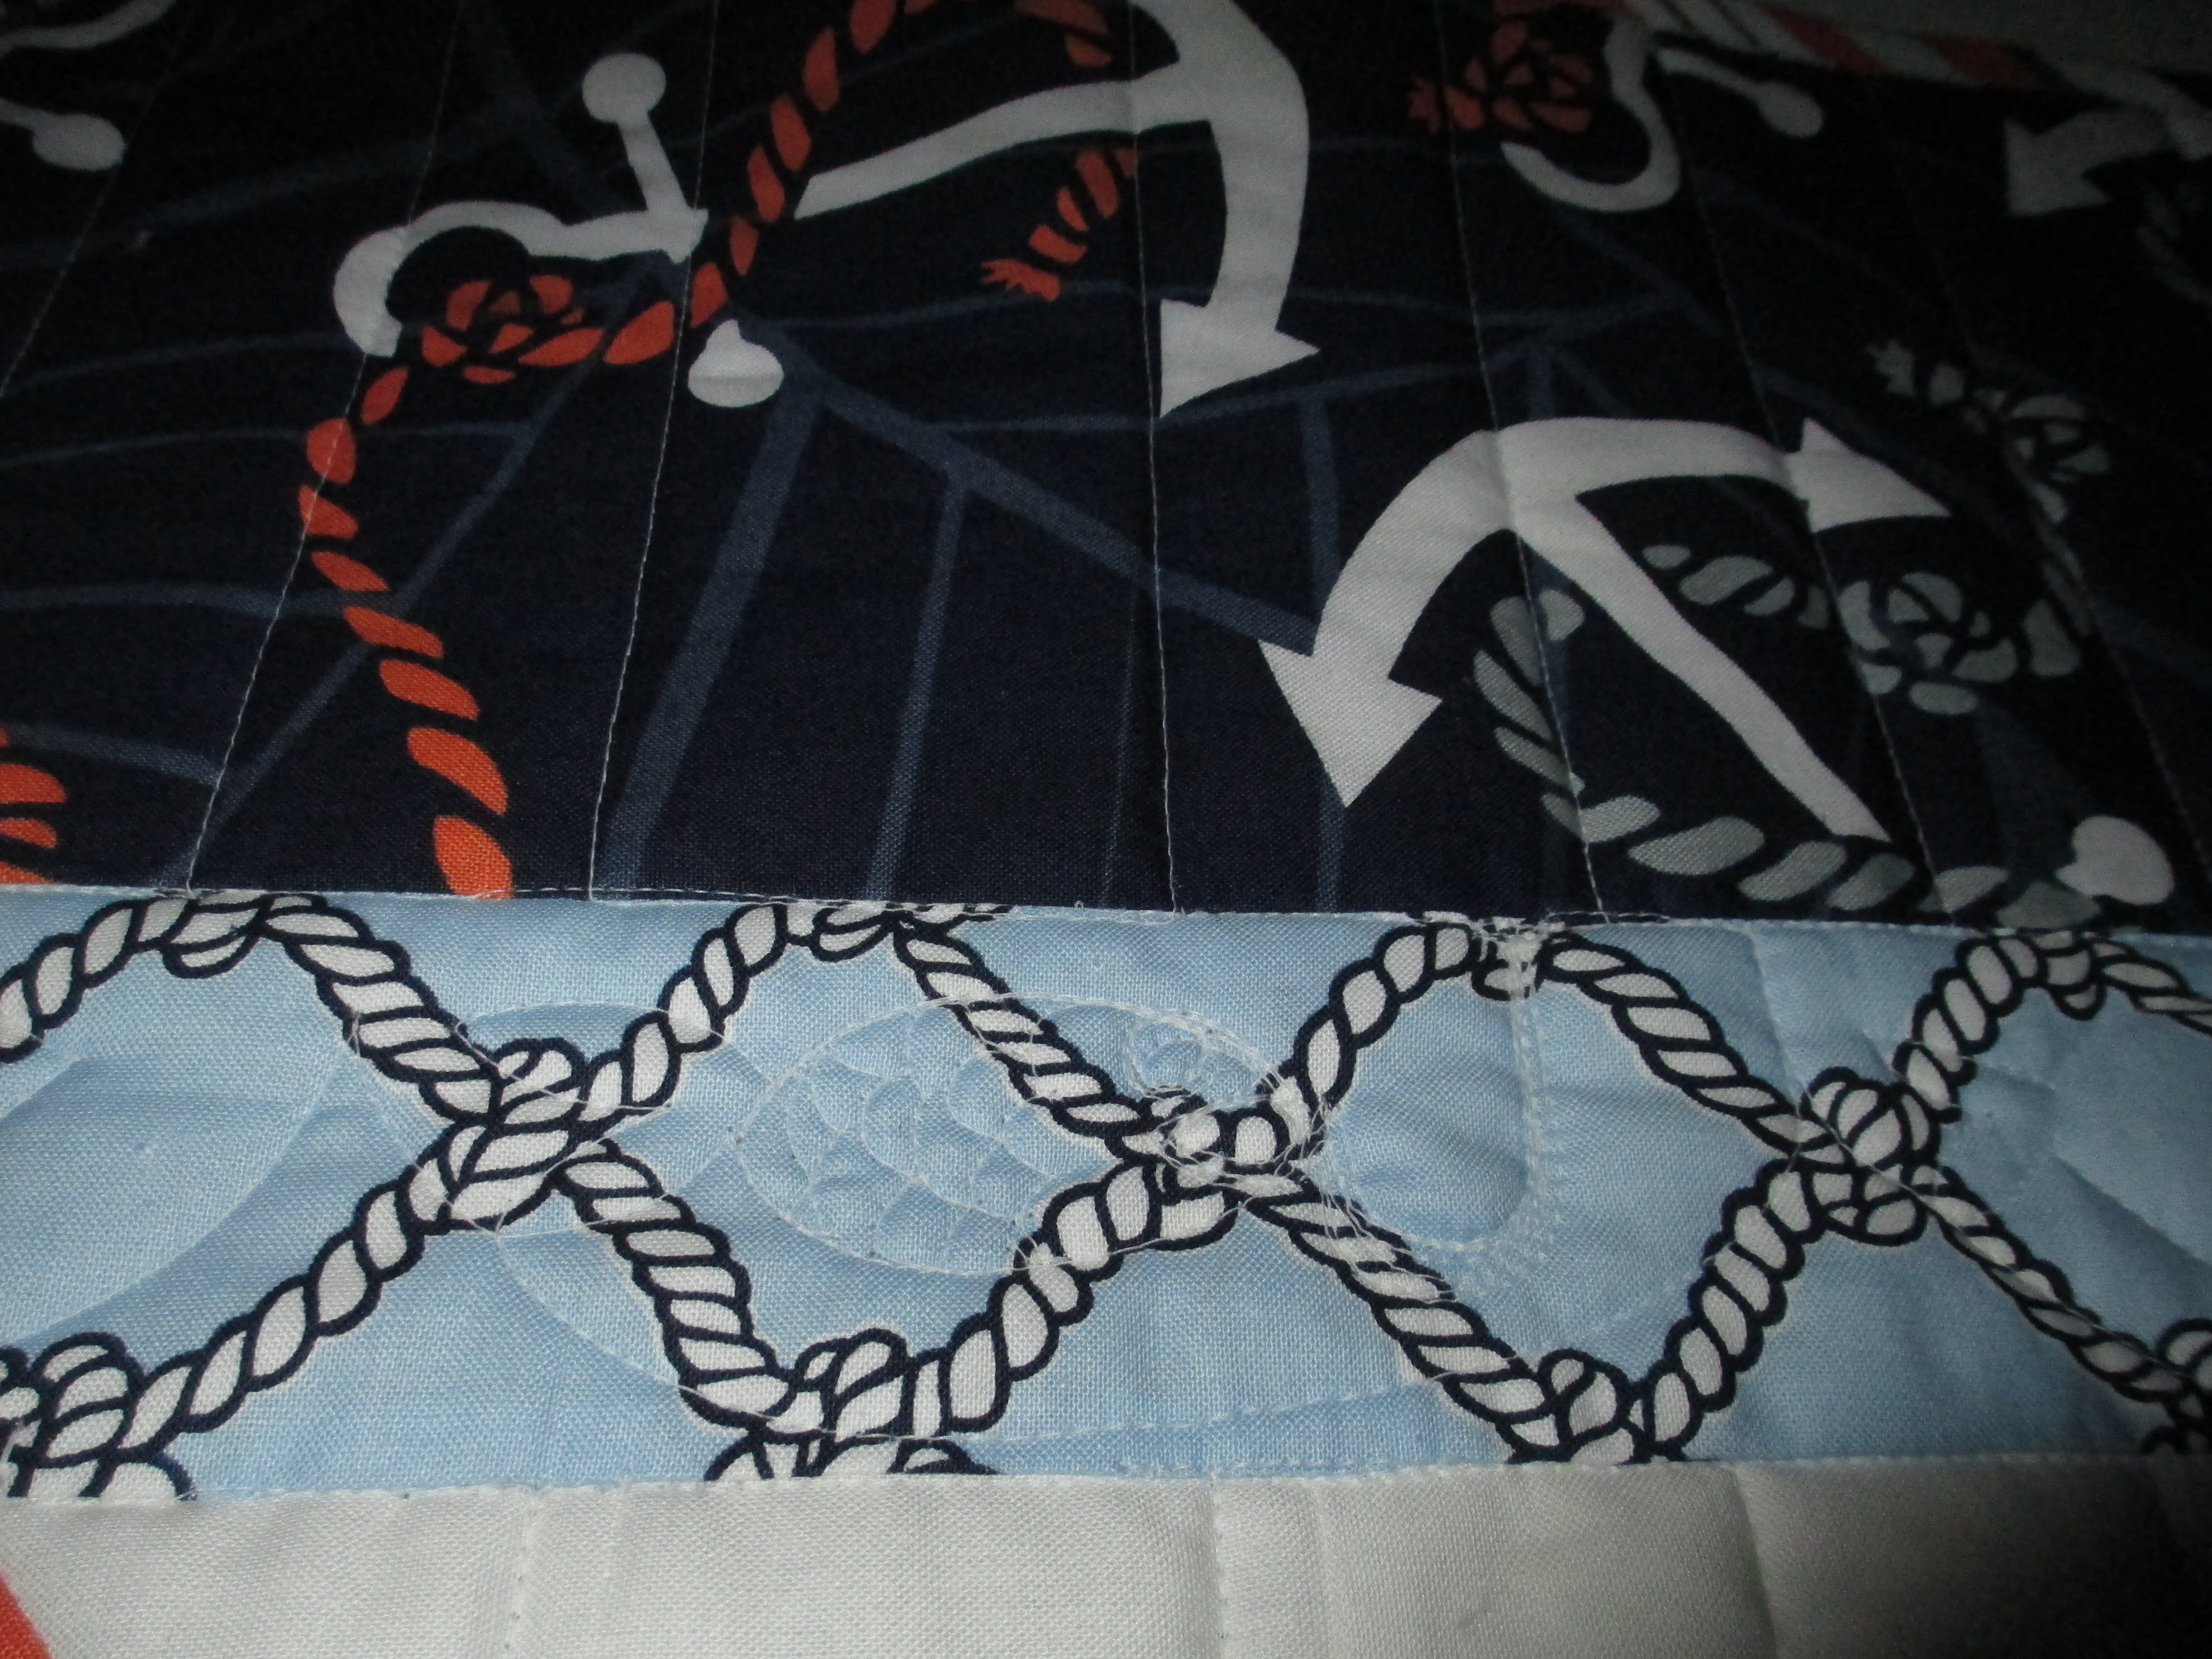
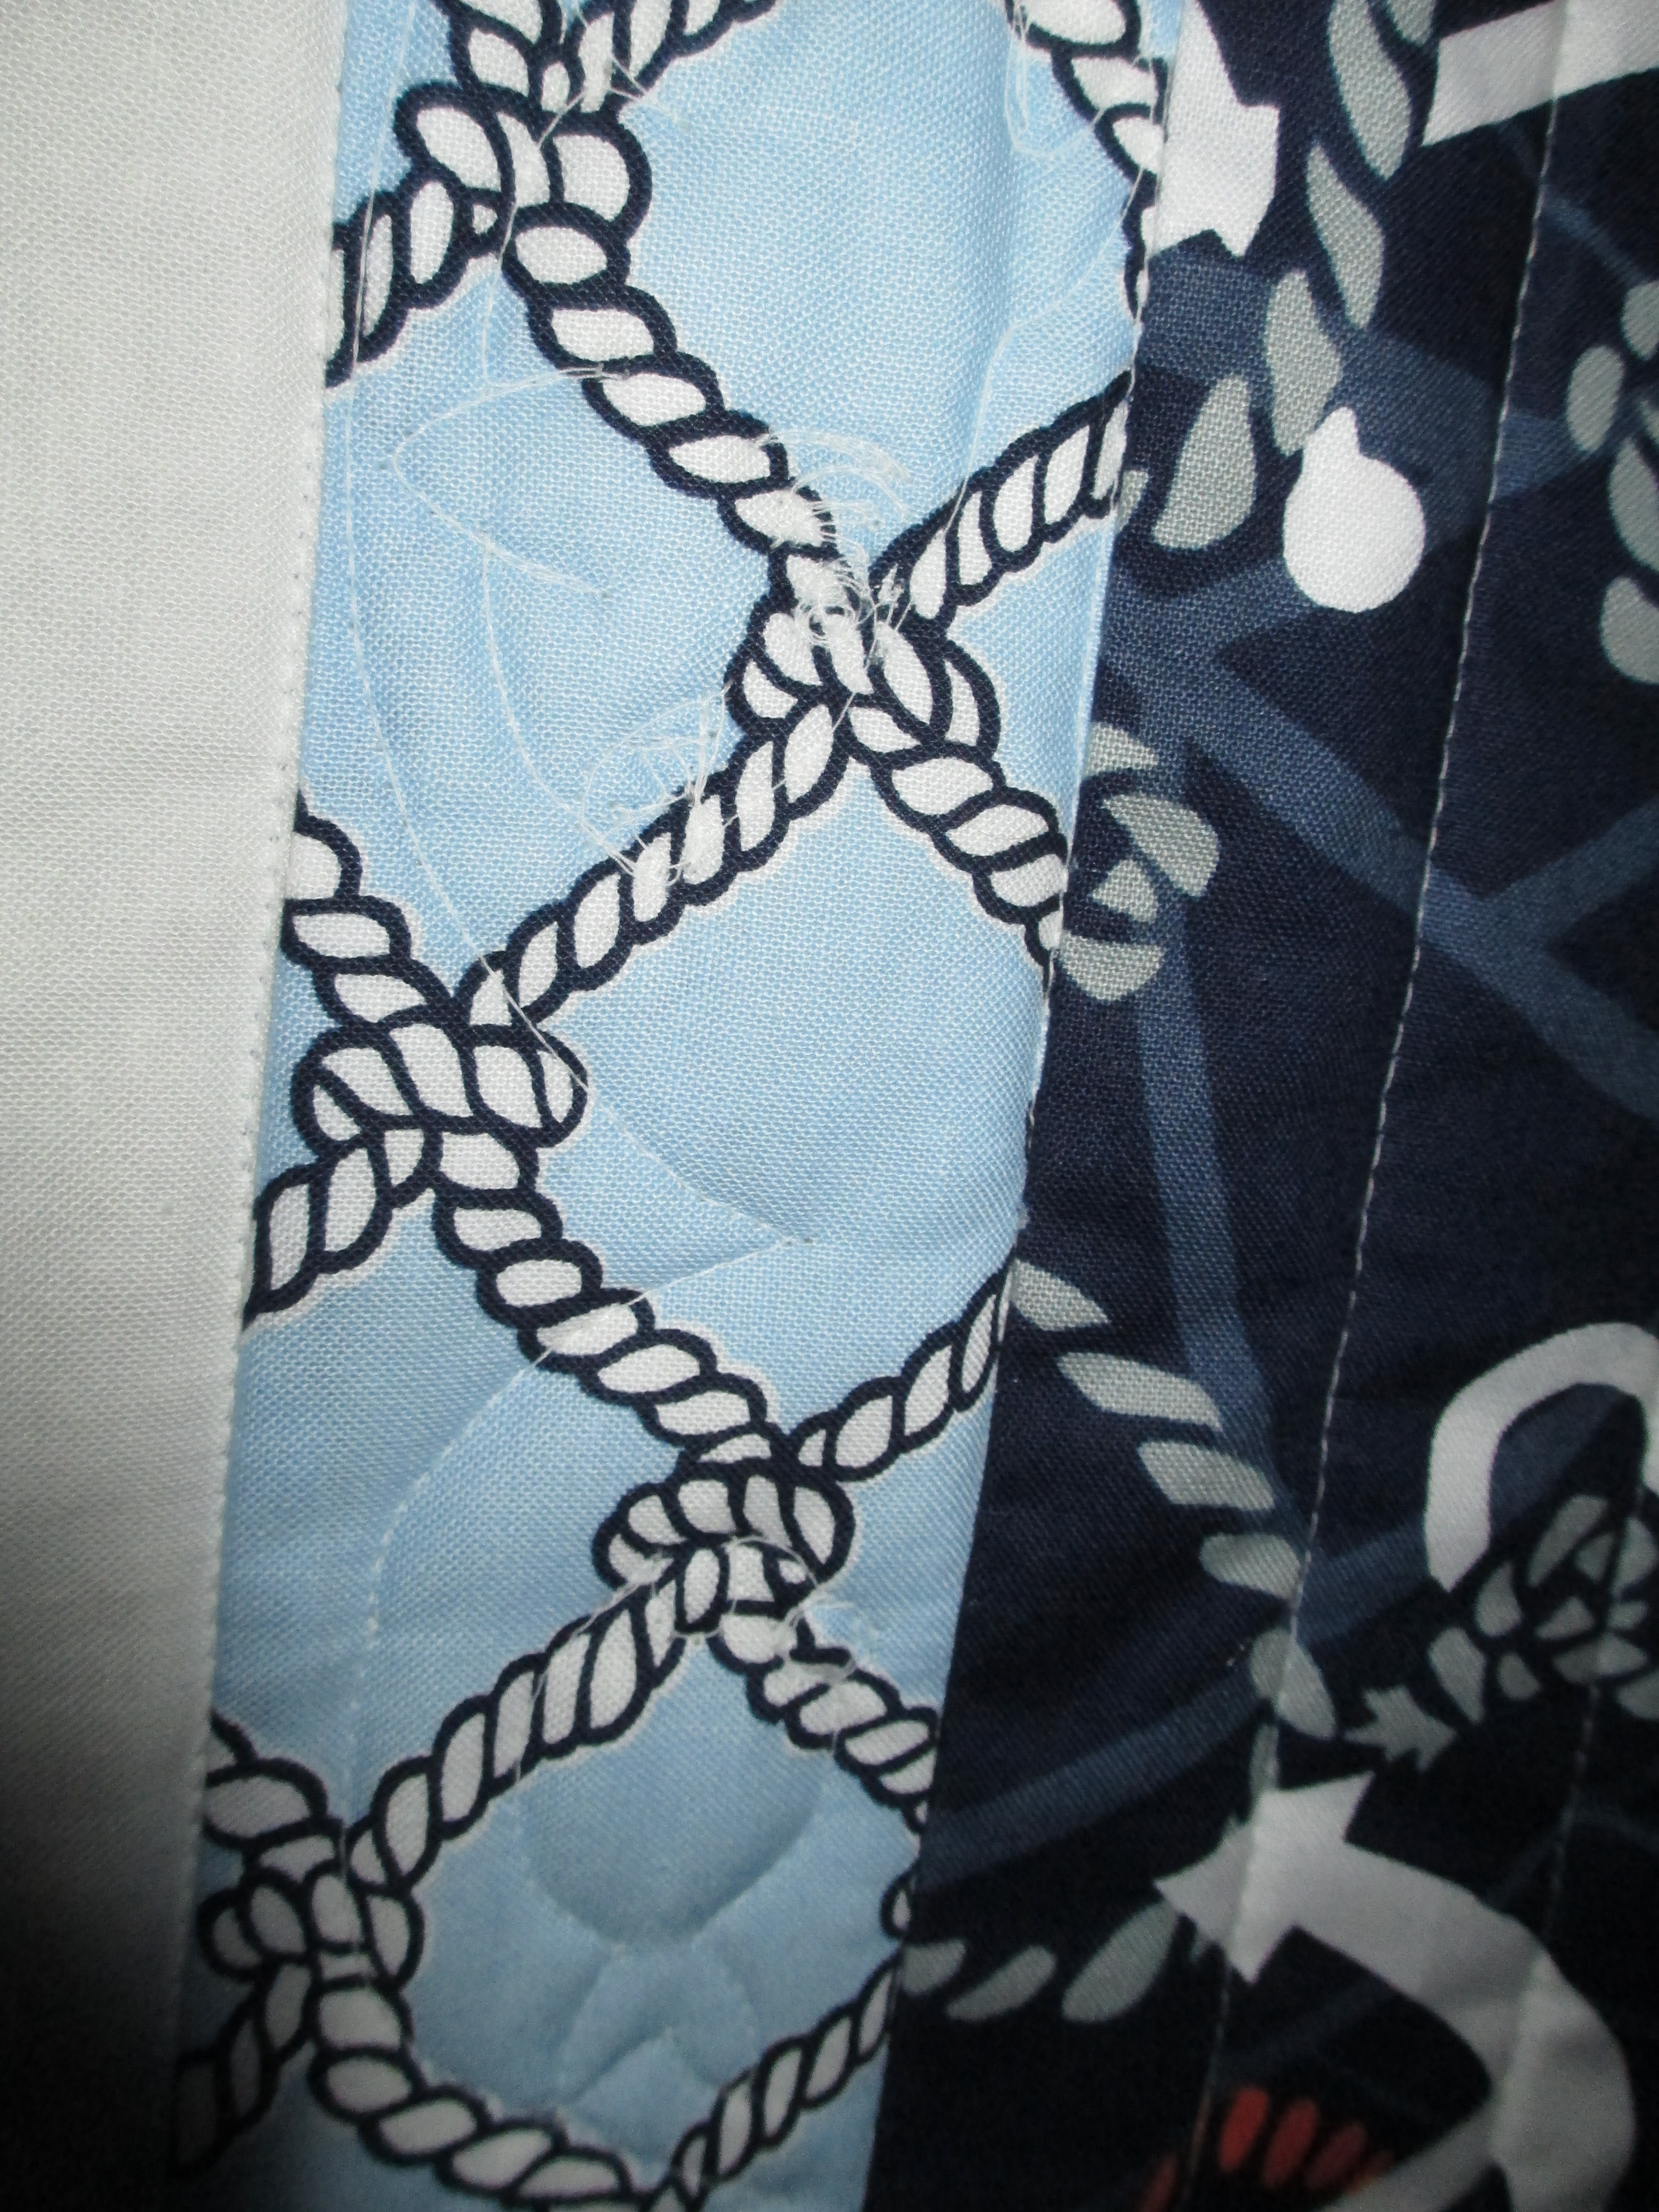
A couple of notes… as far as the binding goes, I had a hard time deciding which fabric to choose.  I finally decided that I wanted to see that darker blue repeated somewhere in the quilt.  It’s one of my funny idiosyncrasies; I believe you need to repeat fabrics in a quilt to make it look more polished or professional.  So, I chose that darker blue for the border and had intended to make a piping of the pale blue stripes that you see very little of in the quilt.  The pale blue stripes are around the little square blocks where I stitched curved cross-hatching and also in the corners of the border.  To get that effect, you create a faux piping within the binding.  Here’s a tutorial by Margo Clabo from “The Quilt Show” of how to create that.  For whatever reason, I decided I wanted to go with 1/4″ piping, so I cut my strips at 1 3/4 inch for the pale blue stripes and 1 1/4 inch for the solid blue – after stitching the strips together and then folding that wider pieced strip, I’d have a 1/4″ piping instead of 1/8″ inch piping.  That was a mistake.  It turned out to be a flange.  There’s nothing wrong with a flange, but I was worried about it flapping around.  So, I stitched it down.  I’m okay with that.  It still looks fine (Let it go!), and I still get to see both of those fabrics along the border.

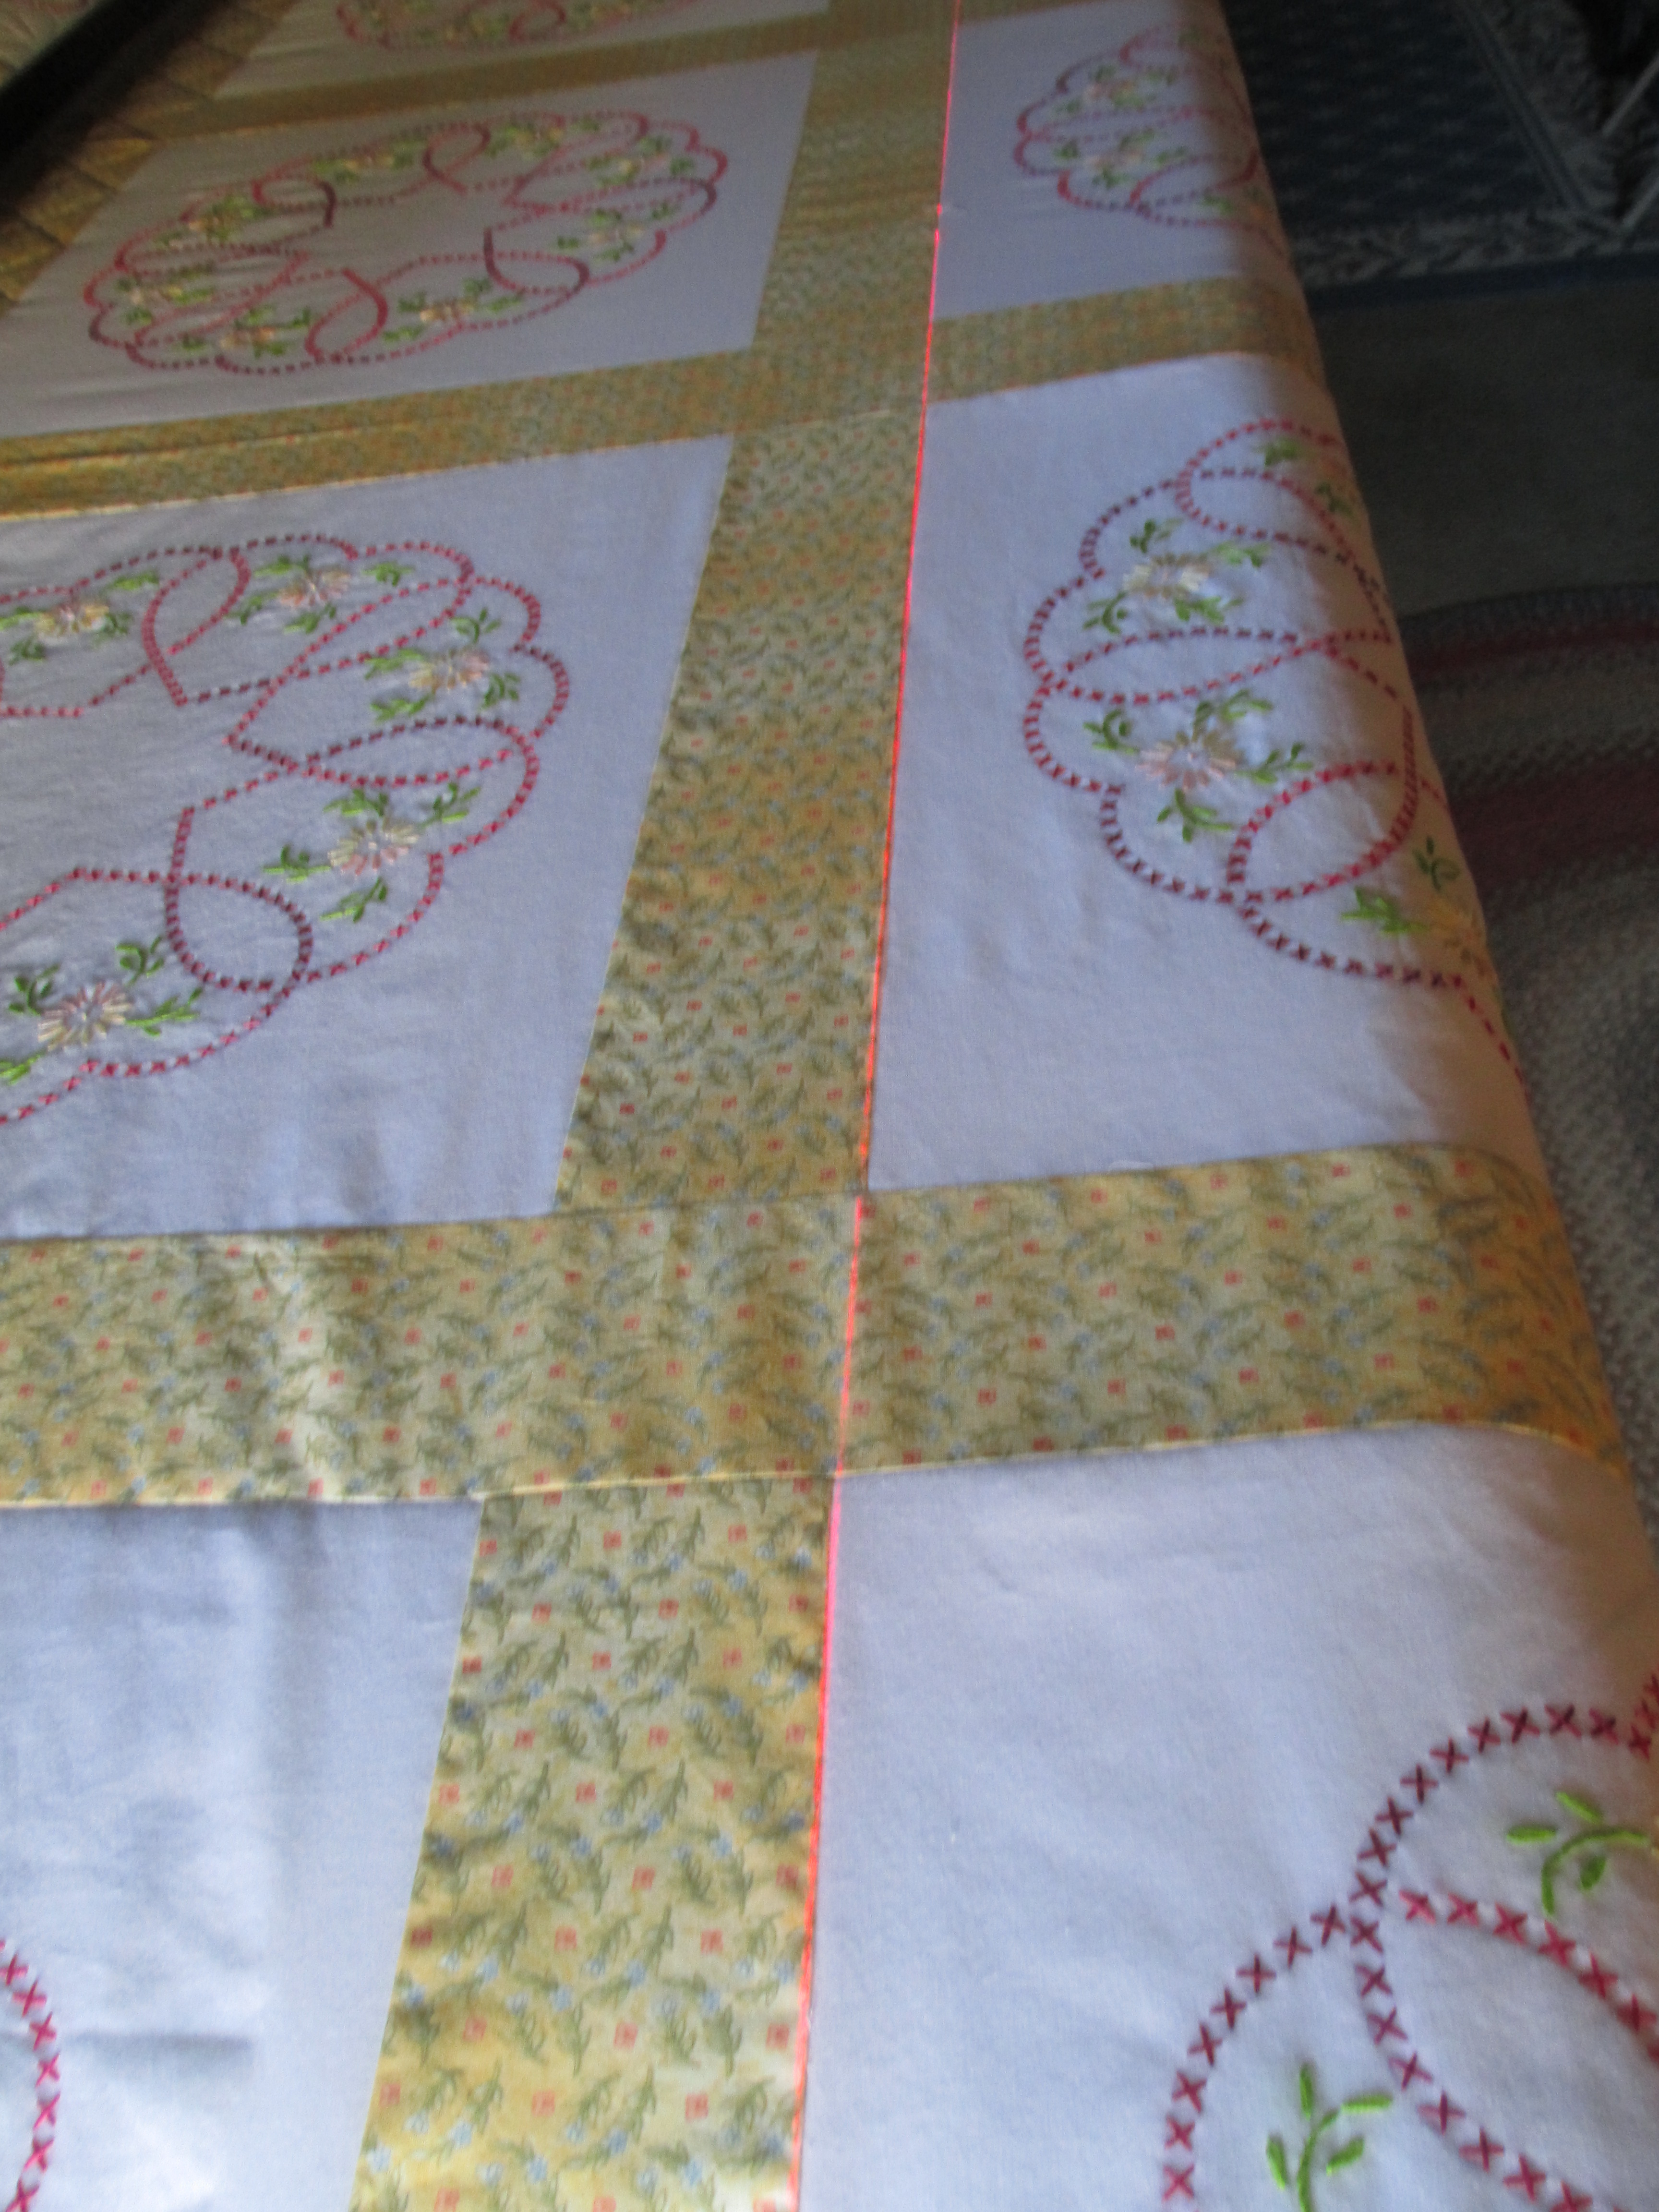
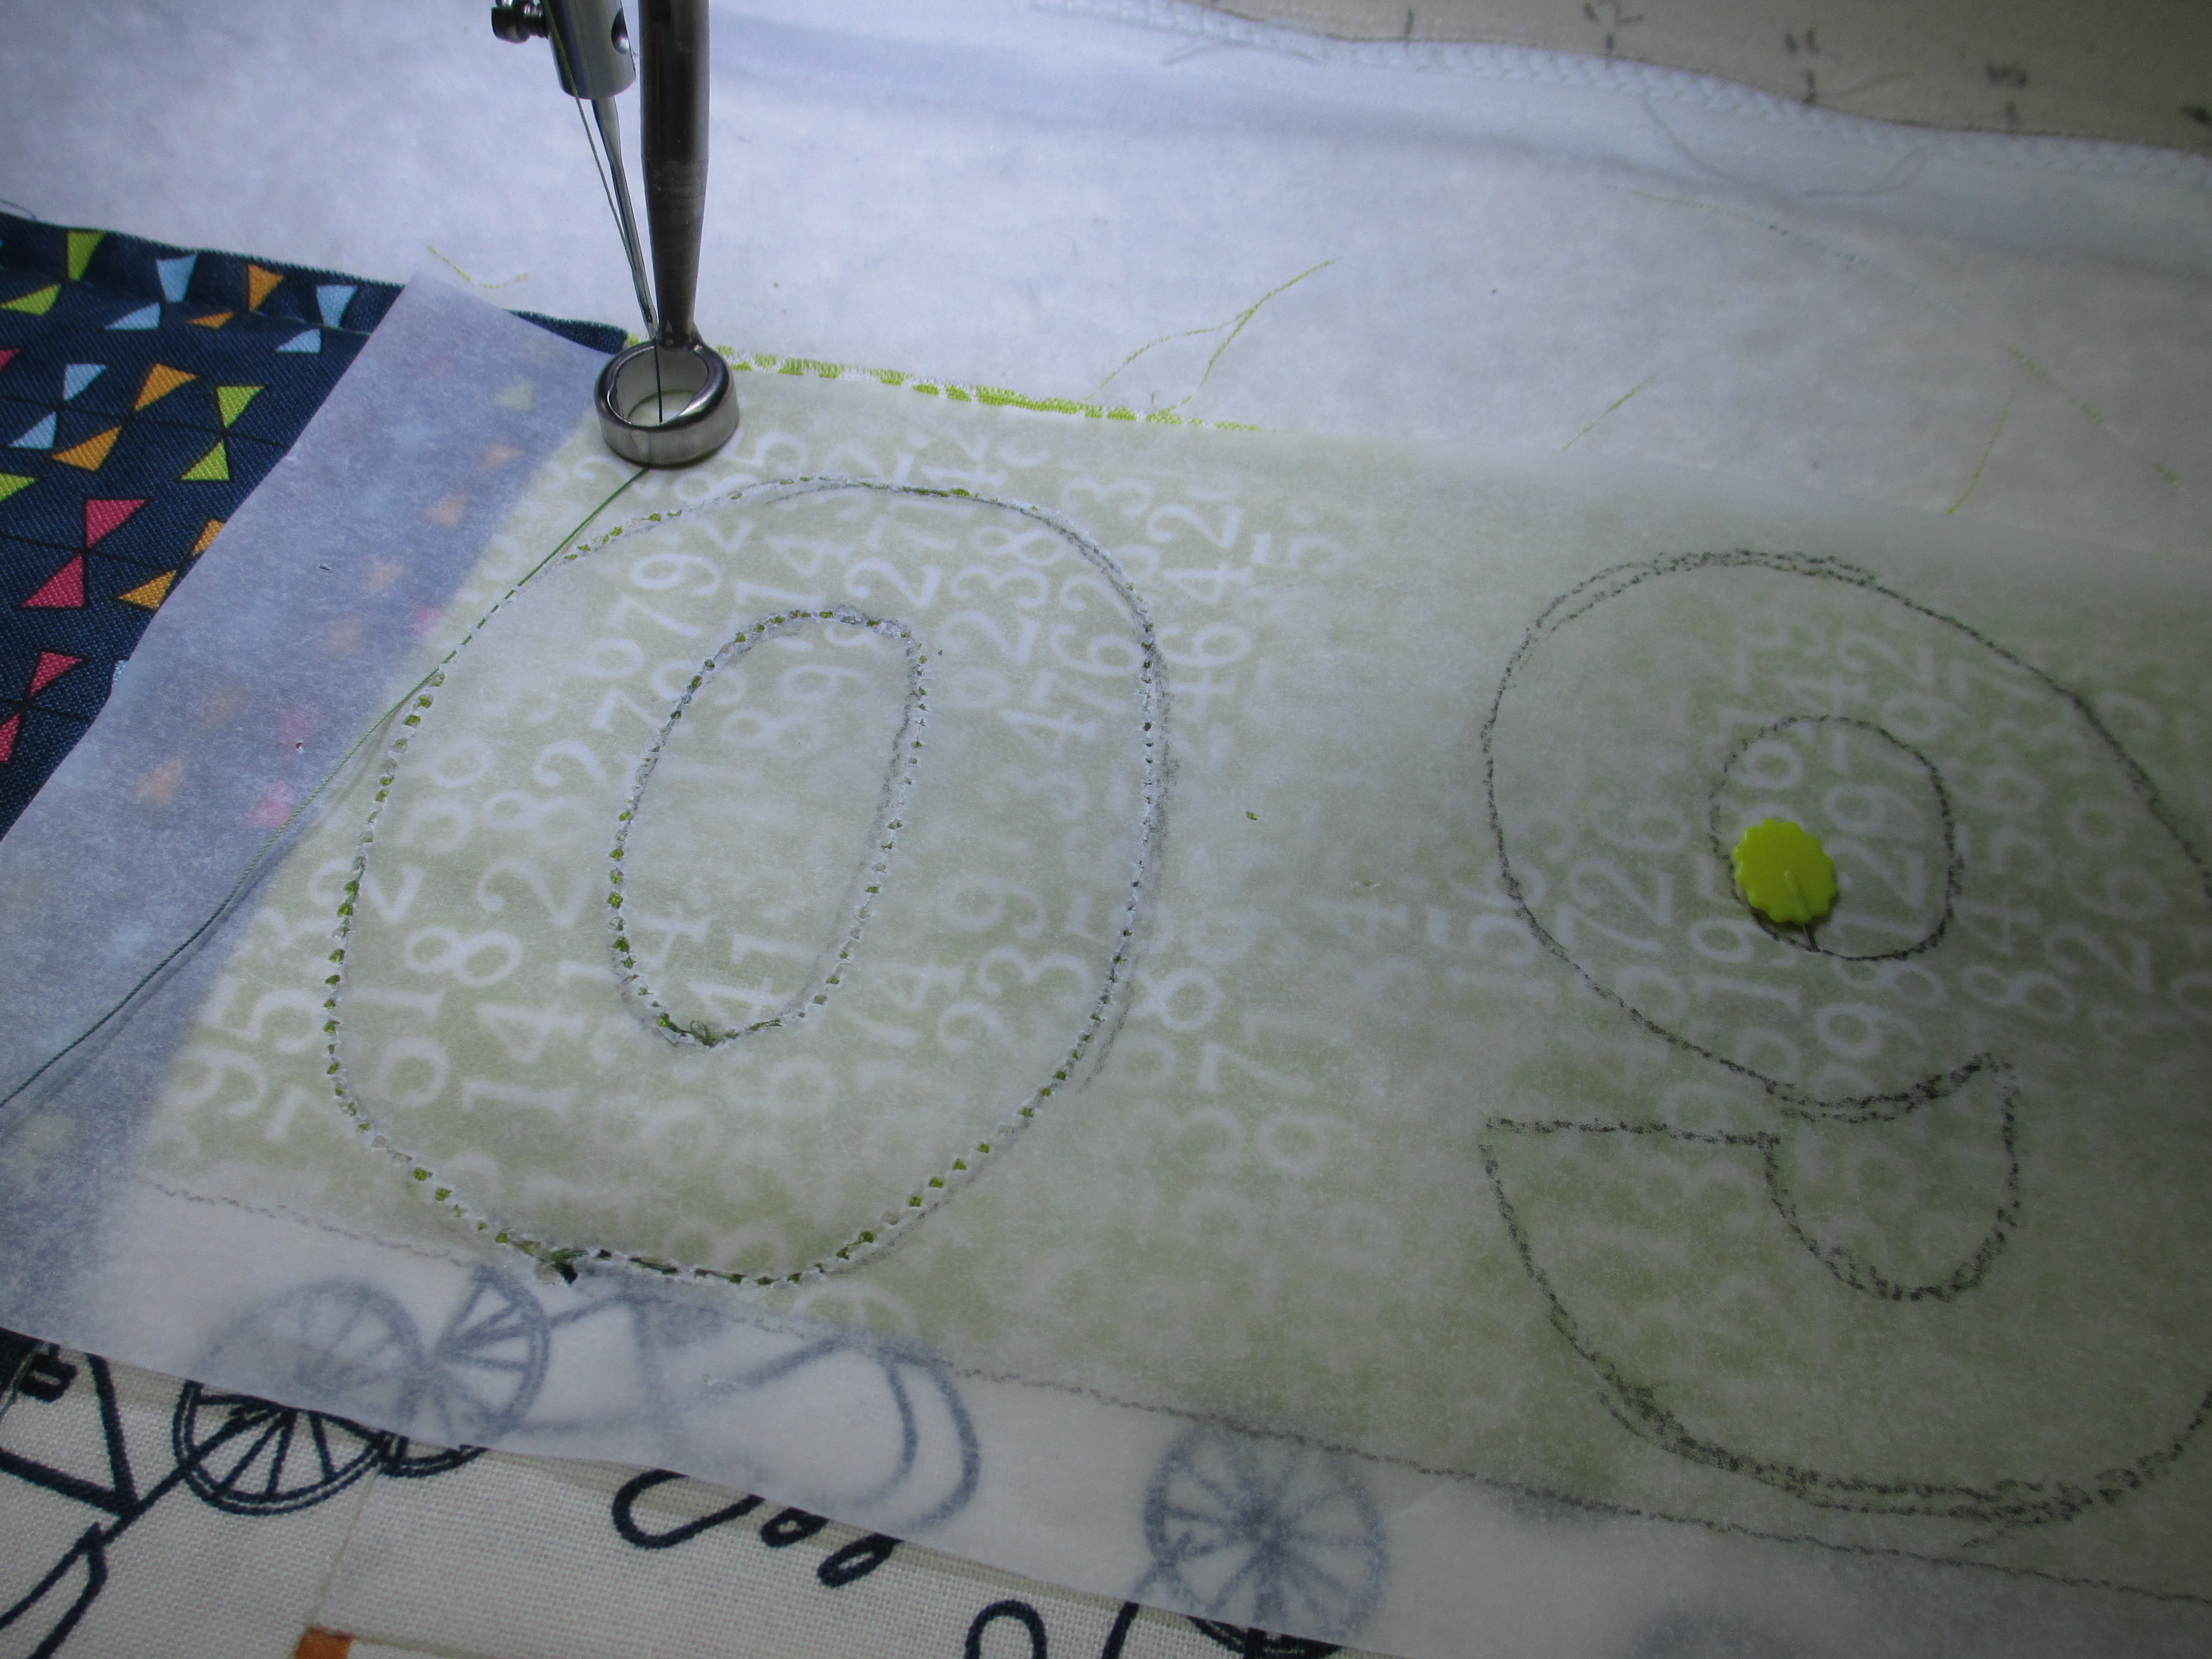
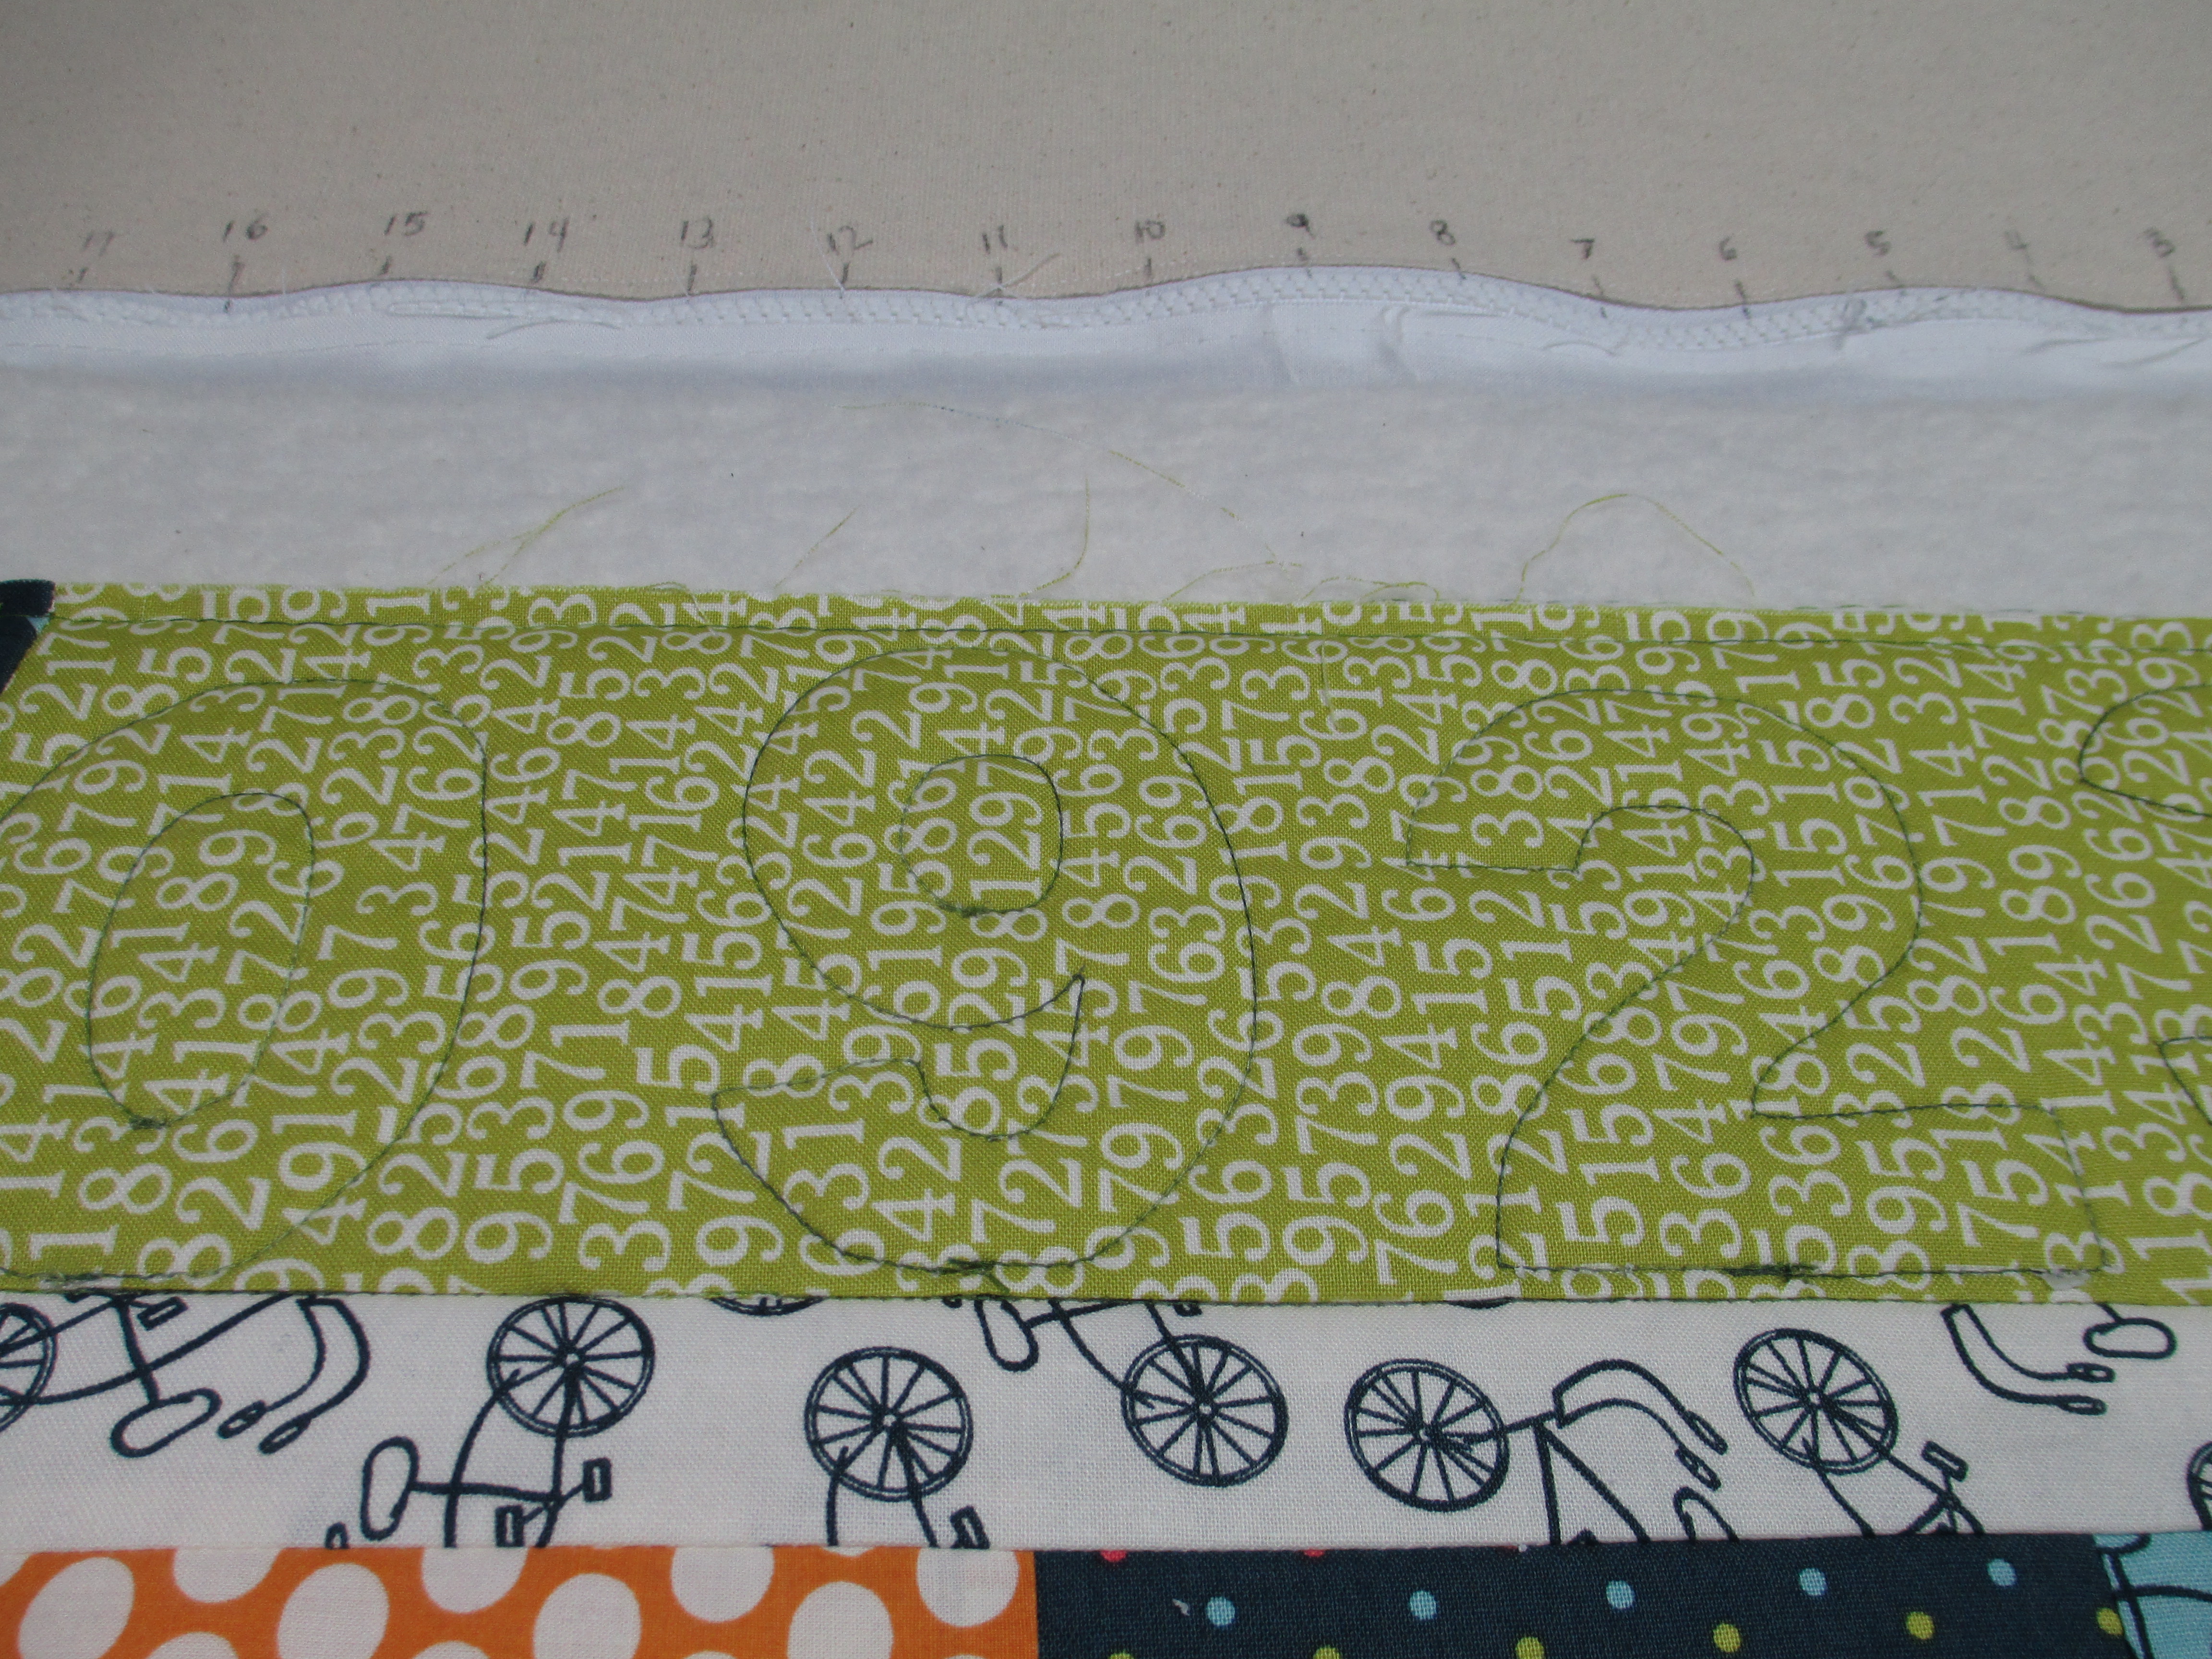
Also, if you are wondering how I place appliques on their blocks, I draw out the original design onto a piece of plastic first.  This particular piece is one of those pieces of plastic that hold papers together with a strip of hard colored plastic, while the clear plastic acts like a folder for the papers.  I use a vis-a-vis marker which stays on there until I run water across it.  I don’t know whether or not a dry erase marker would work.  If you have tried that and it does, please speak up in the comments.

My goal is to teach you something new with my posts, if I can.  So, I hope you learned something today!


Marian’s Spring Bouquet

If you’ve ever heard of Edyta Sitar from Laundry Basket Quilts, you know she creates masterpieces from scraps.  Marian recently made a quilt from Edyta’s pattern “Spring Bouquet.”  If you like what you see in this post, you can find the pattern at Laundry Basket Quilts here.

Let’s start out with a full shot, so you can really start drooling.

IMG_2408

As you can see, there are what looks to me like a gazillion pieces, many of them tiny.  I know this must have taken some time for Marian to complete.

Before I get on to the close-ups of Marian’s quilt, I want to show you a trick I use when quilting.  I have a couple of laser lights for making sure I get things square.  I have a laser square that I use for blocking quilts.  You can see how I use that here. Yes, it’s a tool you can find at your local hardware store; a place I get several other tools for my quilting work.  But, for when I don’t have the room for the laser square such as when I’m working on my quilting machine’s frame, I use another laser tool like this in the lower right of the picture below.  These can also be used for making sure you hang pictures straight across a wall.  I use it to line up seams and borders as I am moving along the quilt.  I can run my fingers along that laser line and nudge the top this way or that if it needs it.

IMG_2391

So, let’s take a look at some quilting I did along the borders so you can see what I did with Marian’s quilt.

IMG_2405 IMG_2404

And, then we’ll move a little inside the borders.

IMG_2403

I know Marian didn’t want any stitching inside the applique (some people do, some people don’t), but see those daisy looking flowers on the right in the picture below?  I couldn’t control myself and had to tack that center down.  It was trying to fly off the quilt.  Honestly, I usually try very hard to give the customer what he or she wants, but, since she was putting this in a show, I thought it might detract from the beauty of Marian’s work.  So, I stitched it down. <big breath>

IMG_2398

IMG_2417

Until we get to the middle…

IMG_2397

If you would like to drool on see this quilt in person, Marian has entered it into the Kansas City Regional Quilt Festival held at the Overland Park Convention Center next month…June 19 – 21.  For more information on the quilt festival, check them out here.


Flaming Guitars

My latest customer quilt is for Mary’s grandson.  Mary has done a wonderful job of combining colors to match her black fabric with musical notes.  I think she is using up her scraps; smart lady!  Anyhow, she paired the musical notes fabric with another black fabric that has guitars on it.  Here’s a shot of the whole quilt and a couple of close-ups.  Mary was very open to whatever I wanted to quilt on this, but this time we were looking at quilting something other than musical notes.  This is for her 10-year-old grandson.  What kind of stitching would you quilt on this?  The backing is a fire red, so I thought flames would work alright on this quilt.

IMG_1952 IMG_1954 IMG_1956

I snuck in a surprise down towards the bottom in the middle.  I put it in a place where it wouldn’t be obvious – you’d have to search to find it.  I wasn’t sure if her grandson would be frightened by it or think it was cool.  I’ll turn it over to the back so you can see what it is before I show you the front.  The orangey-red (flame red) is the actual color of the backing, but you can see the picture better in the second picture.

IMG_1957 IMG_1959

I needed a template for adding this to the stitching, so I drew the flaming skull out onto vellum paper and then pinned it down before stitching it.  I avoid marking on my customers quilts unless I can find no alternative.  It’s just too risky.

IMG_1948

As you can see (or maybe you can’t – that’s the idea), after pulling the paper off, you have to really look to find the skull.

IMG_1950

If you are interested in seeing this process in action, I have a video of me doing this on my YouTube Channel.  You can find that video here.  I hope this helps you learn some strategies for marking (without marking ON) your quilt top for quilting.

Hearts and Flowers Stitched with Love

Jane brought me this to me at our last guild meeting.  Her sister had embroidered the blocks and it was (is) her sister’s first quilt.  We could have done a lot of different quilting on this quilt, but I think perhaps Jane didn’t want to overwhelm her sister with too much fluff (smart thinking!), so we kept it simple.

IMG_1896

You can see that Jane’s sister embroidered cross-stitched hearts along with Lazy Daisy flowers in the blocks.  We figured cross-hatch quilting would pick up the cross-stitching and some fun flowers would pick up the embroidered flowers.  So, Jane opted for quilted flowers in the background of the blocks and cross-hatching in the sashing (strips of different fabric in the areas between the blocks) that also extend out into the borders. She is planning on cutting a curved border – you can see the markings for that in this close-up.  I also repeated the cross-hatching in the center of the embroidered hearts.  Simple, but fun!

IMG_1899

While I was working on this quilt, I made sure I had everything lined up so the quilt would be “square” (actually, a rectangle, but for quilter’s wanting straight edges along all borders… “square”) by using a laser square.  You can see how as I rolled the quilt on the quilt frame, I used the laser square to make sure the quilt is rolled how I would want it to end up square, with the rows and columns all straight.  I used the seams as my guide.  It seams were a little off, I would gently nudge them into straight lines with my fingers.

IMG_1892 IMG_1893

If you haven’t borrowed (forever borrowed) the laser square from the toolbox in your garage, put it on your wish list, because I have found it to come in handy for a lot of quilting strategies.

Zipper Leaders

An update to the original post, which is included at the bottom of this post…

For those of you who like using zipper leaders, I have found a couple more shortcuts.   Awhile back, when I was getting ready to baste the quilt backing onto the zippers, I had my 1/4″ quilting foot on my machine.  Instead of swapping out the foot, the lazy side of me decided to leave the 1/4″ foot on and try to baste the zippers on with that.  Guess what?  It worked!

IMG_1639

Another discovery has to do with backing that is not cut square.  It’s more important, for me, to have the backing square than the quilt top.  I can fix the quilt top so that it ends up square with the quilting.  But, if you don’t have a square quilt back, then your quilt will never be square when it’s finished.  Whatever side you attach to the zippers needs to be straight, so if the customer does not have a preference of which way the quilt is loaded (which is usually the case), then he/she will not know which 2 sides need to be straight.  I could charge my customers for cutting the fabric for them to make the quilt backing straight and square, but I don’t feel comfortable cutting their fabric.  You never know what they want to do with it.  Besides, unless a customer has watched you step-by-step in the preparation process, he/she won’t understand how important this is.  So, this is what I’ve done with quilt backings that are not straight.

IMG_1640

I fold the fabric back and just stitch over it.  This is especially an issue with pieced backings.  Here’s another shot after I unzipped the other side of the zipper.  See how the backing is pieced and the edges don’t match?

IMG_1642

But, what about when you want to sew the other side of fabric to the other side of the zipper and it doesn’t match up?  Before you unzip the zipper to attach the other side of the fabric, make sure you line up the 2 sides of the backing fabric.  If they don’t match, mark the side that extends with a pin and pin it onto the other side of the fabric.

IMG_1641

I only suggest you try this if you do not have too much fabric to fold back.   When I attach the quilt top to the quilt sandwich on my frame, I make sure I am about 4 inches (at a bare, bare minimum 2 inches) from the edge of the zipper.  The reason I do this is because I have found that when attaching the backing to the zipper, the fabric stretches a bit.  This is a problem no matter what.  When I was pinning the backing fabric to the canvas on the quilting machine frame’s rollers, the backing fabric would stretch then as well.  Sometimes it was worse than when I baste it with a zipper leader.  I know a lot about fabric, but I haven’t figured that one out yet.  In the picture below, you can see how the zippers kind of “wave” with the stretch of the fabric.  It’s not bad, but to be careful, I accommodate for that, which is the reason the above fabric folding technique can work for me.

IMG_1643

One more thing… Sue Schmieden, the creator of the zipper leaders I use (http://www.longarmconnection.com) suggests color coding your zippers.  I don’t have a picture to show you, because I haven’t tried it yet, but when I am ready to replace the zippers I have on my canvas, I will definitely try this!  For color coding, Sue suggests that you use a different color fabric for each side of the zippers.  So, for the belly bar or bottom of the backing, you would attach the backing zipper that would go on the canvas onto a piece of colored fabric (let’s say “red”) and then sew the “red” fabric with the zipper to the canvas on the belly bar.  I’ve gotta tell ya, this sounds so much easier than trying to sew the zipper onto the canvas. Then, for the other side of the zipper that would be zipped go with the belly bar zipper, you would attach red fabric to that part of the zipper also.  That way you know that the bottom edge of the backing fabric which is attached to the belly bar will always be red.

You would repeat this process with a different color for the other 2 rollers with canvas.  Let’s say “blue” for the take up roller (the roller bar with the canvas that rolls up the top edge of where you are working if you are facing the front of the machine) and its set of zippers.   And, then use another color (let’s say “white”) for the quilt top roller.  I hope it all makes sense, but it would only make sense to another longarmer, I think.

Cowtown Quilts's avatarCowtown Quilts

Warning!  For those of us who are longarm quilters or who want to be longarm quilters, read on… otherwise, this will bore you.

View original post 1,180 more words

A Fresh Start

I don’t know about you, but I feel a fresh start coming in 2014.  I’ve put together 13 “intentions” for 2014 which include a lot of different things that I want to do for myself.  But,  I’ve also put together a list of quilting goals.  I took Angela Walter’s advice and looked at what I wanted to do with my life in the next decade, the next year, and the next month.  You will be amazed at how “level headed” you will feel after doing this.  Well… I have to admit that organizing things helps clear my head, too, and I’ll get to that in a minute…  I did the organizing before I wrote down my list of goals.
You have to understand (before reading this list) that I have so many ideas jumping around in my head that I cannot keep up with them.  I have a drawing notebook for my quilting ideas – it’s a great idea for any kind of artistic career.  I take it with me to doctor’s appointments and other places where I know I will be sitting for awhile, bored.  When I get discouraged in life, it’s a great thing to come back to for a creative reprieve.  I also think I have ADD, because I will start one thing and quickly find myself headed in a gazillion different directions.  It makes me crazy, but I can’t seem to keep focused long enough to get my “goal” of whatever I was doing completed.  So, I hope having this list written out and in front of me, where I can cross the accomplishments off as I reach that particular goal, will be helpful.  It is typical for me to get started on a project and get side-tracked because I forgot to check on something else, which then leads to something else, which leads to another idea totally unrelated to the former idea and what started it all.  Are all artists like this?  Or, is it just the minds of women???  I also do that when I’m having a conversation with others.  I’m a great listener, but it will make me think of something totally unrelated that I must share.

The thing about me and lists, though, is that I am a finisher and if I have something on a list, I will finish it sooner or later.  It can be a great thing, but it can also be bad, because that list is like a nagging spouse with a “to do” list.  I don’t like starting a project unless I plan on and know I can finish it within a time frame.  Given that, here are my quilting goals, both the far-fetched and the realistic ones.

Quilting Goals

In the next decade…

  • ·        Create quilting designs and patterns for pantographs and digital format
  • ·        Start making and publishing quilt patterns?
  • ·        Teach at quilting venues (includes guild meetings)

In the next year or more…

  1. Start drawing and doodling every day.
  2. Finish the New Orleans quilt (this is a quilt that I started almost 3 years ago, with every intention of finishing it within a year – FEAR has held me back; fear of my abilities or lack thereof and fear of it not turning out as wonderful as I envision in my head).
  3.  Finish the Migraine quilt (it’s a joint quilt with my daughter).
  4.  Draw out the cartoon that is in my head from IQF Houston of Carol and her cousin and create a pattern and quilt from it.
  5. Make a quilt for the BVQG Challenge due in April, 2014.
  6. Make up some embroidery samples for use in quilts (will be teaching this at April mtg.)
  7.   Enter Hoffman Fabric Challenge, 2014 (must be received by July 18, 2014).
  8.  Finish the Jennifer Jangles appliqué quilt that I have been working on.
  9.  Make a white, queen-sized whole cloth quilt.
  10.  Make a king-sized whole cloth quilt from the light blue fabric.
  11.  Make a 9-patch red and white quilt.
  12.  Make a 4-patch blue and white quilt.
  13.  Make a scrappy Pineapple block quilt.
  14.  Make memory quilts out of Bob’s T-shirts.
  15.  Get the Buffalo quilt pattern done.

In the next month…

  • ·        Draw and doodle every day.
  • ·        Draw out cartoon of the Houston quilt.
  • ·        Start on New Orleans Quilt.
  • ·        Quilt customer, raffle, and charity quilts.

Do you think I’ve set myself up?  Or, do you think I can accomplish at least some of them?

Okay, back to the organization part of this story…  My life story seems to be either “feast or famine” in all areas.  I’m either really busy or not busy at all and my ADD will kick in overdrive then, sending me back into the “busy” part of my life.  Anyhow, by nature, I am an organizer.  You’d never know it, though, if you had looked into my closet a week ago.  I have a lot of shoes.  The way I “organized” my shoes was to just toss them into the closet.  They were all over the floor in there – I would trip on them every time I’d go into the closet.

I’d been meaning to take that shelving unit in my closet and transform it into a shoe rack of sorts.  I’ve been avoiding it, though, because I thought it was going to be too much work to add shelves to it.  I even broke down and bought myself one of those plastic organizers with pockets for shoes that hang from a door but never got around to putting shoes in it  Well, after building a computer armoire, my confidence level shot up and I figured out a way to (in my mind) easily add shelves.  I have a Kreg shelf pin jig that I used to drill holes into the sides of the existing shelves.  I added shelf pins after that along with MDF boards the width of the shelves.  Voila!

closet 003

I feel like one of those rich movie stars who has a shoe closet – LOL!  Creating this “shoe space” has been a goal of mine since we moved into this house in 2009.  I can’t tell you how good it feels to finally have this done – the clutter in my closet was “cluttering” my mind – literally!

My point is that you, too, can accomplish a lot IF you know what you want.  Start by organizing your ideas and/or your space and then writing down what you want to accomplish.  If you don’t know, start with just a few items.  They might be goals that you know you can accomplish.  Or, they might be far-fetched goals.  But, if you take that first step, you at least know where you are headed and are farther on your life’s journey than you were yesterday.  Here’s to new beginnings and fresh starts!

Tip from Trisch

Back in June I posted about a quilt I had quilted for a friend… Trisch.  Well, on her blog, she offers some quick tips on Tuesdays.  I would like to share one with you today that I think is well worth the visit to her page.  If you’ve ever had trouble getting perfect circles for needle-turn applique and other hand-work, you’ve gotta check out how she does her circles on this Quick tip Tuesday page of hers.  You won’t regret it!

circle prep 10

Ahhhh… back to some normalcy, whatever that is…

And, for me, normalcy is me in my studio, working on quilts.

I had said in an earlier post where I was talking about using Zipper Leaders to hold quilts onto the frame that I would also post a picture at a later date of the clips I use – the Grip-Lite Clamps.  Well, here they are.  They are about the size of those potato bag clips, but a little bulkier.  I like them because they are easier for my old hands to open and close in order to clamp onto the fabric.

Joan's quilt 001

On the back of the clamp gives you a website where you can buy them.  Of course, if you Google them, you will find other places that sell them, too.

Joan's quilt 003

Onto the quilts I’ve been working on…  It was Christmas in August here.  It’s a good thing Joan gave this to me now, because quilters get VERY busy the 3 months before Christmas, and if you don’t get your Christmas present quilt top to us early on, you stand the chance that it may not be done in time for Christmas.  Joan wanted swirls quilted onto her quilt, and I was so happy and relieved to do that for her.  Have I told you that I LOVE swirls?  I have had so much fun quilting swirls into quilts.  Other than the surprises that my evil twin sneaks into quilts, swirls are probably my favorite thing to quilt.  This is her finished quilt and a picture of the swirls on the blocks.  She chose a variegated cream, which goes well with this quilt, and the swirls do not interfere with the pictures on the blocks.

   Joan's quilt 007      Joan's quilt 015

I also mixed some holly leaves and berries in the swirls but tried to keep them off the pictures themselves in order not to interfere or compete with them.

Joan's quilt 014

We did a separate border with the same theme; swirls with holly and berries.  I played around on my drawing board for ideas for the border.

Wilma's quilt 5 007

And, this is what I did, swirls with holly in the center of the back and forth swirls, similar to my bottom drawing.

Joan's quilt 004

And, finally, a couple of surprises to make this Joan’s personal heirloom quilt… mailbox stitched around the bird and 2013 stitched into the bottom right of a block.  She’s got one more surprise, but it’s a very small one.  I’ll let her wonder what it is and look for that one.  I had a LOT of fun with this quilt!

  Joan's quilt 011     Joan's quilt 012

This next quilt is Wilma’s.  I don’t know how she does it, but I swear, she’s been piecing at least one quilt a month.  She’s keeping me busy, and I am perfectly okay with that!  😉  Here’s a full shot of her quilt.

Wilma's quilt 5 009

She wanted maple leaves quilted into it to match the fabric, so she chose a pantograph that had the maple leaves for the body of her quilt and piano keys for the border.  The pantograph I used was Maple Breezes by MeadowLyon Designs.  You can find the pattern here.  Angela Meadows and Judy Lyon are a team of quilters in business together.  As far as I know, Angela does the quilting, and with Angela’s input, Judy designs the pantographs.  If you’ve used their pantographs or seen their pantographs, you know they have a wide variety of designs.  I don’t know where Judy comes up with all her designs!

Wilma's quilt 5 017

Now the problem with this (for my evil twin) was how on earth I would be able to add surprises to a pantograph…  I couldn’t add a surprise to the border, because it was all piano keys; straight lines.  The good thing about this particular pantograph is that there were some areas that had big swirls where I could put a surprise in its place.  If you’ve ever used a pantograph, you know you have to play around with the edges anyway and especially when you are almost done with the quilt and have only 1/2 of a row for a full row of pantograph.  So, you just draw lines with a dry erase marker on the plastic on top of the pantograph, so you can adapt it to fit the space you have available.  Okay, so if I can do that, I can add a surprise.  I just drew out a mouse on Vellum paper to be eating within all those leaves and taped it to the spot where I wanted it to go.  That red dot is the laser light pointing where to follow the lines.

Wilma's quilt 5 001

And, here is what the mouse looks like stitched out.

Wilma's quilt 5 004

I put another mouse in the other corner, so they could be friends out foraging for food before the winter sets in.  I think this one looks more like scribbles.  But, hey, what do you expect?  😉

Wilma's quilt 5 012

I loved how the colors of the variegated thread popped off Wilma’s quilt.  It was as if this thread was made for this quilt.  But then, I think Wilma’s got great color sense and her quilts “pop” anyway.    Don’t you?

Cutting it Square

Last time I told you about Robin’s bedspread top, but what I didn’t tell you was that she wanted it cut 79″ x 81″ to fit the bed top.  And, this will be for a customer of hers.  So, not only did I need to worry about making sure my customer was happy with the finished product, I was now also making sure it was good for her customer (double-edged sword).  I was nervous about cutting this exactly as measured.  You know how one mistake can mess it all up…

So, I took out my trusty laser square to help me get the measurements exact and not skewered, with one end longer than the other or wonky with curved lines.  The first thing I did was get close to the edges of where I quilted and put my 12 1/2 inch ruler in that corner (you can see the ruler in the upper right hand of the picture).  Then I took my laser square and lined up the laser lines with the cuts I had made.

hoarder sale 002

I proceeded to cut along the laser lines with my long ruler and rotary cutter until I got to the middle of the sides. For the top end, I used my 12 1/2″ square ruler to start the other long side and then I would use my laser square to get down those long sides.  When I got to the bottom end of the “quilt” I then put my laser square at that end to join the lines and proceeded to cut from there.  I measured the sides several times along the way to make sure I was meeting the exact measurements of 79″ across.  And, then I moved the laser square to the other end and started to cut across the bottom in the same manner after I’d measured to be sure I had 81″ along each side.

hoarder sale 004

I am not sure where I got my laser square, because I’ve had it for awhile now, but I’m pretty sure I got it at Home Depot.  My husband is not handy, so he would not have one of these in his tools,  But, if your significant other is handy, look in his/her toolbox for one of these before purchasing it yourself.  I have found this to be a huge help to me many times.  It’s definitely worth the $42.97 that Home Depot charges for it.

Oh, one more thing…  After all this measuring, I took this to my client’s house (yes, I travel to my clients to make it convenient for them) and we measured this folded in half the long way.  It measured 78″ folded.  Talk about sweating bullets!!!  Oh my gosh, I thought I was going to faint right then and there.  We then unfolded it and it measured 79″.  So, it just goes to show you how rolling or folding quilts in any manner, to include on a quilting machine frame, can make your quilt shrink up or appear to shrink up.  :-\

Frida’s Finally Finished

In my last post I said the quilts were next, and they are.  But, before I get to all the quilts my machine, Frida, has been putting out, I want to add that before I went to Amana, I put a ceiling fan up for my hubby and then put up another one after we got back.  I still have one more to put up when things slow down.  I am busy this week getting ready for a garage sale.  I used to teach English Language Learners (grades K-12) in the public schools.  When we moved back here in 2009, I was unable to get any job in education, not even a teacher’s aide.  The budget cuts were so severe at that time that schools were closing and teachers were being laid off.  Anyhow, I have moved on in my life and no longer need any of my teaching stuff, so I am selling it in a garage sale this weekend.  I don’t remember garage sales being this much work, but I was much younger the last time we had one, which was a very long time ago.  Hopefully I will make enough money from this garage sale to fix my front porch.  Last summer when we had the drought, our porch sunk quite a bit, and the insurance does not cover it.  I am not complaining, but quilters just do not get rich doing what they do.  They do it because they love it and no other reason.  Therefore, I am forced to be creative with our finances and the porch has had to wait.

So, onto what Frida, my quilting machine, has been up to, spinning her magic thread… This is Wilma’s One Block Wonder quilt.  I love the way Wilma works magic with colors.  This picture doesn’t do her quilt justice.  The fabric is silky soft with leaves and music notes.

wilmas 4 007

So, she asked me to quilt leaves in the middle portion and music notes in the green.

wilmas 4 017     wilmas 4 012    wilmas 4 011

Can you see it?  What a lot of people don’t realize is that I customize my customers’ quilts by adding personal touches.  Wilma is okay with me quilting little surprises into her quilts and in the past, I have quilted bugs, birds, and butterflies into her quilts.  This time I did something different and put a poem into her quilt.  She never did find it – that’s the thing about quilting.  People look at the colors, blocks and quilt first and tend to notice the quilting as an afterthought.  So, you can sneak stuff into there.  The poem goes like this.

One Block Wonder
Spirals around
Creating magic
With fabric found
Like leaves in the fall
Dancing down to the ground.

I also quilted a quilt for Wilma to give to Velma’s family.  Velma passed away a couple of months ago, and her family donated her fabric to the quilt guild.  Wilma generously made a quilt from Velma’s fabric, and I quilted it with a quick E2E (Edge to Edge) design.  Wilma will be giving it to Velma’s family soon.  Once again, you will see Wilma’s got good color sense, imho.

wilmas 4 003

Hang in there!  Only three more quilts and a coverlet to go!

Cindi very graciously took a chance on me and had me quilt 3 of her quilts.  She is a newbie quilt-maker, and I think she did an absolutely fabulous job on her quilts!  Of course, she is still in the stage where she notices her mistakes and points them out to others, but she will learn that others make so many more mistakes than the very few that she did, but they don’t, or won’t admit to them!  I love this girl!

Here is the first quilt I quilted for Cindi.

Cindi's 3 quilts 001

She wanted simple straight lines quilted on it and numbers in the borders.  I used her numbers as the guidelines for the numbers I put into her borders.  I think if I had put different kinds of numbers, such as skinny numbers, etc. it would not have accented her work as well.  Anyhow, this was the procedure I followed for the numbers.  First, I copied what numbers she had on her quilt and then I looked online for numbers that matched her numbers and made them the same size.  I then took a piece of vellum (actually, I think I used onion skin on this one) and traced numbers in a random order on the the paper that was the size of the border; 1 piece for each side.  And, then I poked pins straight down into the paper and fabric and stitched the pencil drawn numbers.  You pull the paper off when you are done with the row of numbers.

Ruthie 003   Ruthie 002 Ruthie 001  Ruthie 004

Here is the back and binding of this quilt.

Cindi's 3 quilts 003   Cindi's 3 quilts 002

The above quilt and the next one are for her grandsons, if I remember right.  All three of these quilts will be at her lake house, so if you notice a theme going on here, that is why.

It was hard to stitch any surprises into this quilt with the straight lines and the numbers.  Of course, after I finished them, I thought I could have put faces into the numbers.

Front, binding, and back…

Cindi's 3 quilts 005 Cindi's 3 quilts 006 Cindi's 3 quilts 007

And, this quilt is for Cindi.  I LOVE this quilt and think she did a stupendous job on it as well as the 2 above.

Front and back… By the way, the numbers are representative of birthdays/birth months/birth years.

Cindi's 3 quilts 009   Cindi's 3 quilts 023

I think we can figure out how old Cindi is by this picture, but trust me, she DOES NOT LOOK IT!!!  I thought she was younger than me!  Cindi wanted straight lines for the quilting on this one, except she wanted fish quilted into the light blue border.  It’s always nice to find out things about the people you quilt for, so I try to listen for bits of information so I can personalize their quilts.  This was an easy one to personalize.  I knew she had grandsons from the 2 earlier quilts, and I knew they were at the stage where they might like monsters, etc.  So, I stitched some monster fish into the light blue border, along with a bunch of “normal” (if there is such a thing with free-hand quilting) fish.  I also stitched a hook next to an open mouth of a fish, and I stitched a shark looking at a “surprised” fish that is looking back with bulging eyes.

Cindi's 3 quilts 011  Cindi's 3 quilts 012

I was so happy Cindi asked me to finish these quilts for her and hope I did a good enough job that she will ask me again (surprises and all!).

Finally, this next “quilt” is actually for an interior designer, Robin.  She is making a bedspread for a customer, but she does not quilt.  So, she just had me quilt this “coverlet” for the top and she will add piping, etc.  All she wanted was the designs outlined/traced.  Some people call that custom quilting, but I call that Edge to Edge.  It was easy peasy!

Robin's coverlet 001   Robin's Quilt 001

I would love to see what Robin does with the rooms and the homes she decorates.  Maybe one of these days???  Who knows what the future holds?…

Anyhow, as you can see Frida and I have been busy, busy this past month.  I am glad for it, because I do love spending time with that machine and creating what I consider works of art and many future heirlooms.