Warning! For those of us who are longarm quilters or who want to be longarm quilters, read on… otherwise, this will bore you.
Many longarm quilters prefer to use Leader Grips by Regina Gary or Renae Haddadin’s Red Snappers. Personally, I prefer the Quick Zip System created by Sue Schmieden. You can find them on her website here and at many other stores. Don’t get me wrong, I think the Leader Grips and Red Snappers are great. But, since I do customer quilts and I’ve got arthritis and carpal tunnel syndrome so it is just easier for me to use the Quick Zip System – the loooonnnnng zippers. That way, if I have one of my own quilts or a charity quilt on the quilting frame, I can easily zip it off and put a customer quilt on there. And, if I haven’t finished a customer quilt by Friday afternoon and I need to work on my own quilt during “non-working” hours or over the weekend, I can do the same. With the Quick Zip System, I don’t have to worry about the quilt getting out of whack when I take it off and put it back on the frame, because it’s already sewed down to the zippers and pretty much squared up. I have several sets of zippers; they are not expensive other than perhaps your first set. And, even that is about half what the leader Grips cost.
Anyhow, my neighbor, Luz, got a new used Nolting Longarm Quilting Machine in May, and she wanted me to show her how I do my quilting, step by step. Well, here’s one of the first steps.
I used to pin the backing onto the zippers, but a Lyn Heilman from Quilted Memories, where I bought extra sets, told me what she does. I thought she must be a genius. Why didn’t I think of that? Instead of pinning, she bastes the backing to the zippers. So, that’s what I will be showing you today.
First off, let me warn you that when I got my initial set of zippers, I was “virgin” new to longarm quilting. So, when I attached the zippers to the fabric on my leaders (the roll-y things that make the quilt go forward and backwards on the frame), I went ahead and marked out inches without thinking too much about the other zippers. As it turns out, my “inches” were off on each side. If/when you get your zippers sewn onto your machine, first, before marking anything, zip them together. Then, roll the leaders backwards and forwards to get the cloth leaders to where they are even on the sides. You don’t want one roller way over on the left and the other roller way over on the right side. Then, while your zippers are still zipped together, mark out your inches, if you want to do that. The most important thing to do is mark the center. Then, mark 10 inch increments, if you want on either side of the center. Then, if you still are not sick of marking, mark the inches if you think you will need them. My inches are so off that they are almost of no used to me. After you get the zippers marked, you can unzip the zippers attached to the machine and then mark the zippers that will be attached later to the quilt backings.
As you can see from this photo, I’ve got my original zero point X’d out and a new line drawn. You want to find the center point on your backing fabric first as well as the center/zero point on your zippers.

You can see where I folded my fabric in the center and then pinned it to the center on the zipper (right side of fabric next to zipper, wrong side up). My zippers are still zipped together.

From the point of finding the center, I then go down one side and find where the end of the backing fabric will meet the zipper. Here you can see a better picture of how my inches do not match. Notice the zippers are still together.

Either put your zipper foot on your domestic sewing machine or do what I did and move my needle to the right.
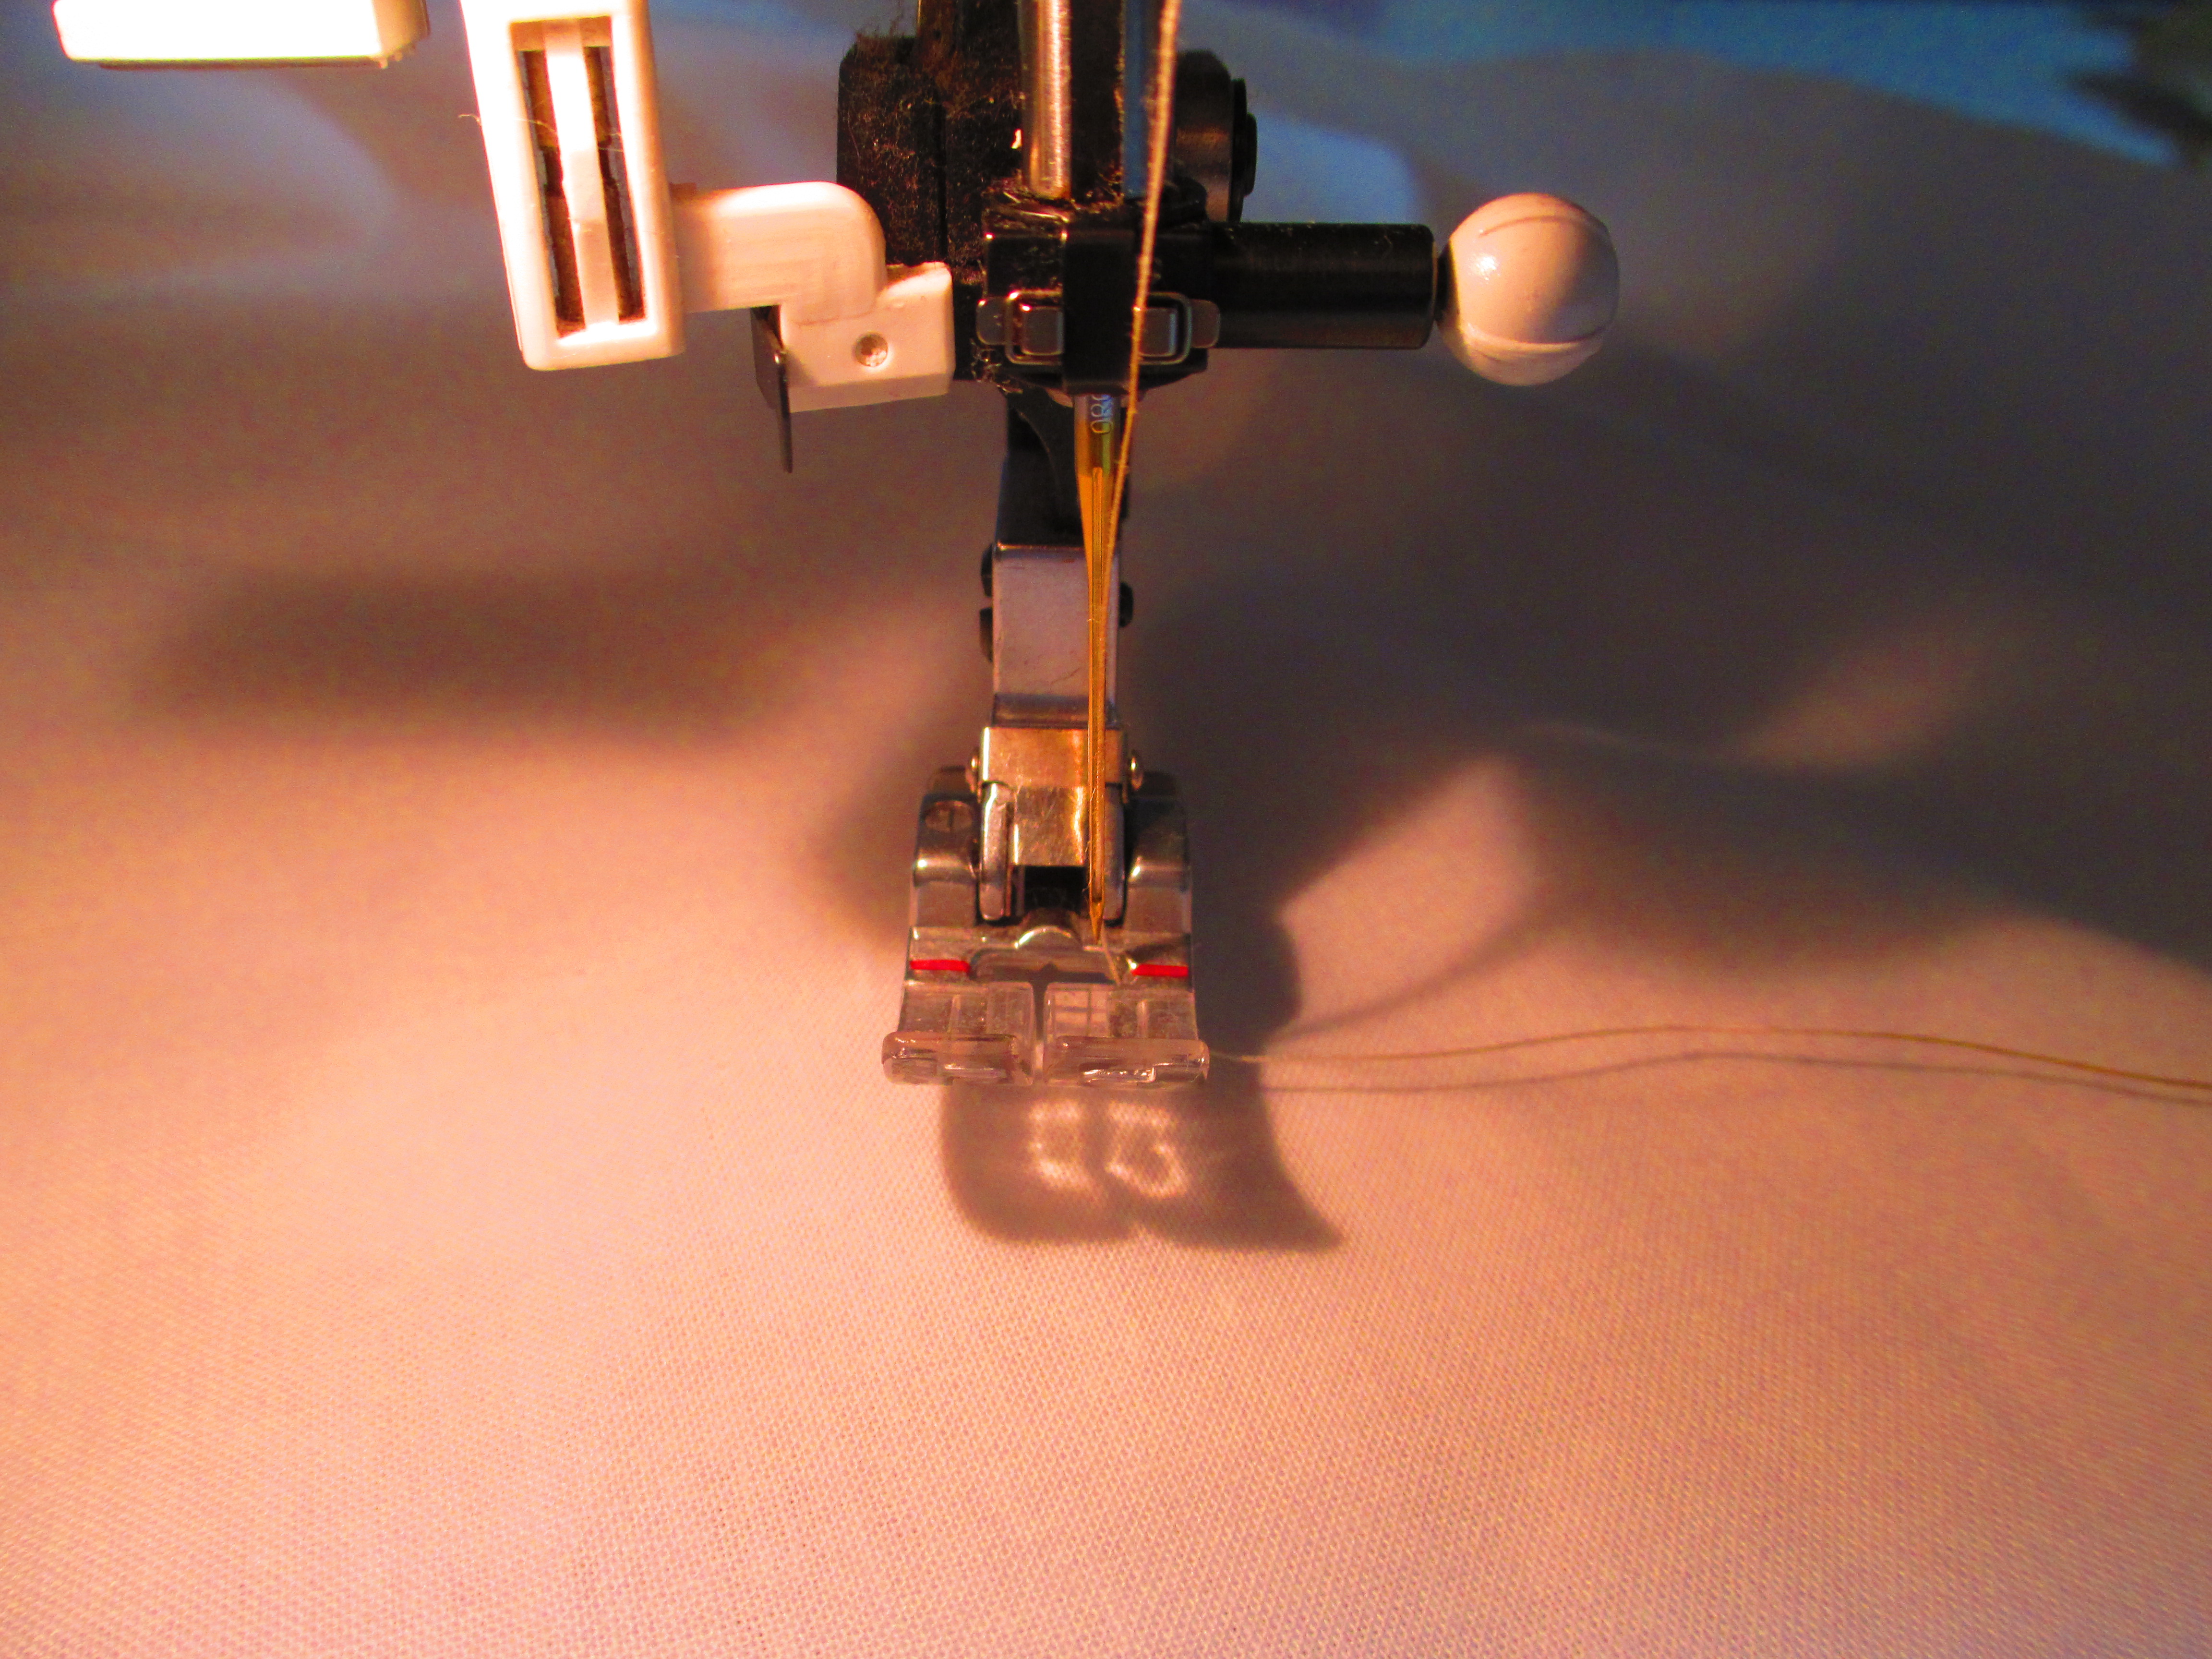
Here it shows the foot butting up against the zipper teeth.

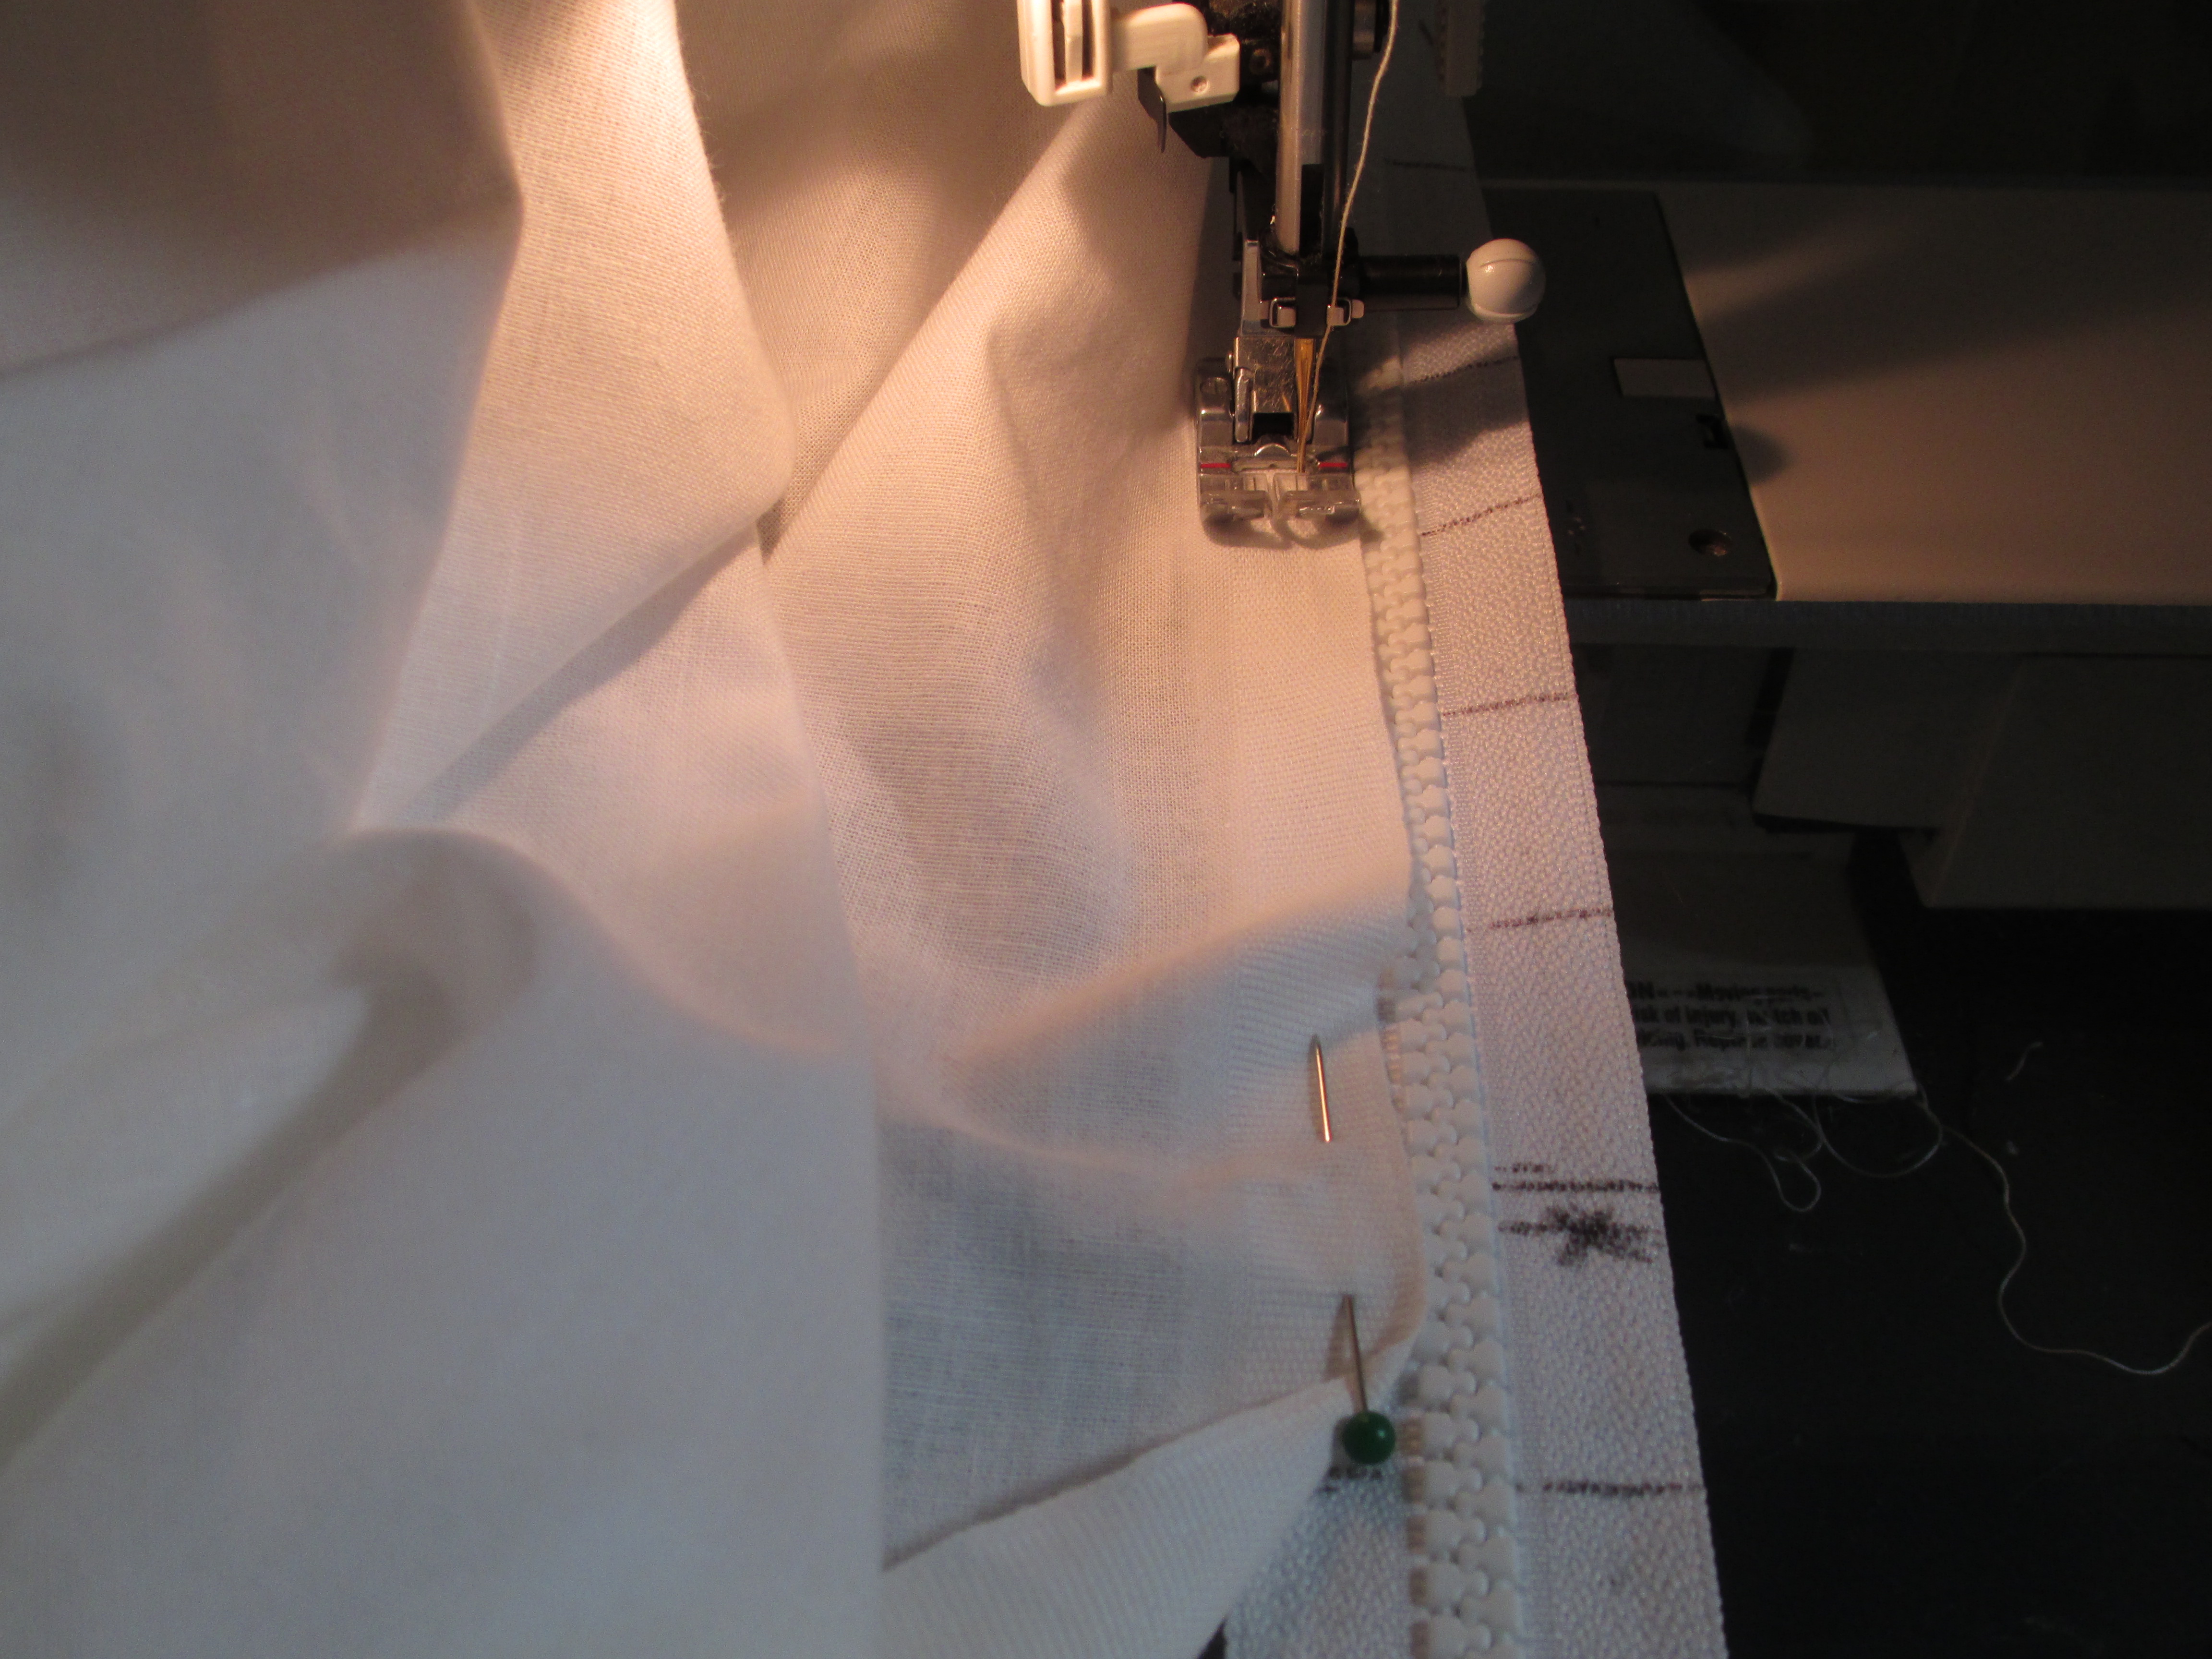
And, this next picture shows WHY I leave the zipper zipped. As it gets basted, the fabric also gets pushed down. So, you can see that as I get to the center of the zipper, my fabric is no longer going to be centered. Now, some people will start from the center and baste to the ends, repeat for the other end of that zipper and then repeat the whole process for the other side of the zipper. But, I am lazy, so I do it this way. Besides, as long as both sides of the backing match on the zippers, it will be okay. The fabric will roll straight and not wonky. The batting will get placed on the batting, centered or not (to save batting), and the quilt top gets pinned wherever you want it to lay on the batting and/or backing.
So, back to the fact that the fabric is no longer centered… not to worry, take the pin out and continue down to finish off the basting. I did not pin that end in place, I only pinned the center and the end of the other end/side.
And, you get down to the other end and backstitch to lock the stitches. Can you see how uneven my inches are in this photo?

Now, bring around the backing fabric to the other side of the zipper, so that the sides meet up on the zipper. You may wonder how you can sew down the center of that “tube” of fabric.

Once you’ve got that one end pinned, unzip the zipper.

After the zipper is unzipped continue basting this other side.

And, there you have it. Now it’s ready to go on the leader fabric. The next shot shows how I have the backing zipped on and batting laid out. I have run a basting stitch across the width of the batting and backing with my horizontal channel locks so I’ve got a straight line for the quilt top. I pin the quilt top down next to the straight line and then run a basting stitch along the top edge. Then, I pin the quilt top on the sides and run a basting stitch along either side. Now I am ready to clamp the sides so they don’t flop around. I’ll try to show you the clamps I use in a future post. My quilt top is now attached and ready to be quilted. As I roll the quilt, I will baste along either side and then when I get to the bottom, I will make sure my bottom corners are as squared up as I can get them and will use my channel locks again to baste a straight running stitch along the bottom and will pin the quilt top at the bottom in the same manner as I did the top.


[…] had said in an earlier post where I was talking about using Zipper Leaders to hold quilts onto the frame that I would also post […]
LikeLike
Reblogged this on Cowtown Quilts and commented:
An update to this original post…
LikeLike
It’s late and I may be missing something but why do you pin your quilt top at the bottom edge
LikeLike
Cindy, I’m not sure I understand what you mean. But, I’m guessing you are referring to what I wrote in that last paragraph. What I do with the bottom edge of the quilt top is a) before pinning or basting, I take a look at whether or not it looks even along the bottom edge. Mine never do, so I go with an average of where each side meets the bottom edge. At that point, using my horizontal channel locks, I run a horizontal basting stitch along the quilt backing and batting part of the “quilt sandwich”. After that, I pin the bottom of the quilt top along that basting stitch so that I know it’s straight and not wonky. After that, I run another basting stitch about 1/4″ away from where the bottom edge of the quilt top meets the straight line that I stitched into the quilt backing and batting. Does that make sense? It’s a lot of work, but I want the quilt to be as straight and square as I can get it.
LikeLike