Garden Path

I recently quilted this quilt for Margaret, which she named “Garden Path.”

IMG_1827

If you look closely, you will find delightful colors and patterns of Japanese fabrics, many of them cut into strips and sewn together to create a harmonious path, of sorts, around the quilt top. I really like how she combined the colors of blue, taupe, purple and green and then set a back-and-forth pattern into this quilt.  She also chose the perfect thread for this quilt,  variegated blue and green.

Not wanting to detract from the quilt design, we decided that it would be best to quilt an allover, edge-to-edge design on this quilt.  I could have done some really cool custom quilting with Japanese symbols, etc., but it would have gotten lost in the quilt.  So, we went with a smooth “water-look” design.

IMG_1822

It was close-knit quilting, but Margaret is planning on hanging this piece on the wall in her living room.  The extra stitching may stiffen it up a bit, but it will also stabilize the quilt blocks that are set diagonally.

Here’s a look at the back.

IMG_1818

Dresden Doodles

I’ve been waiting to get this quilt back to Charlotte before posting anything about it, but I decided to go ahead and share this now.  I’ve been gone this last week to Machine Quilting Exposition, where I took classes from some amazing quilt teachers, so I am slow to get back in gear and into my regular routine.

Charlotte has this beautiful quilt with Dresden Plates and wanted traditional quilting all over.

IMG_1741

Here’s a close-up so you can get a better look at the fabric.  I think it’s very pretty.

IMG_1747

I took plenty of shots of the quilting, but, truly, the best shots are of the quilt laying across my machine’s frame, with the natural sunlight coming in.  So, here are 2 of those.

IMG_1736IMG_1735  

Charlotte wanted feathers in the outside border and as filler around the Dresden Plates (in the white areas in the background and border), so those were fun to do.  I filled the petals of the Dresden Plate with swirls and the inside circles with feathers and a swirl.  I think the formal cable and square design in the sashing borders works perfectly with the checkerboard corners and striped sashing.  I found it funny how the feathers and swirls were quick to finish, but the sashing took as long to finish as the rest of the quilt – I used rulers for the cable and square quilting, but did the feathers and swirls freehand.  I was trying to get it perfect, but, really, there’s no such thing as perfect.

What do you think?  Does the quilting design compliment the quilt itself?

Marianne’s 30s Repro

That’s the thing I like about Marianne… that she is trying all sorts of techniques and styles.  She’s not boxing herself into one particular style of quilts and is trying whatever she can to expand her repertoire.  She reminds me of me.  I like all sorts of quilts and no one style in particular sticks with me… well… other than whimsical quilts, that is.

So, here is Marianne’s latest.  It was a Block of the Month (BOM) quilt, full of 1930s reproduction fabrics.

IMG_1724

Marianne wanted feathers all over her quilt, and not your run-of-the-mill feather wreaths.  The quilt hanging at the store had feathers quilted similar to this, and that’s what she wanted.  I didn’t quilt it exactly like what they had at the store, but it’s close.  It looks kind of like a pin-wheel, doesn’t it?

IMG_1725

The picture of the quilting she wanted looked like flowers, so I did that in the colored blocks and in the borders.

IMG_1728

It’s that center circle that makes it looks like a flower.  So, this is where I snuck in smiley faces, but I needed to put them some place where you wouldn’t find them unless you were looking hard.  Look closely at the next picture.  The smiley face is in the middle of the “flower.”  You can barely see it in this one, and that’s the idea… for the quilting to be personal for the quilt-maker, but not over-powering the quilt blocks and the quilt itself.

IMG_1726

Here’s a shot of the corner.

IMG_1732

I haven’t been asked to quilt feathers on many quilts, so this was fun to quilt.  This next quilt I’m quilting has lots of feathers on it, too.  Hope you enjoyed this fun quilt!

There’s no place like home in Kansas

Remember this quilt?

https://cowtownquilts.com/wp-content/uploads/2014/05/img_1392.jpg

Well, Claudia made another quilt like this one for her other brother and asked me to quilt it similar to this one.  I changed it up a bit by moving the barn to the other side of the quilt and adding sunflowers on this next quilt.  You probably won’t see much difference but here’s the latest…

IMG_1686 (2)

Here’s a shot of the left side of the farm with sunflowers.

IMG_1683

And, the fence, sheep, tractors and gravel road…

IMG_1690

And, the barn on the right side with a fat, lazy cat down in front of it…

IMG_1696 IMG_1698

Some cows near the barn with a dime for perspective on how “big” they are…

IMG_1705

Thought you might like to have a better look at the wheat…  The kernels are drawn like baby leaves.

IMG_1687

And, for those of you are wondering how to do this yourself, here’s a video showing you how to “thread draw” wheat on my YouTube Channel.


Hawkeye is from Iowa?

Remember Hawkeye from the TV show M.A.S.H.?  Wasn’t he from Iowa?  You know the little guy who liked Nehi soda?

*Editor’s Note: A couple of hours after I published this, I realized it was Radar who was from Iowa and who also liked Nehi.  Hawkeye was the character played by Alan Alda (his eyes kind of do look like hawk eyes, don’t they?).  I must have been channeling your thoughts when I realized I was wrong, so I apologize.  This is a good example of why we should question what we read.

Little did I know when I watched that show that the University of Iowa’s mascot is (a) Hawkeye.  My friend, Elaine, made this T-shirt quilt for her son.  Isn’t it cool?

IMG_1671 (2) (568x640)

You know what is even more cool?  This!

IMG_1669

I can see you now with that confused look on your face.  Well, this is the backing fabric.  It is obvious which way is up on the quilt top, but on the back, one could easily overlook the direction of the mascots’ faces and just throw the quilt backing on the frame without another thought until… you’ve completed the quilting and took the quilt off the frame.  By that point, the quilting and the damage is done.  You either live with it or pick out all the stitching.  So, I can’t tell you how grateful I was to Elaine for putting this tape on the top side of the backing fabric.  I wanted to hug her for doing this!  But, she lives a couple of states away, so I didn’t.  But, if you are reading this, Elaine, THANK YOU!!!

All Elaine asked for on this quilt was simple meandering all over and curvy, back-and-forth lines in the sashings.  I was surprised how relaxing the mindless meandering was to quilt; nothing to worry about with making sure it was going to work.  Because it did!  It matches the backing fabric and goes very well with the fabrics on the top.

IMG_1672

I asked her to tell me a bit about her son, so I could make this more personal for him, and she said he likes sports, specifically basketball and football.  I quilted a basketball in the quilt in the picture above and a football in the picture below, but they are really hard to see.

IMG_1673

So, since that gray T-shirt seemed to “need” something besides meandering quilted there, I decided to put a basketball and a football in that block.  When I took the quilt off the frame, that basketball didn’t look right.  Then I looked at a picture of a basketball and realized it needed a line down the middle, otherwise it looks like a baseball.  So, back on the frame it went and down the middle that line was stitched.

IMG_1674 IMG_1675

No matter how simple or how difficult a quilt is to quilt, I love them all.  And, I have to admit, I had a lot of fun quilting this T-shirt quilt.  Elaine does such a nice job of piecing; that makes my job a lot easier!


Diamonds & Roses

My client, Nancy, likes to give her quilts to me and let me quilt whatever I want on them.  Personally, I get nervous about putting whatever I want on another person’s quilt, because you never know how she or he will react of if she or he will even like it.  But, she’s a trooper and a sweetheart for liking what I have done so far.  Her latest quilt was made with diamond blocks. It’s quite striking, don’t you think?

IMG_1657

But how on earth would you quilt it?  I decided that since diamonds are a girl’s best friend, roses must be the next best thing.  So, why not quilt some roses inside those diamonds?

IMG_1659

In the border I quilted roses and leaves.

IMG_1660

Here is the backside, where you can see the quilting better.

IMG_1664

A lot of people would have just quilted an allover edge 2 edge design on this, but for some reason I thought those white diamonds in the middle really needed something. How about you?  What would you have done and how would you have quilted this quilt with diamonds?

Permission to Play

Recently I finished a quilt for Joan called “Dog Park.”  The pattern and kit is through McKenna Ryan.  If you don’t know who McKenna Ryan is, go here to look at her work.  The details in her patterns are phenomenal, and this quilt in particular gave me a new respect for Joan.  I knew she had to have put hours and hours of work into this quilt top with all the tiny pieces she had to applique… the patience of a saint!  Wait til you see the details!

Here is a picture of the quilt after I finished quilting it.  Joan said I could do whatever I wanted with her quilt.  She only wanted the names of her 2 dogs who have passed on in the quilt somewhere. 

IMG_1620

I decided to quilt a Rainbow Bridge and put her dogs’ names there. 

IMG_1630

Can you also see the little squirrel I stitched on the tree branch (peeking out from behind the leaves)?

IMG_1626

Here’s a close-up of the squirrel.  See its tail between the leaves on the branch?

IMG_1629

At the base of the tree are the 2 dogs – I decided to have one barking and the other howling.

IMG_1625

Over on the merry-go-round is where I decided to put some dog bones.  You can barely see them in this photo.  One is under the big dog in front and another, partially-chewed, bone is under the tongue of the little dog. 

IMG_1622

With this quilt, I had to figure out how to hold the quilt layers together with stitching in a creative way.  In this next picture, you can see how I tacked it down with “grass.”

IMG_1624

For the skies, I mostly stitched in clouds, but this block needed something different.  So, I used a light gray thread to stitch in the shadows of the cascading branches and leaves.

IMG_1623

The big dog in the main block created a special challenge, because, like quilts with people’s faces, I didn’t want to stitch on the dog’s face.  But, I needed to tack it down somehow, comparable to the amount I stitched elsewhere in the quilt.  Otherwise, it would poof up and look distorted.  I should have, and wish, I had asked Joan if she knew what kinds of dog this was.  I don’t know why I didn’t think to ask her.  I should have guess that it was a Great Dane, due to the shadowing on its lower legs.  It would have made a difference in how “smoothly” I stitched the fur onto this dog.  Mistakes and regrets are always an opportunity for learning, so I will try to do better next time at asking my customers more questions and not assuming too much on my own.  And, no, the dog’s head is not bashed in.  Joan, smartly, waited until after the quilting to add the embellishments.  She added a 3-D ear to this dog, which you will see in the photos following. 

IMG_1631 IMG_1654

As for the border, I simply quilted dog paws around the edges.

IMG_1632

Here is a shot of the dachshund in the lower border.  Notice how Joan added a “loose leash” on the dog?  Too cute!  I had to put some kind of mischief in there as a reason the dog had gotten loose, so I stitched a small circle as a ball for the dog to run after.

IMG_1653

Here’s another shot of the center of the quilt after Joan added the 3-D embellishments.

IMG_1652

And, a shot of the completed quilt…

IMG_1650

Finally, I got a picture of a customer holding her finished quilt!  Meet Joan, the proud owner of this awesome quilt!

IMG_1655

Mary’s Music

Isn’t this a cool quilt?  I love the fabric.  Mary said she bought up all that black fabric with musical notes that she could find, so I doubt we will be able to find it anywhere.  The picture of the front makes it look distorted, but it is actually draped from the top of my design wall and hits (on fabric) the floor. 

IMG_1596

Here is a close-up of the quilting I did.  I don’t know if Mary found it yet or not, but I quilted a quote by Lawrence Duncan into it in the lower right (as you look at it); “Silence is the fabric upon which the notes are woven.”  It just seemed to “fit” this quilt.  Further towards the top, I also quilted “music 2 my s”.  Hopefully that will be easier to find than the quote. 

IMG_1597

The back looks really cool, I think.  I have to admit that I was a little worried about it after I got it on the frame.  Seam lines always draw the fabric in so the surrounding fabric is not as taut.  But, it turned out fine.  I think Mary was very creative with this backing.  It goes great with the fabric and patchwork on the front. 

IMG_1593

Quilt Catch Up

As those of you who have blogs know, blogging takes time.  I know that is why I haven’t gotten around to posting pictures of customer quilts I have worked on in the last month.  I will try to share a lot of pictures in this post and write just enough for you to get the info on these quilts.  I have to tell you that I have not snuck any surprises into any of these quilts.  I think my mind’s battle with itself scared me from adding any more surprises into other people’s quilts.  Here goes…

First off is Cindi’s quilt for her niece.  I love her color choices!  And, I was so happy to finally get to use some pink thread! She wanted the baby’s name quilted into the quilt, so we did that with a darker color.

IMG_1461 (2) IMG_1464

Next is Nancy’s quilt – her colors are soothing and go together so well.  Nancy gave me free range, so I decided to quilt feathers all over in the background white and make tulip  petals in the log cabin blocks with a matching thread.

IMG_1480 (2)  IMG_1485

Marianne made a quilt using jelly rolls.  She wanted a simple swirl with the color names quilted into the middle of the colors.  I love how she made an otherwise simple jelly roll quilt look like it was a lot of work – I imagine it was!

IMG_1498 (2) IMG_1503

This next one is Leslie’s first quilt.  Can you believe it?  I thought she did an awesome job of piecing all those little squares together and getting them to match up.  I have to admit that while quilting this quilt, I fell in love the with colors and have decided that I MUST make a black and rust quilt for myself (add it to the list).

IMG_1512 (2)  IMG_1522

And, here is Charlotte’s quilt for her grandson.  The critters are made with minky fabric, so they are soft and enticing for a baby.  We decided to just stitch in the ditch around the pinwheels and cornerstone blocks, echo around the animals, and quilt swirls to look like blowing wind near the pinwheels.

IMG_1535 (2) IMG_1537

Do you have a favorite from any of these?

Family Quilts

May has been a whirlwind of a month.  I’ve got lots to share with you today; lots of pictures and lots of thoughts.  Please forgive me up front if I bore you with my personal “adventures.”

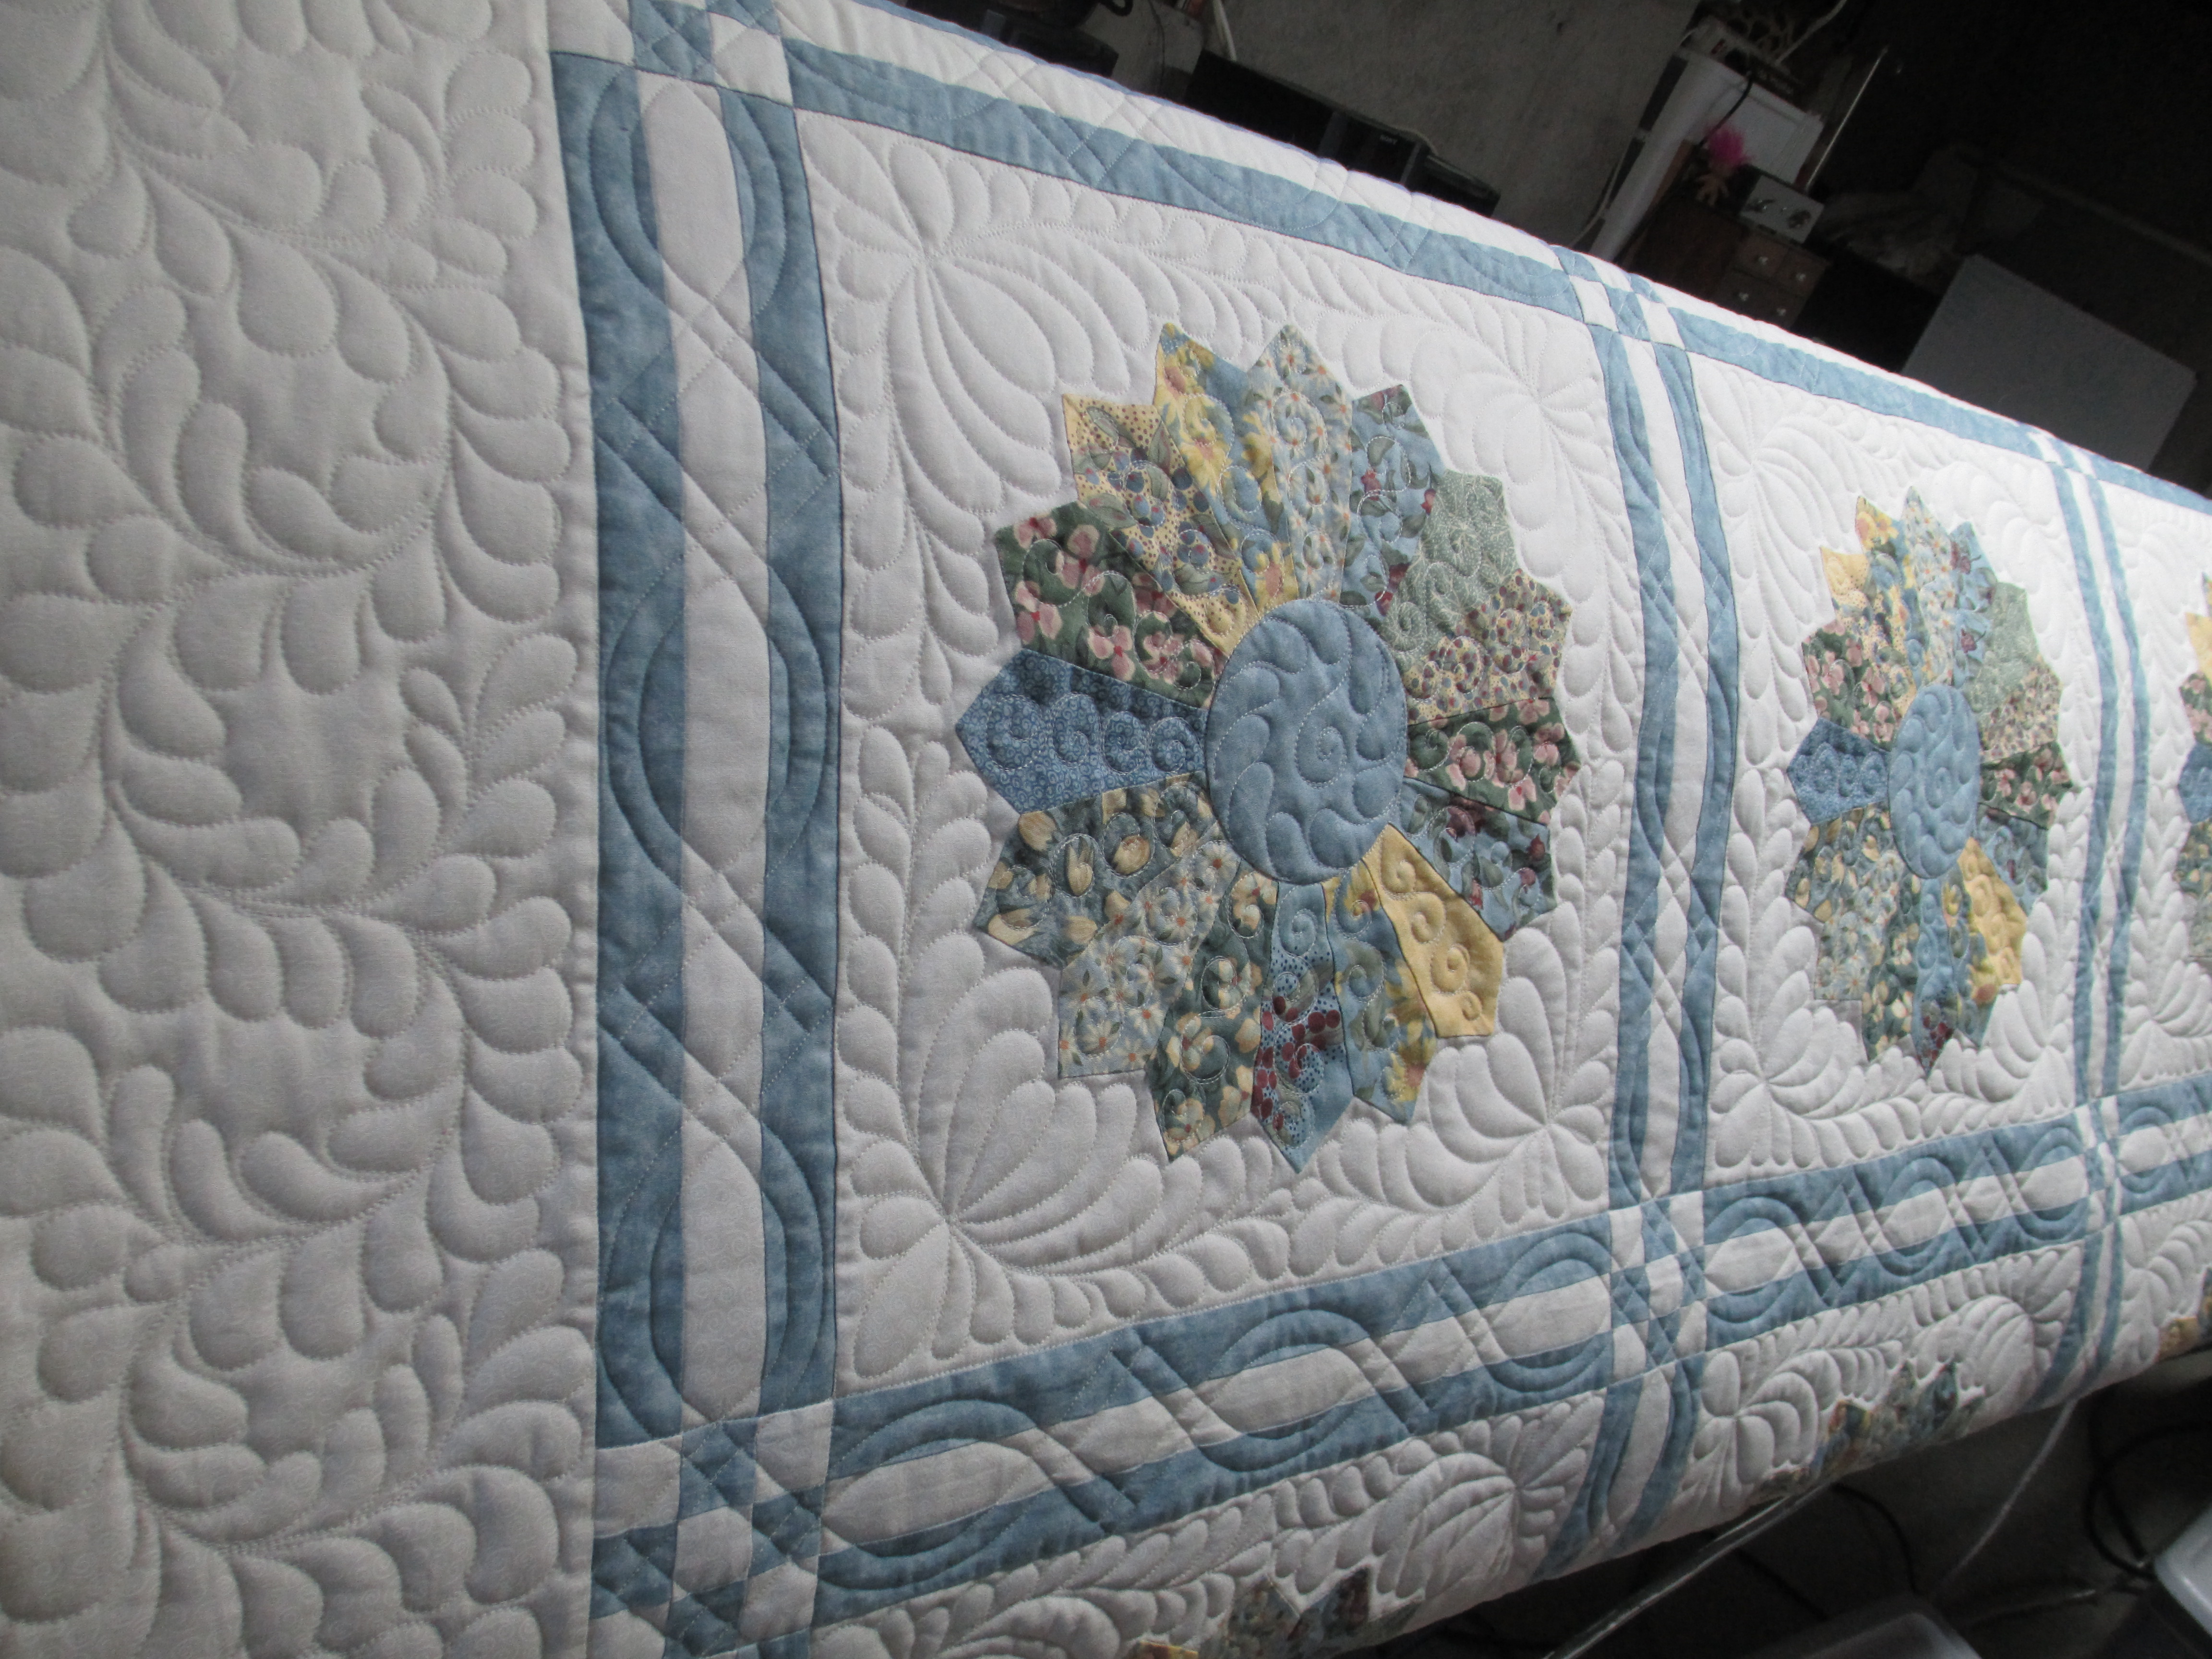
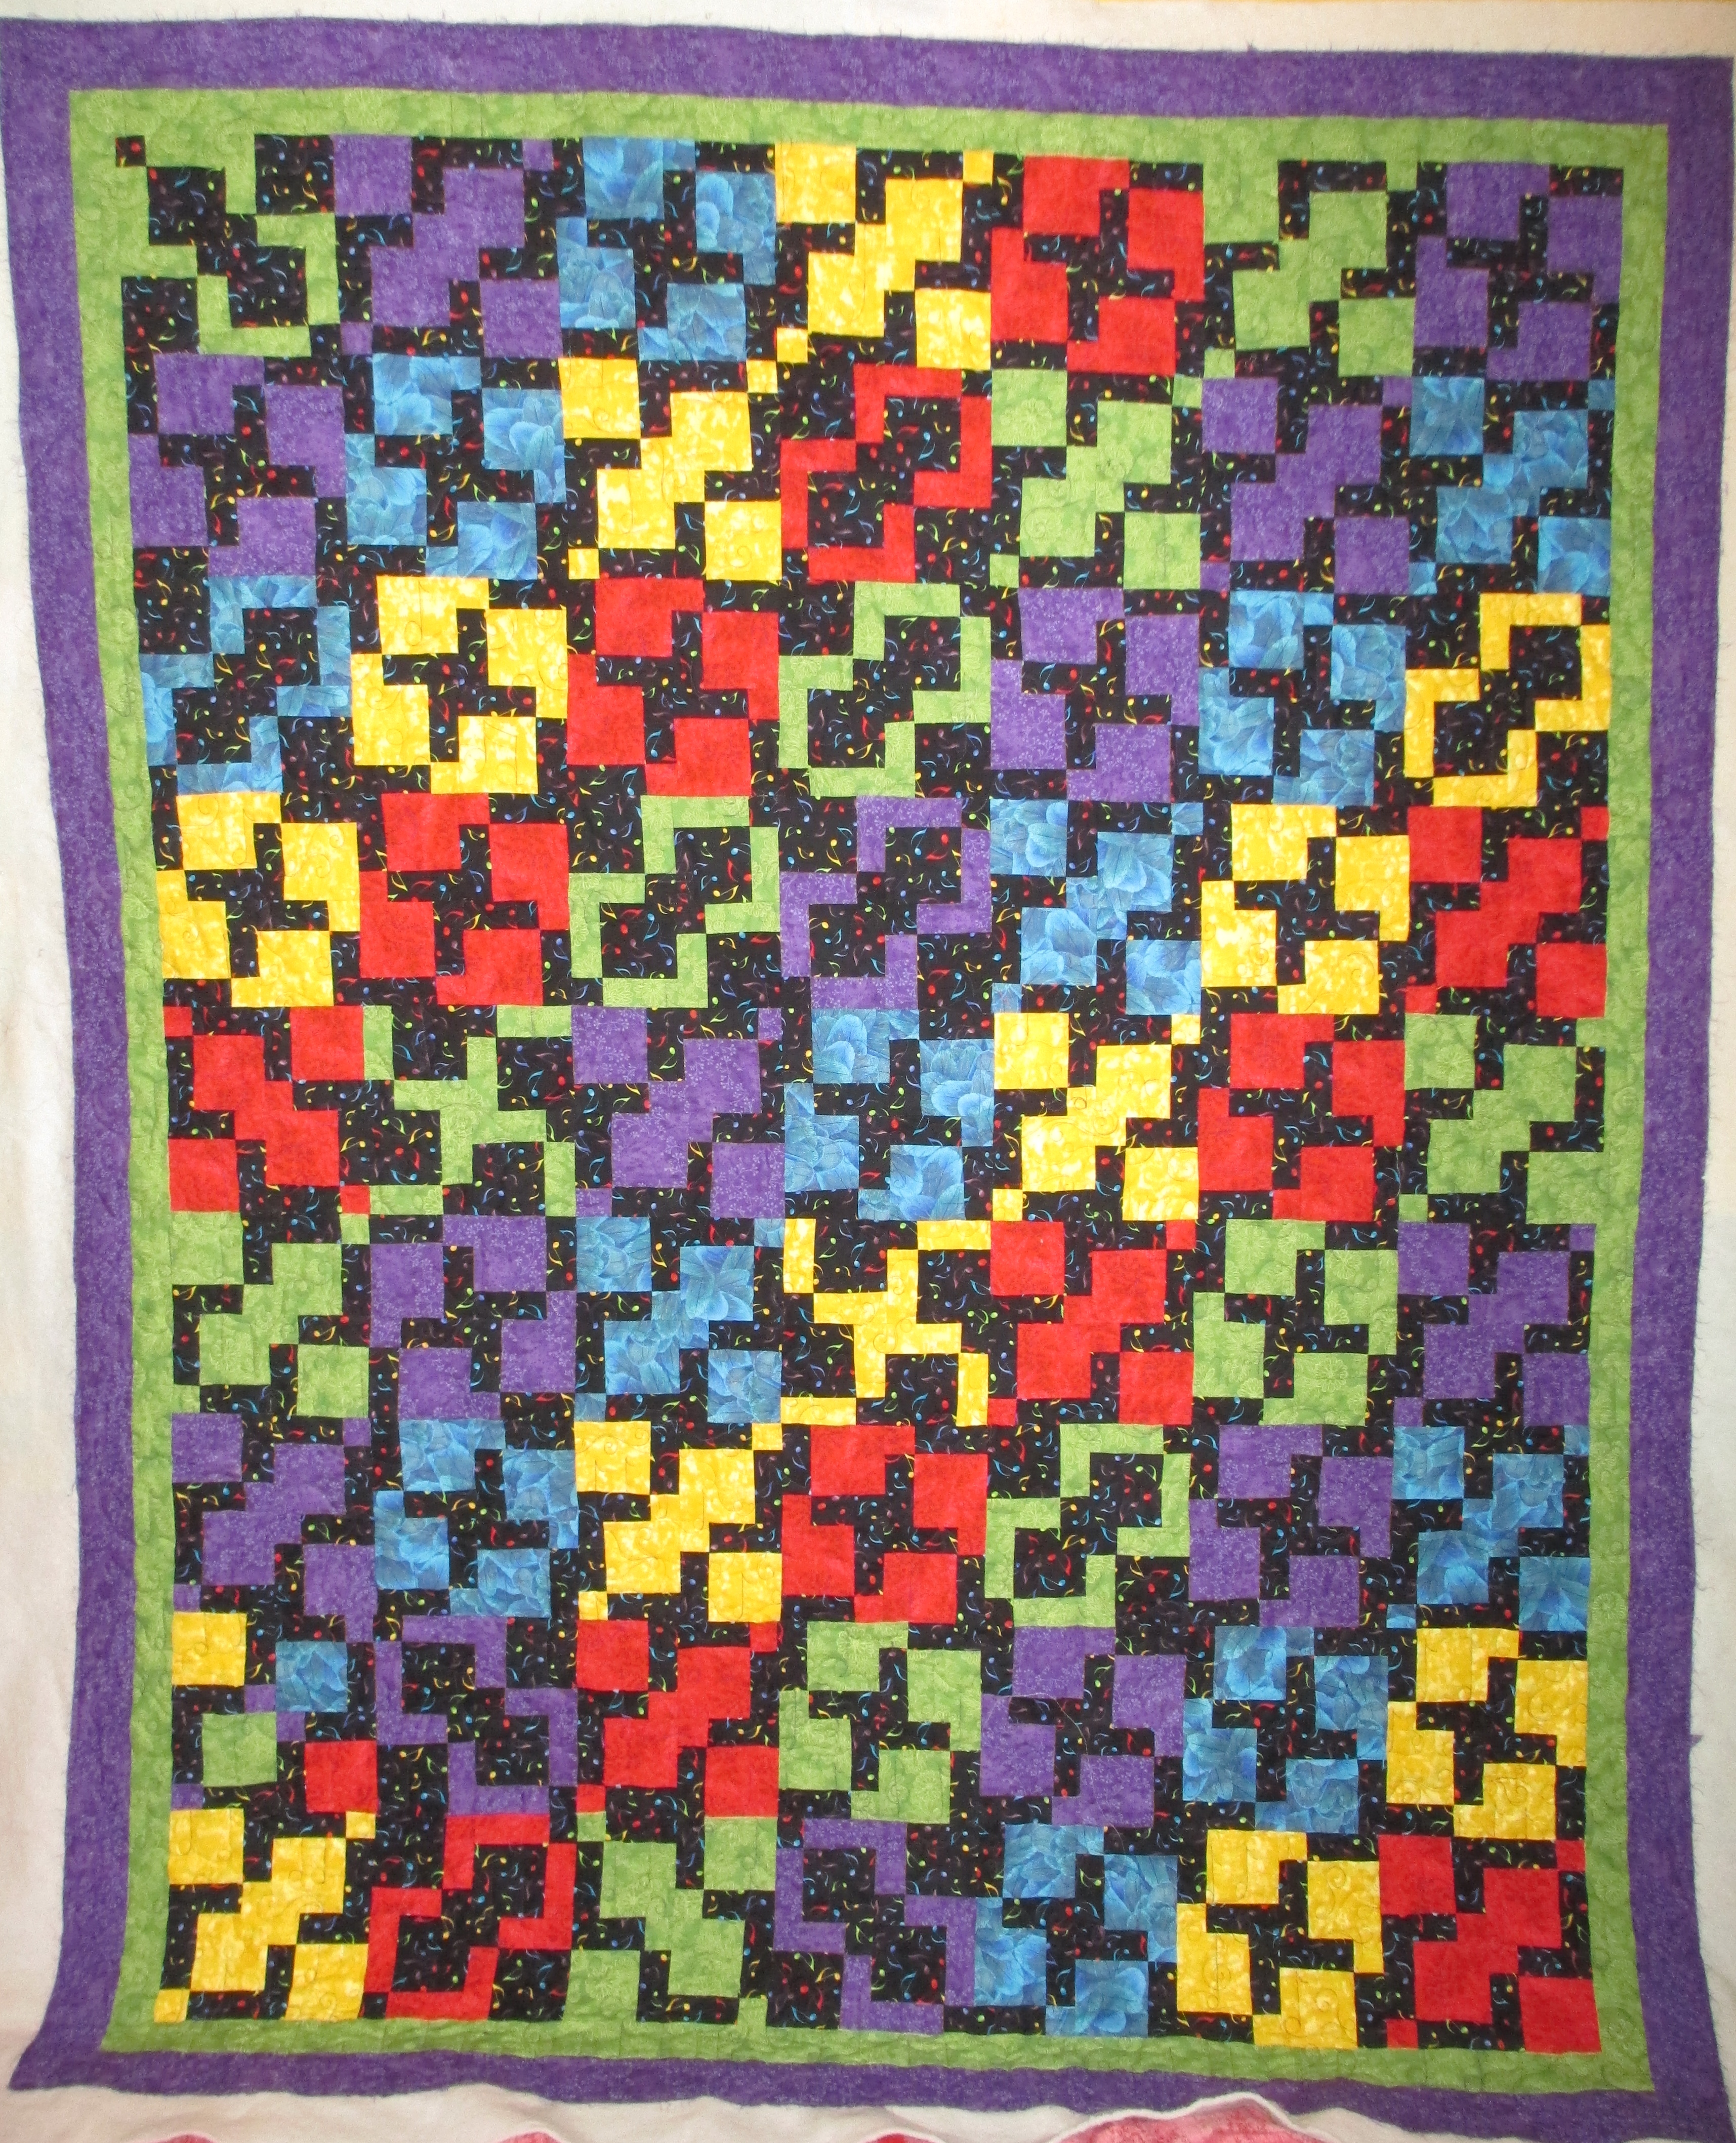
First off, I’d like to share Judy’s quilt with you.  This was a quilt made for a family reunion (which was held Memorial Day weekend), for auctioning off to help raise money for family members in need.  I think Judy is a jewel for doing this and for being so charitable with helping others.  She doesn’t get any money for what she does or donates, but it’s for a good cause!  She said each year the bids for her quilts get bigger – I think they like having her quilts and a part of the family’s history.  Really cool!

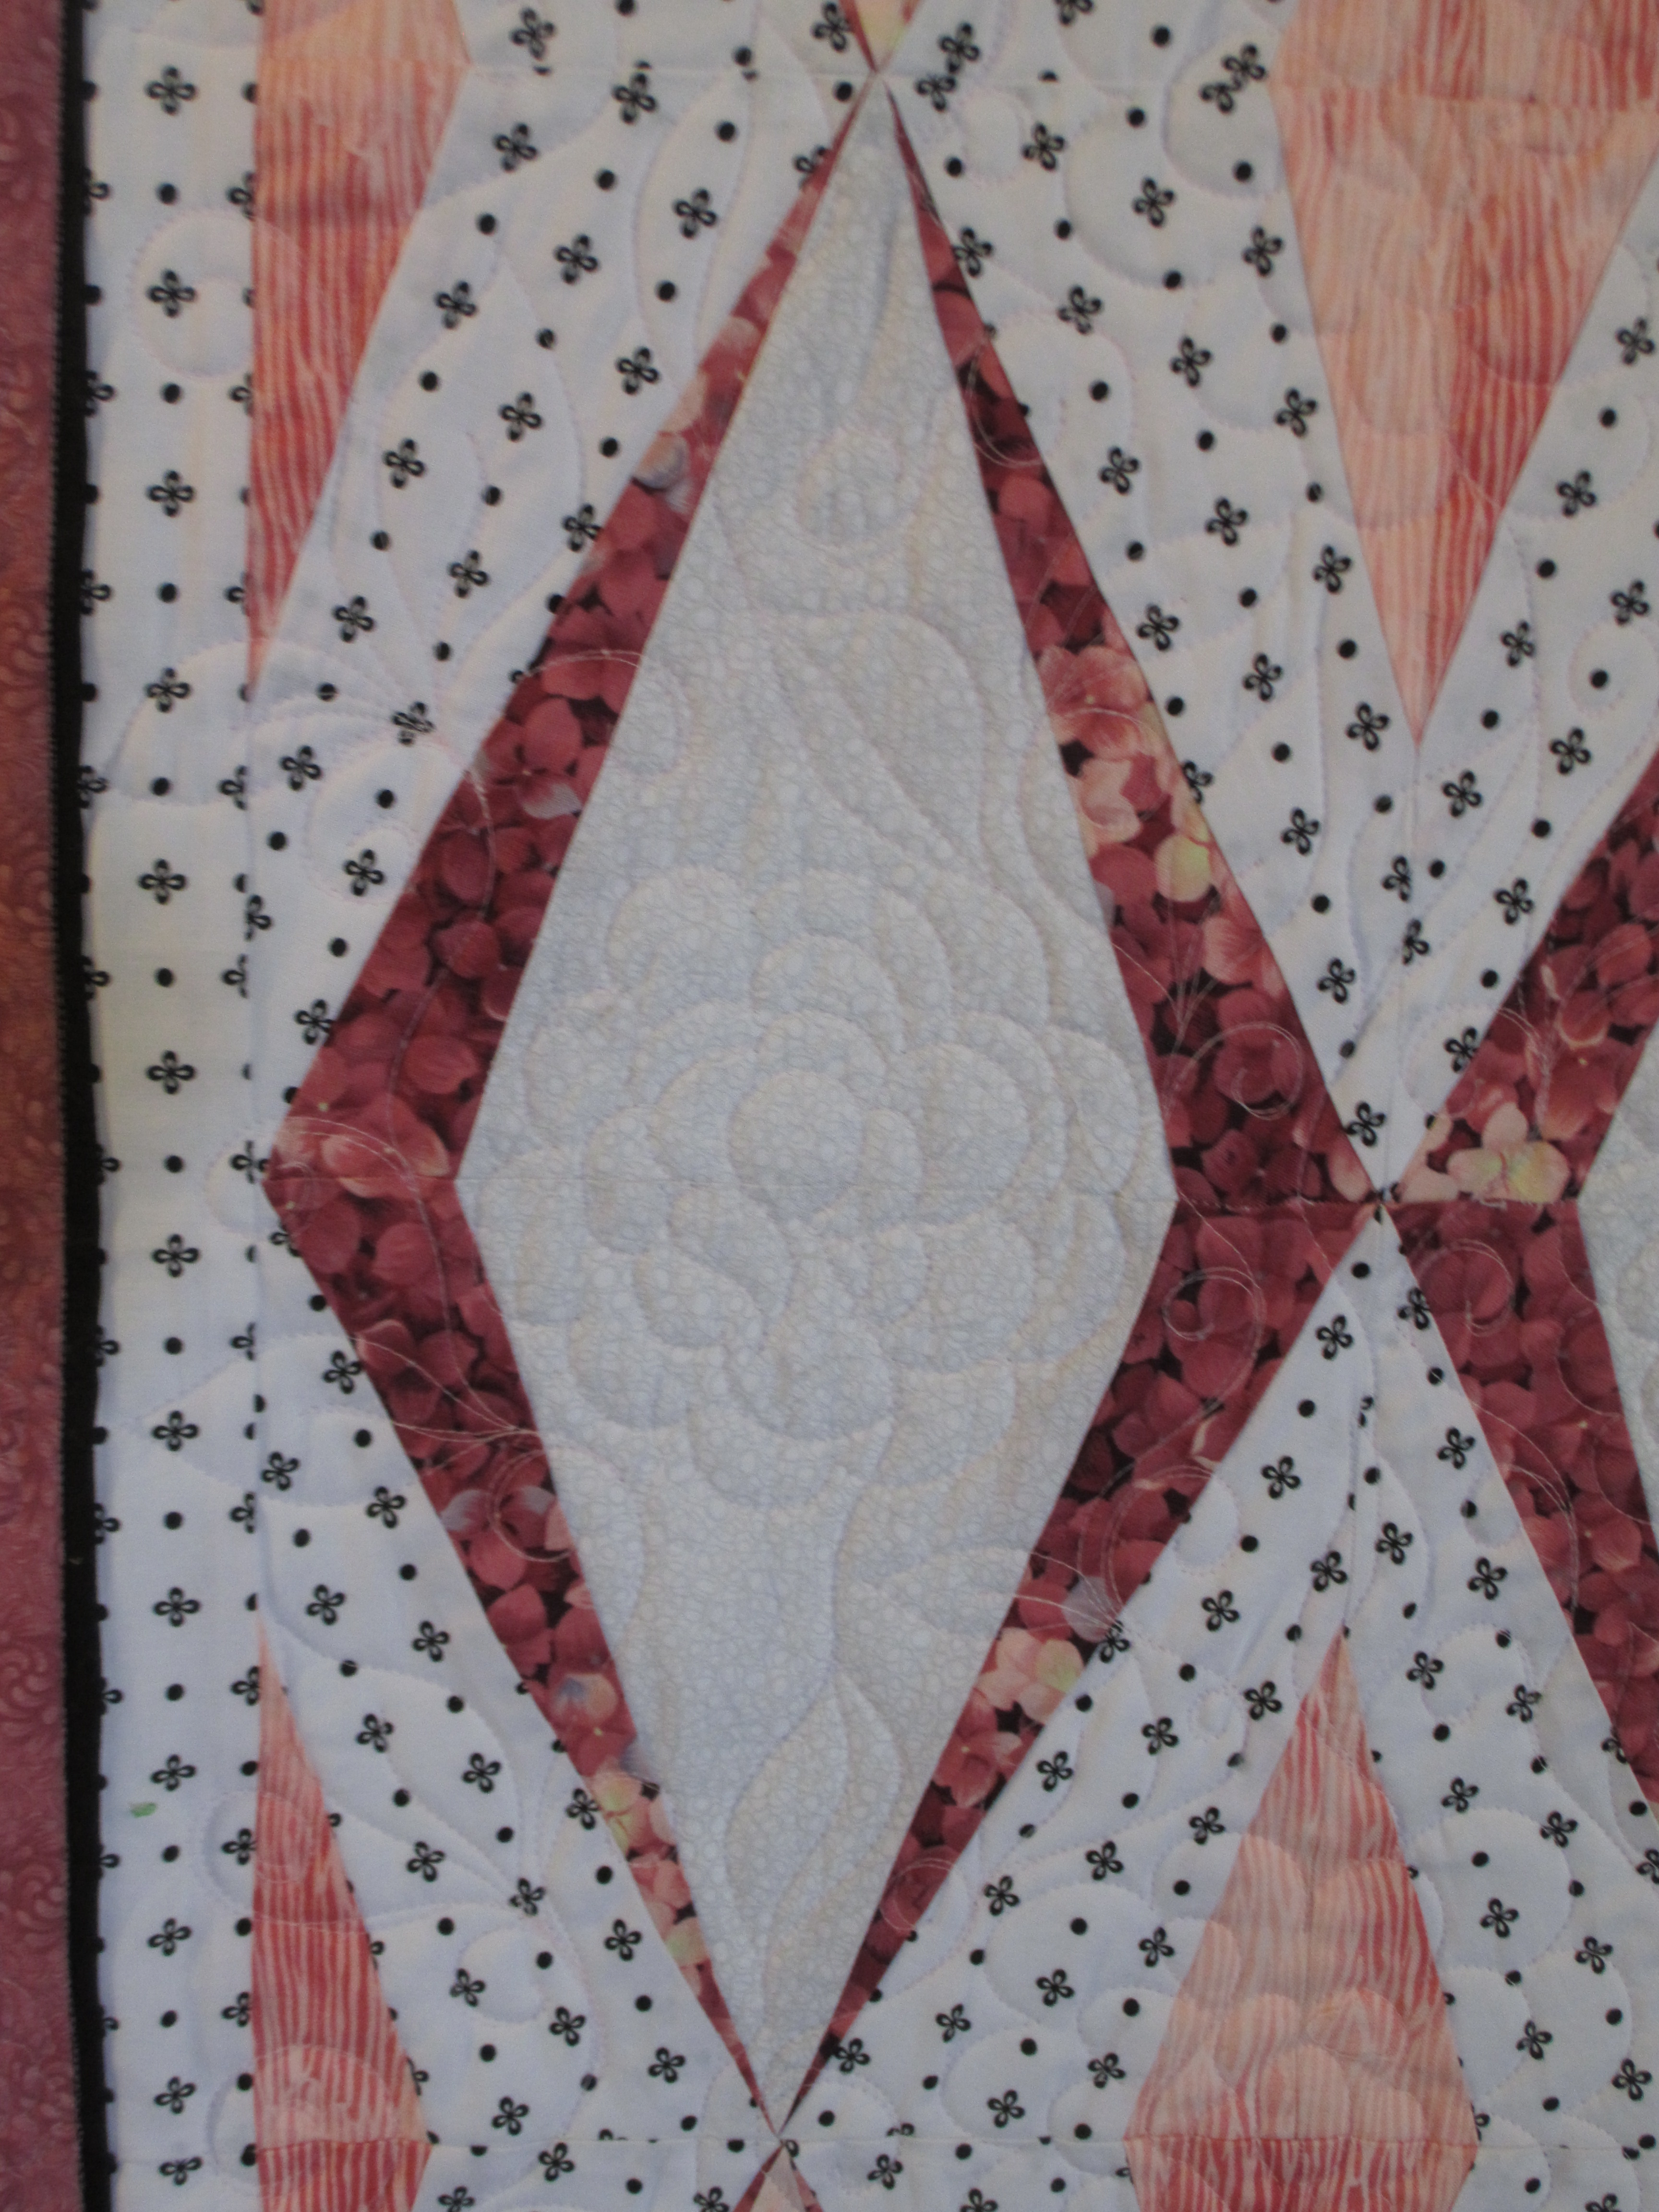
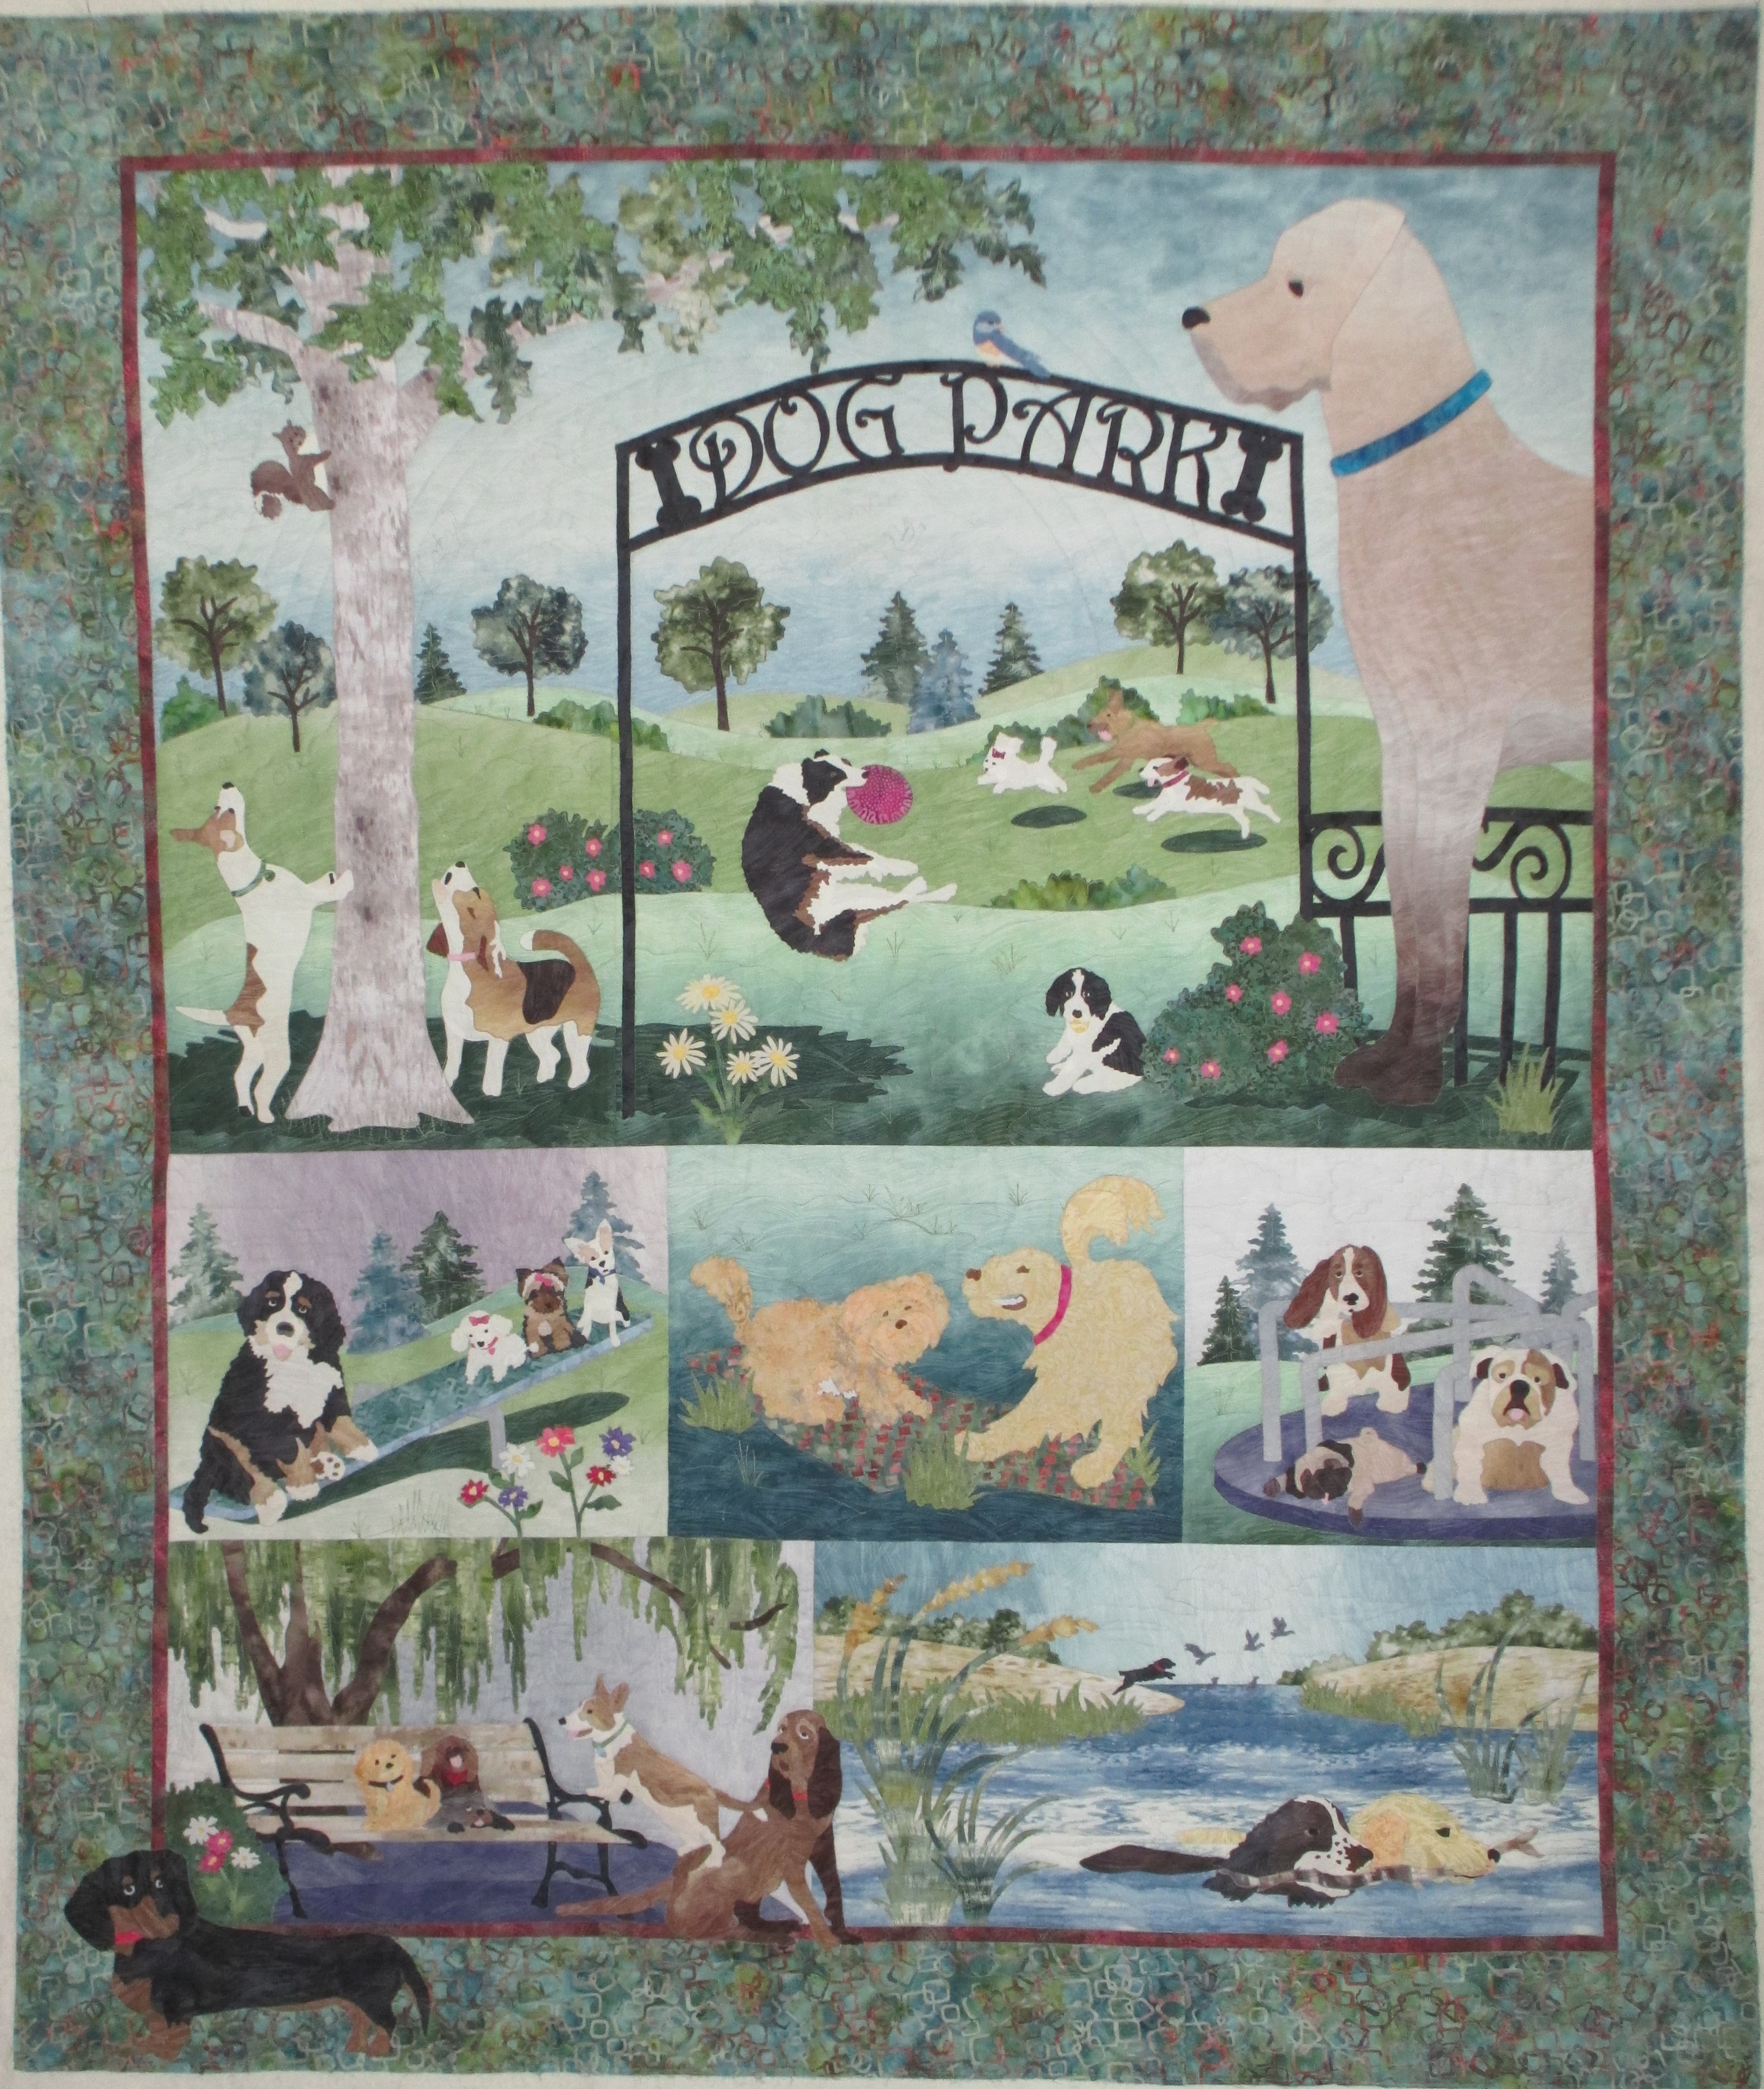
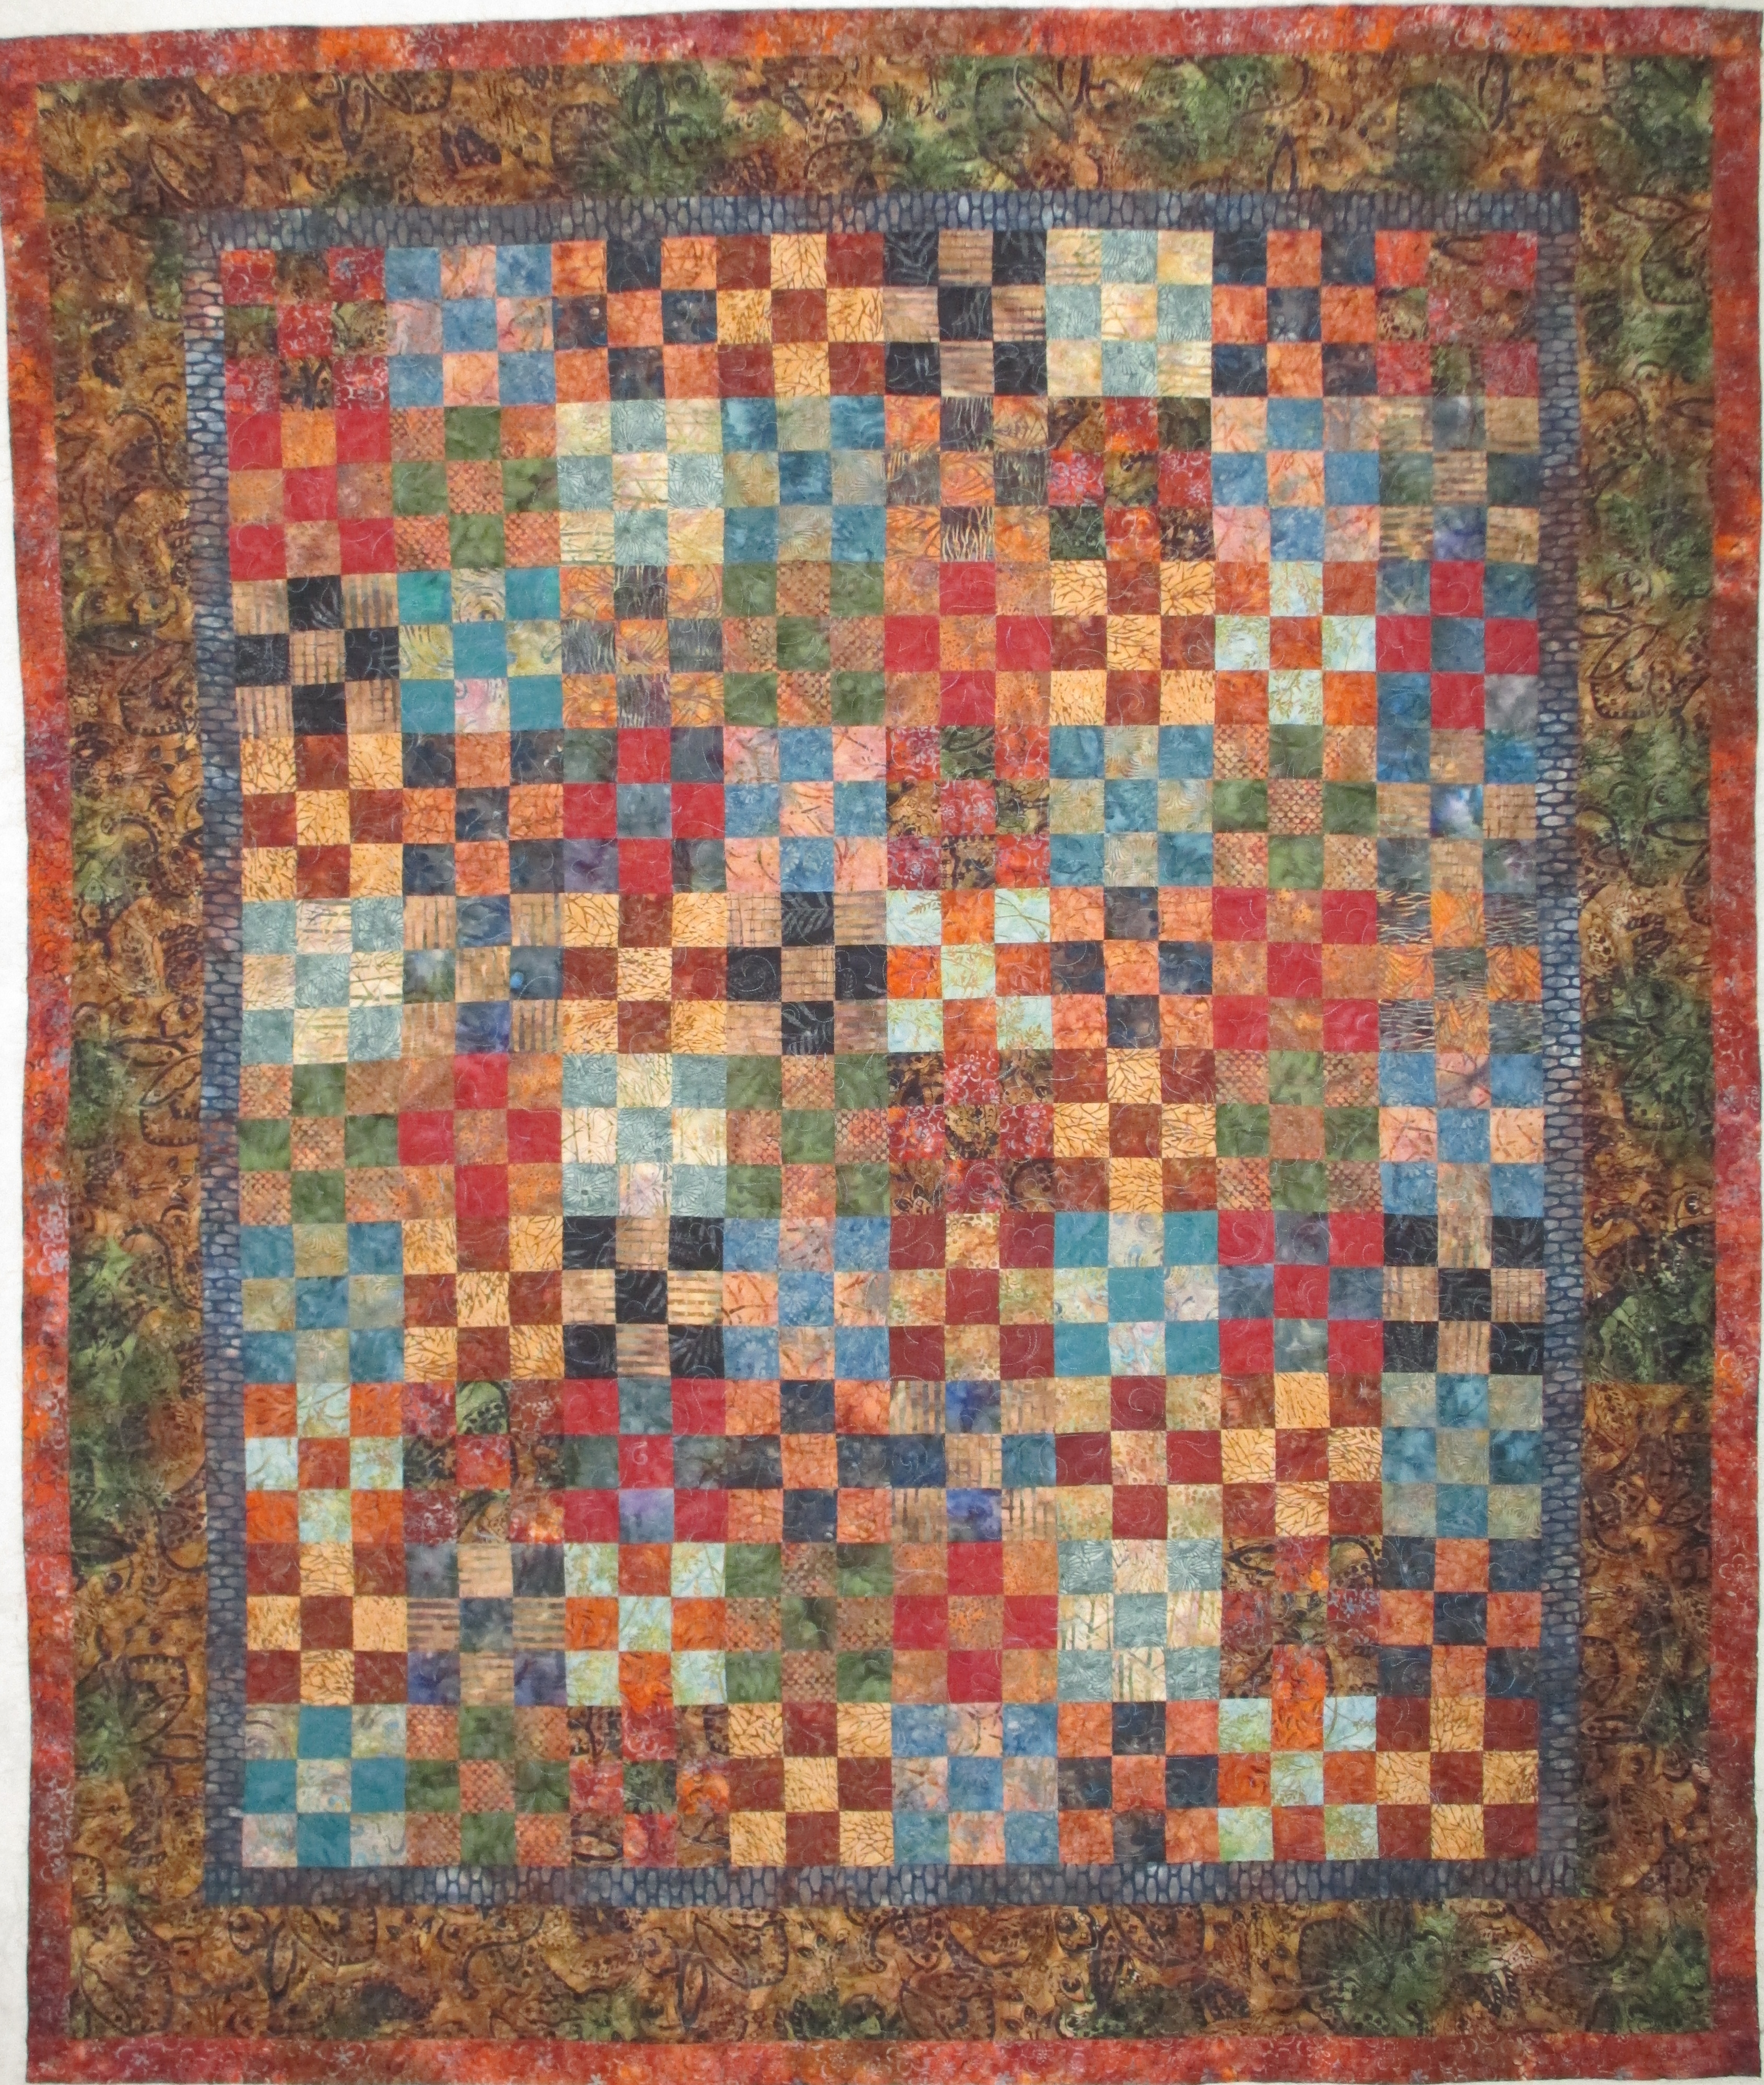
I don’t have as many pictures as I’d thought, because some of them accidentally got deleted, but here’s a full shot of her quilt.

Stephenson Quilt

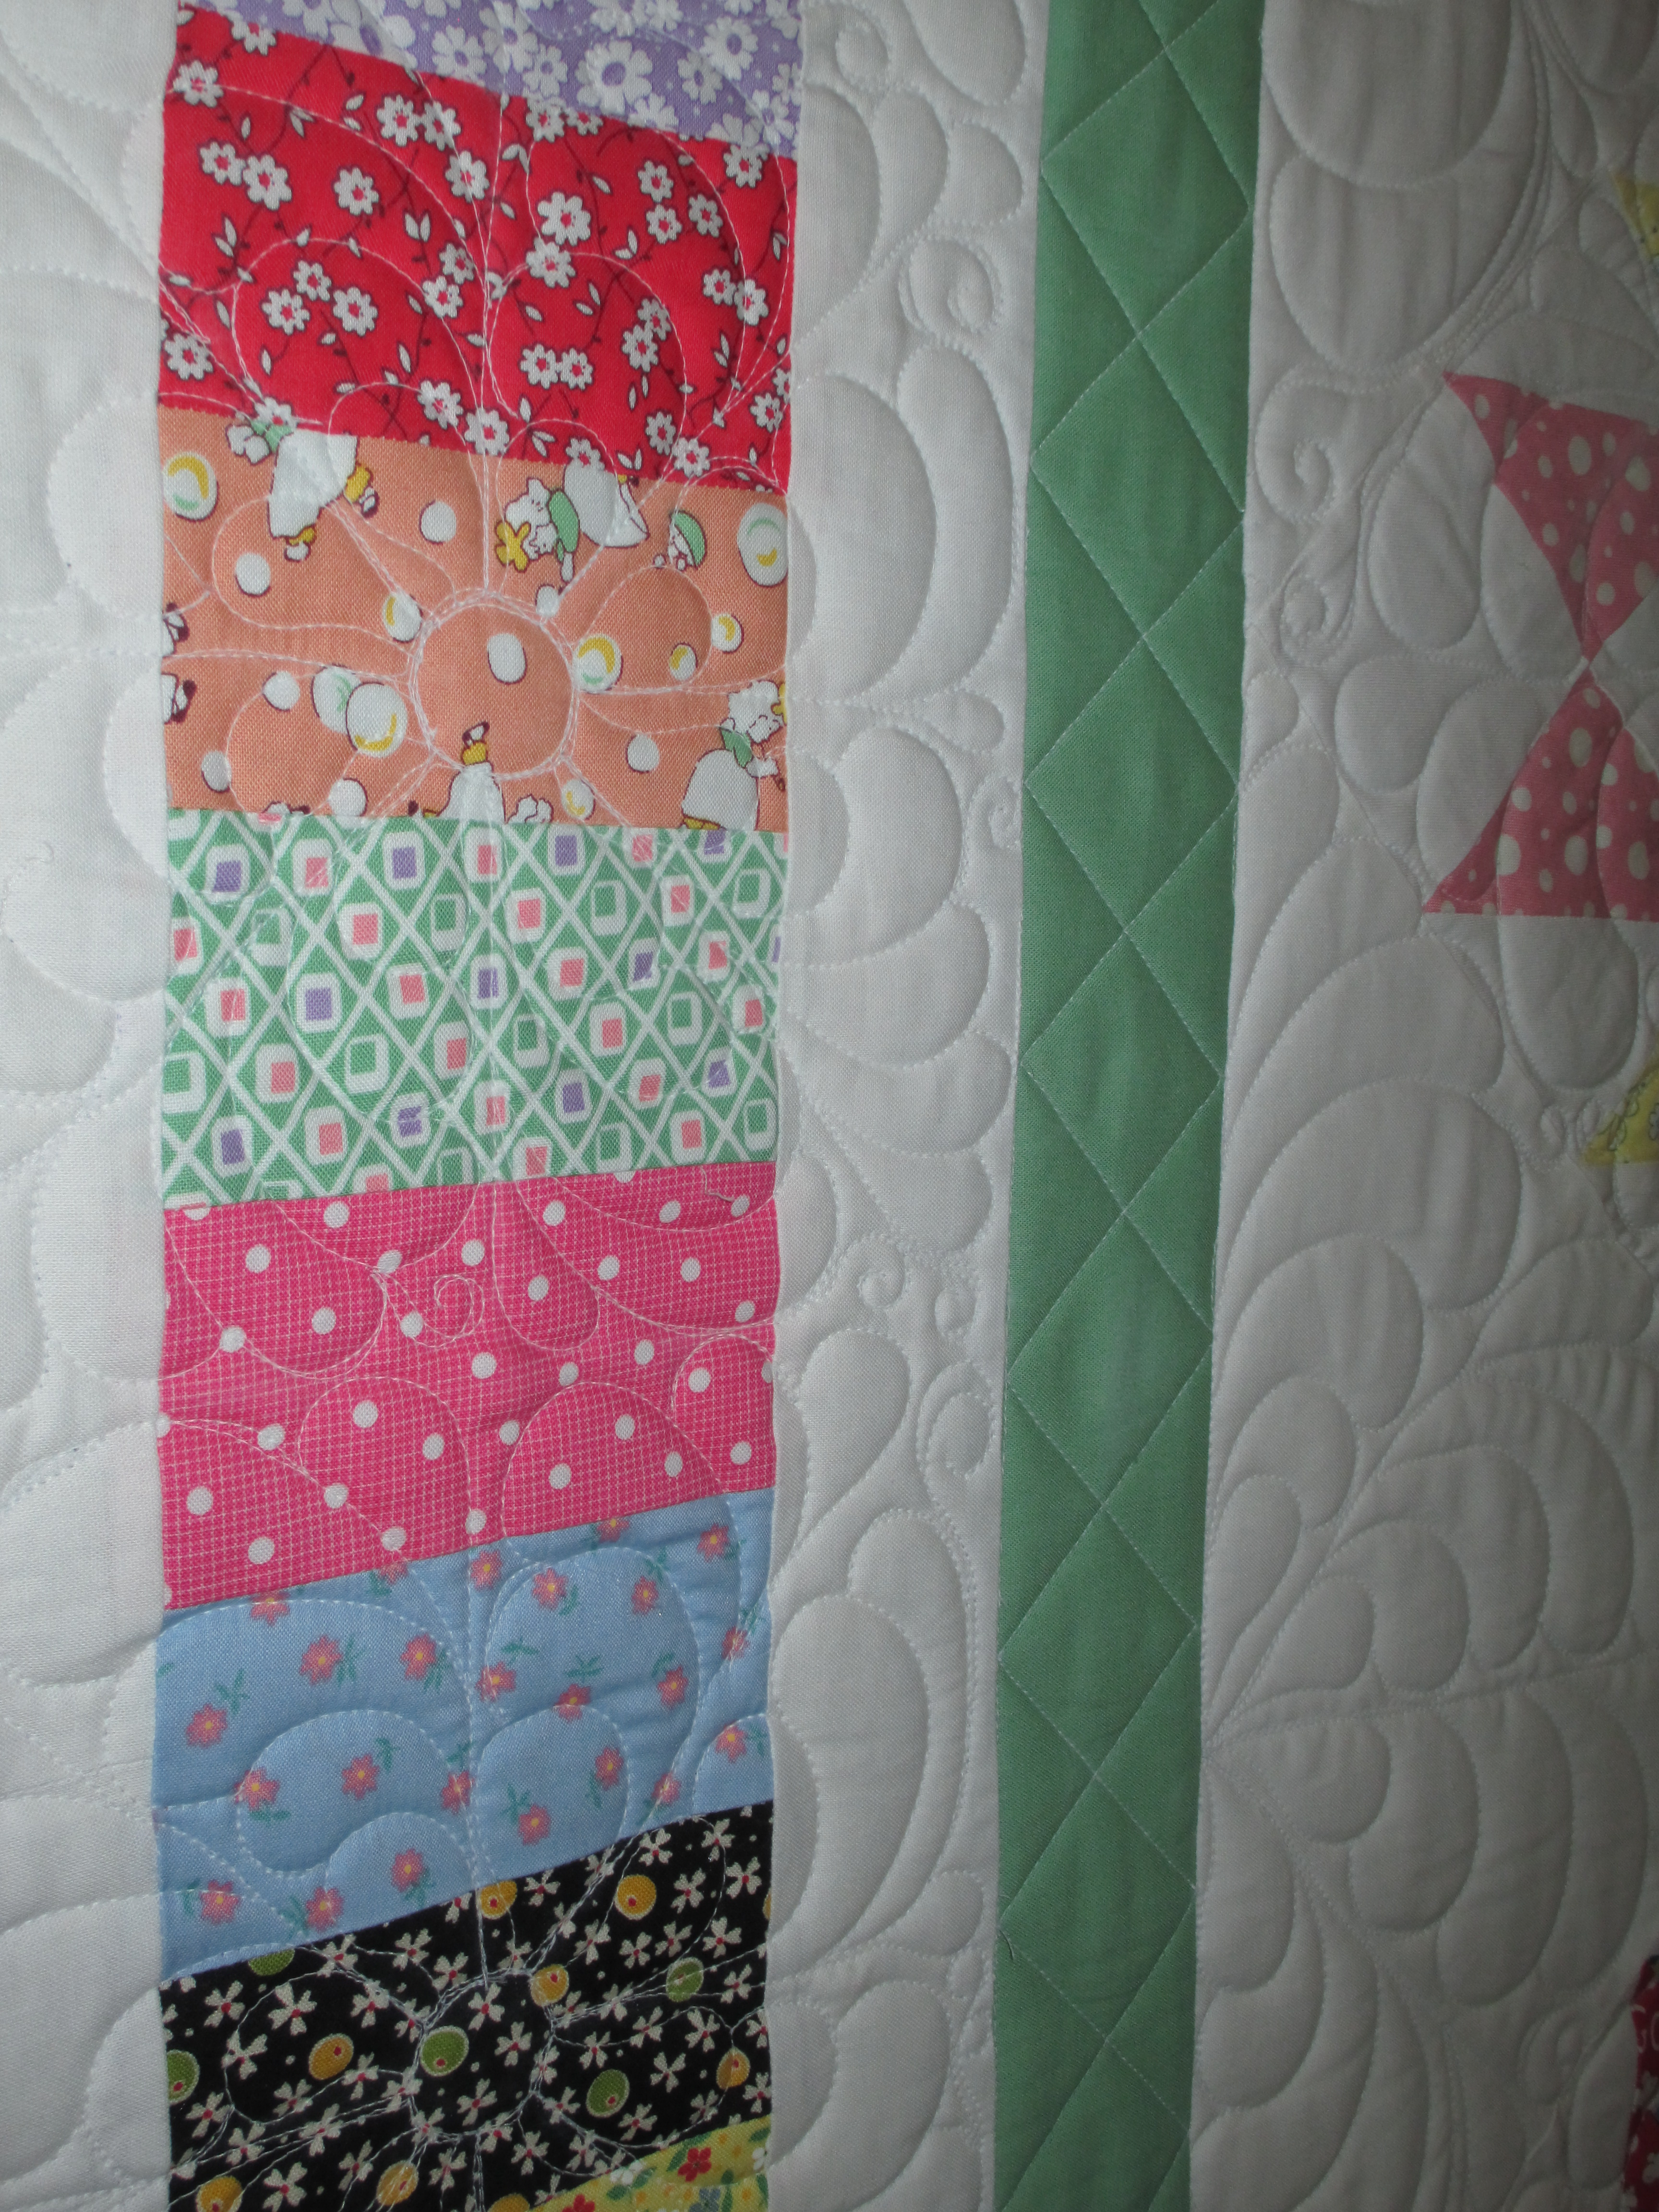
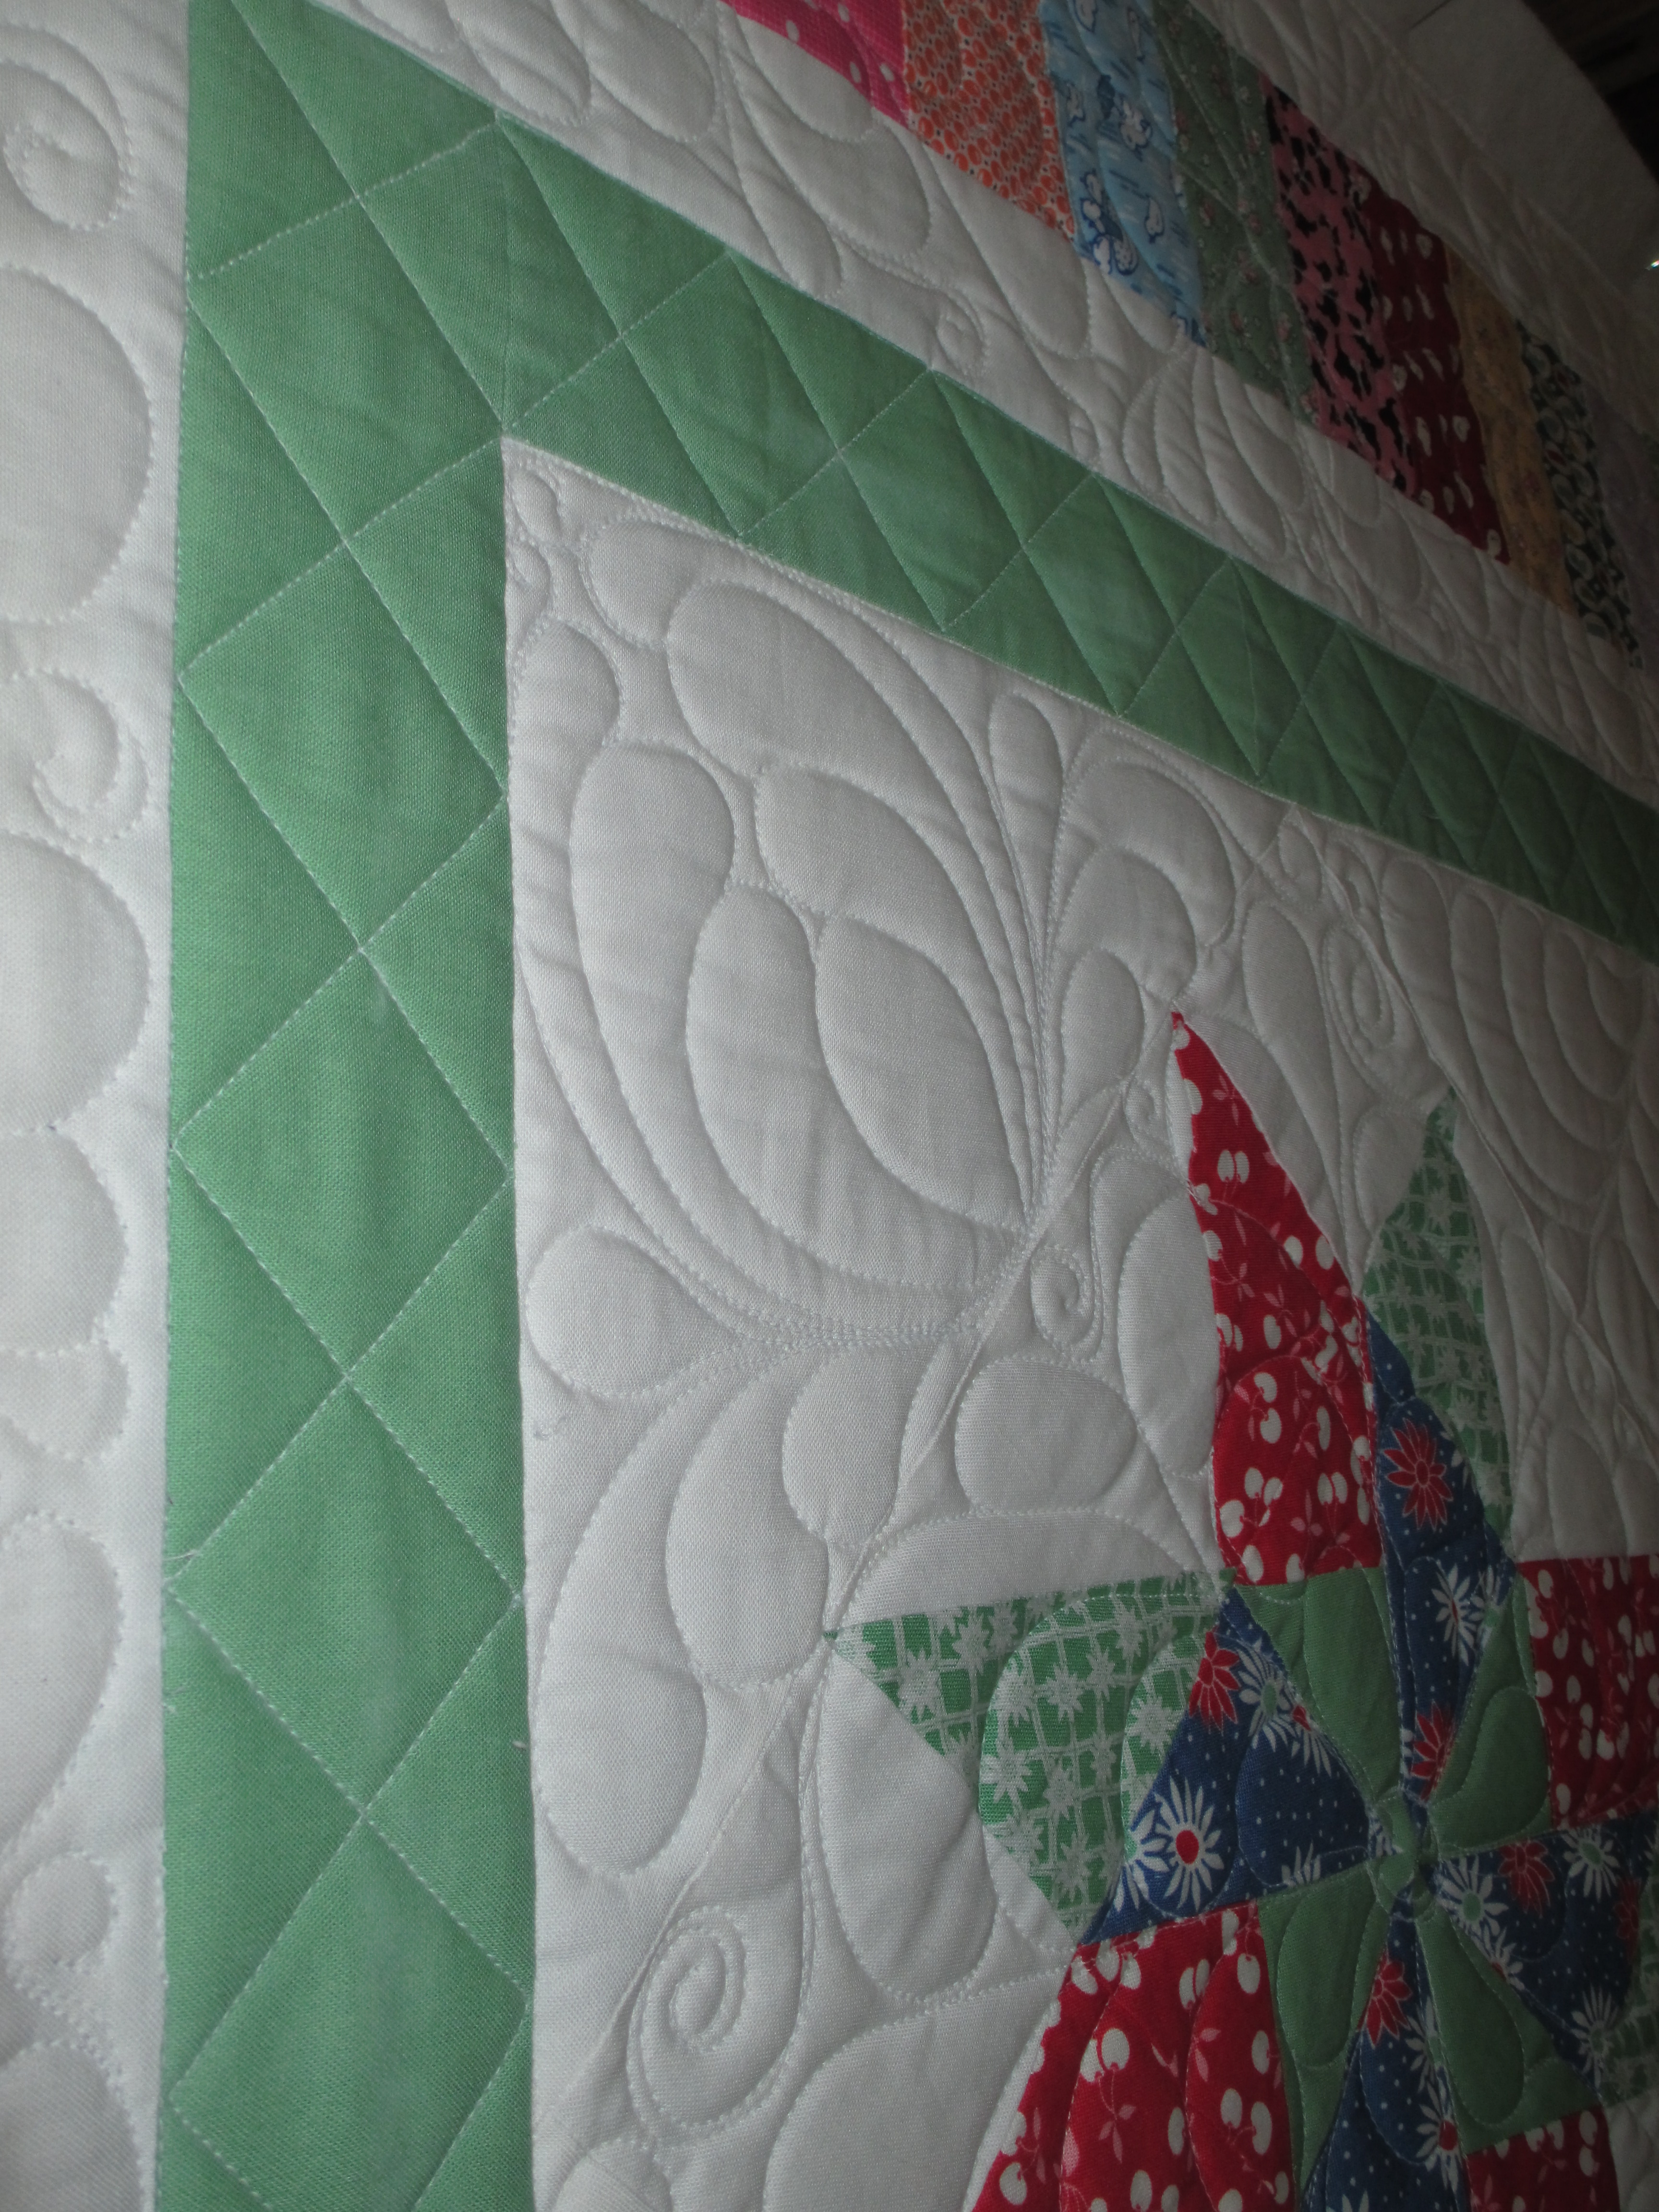
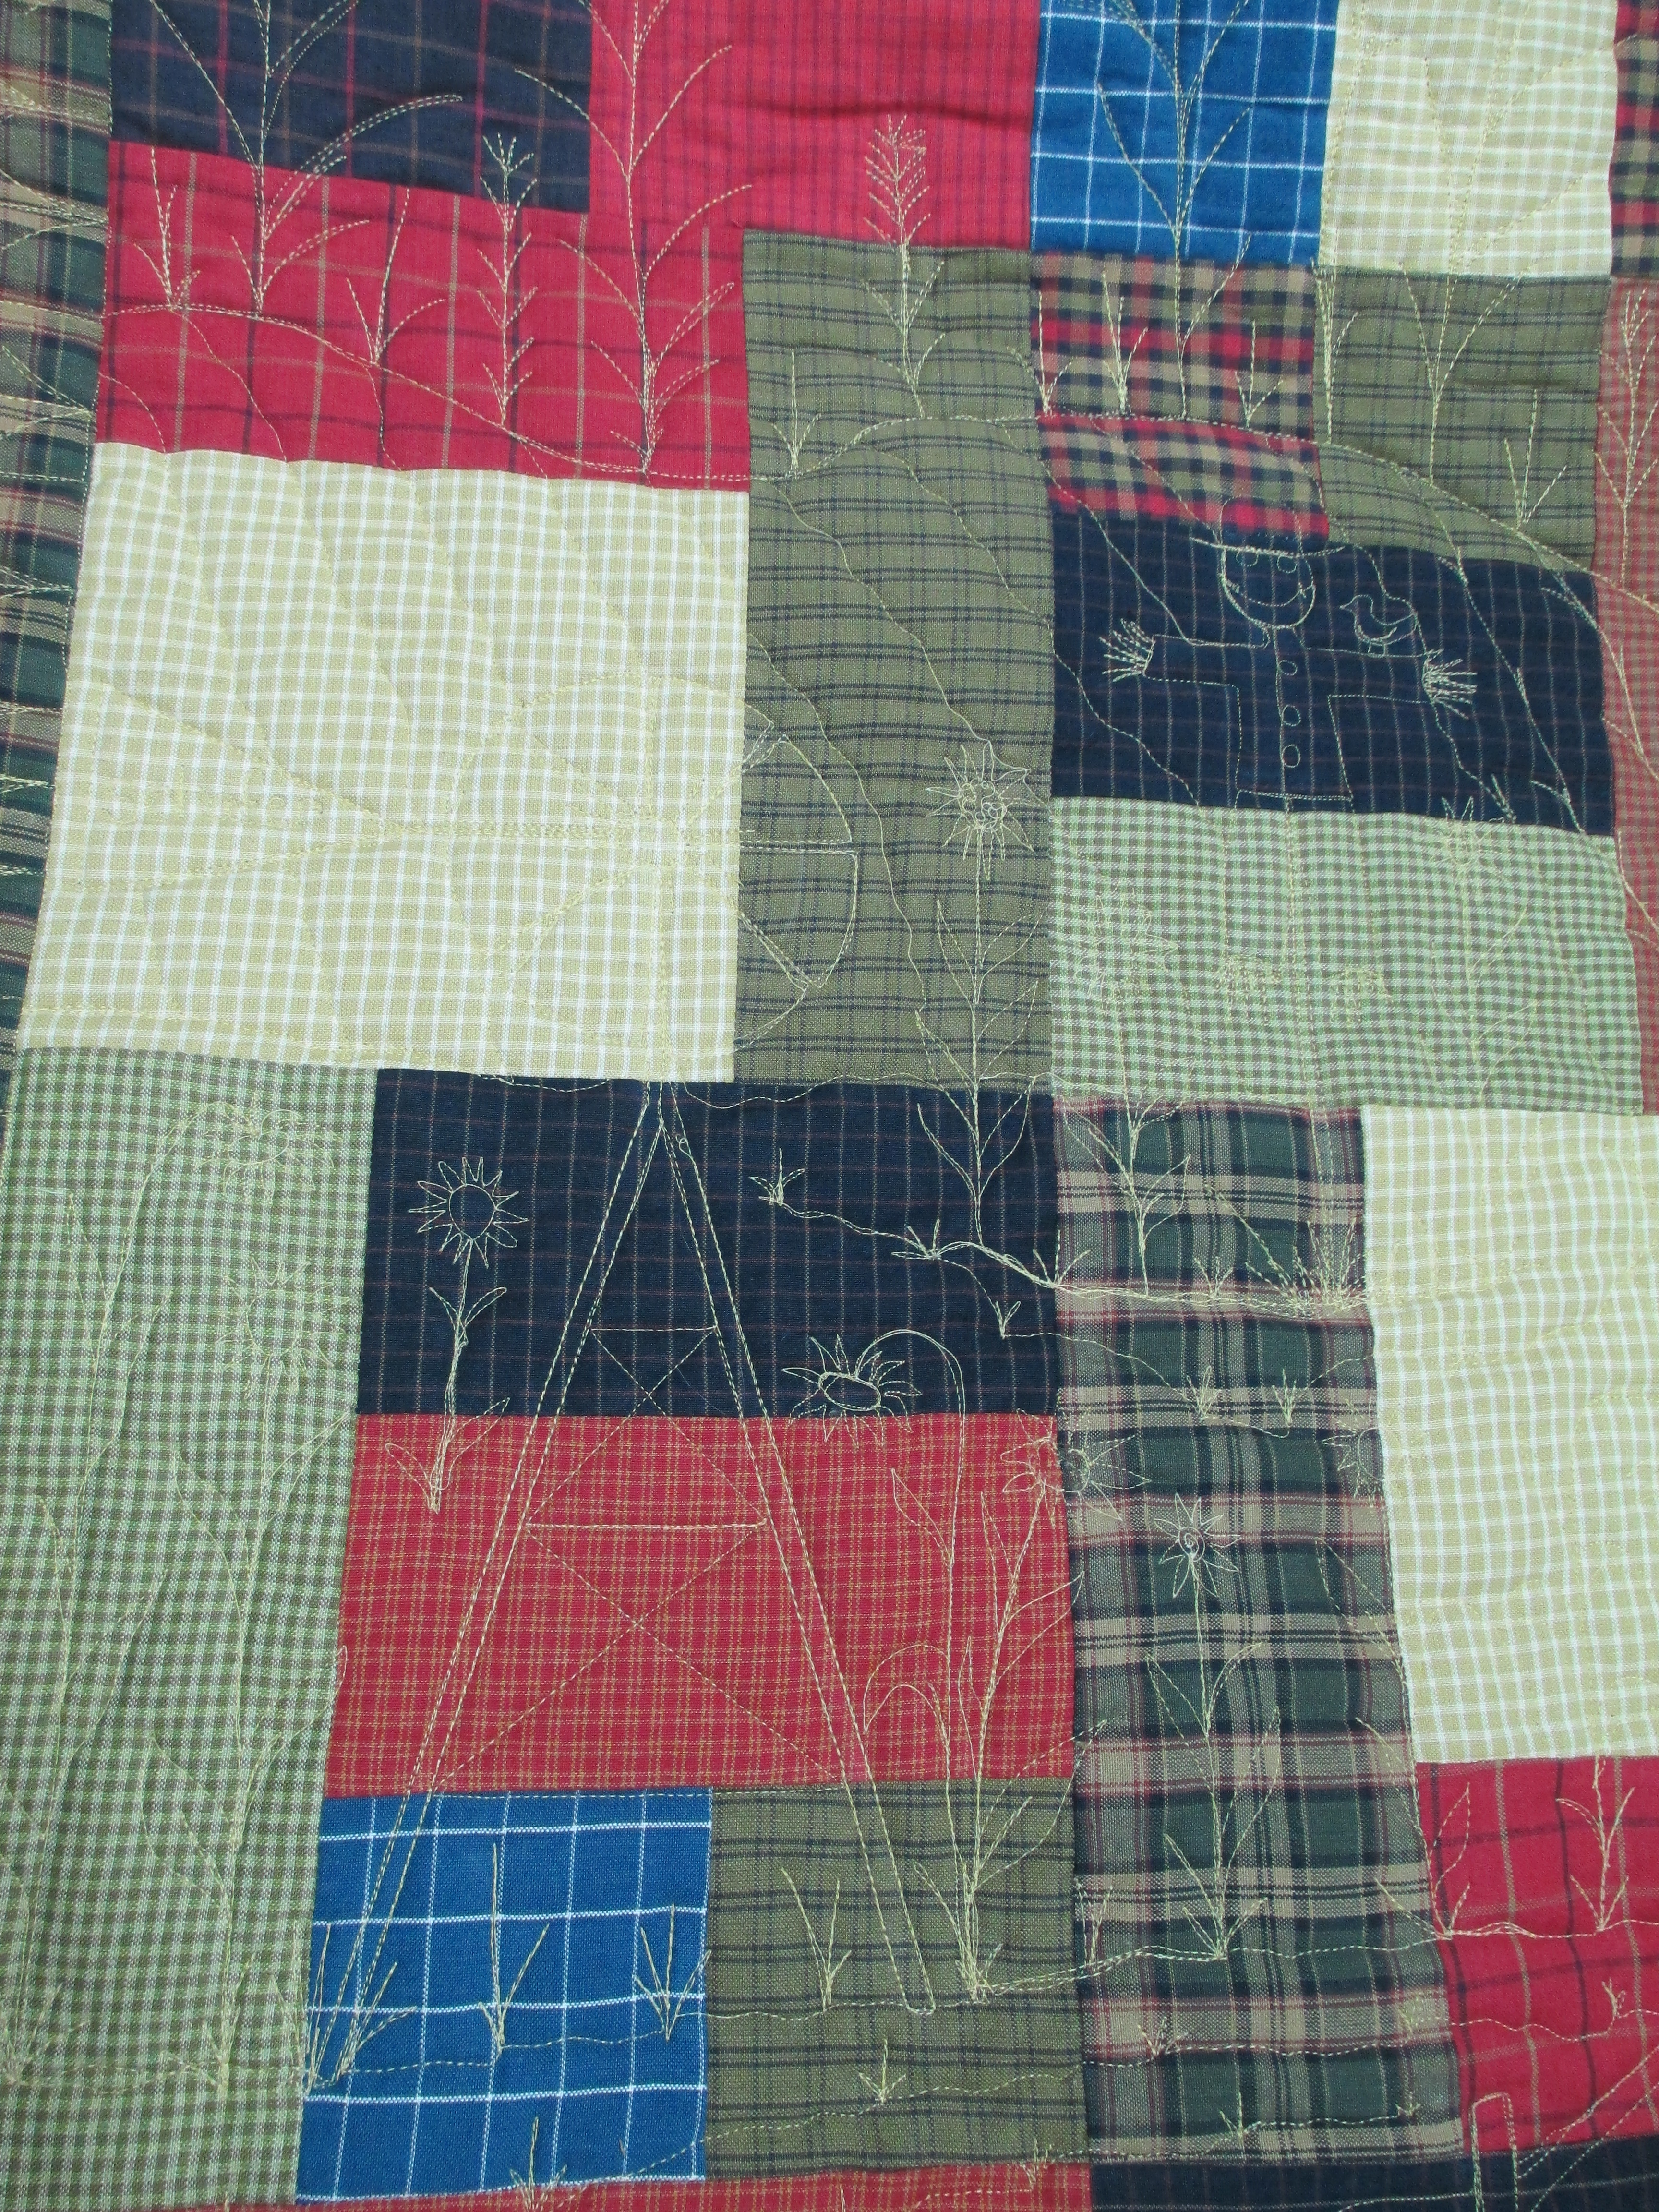
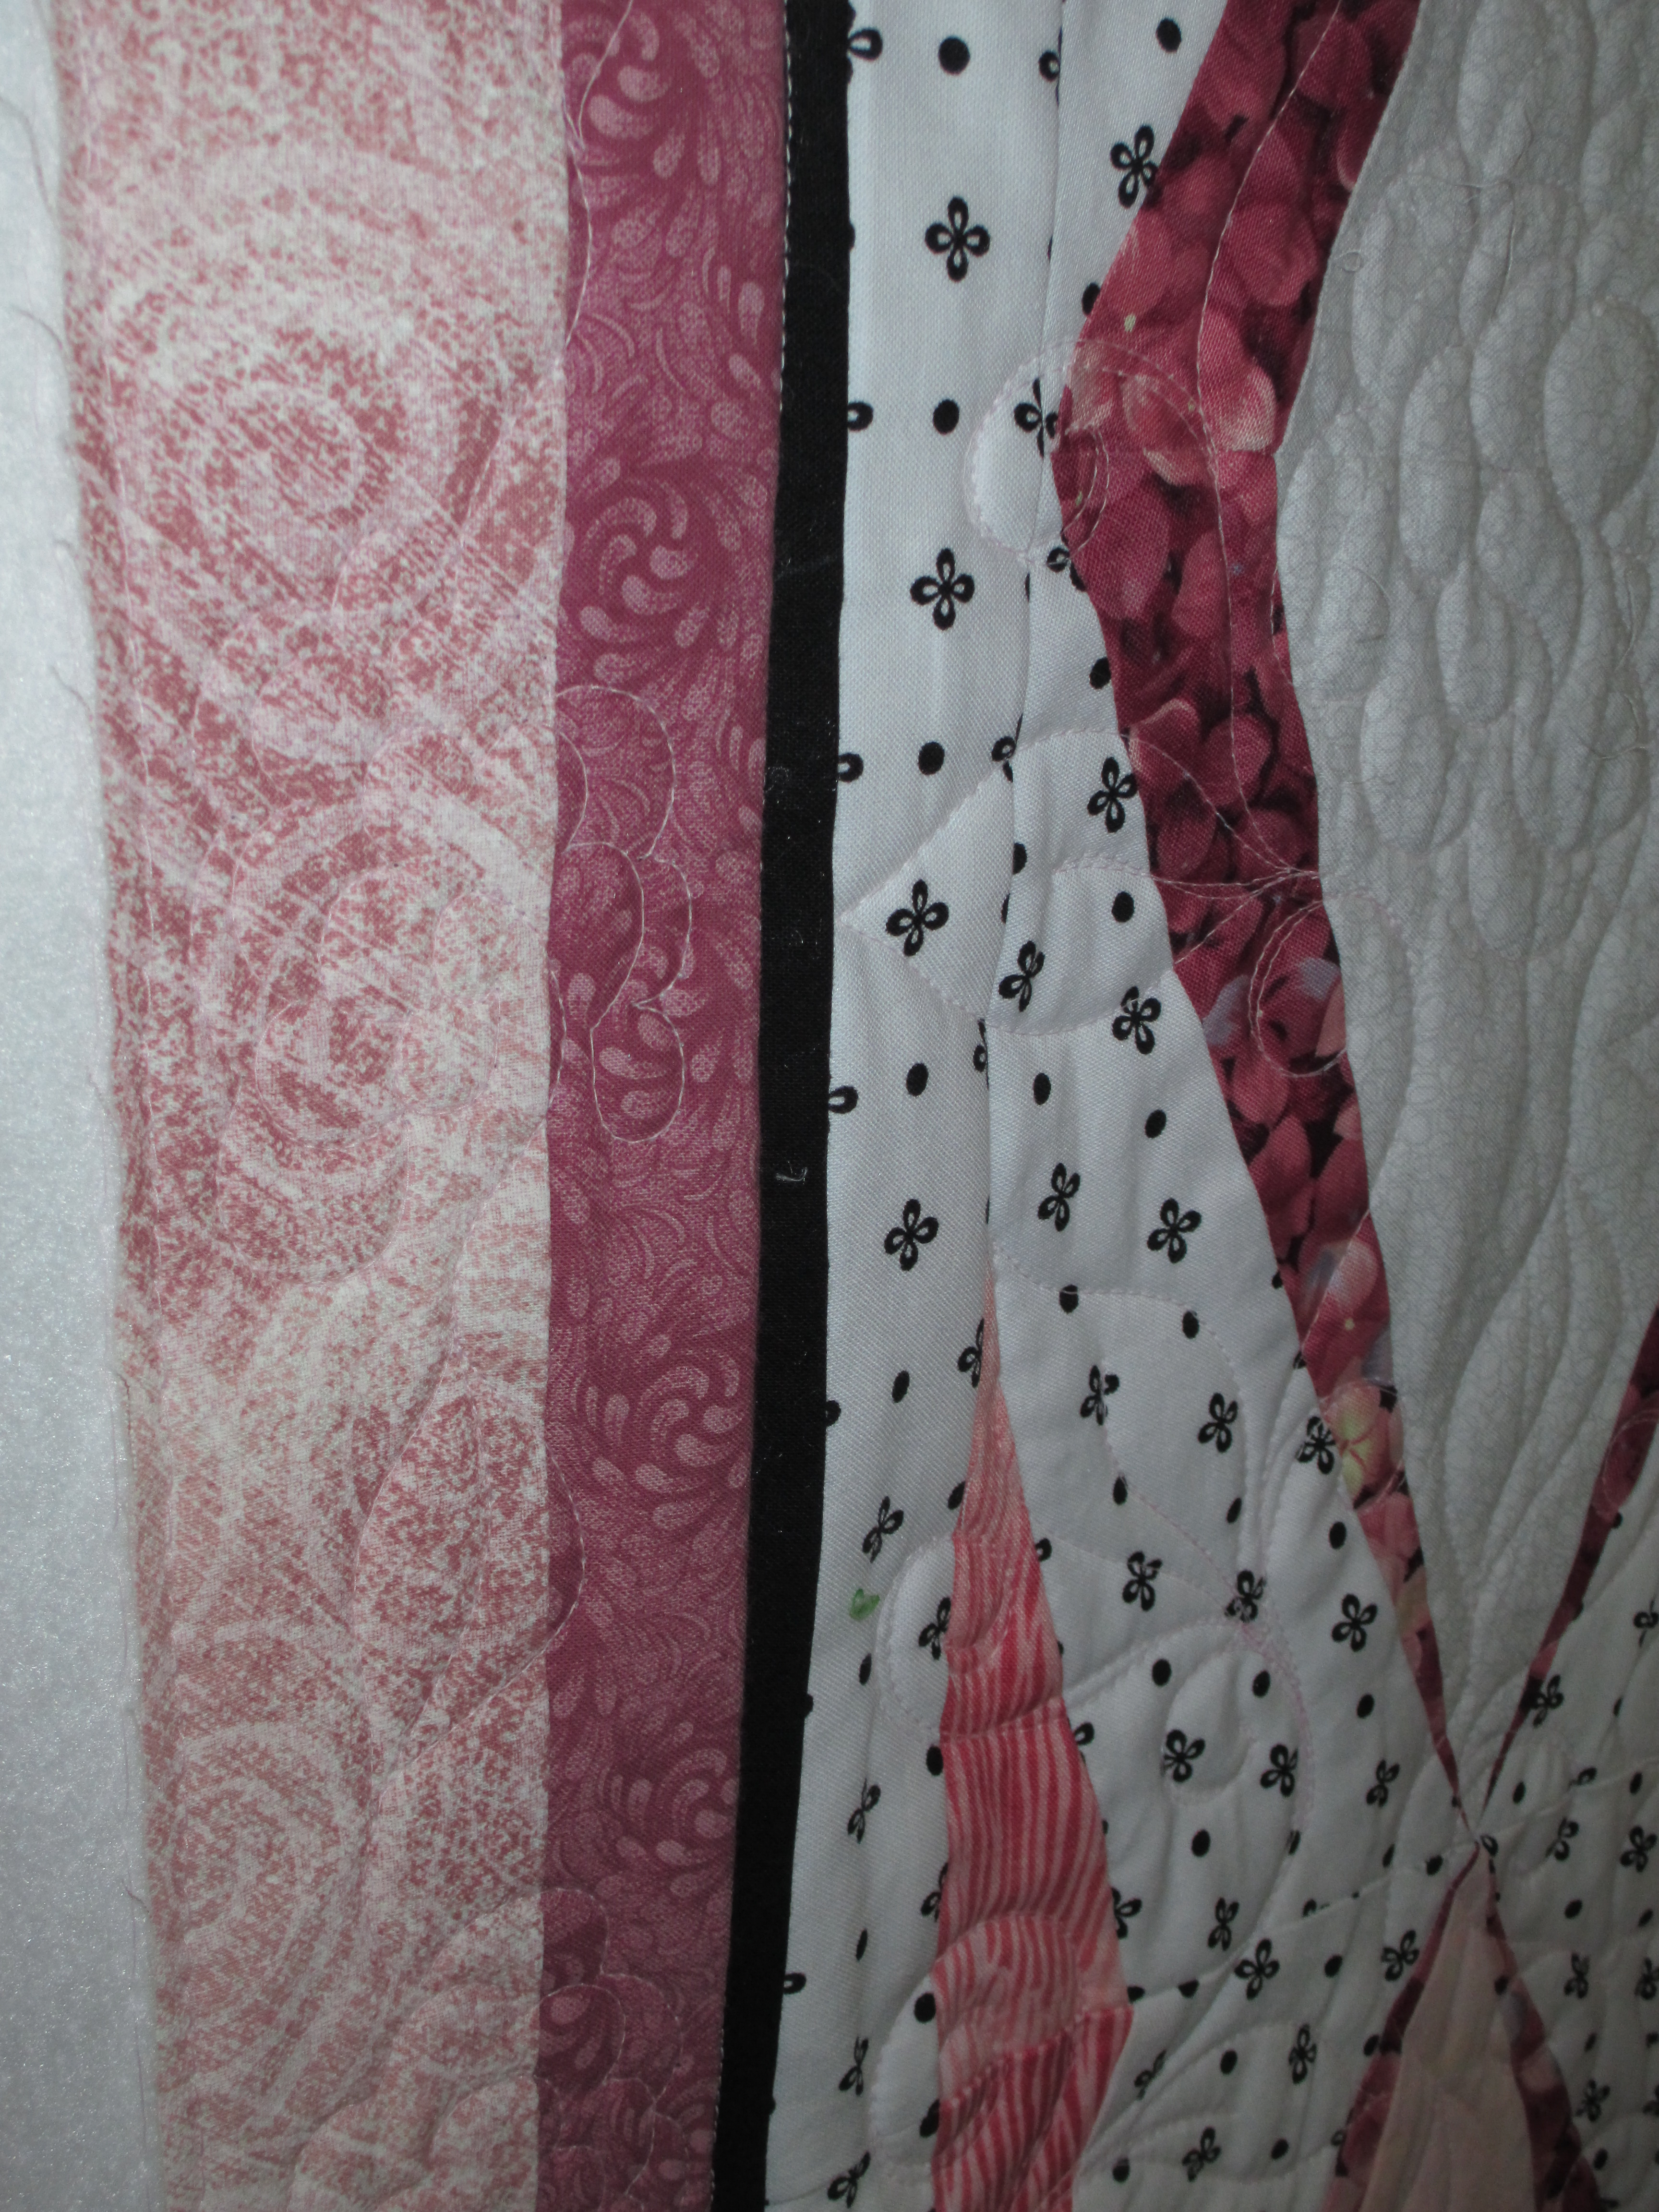
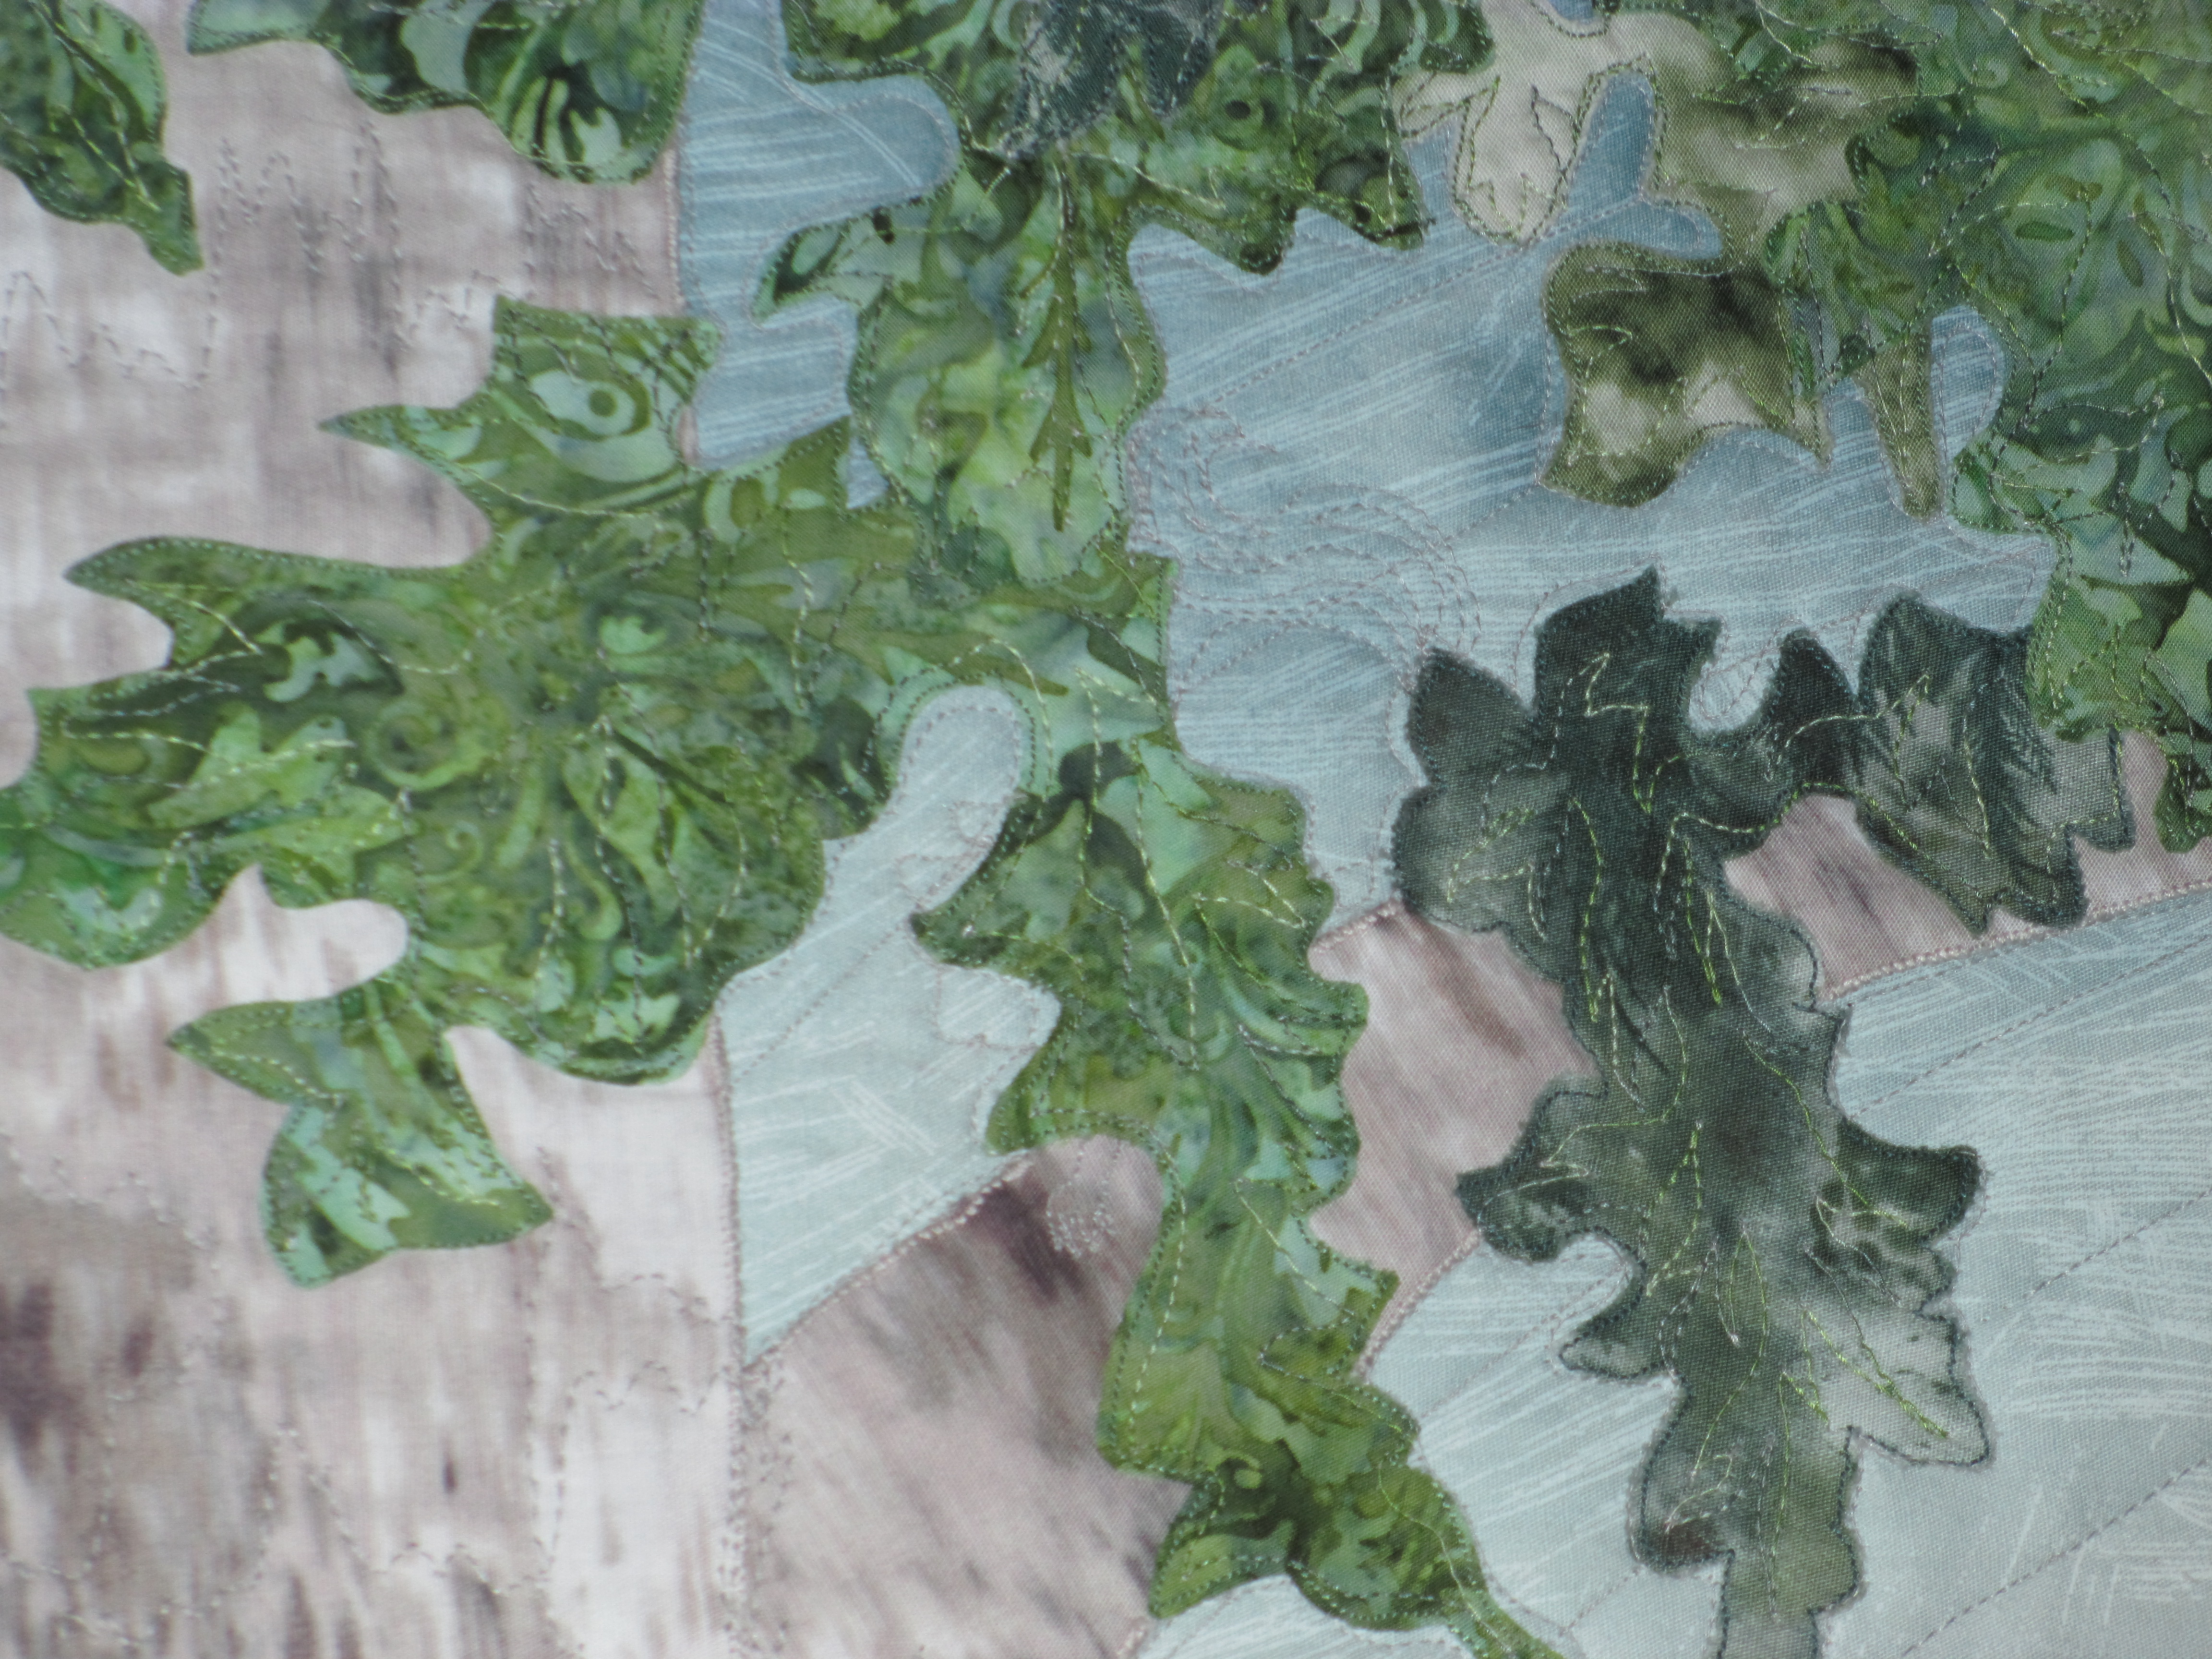
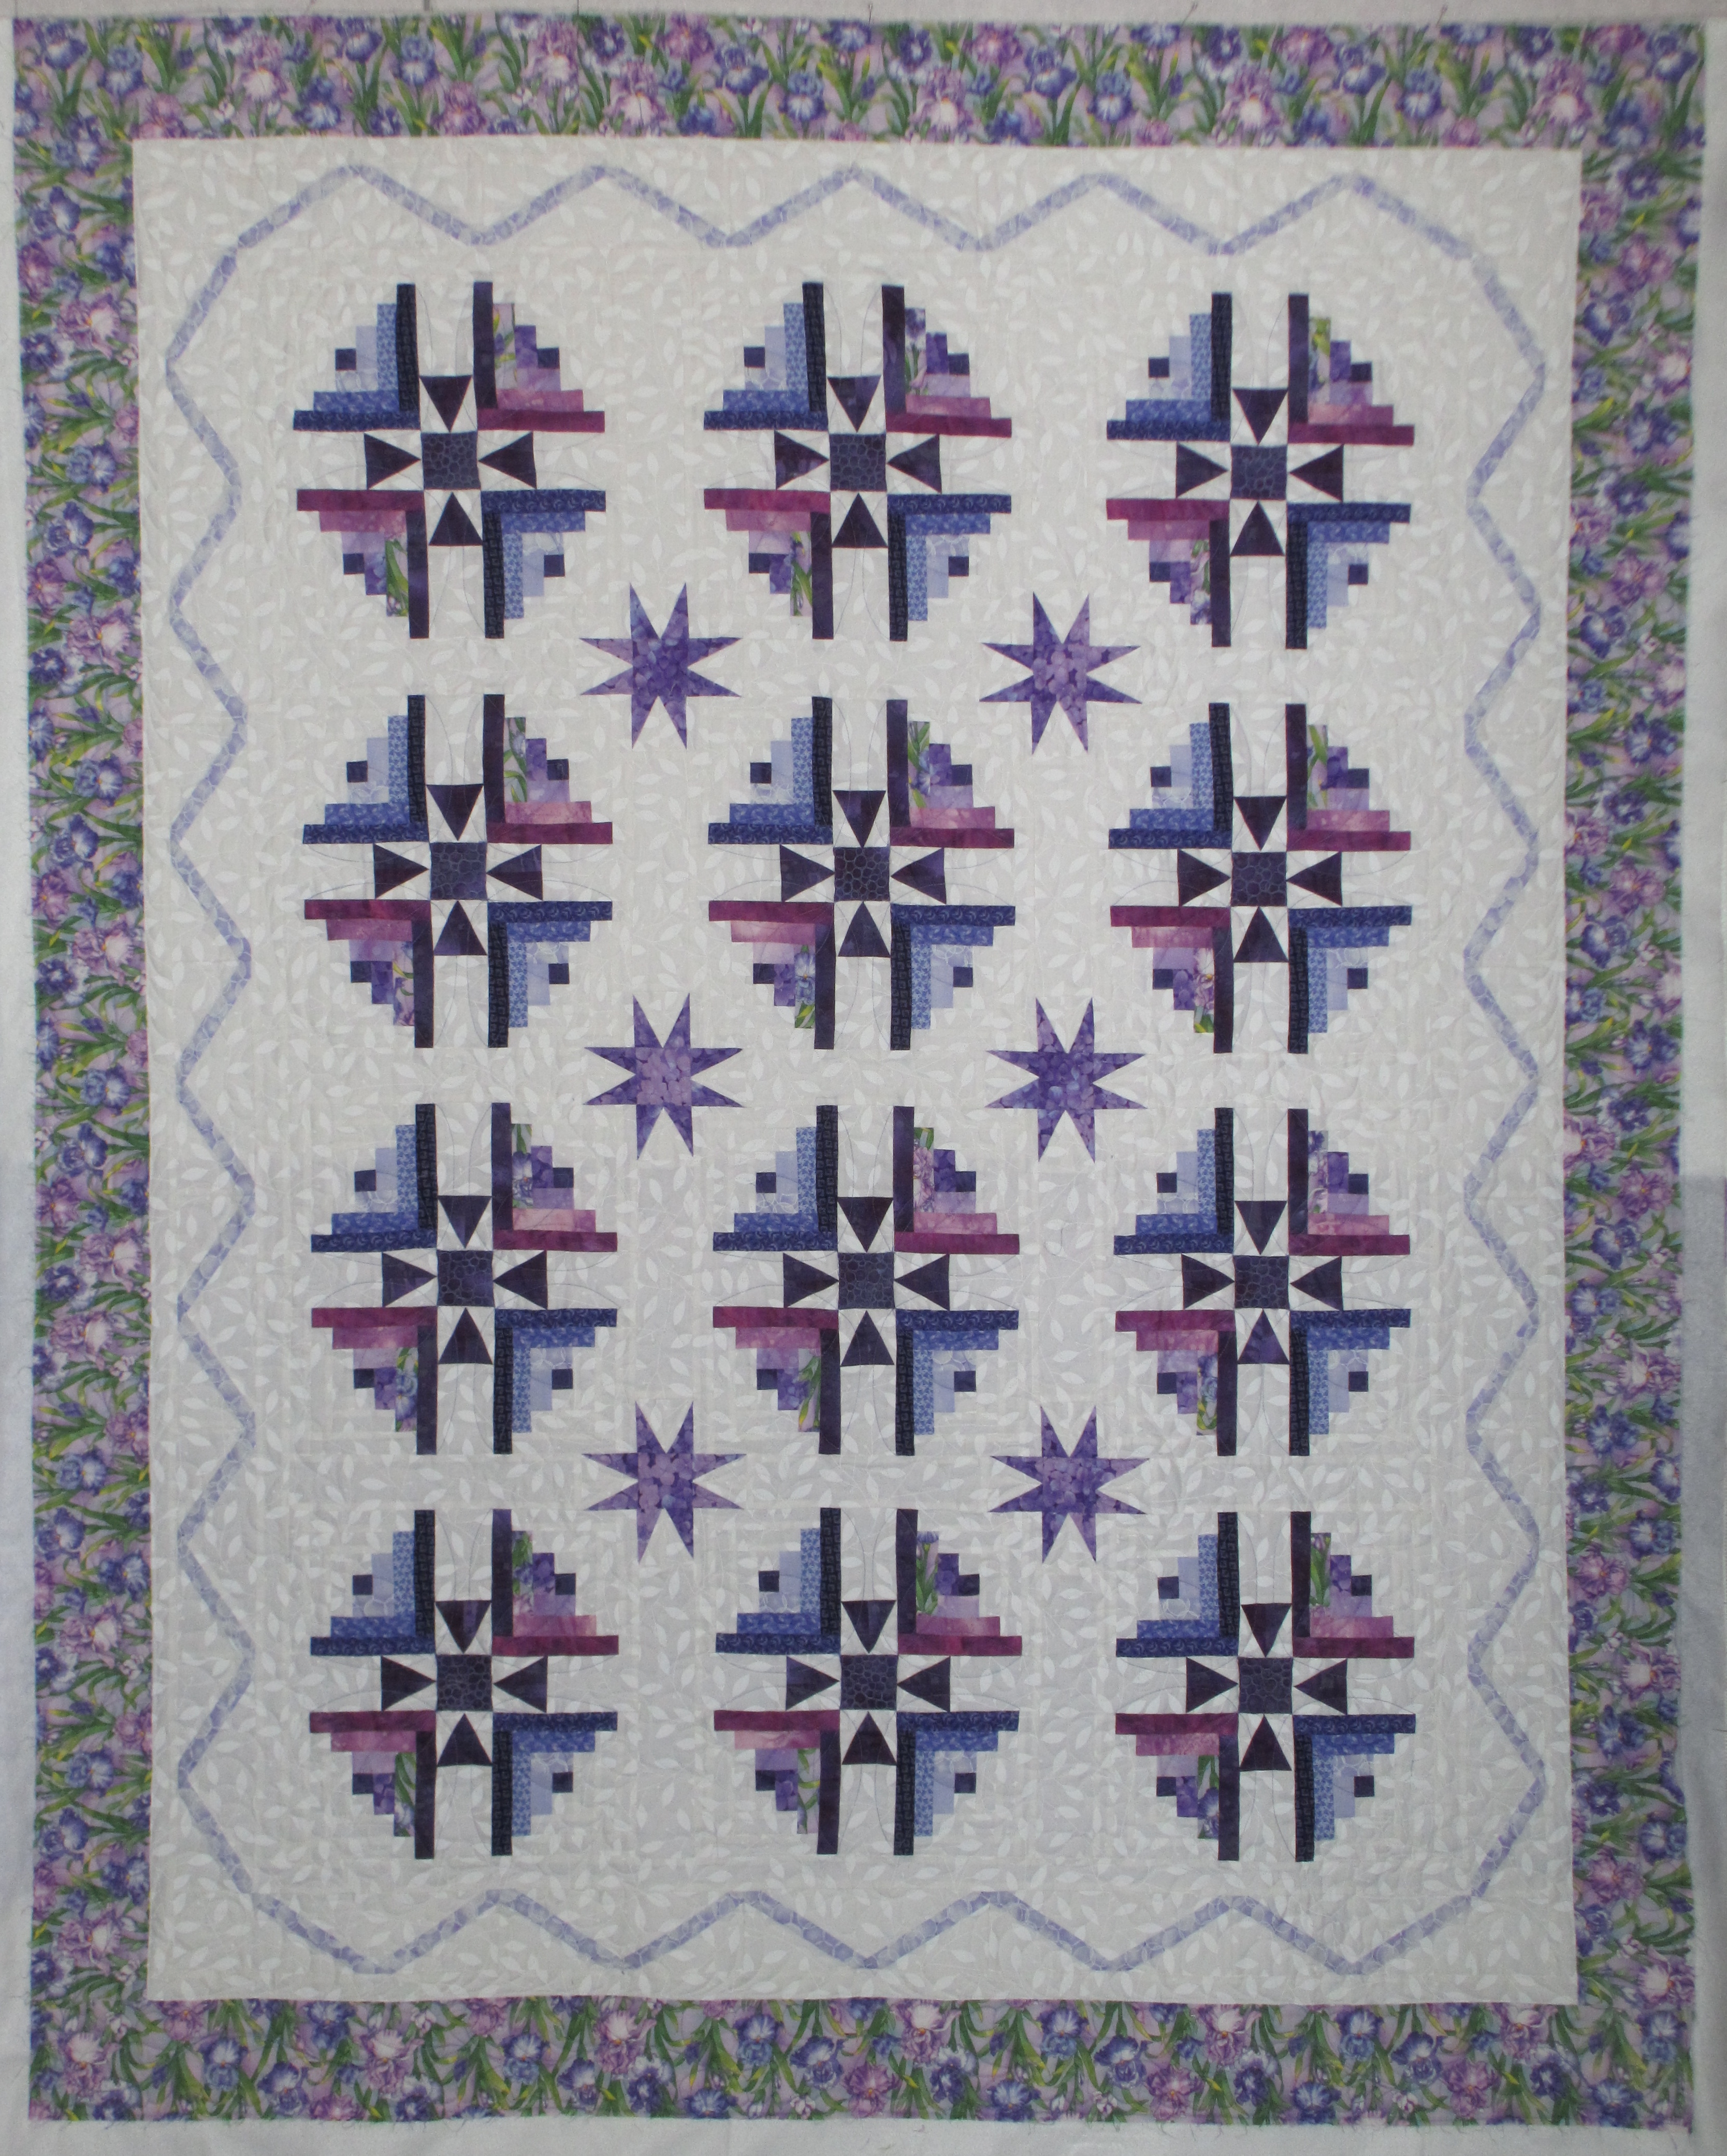
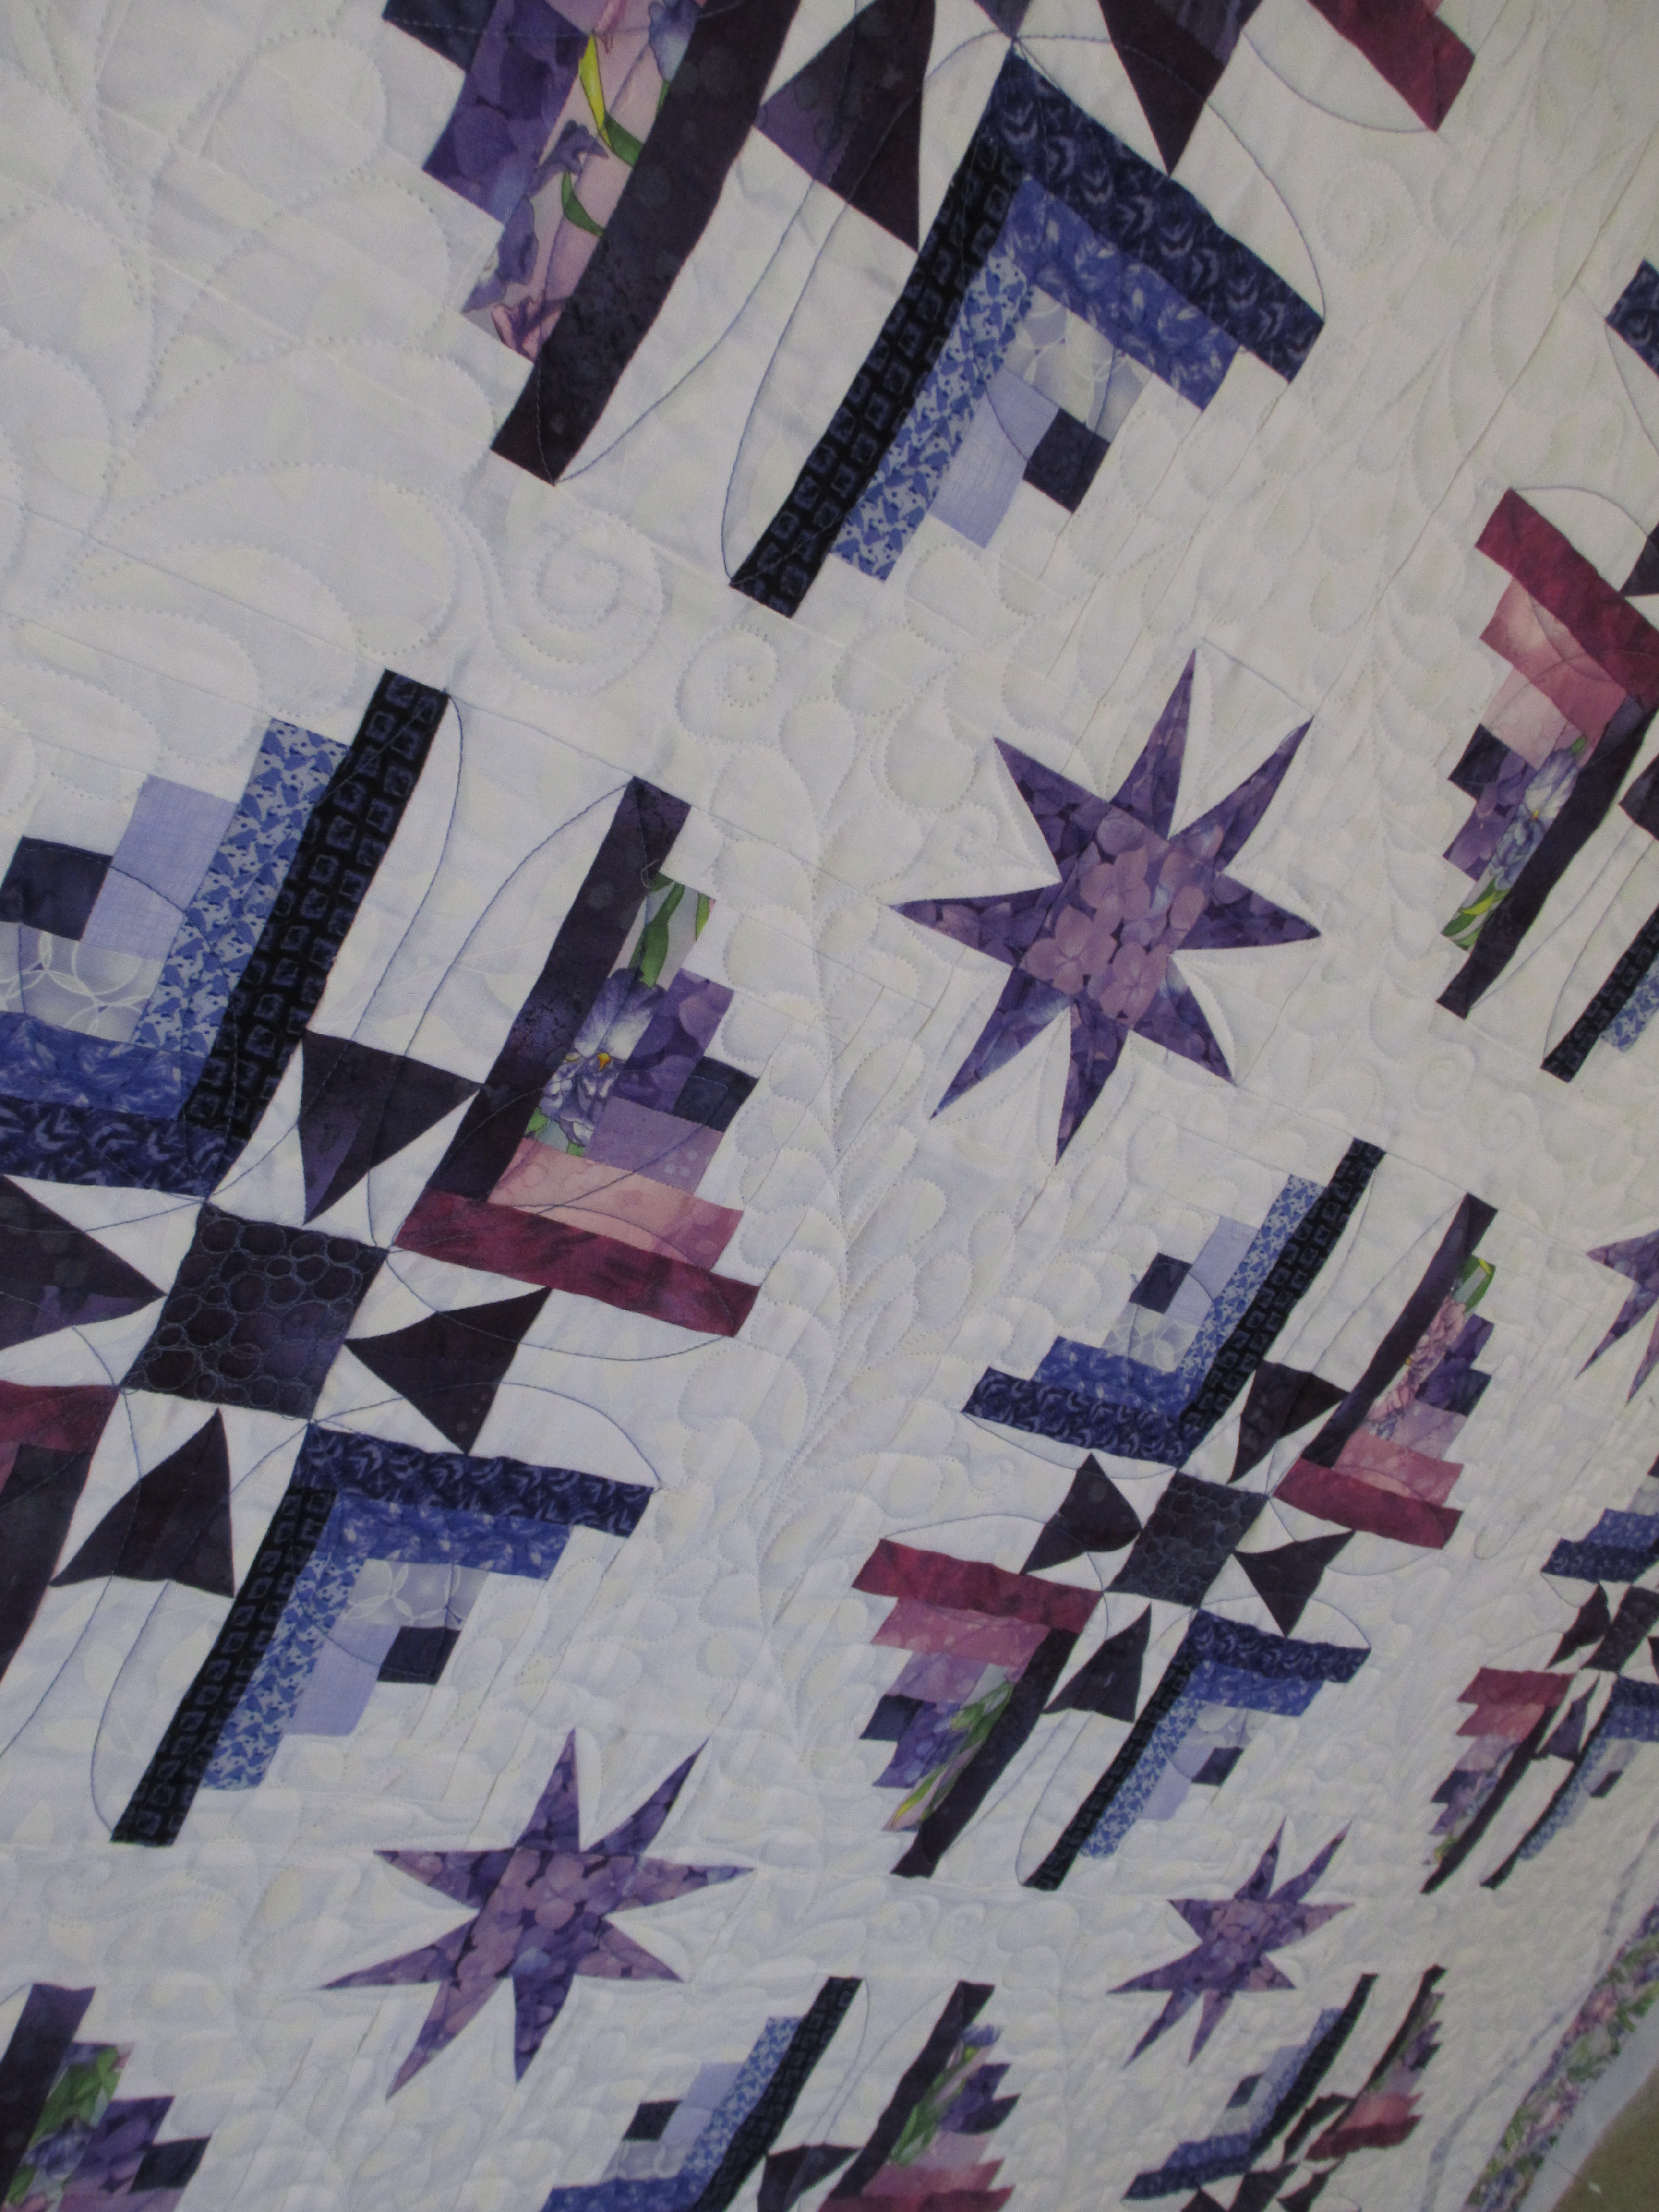
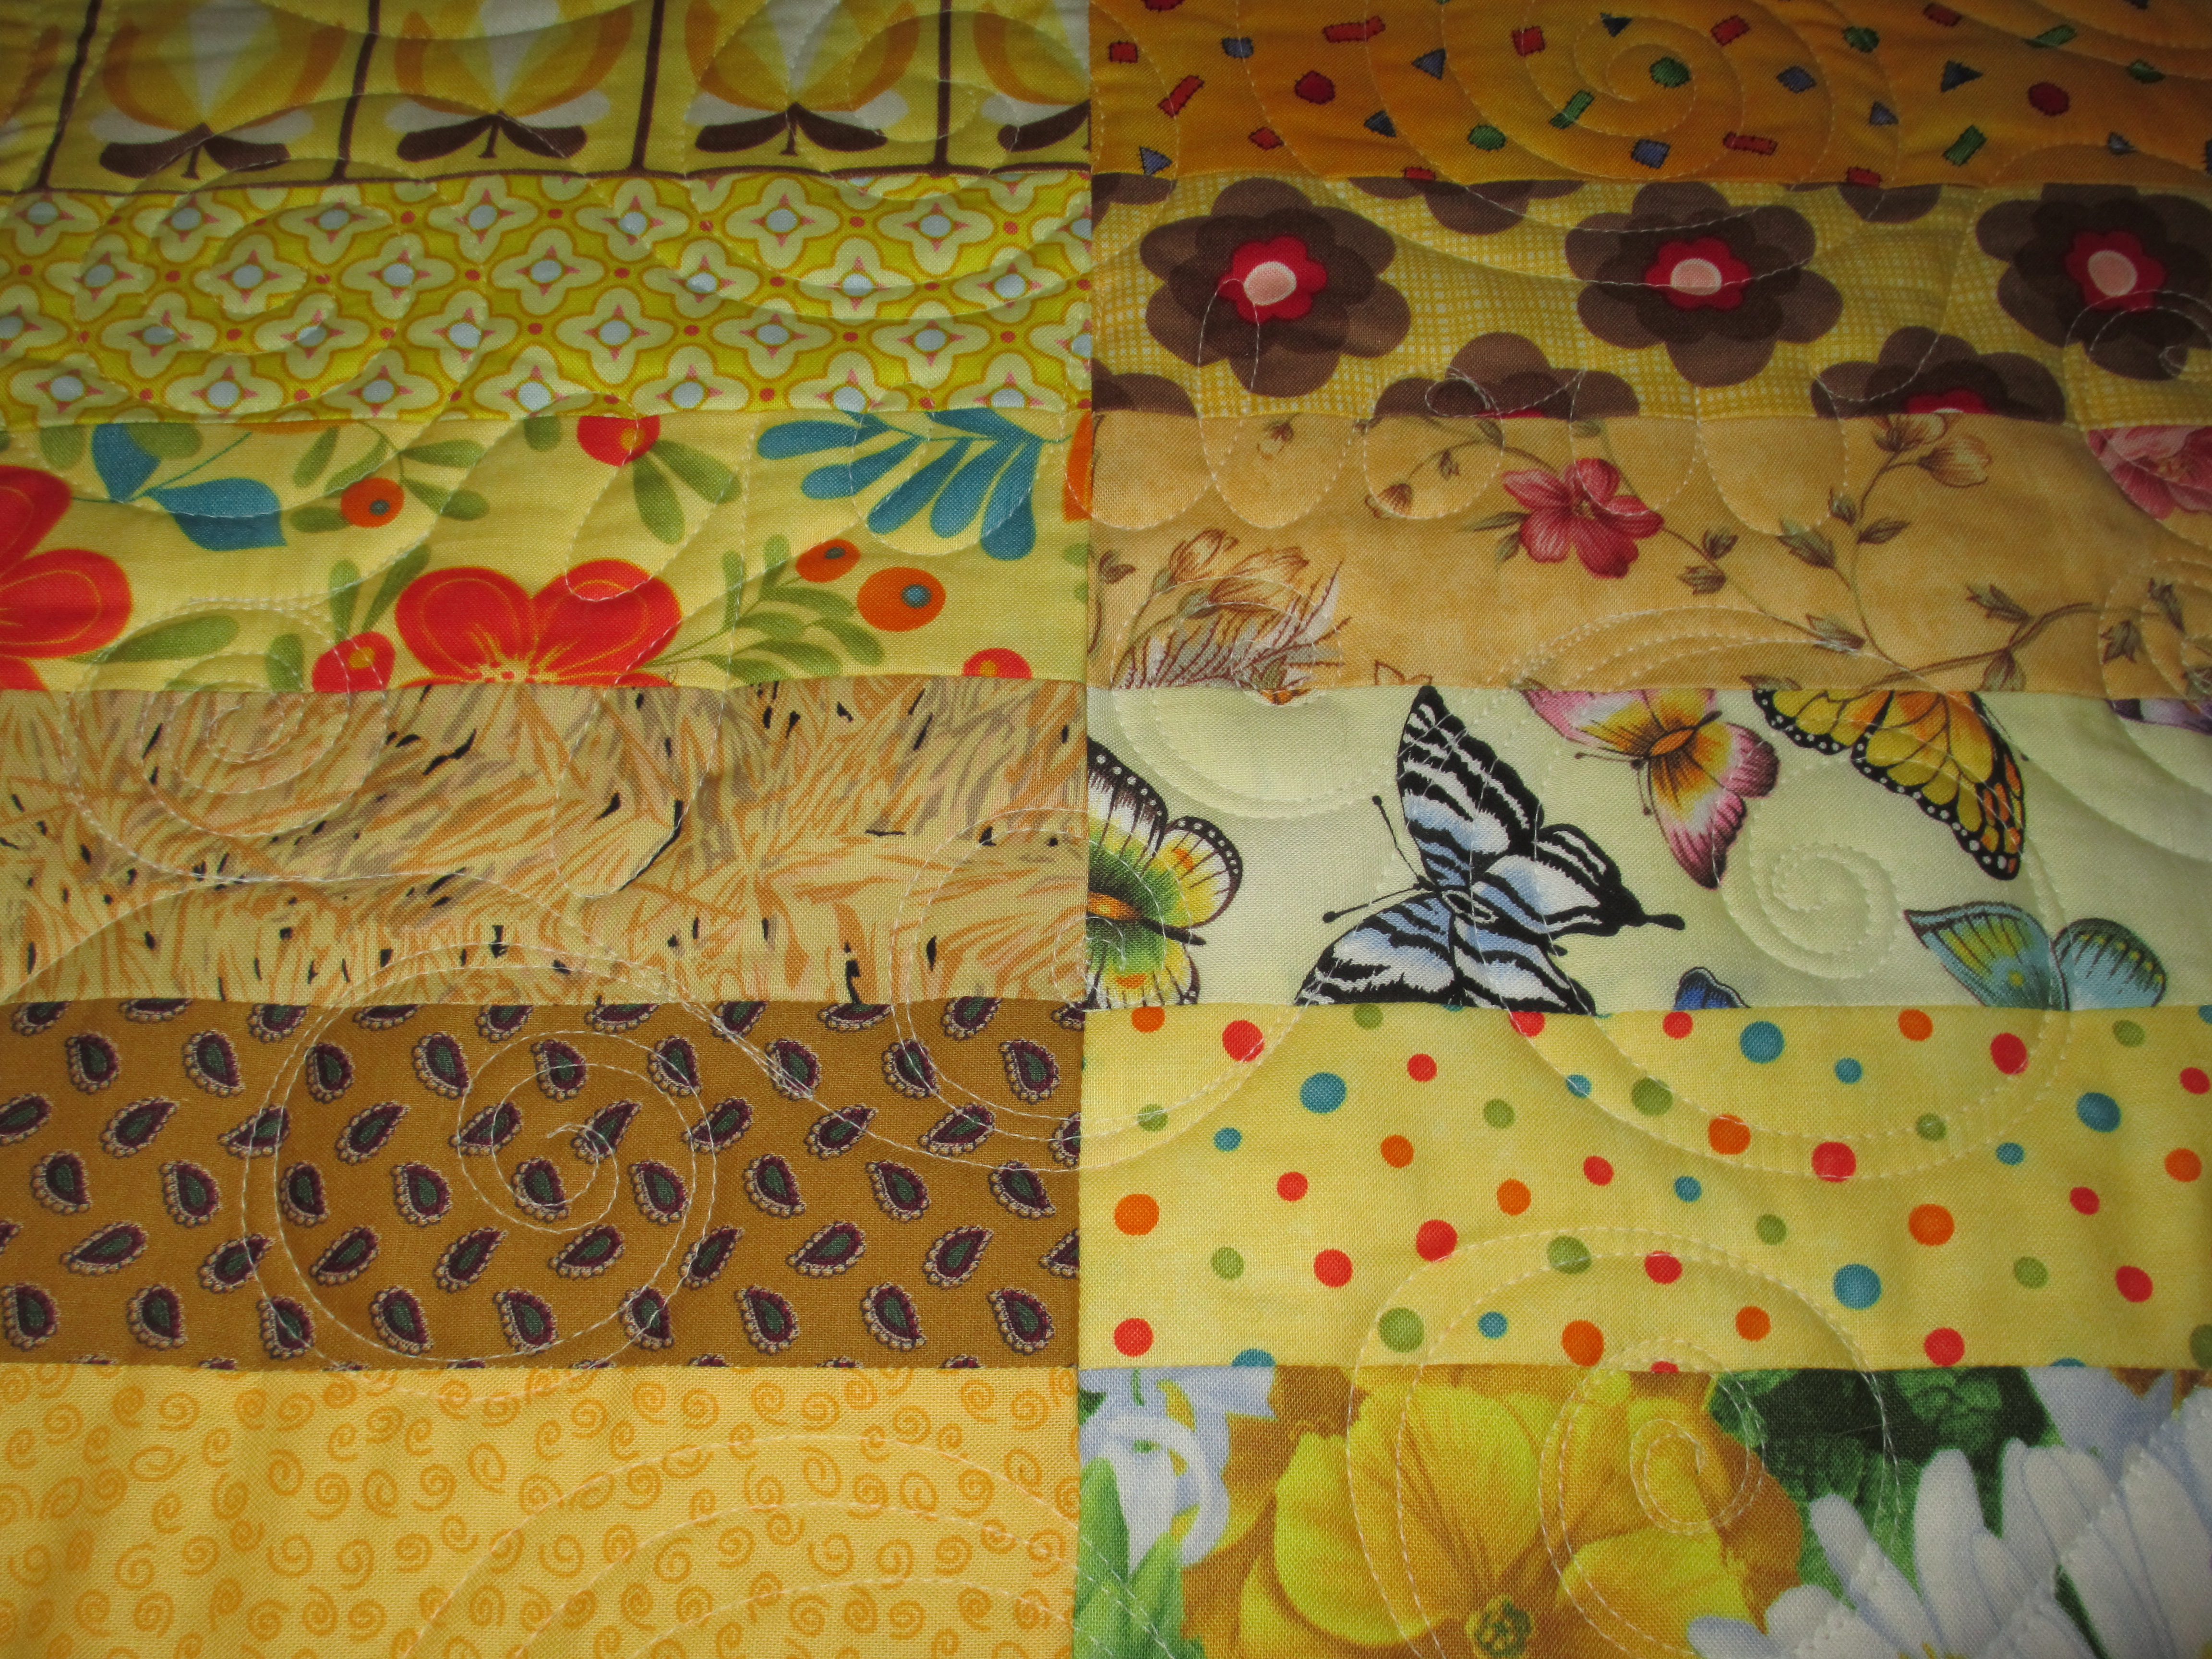
And, here is a close up of the blocks.  Judy said the colored parts of the quilt blocks reminded her of hands and feet holding on to each other, much like a family does.  Cool, huh?  So, now do you see all the inter-connectedness of the blocks in the full shot above?

IMG_1357

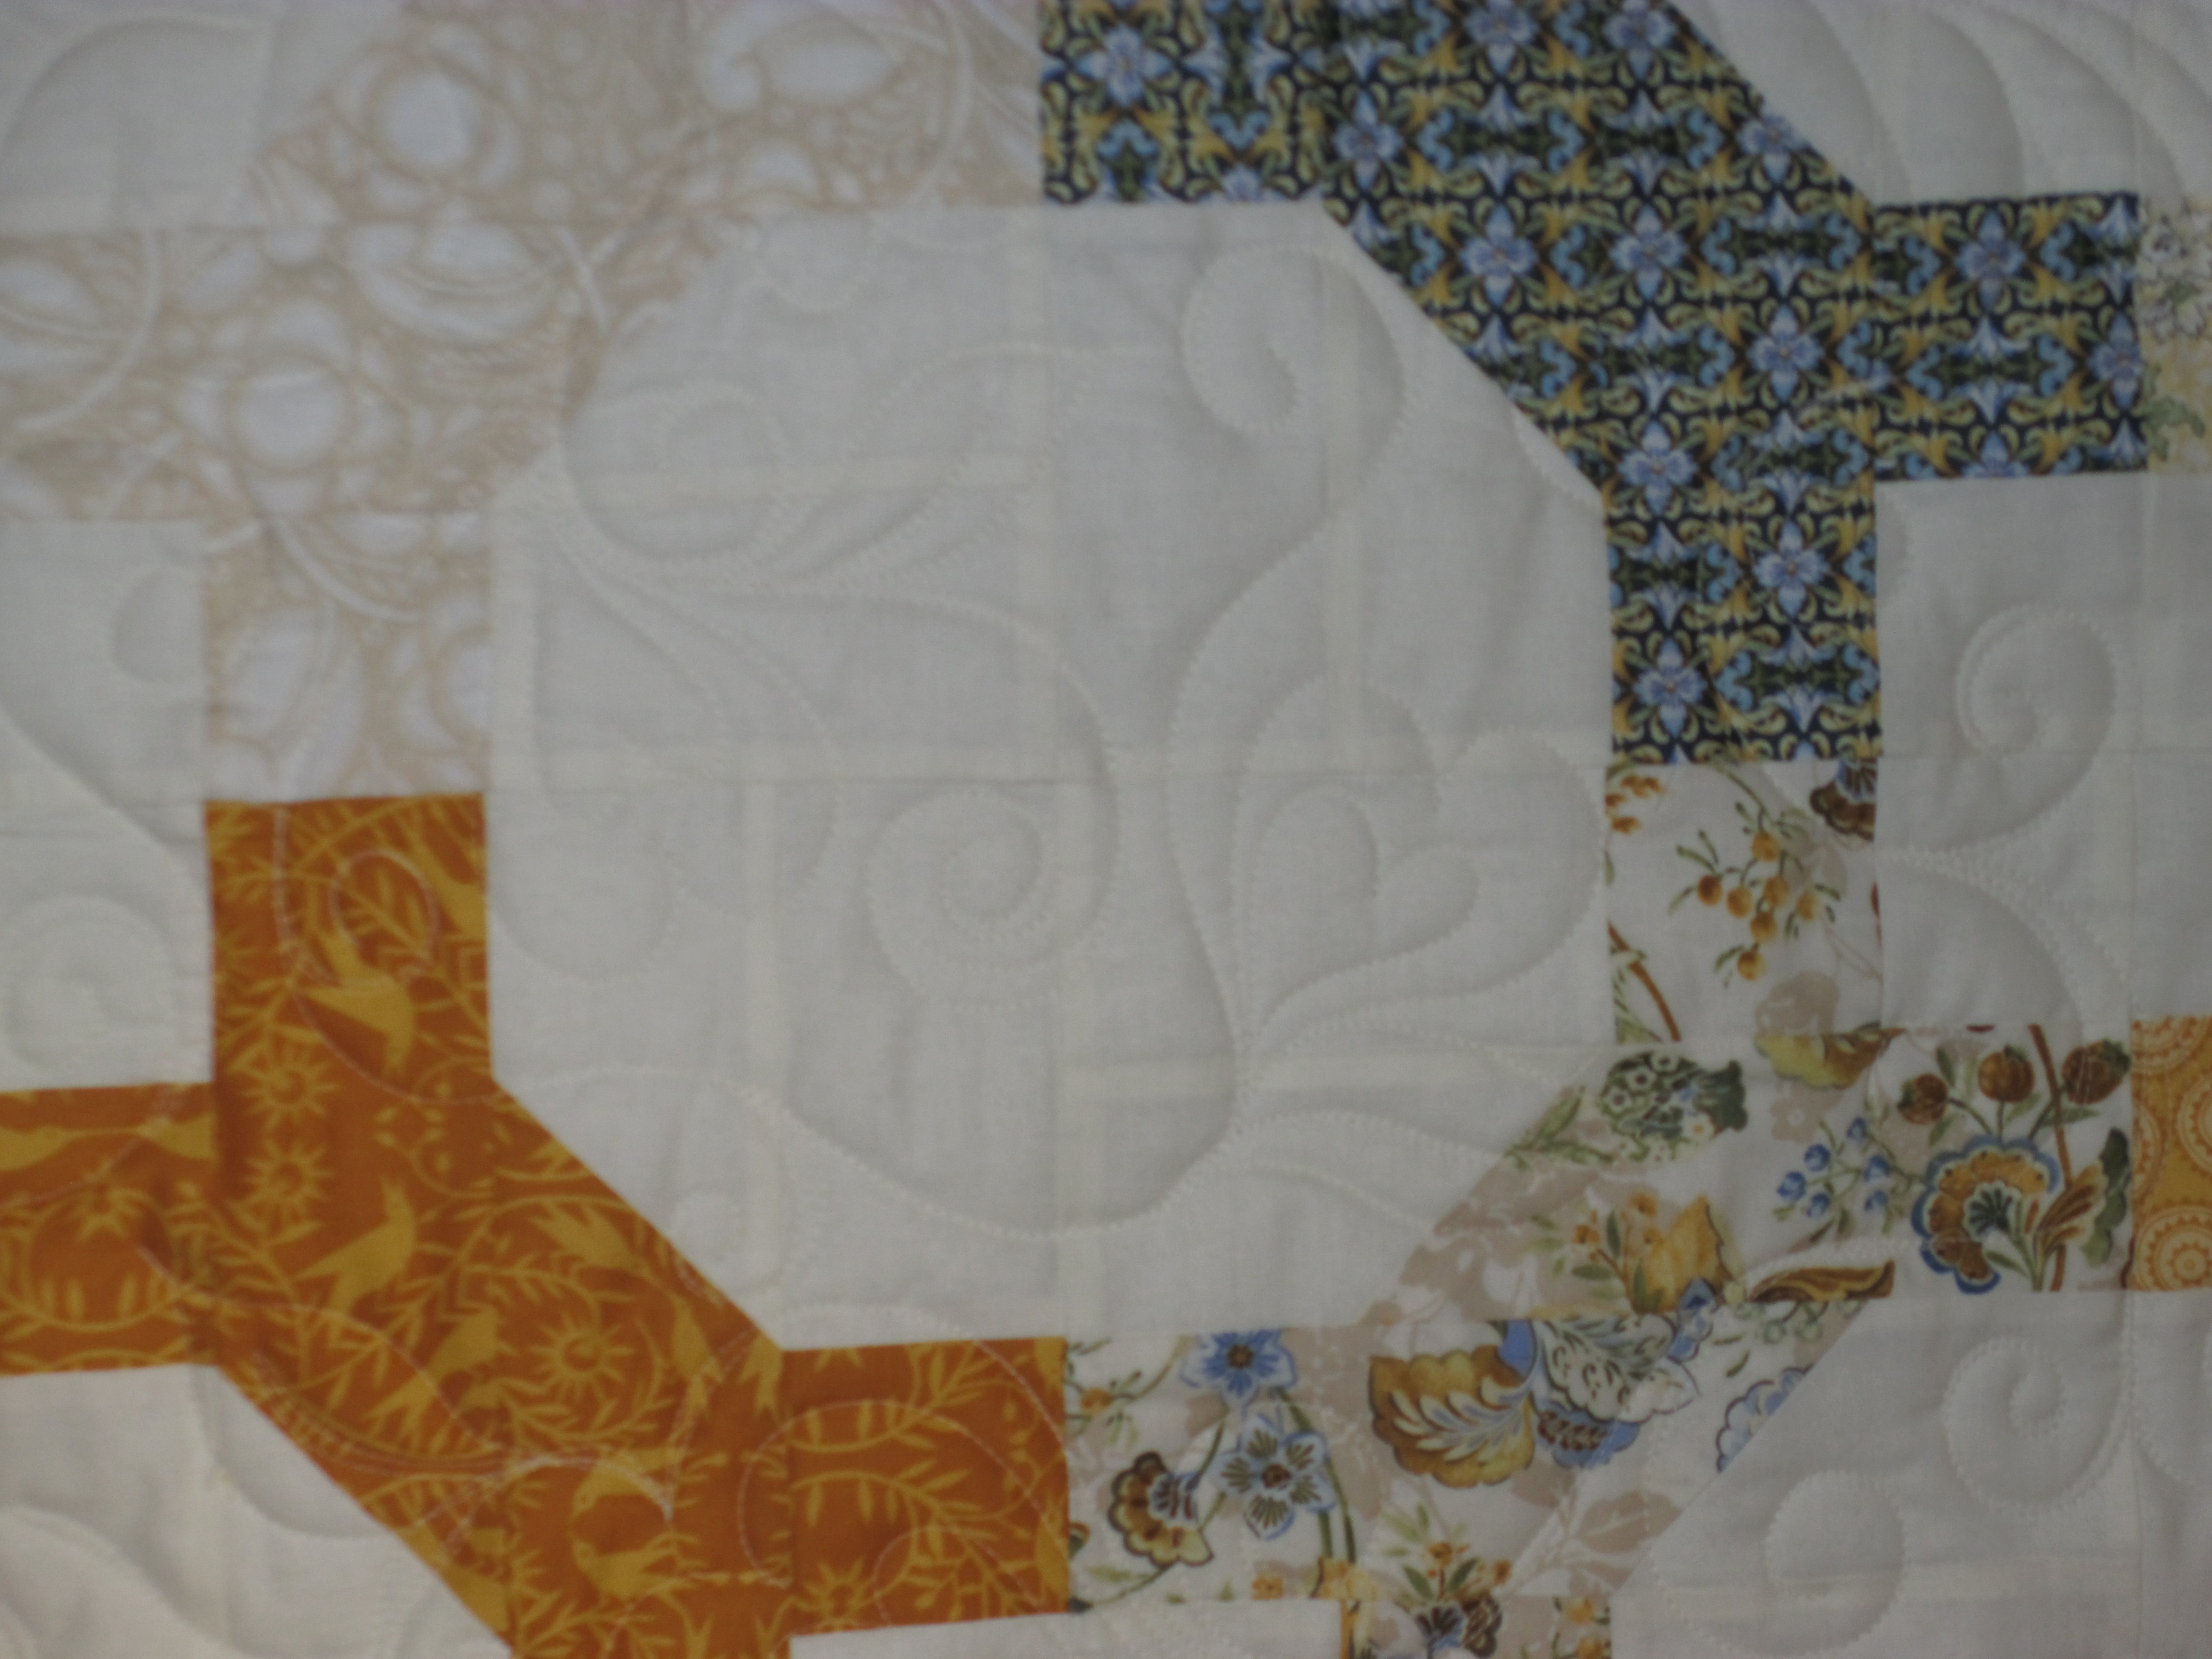
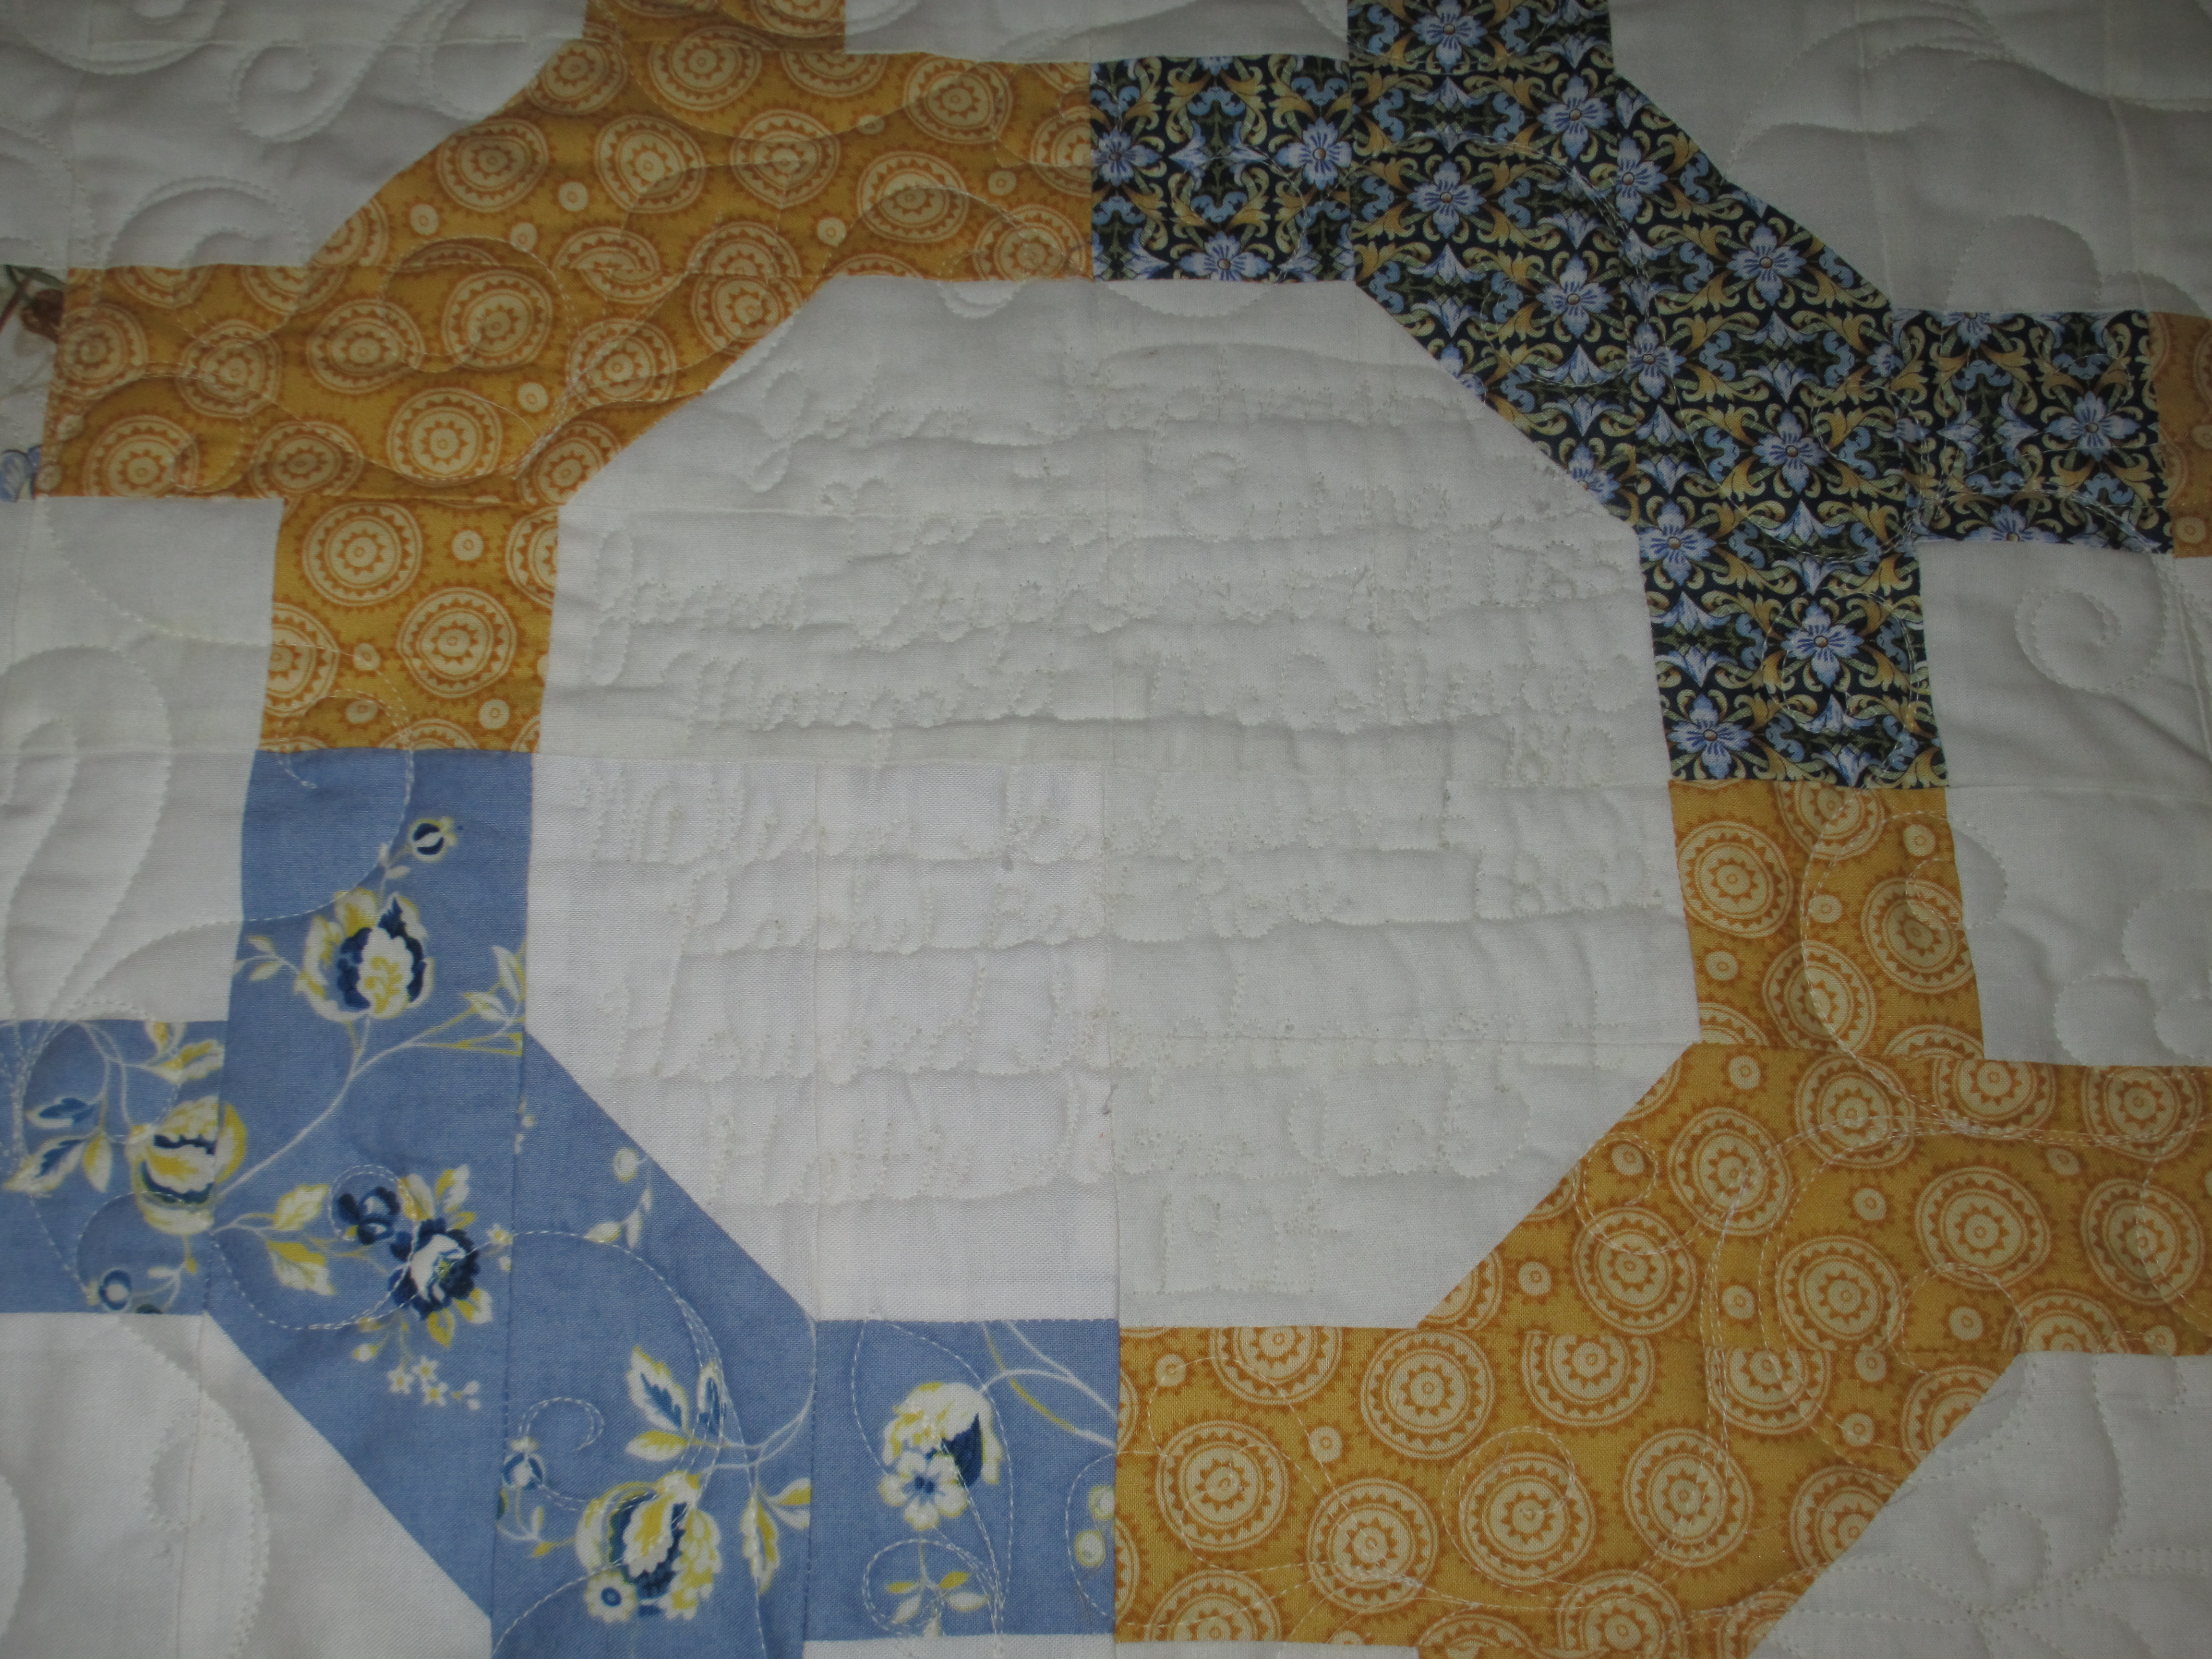
I added my touch by quilting swirls and heart-shaped leaves as in a family tree and vine.   I also added a “title,” so to speak, to the quilt to make it more of an heirloom for future generations.

IMG_1359

And, I added some early generation names/couples with years.  I think if I were to do it over again, I’d put the couples in their own block with the following generations in blocks below them.  That way, the quilting density would be more even.

IMG_1360 IMG_1362 IMG_1363 IMG_1364

The result?  This quilt sold for $1,400!!!  Wowzers!!!  Of course, it was Judy’s brother who bought it (what a loving brother!), so you can imagine why he bought it.  But still!  That’s a lot of moo-lah!

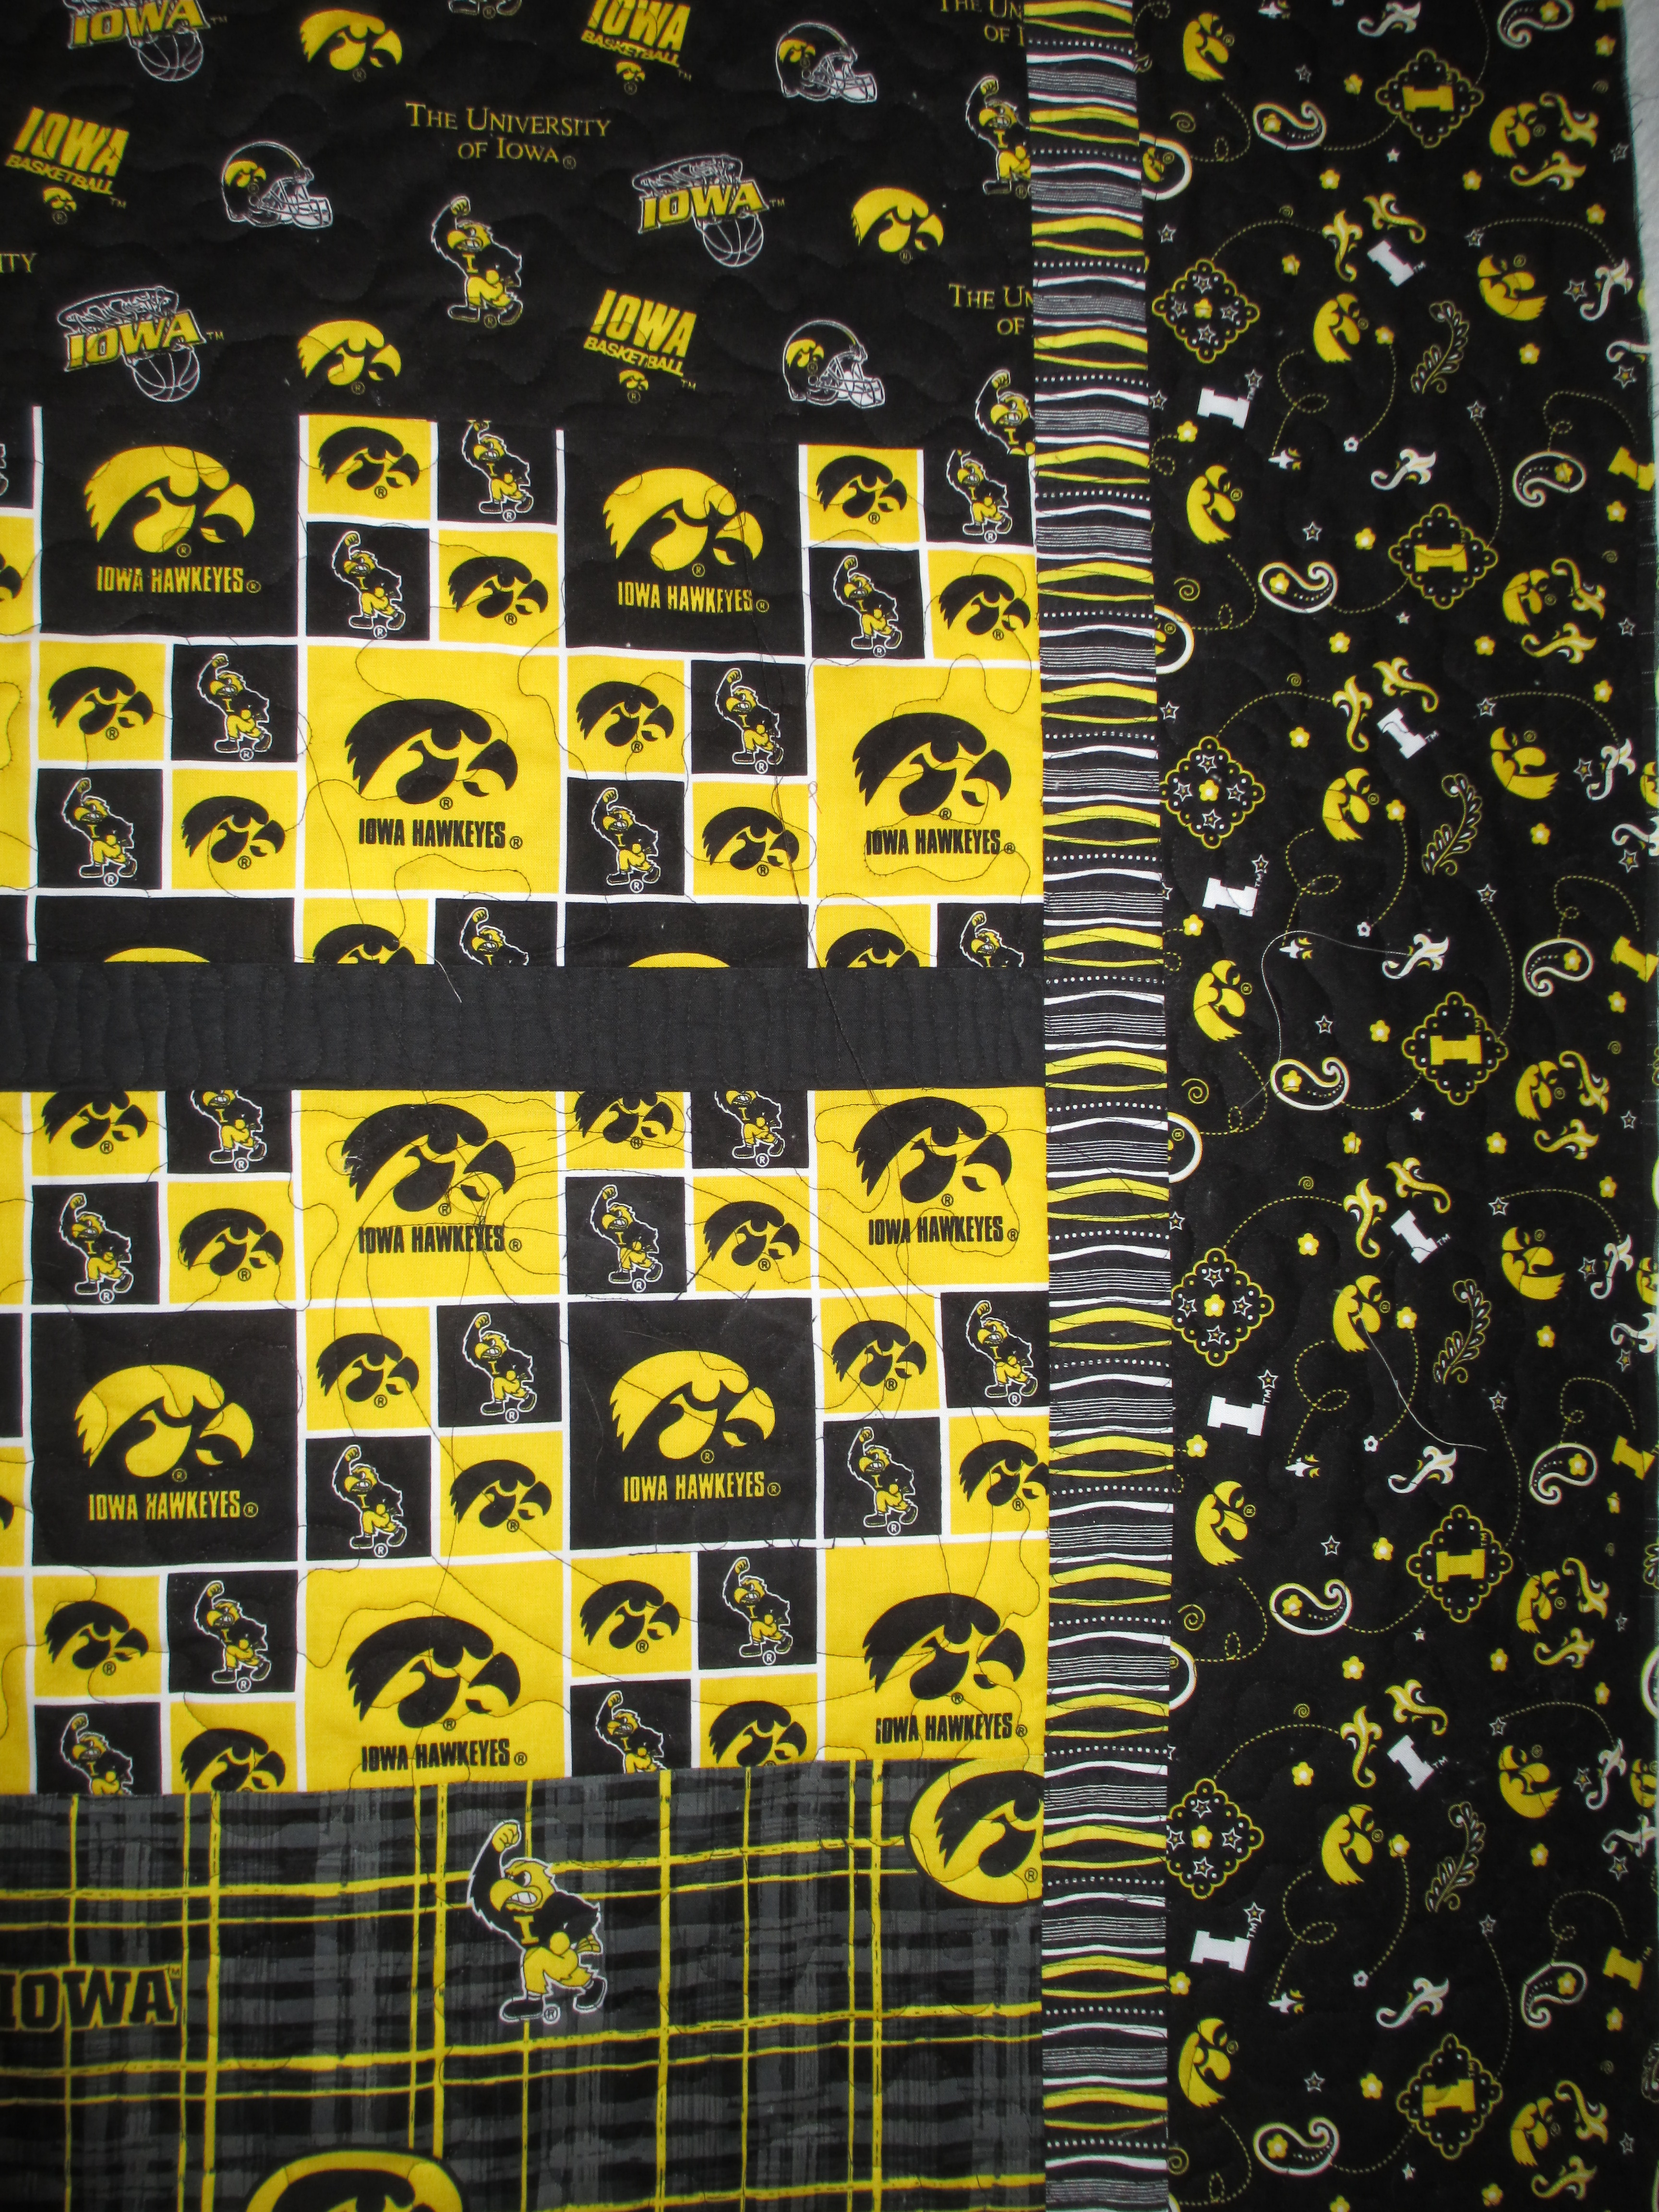
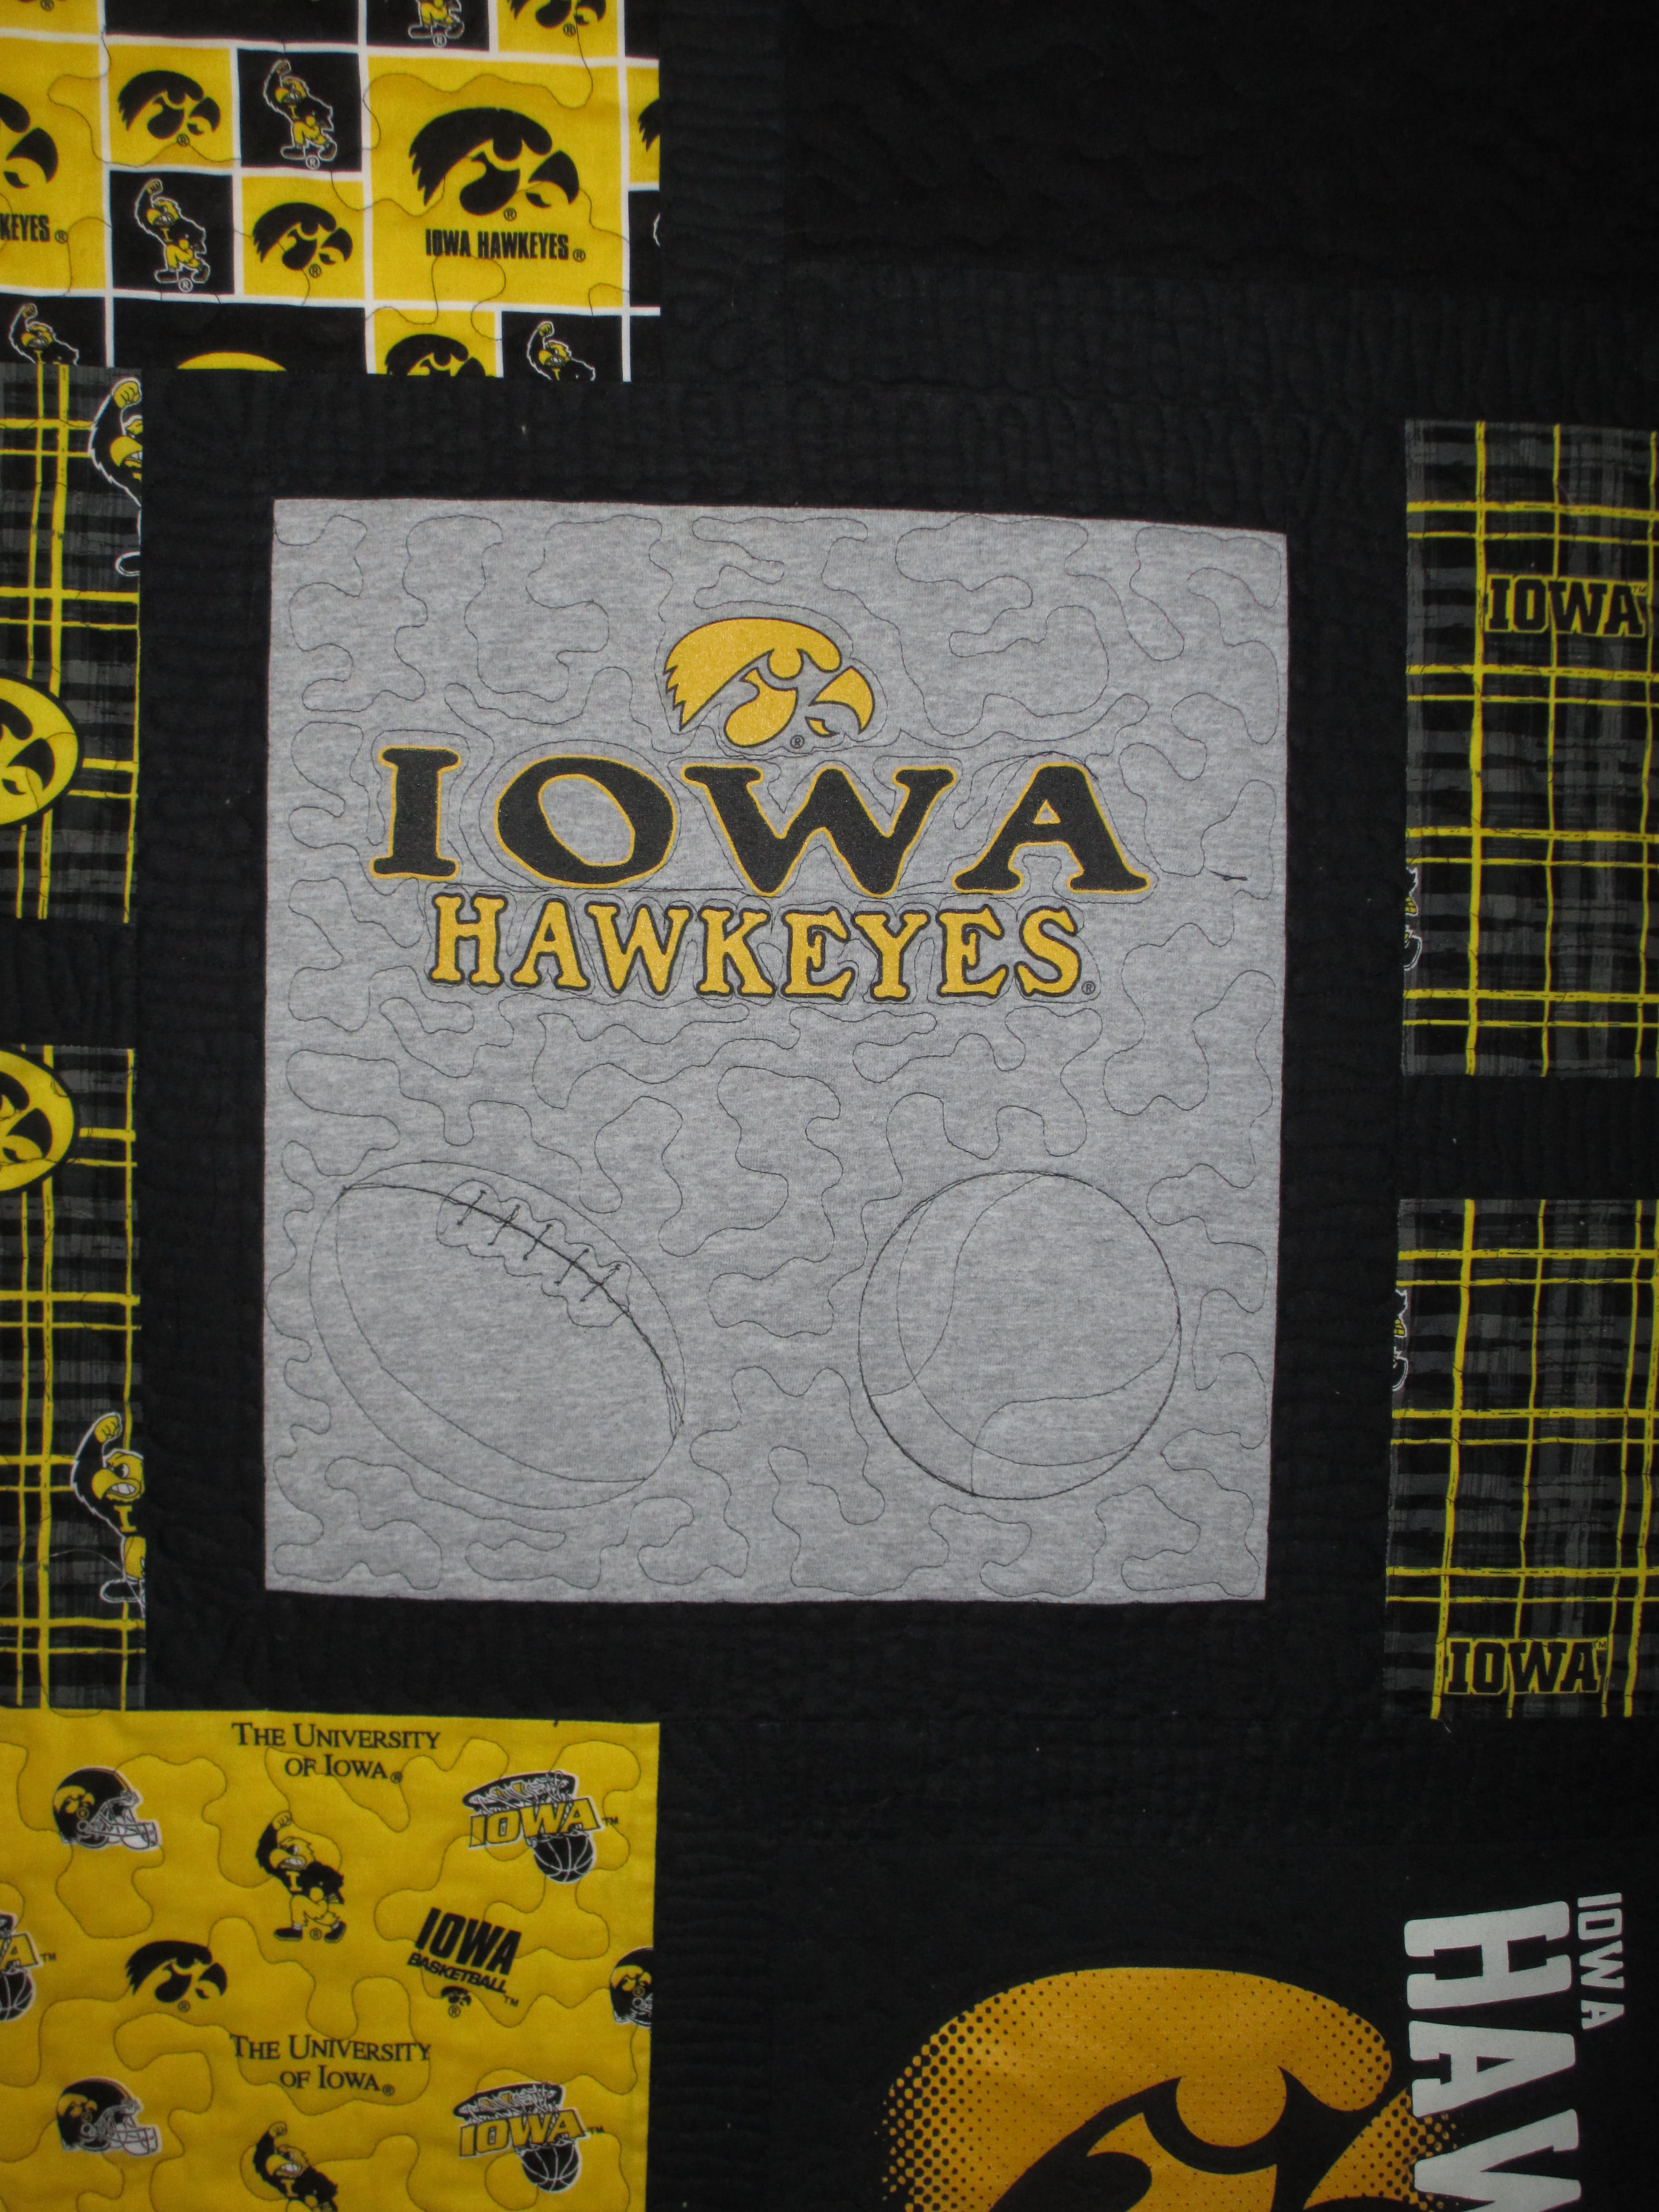
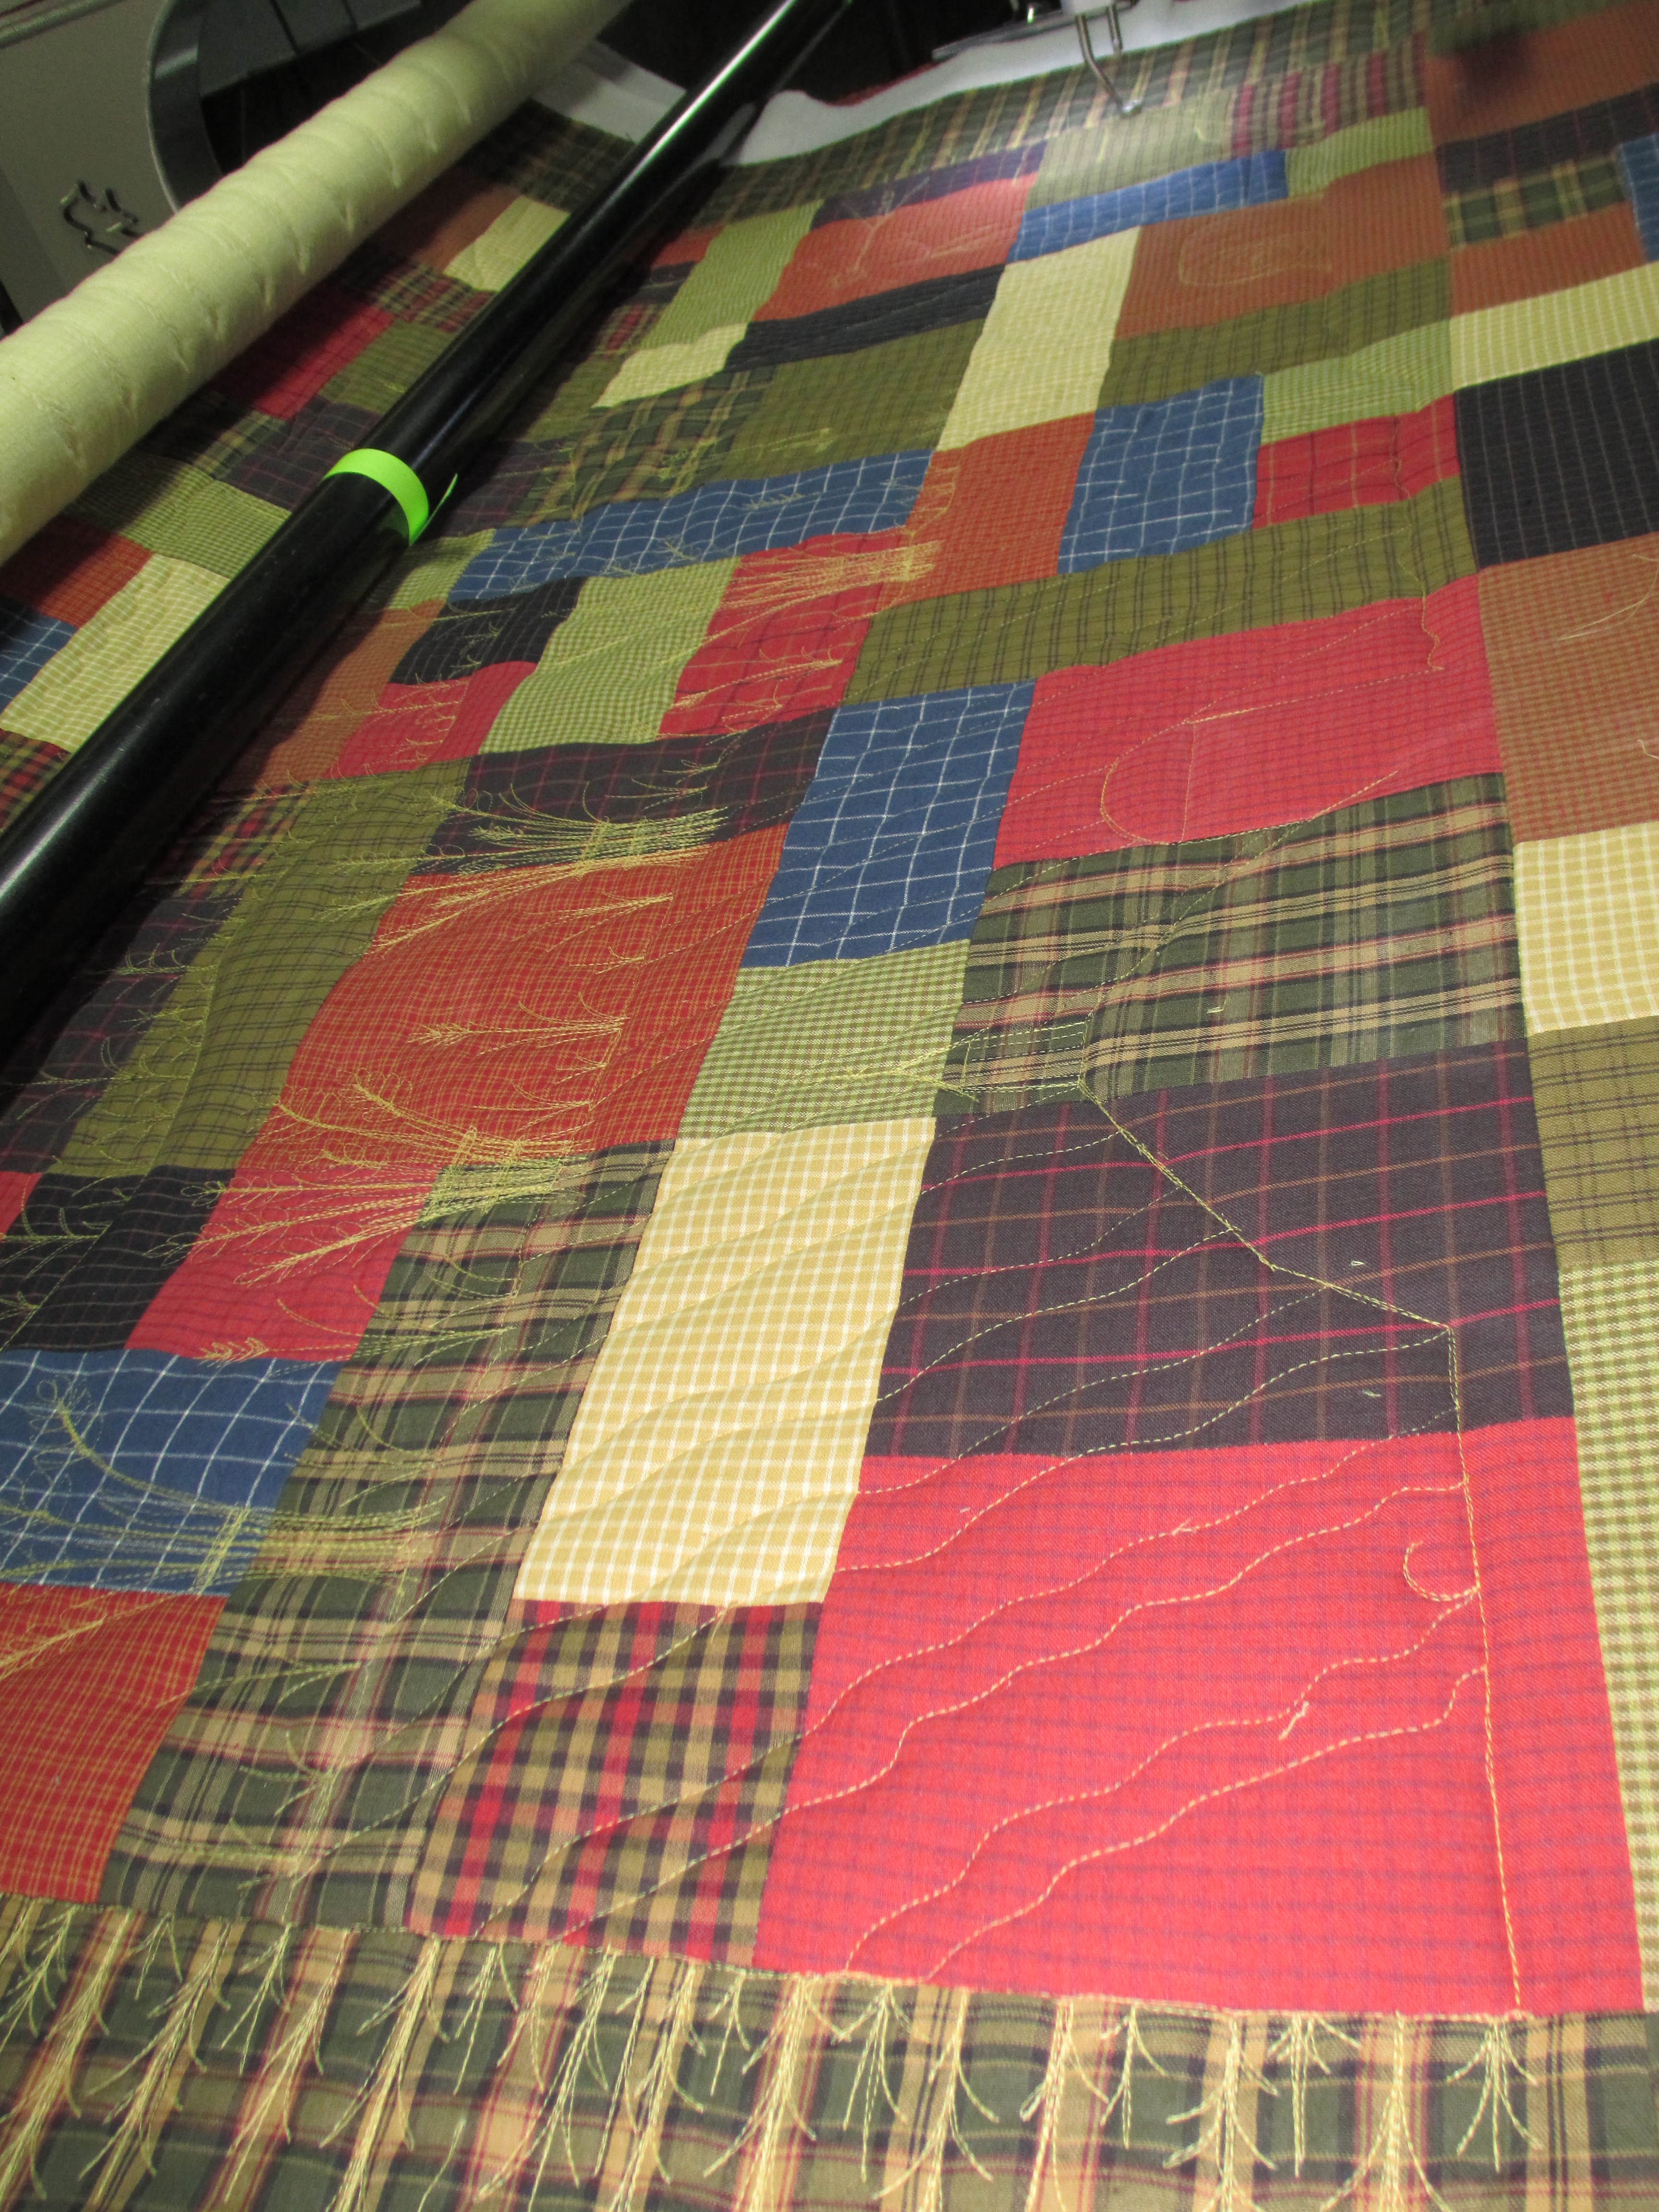
Another quilt I’ve been working on in May was Claudia’s quilt.  This quilt did a number on my head.  Not that it was Claudia’s fault by any stretch of the imagination.  She is a dear and was a dear for being so patient with me during and after my mini-melt-down with her quilt.  It took me a couple of weeks to finish it.  This quilt is a Christmas gift for her brother, who is a farmer.  I think Claudia is smart for working on her Christmas gifts all year long and not waiting until the last minute.  She’s bringing them to me as she finishes; smart move since I am now booked until September.  Each quilt I receive after today will get in the queue and before I know it, I will be booked through Christmas.  So, if you are thinking about quilts for Christmas, let your quilter know as soon as you can!  Some of us are booked a year out and some are booked only a few months out.

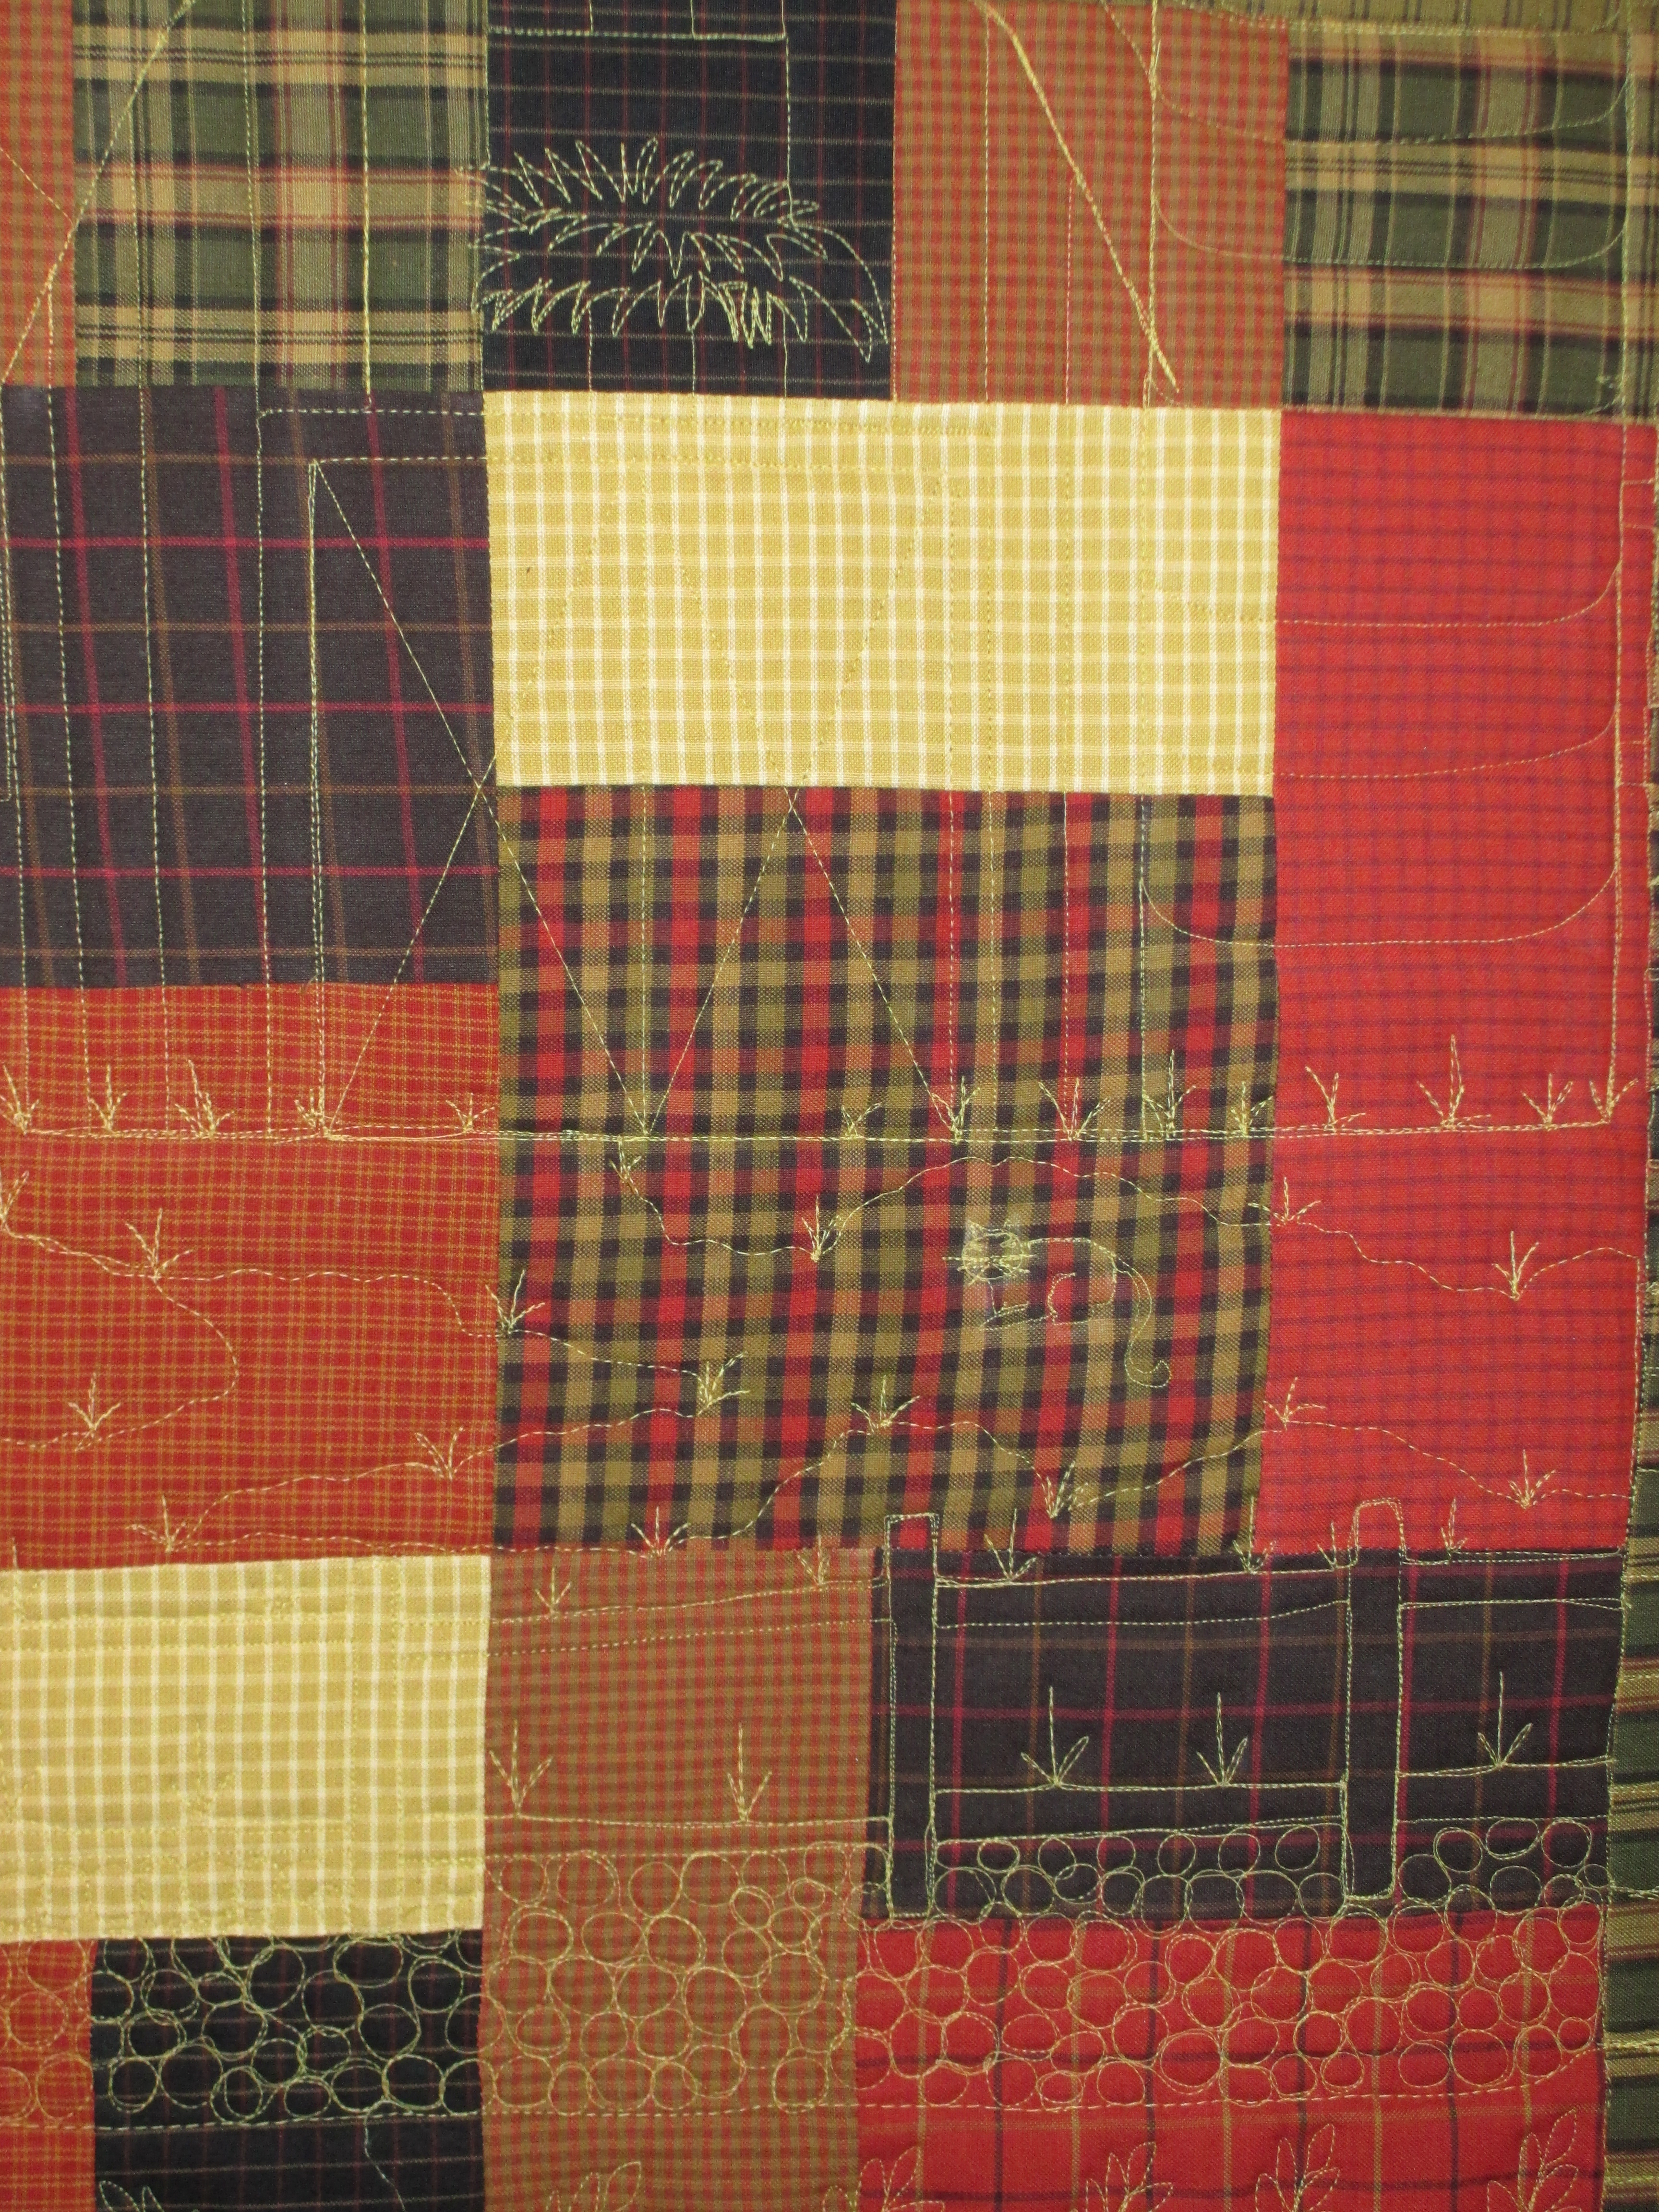
So, what happened with Claudia’s quilt?  Sigh… it was perfect, simply perfect.  I was crooning over how flat it laid, how square it was, and how the patches all met so perfectly together.  Since her brother is a farmer, we decided to put wheat on the quilt.  Don’t get me wrong, it’s made with homespun plaid, so wheat would be a great design for a guy and a farmer at that.  I started out quilting shocks of wheat in the corners and rows of wheat in the border and then added a row onto the quilt top (this was supposed to be semi-custom; an edge-to-edge allover design similar to a pantograph with a separate border).  I decided it needed something between the row of wheat and the border and so I added clouds.  Simple!

IMG_1366  IMG_1402

And, that, my dears, was my UN-doing.  At that point I could see all sorts of things on this quilt top.  The patches reminded me (as they did Claudia also!) of looking down from an airplane at the fields of patchwork land.  And, I wasn’t sure the wheat was what she wanted after all.  Don’t get me wrong; I thought it worked well, but it seemed like it needed something, and if Claudia wasn’t happy with it, there’d be an awful lot of frogging (rip it!  rip it!) to do.

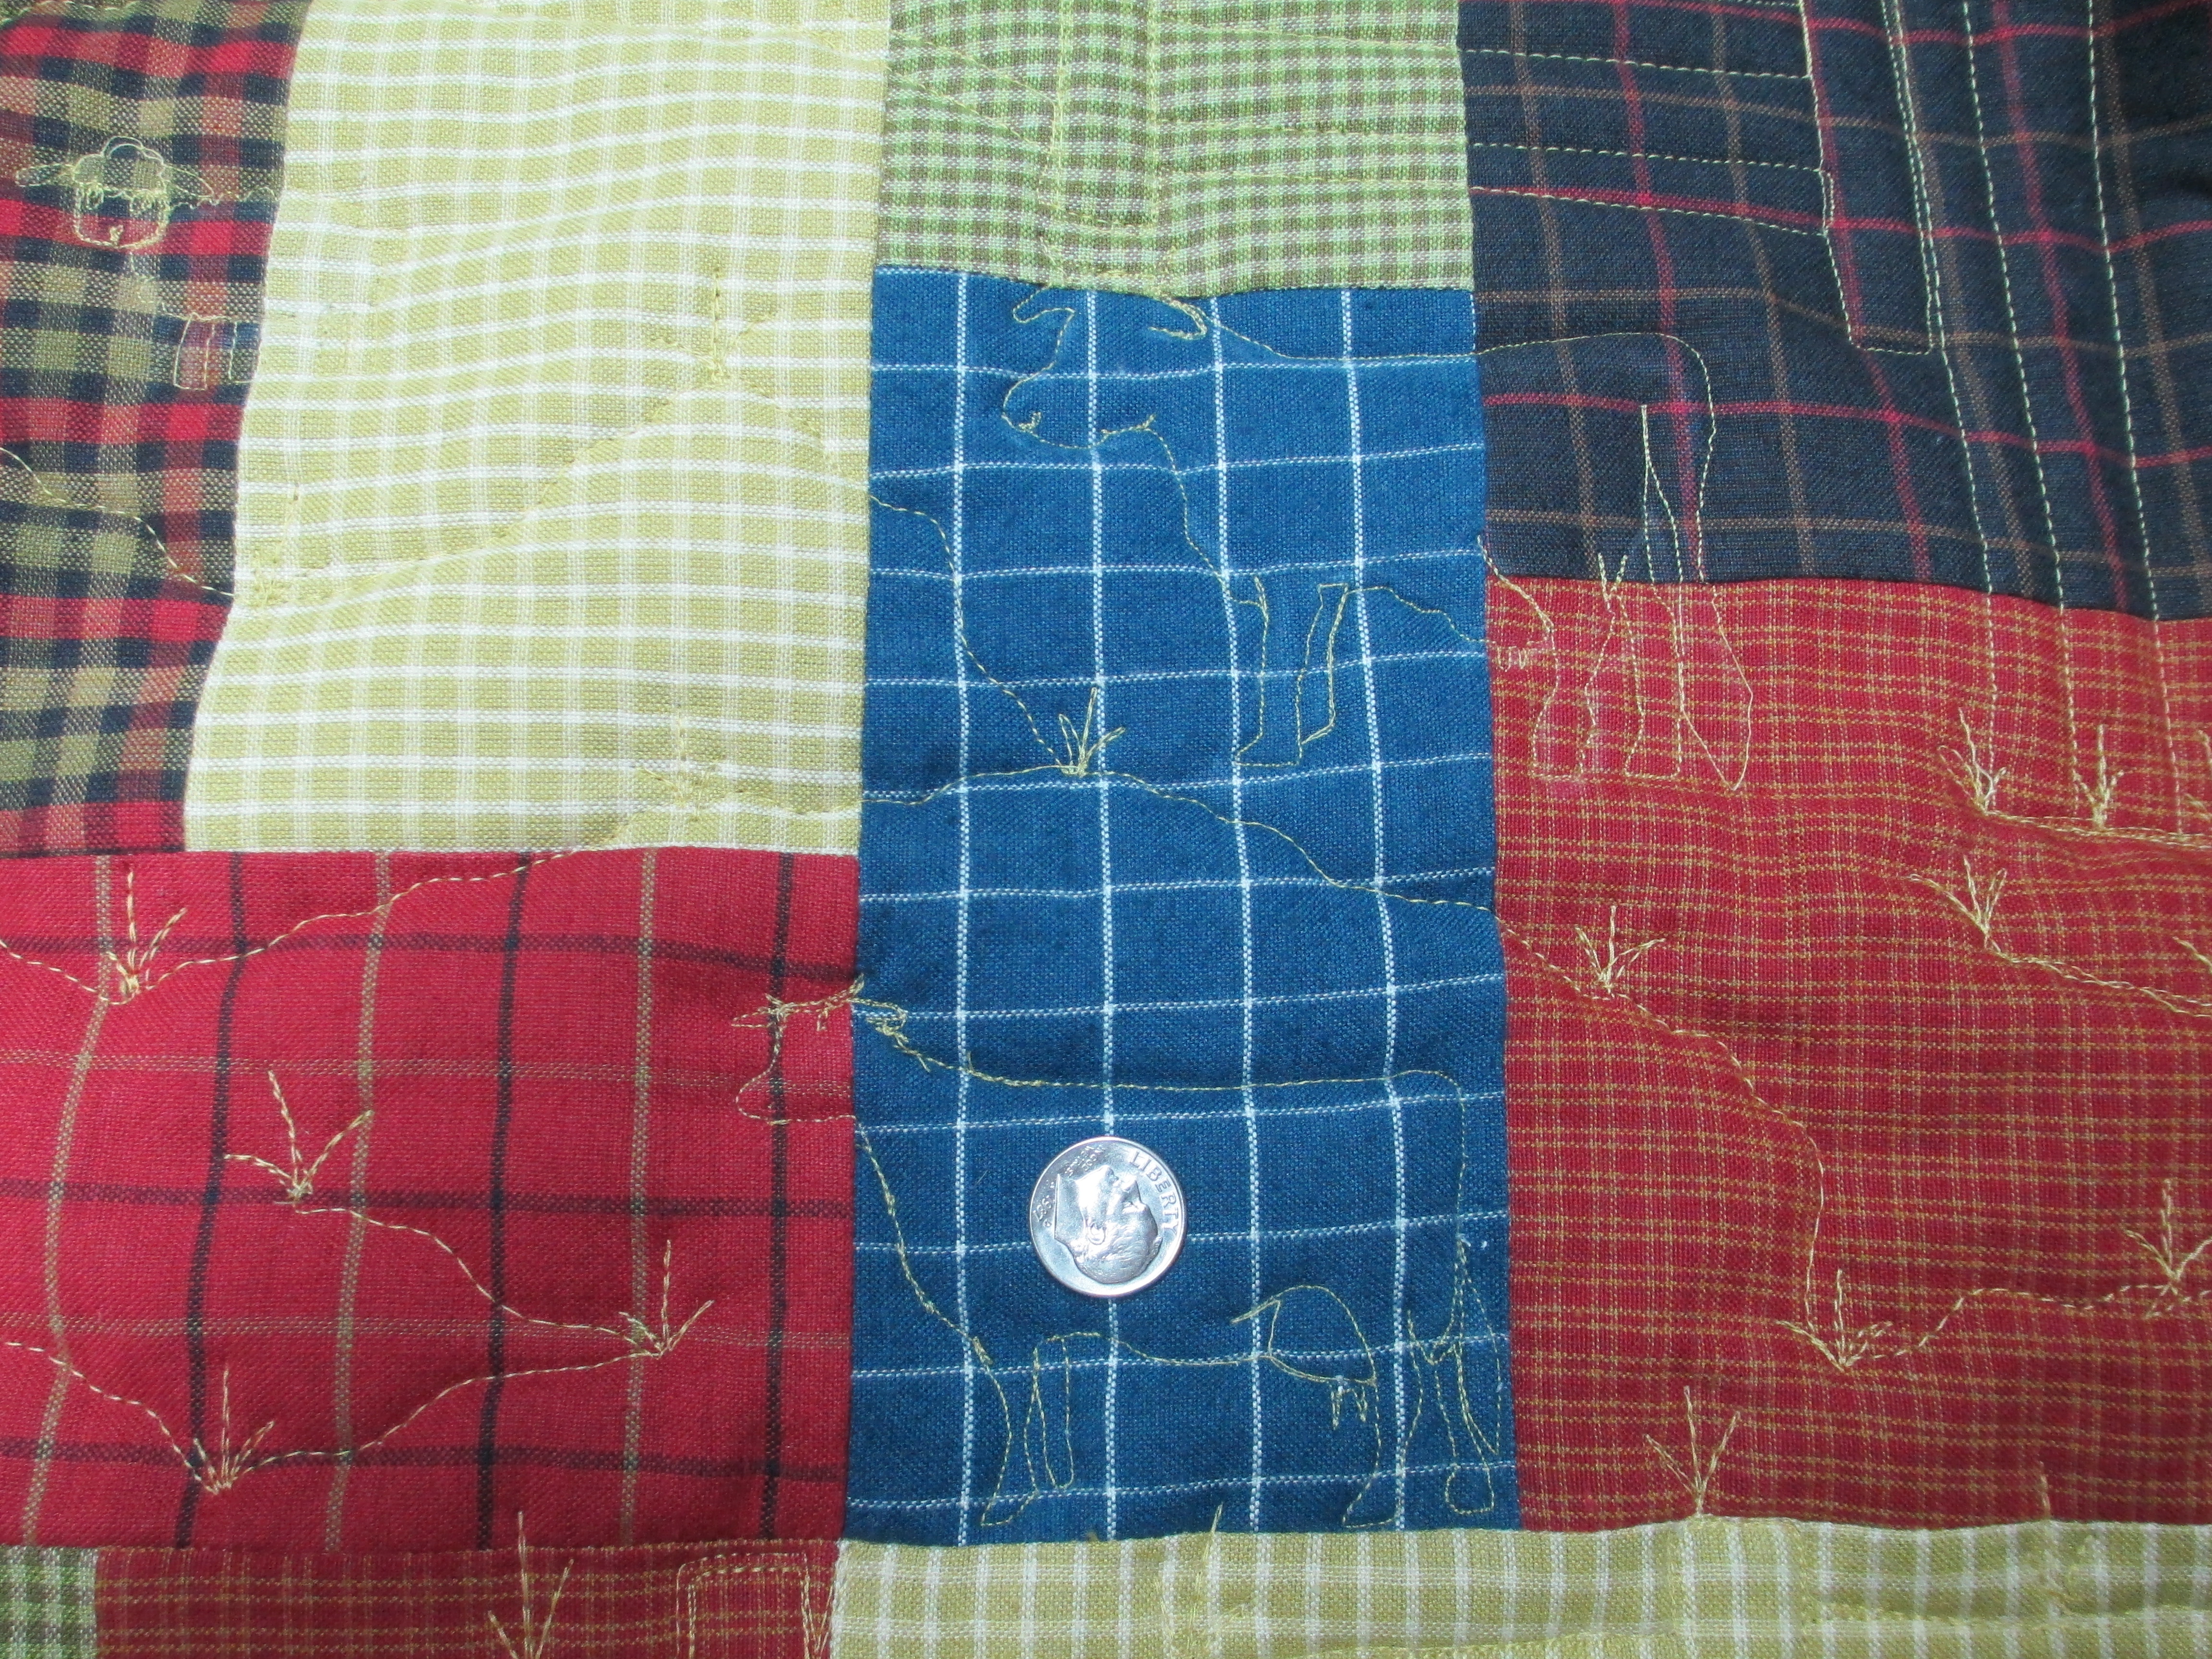
So, I called Claudia and sent her a couple of pictures to make sure she was happy with it.  We talked about it and Claudia said it was okay for me to add something if I wanted.  NOTE: CLAUDIA SAID IT WAS OKAY!!!  We started talking about farm items to add, and that’s where I fell into the abyss of artist wonderland.  I hung up the phone and went back to look at the quilt.  My mind went wild with ideas of drawing a barn, a windmill, and a whole entire farm!  Some cows, some sheep, rolled bales of hay, a barn cat…here some wheat, there some wheat, everywhere some wheat, wheat…

IMG_1371

IMG_1372

IMG_1373

But, wait! This is not MY quilt!  And, about the time I started drawing in the windmill, my husband comes down and asks… “What are you doing?”  Eyes big and glazed over with entranced excitement, I responded as any one would do and said, “Nothing!”  And, that is what brought me back down to earth and started my mental battle with my quilting of other people’s quilts.  When I quilt a customer quilt, it is my intent for my quilting to be in the background of the quilt, to be subtle so that the first thing you see is the quilt and then you can see the indentations of where the quilting is.  I want it to compliment the quilt top, but not overpower the quilt.  I don’t want my quilting to be at the forefront of the quilt.  And, that was what I was seeing with Claudia’s quilt.

I cannot begin to explain the mental anguish I went through after I’d gotten this far on the quilt.  And, actually, at the point of my husband asking me what I was doing, I just had the windmill and the top of barn drawn/stitched on along with the rows of wheat that had been sown and rolled into hay bales.  I went back and forth, back and forth with what to do.  I was feeling so guilty for “taking over” Claudia’s quilt.  And, I was, at this point, stuck.  I couldn’t seem to get myself to work on it anymore, I felt so bad about it all.  I just wanted to cry, because I had just sabotaged my philosophy that the customer comes first; the reason why I don’t like to suggest quilting styles to my customers – I want it to be theirs, not mine.  All I can say is that Claudia has been such a dear throughout this whole thing.

Finally, I had to do something.  I needed to move forward so that I could get on to the next customer quilts.  I wrote down on a post-it note the things Claudia had suggested said I could add to the quilt and I put that on top of the quilt.  I would put those things on there and then just put rows of wheat.  This was not my quilt.  It was a difficult couple of weeks as my machine sat idle, but I finally pulled my head out of my butt and finished the quilt.  I was shaking in my boots as I finished it, nervous about whether or not Claudia would be okay with her quilt.  I decided to send pictures and an invoice to her of the final product when it was finished so she could be prepared when she picked up her quilt.

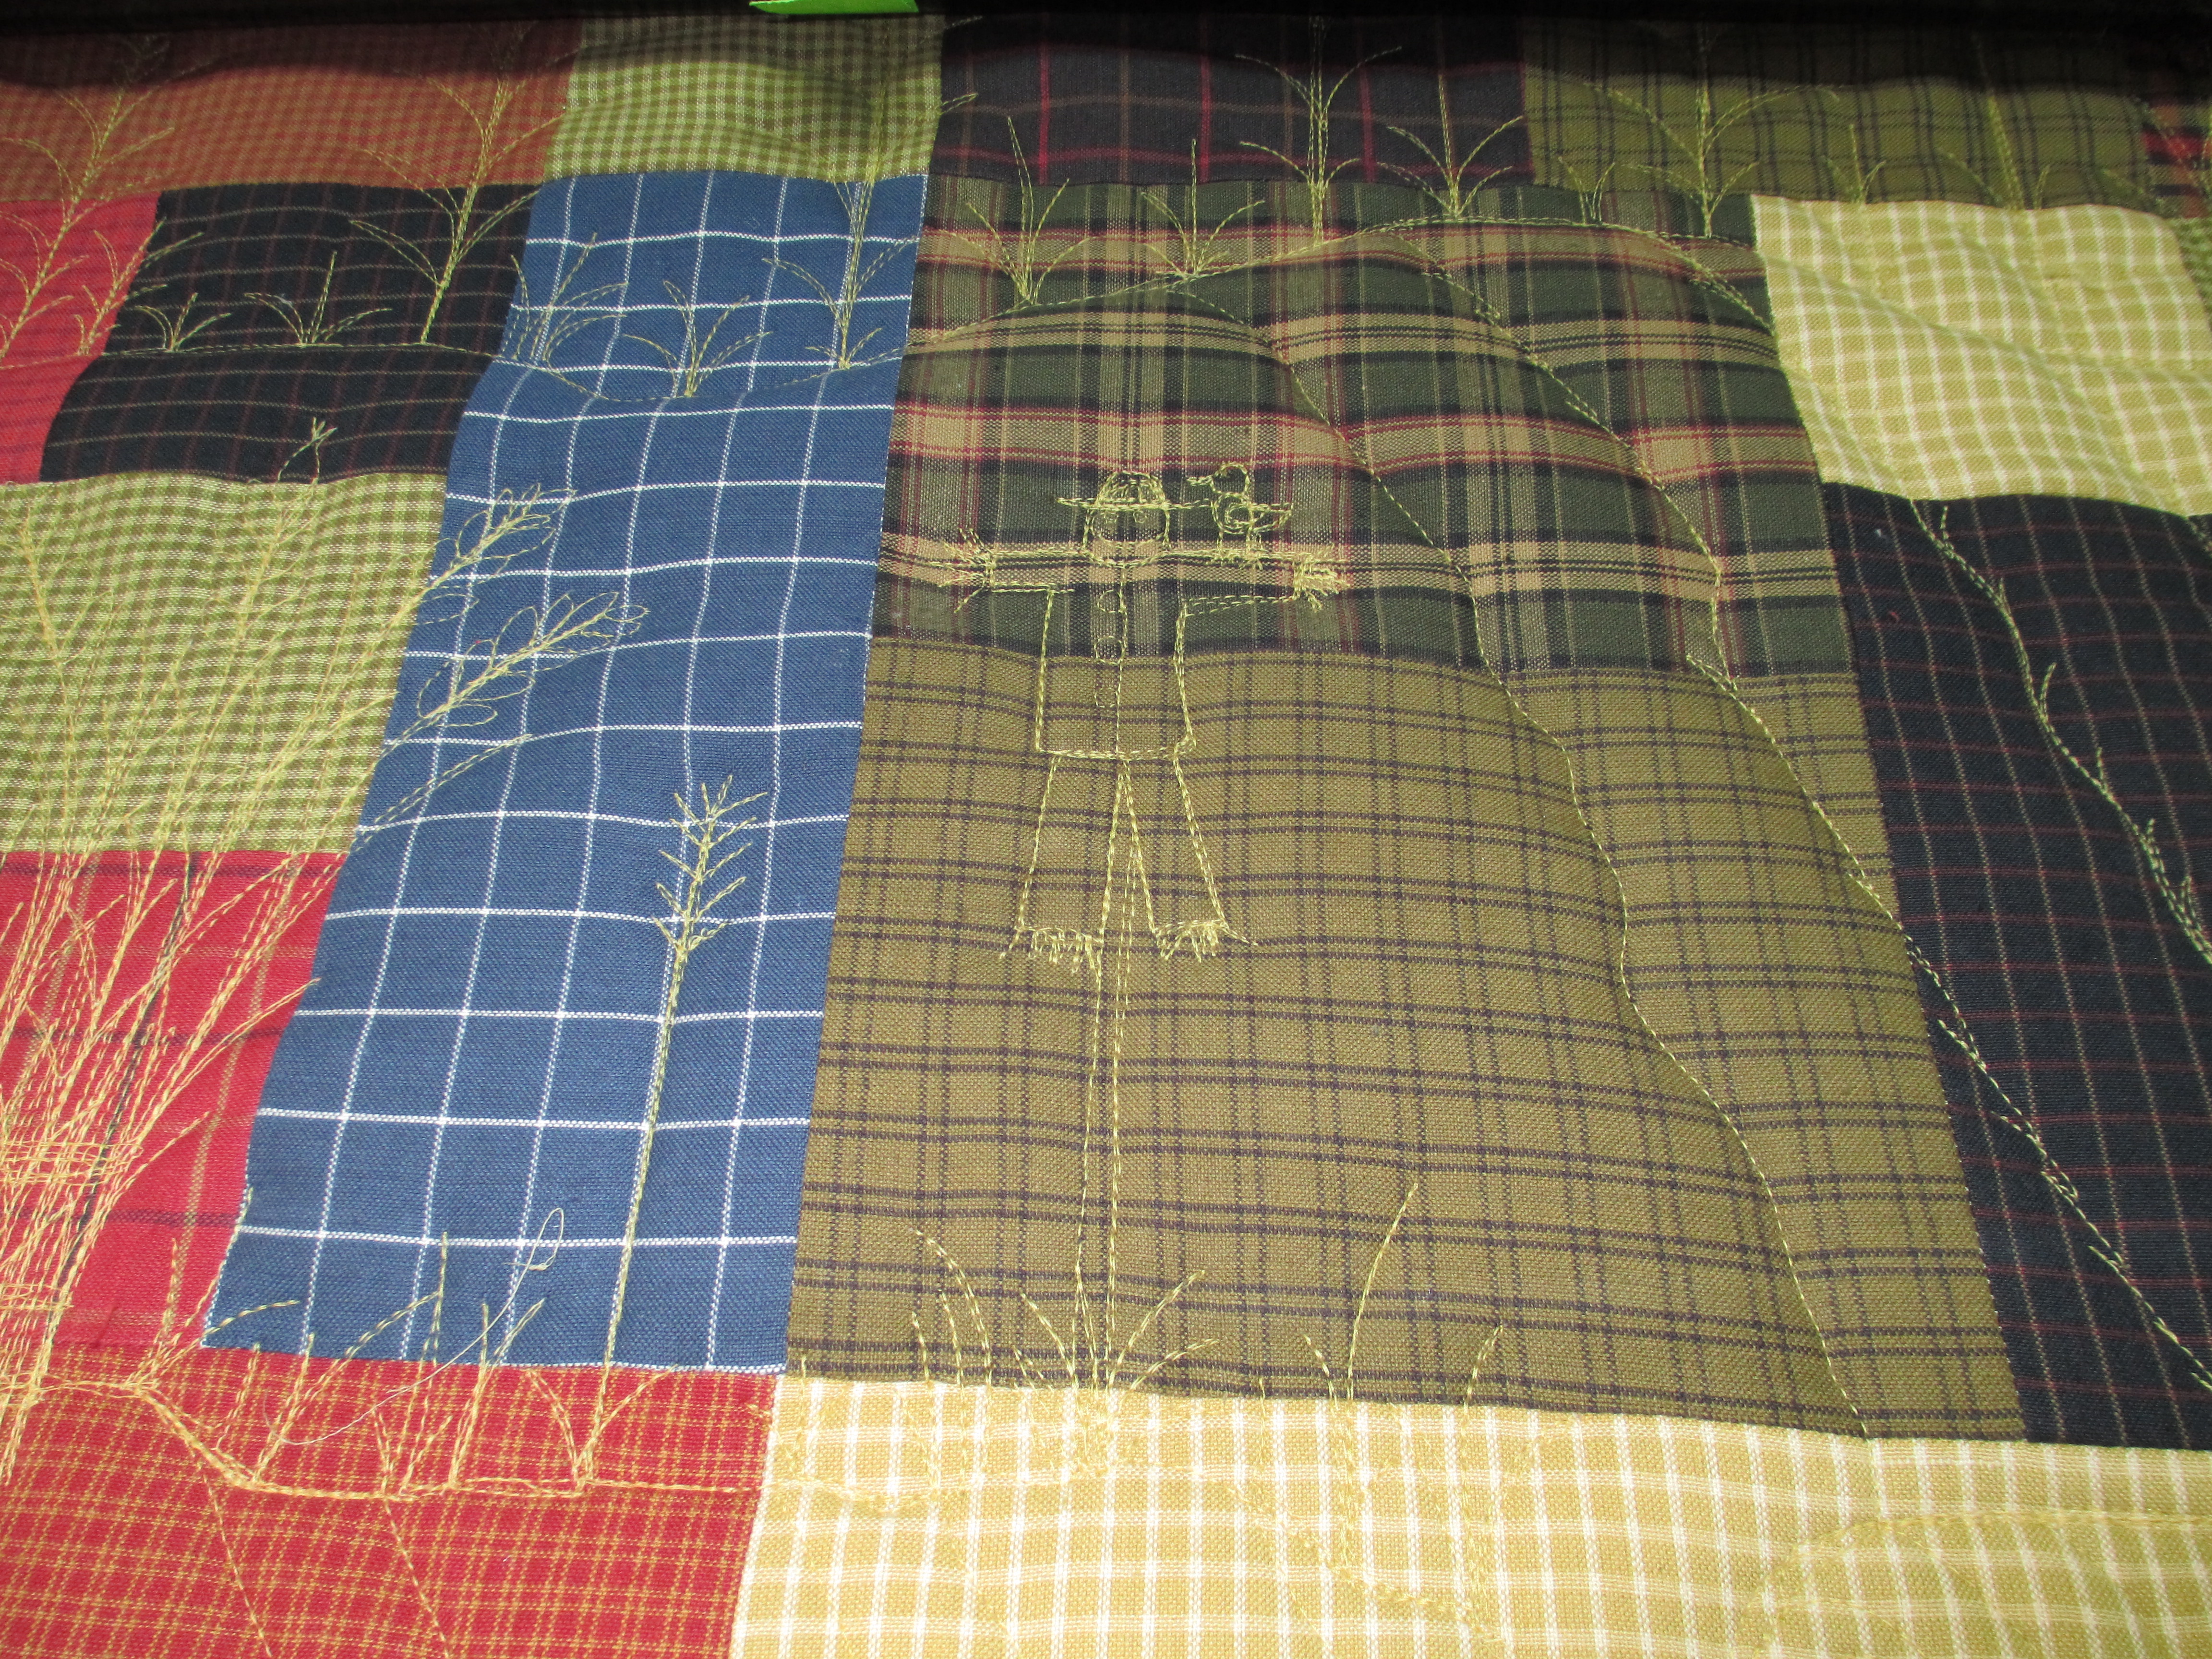
Here is what I added (per post-it note; my way of saying Claudia “approved” me doing this beforehand).  Well… the barn cat was my husband’s suggestion after he’d seen the anguish I was feeling from drawing all over somebody’s quilt.  Yes, the tractor has a flat tire; it’s a fact of life on the farm.  😉

IMG_1386 IMG_1387 IMG_1388 IMG_1389

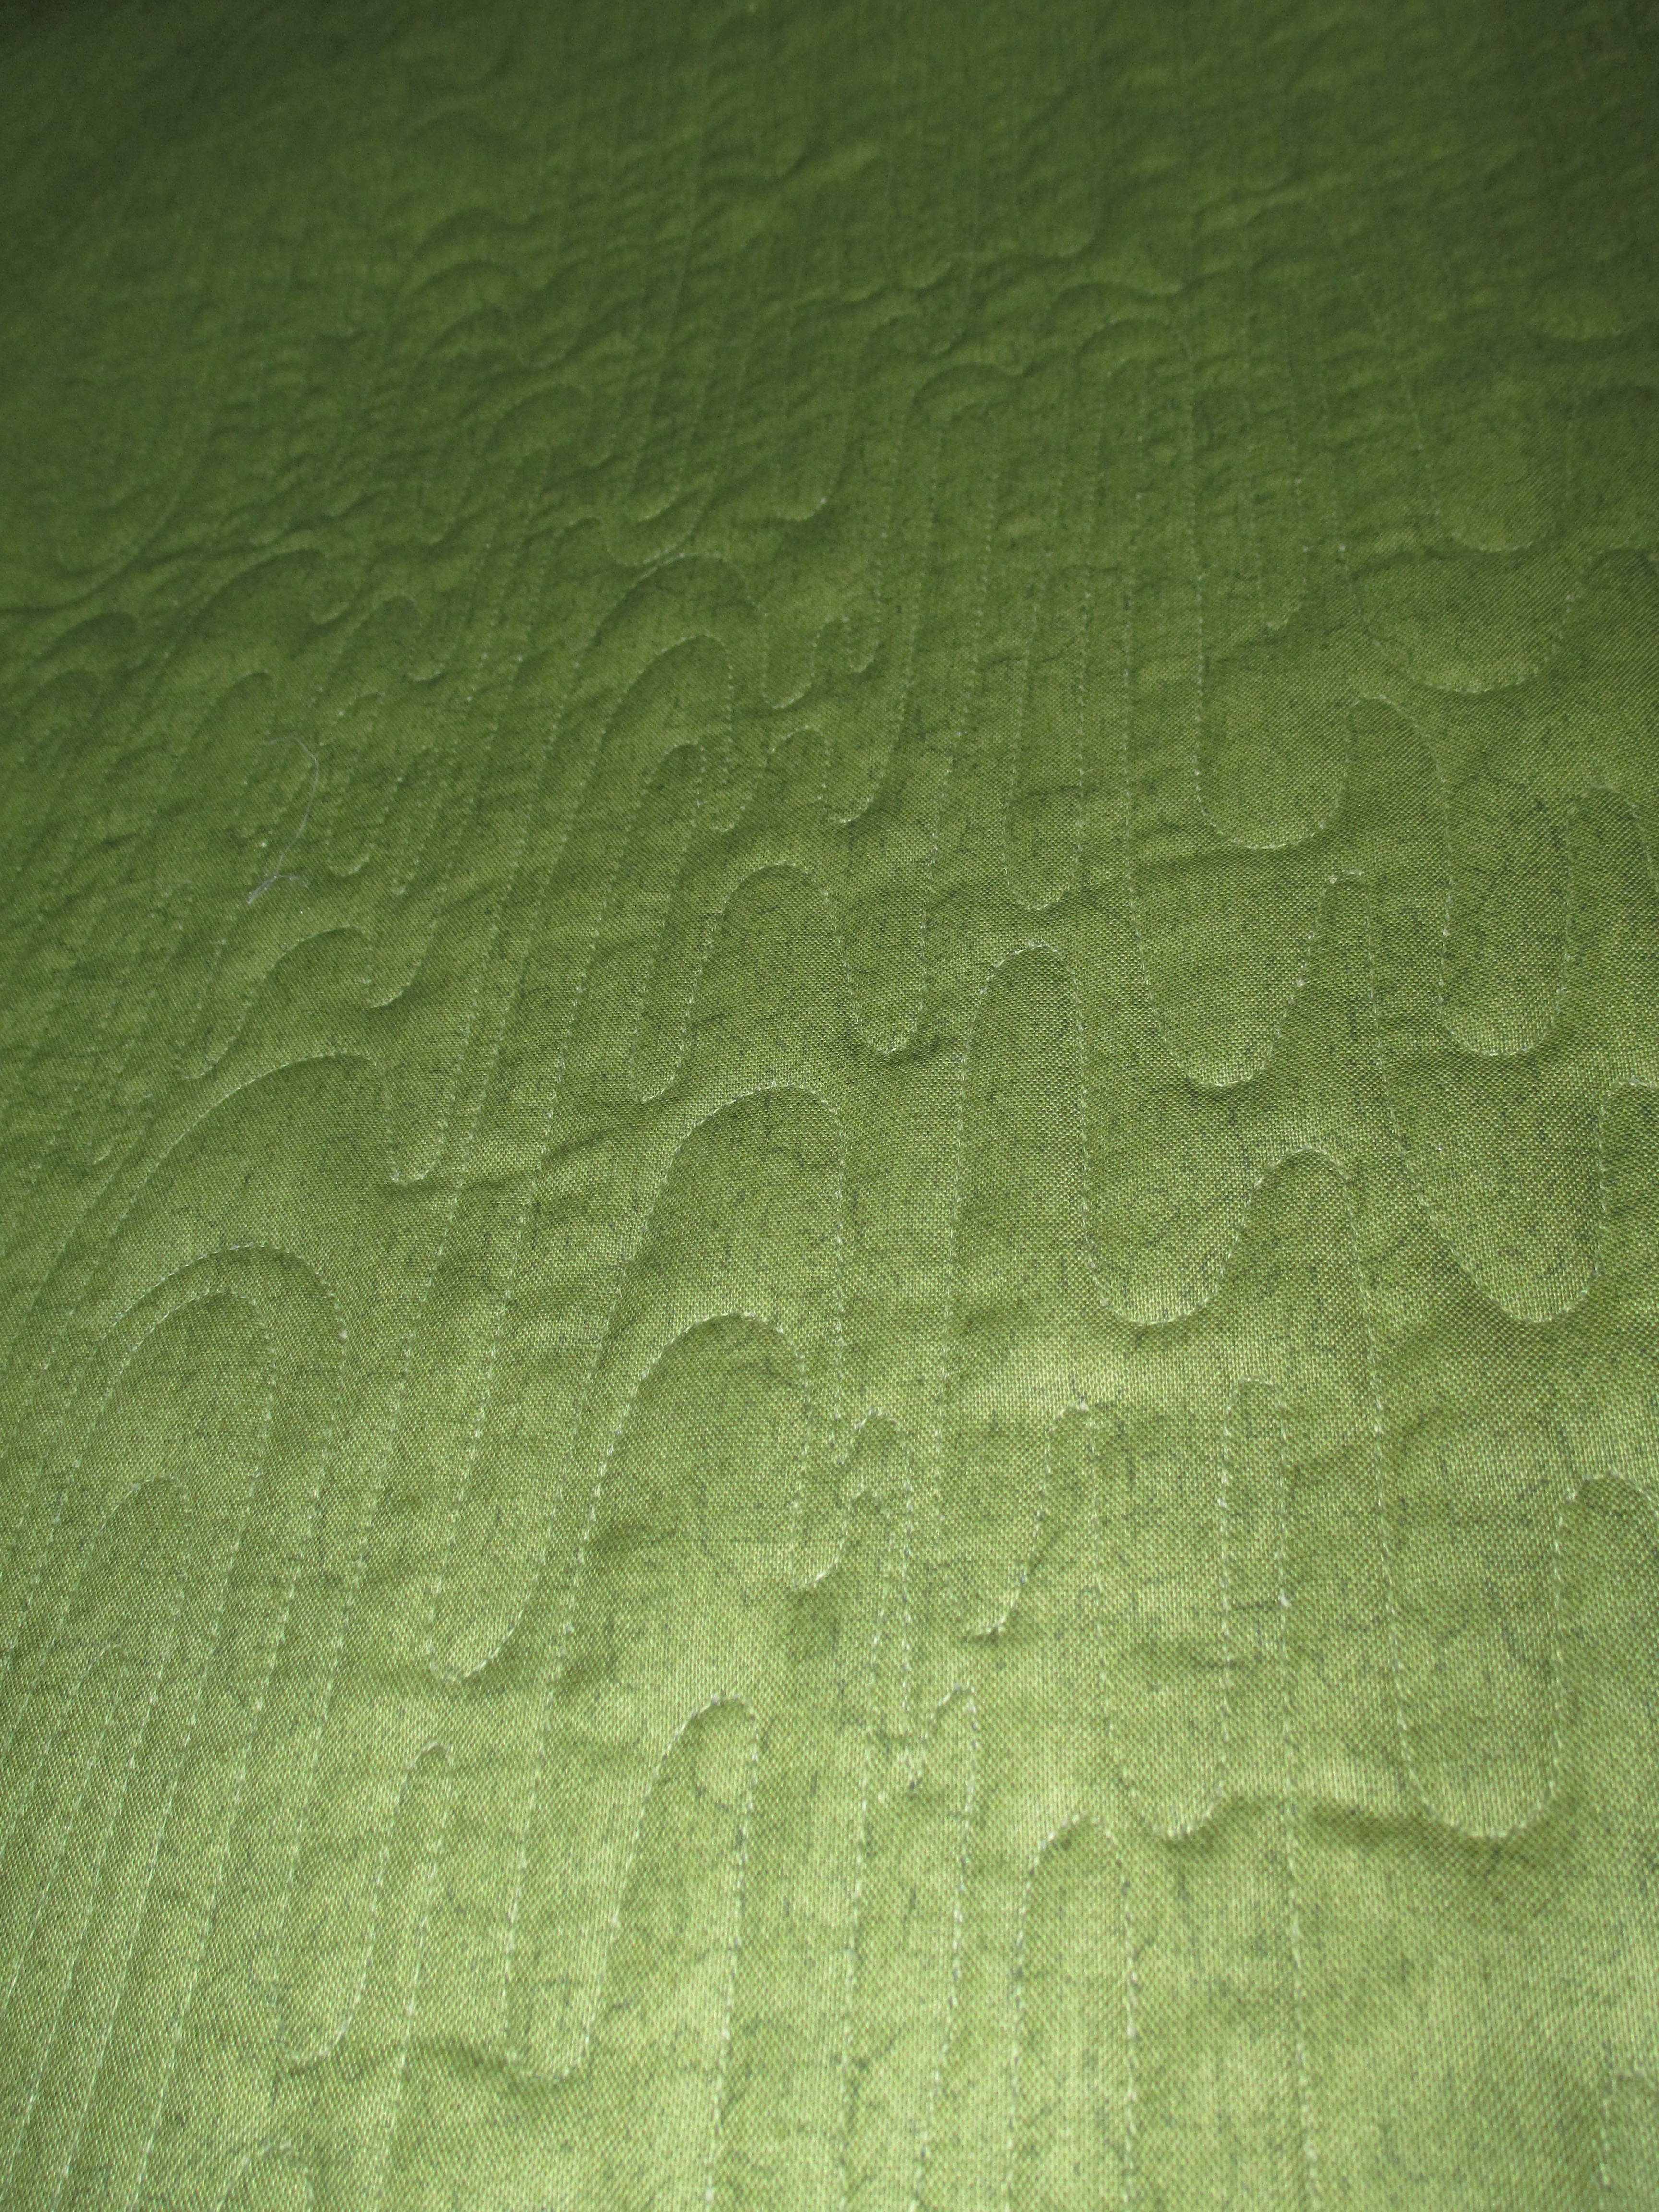
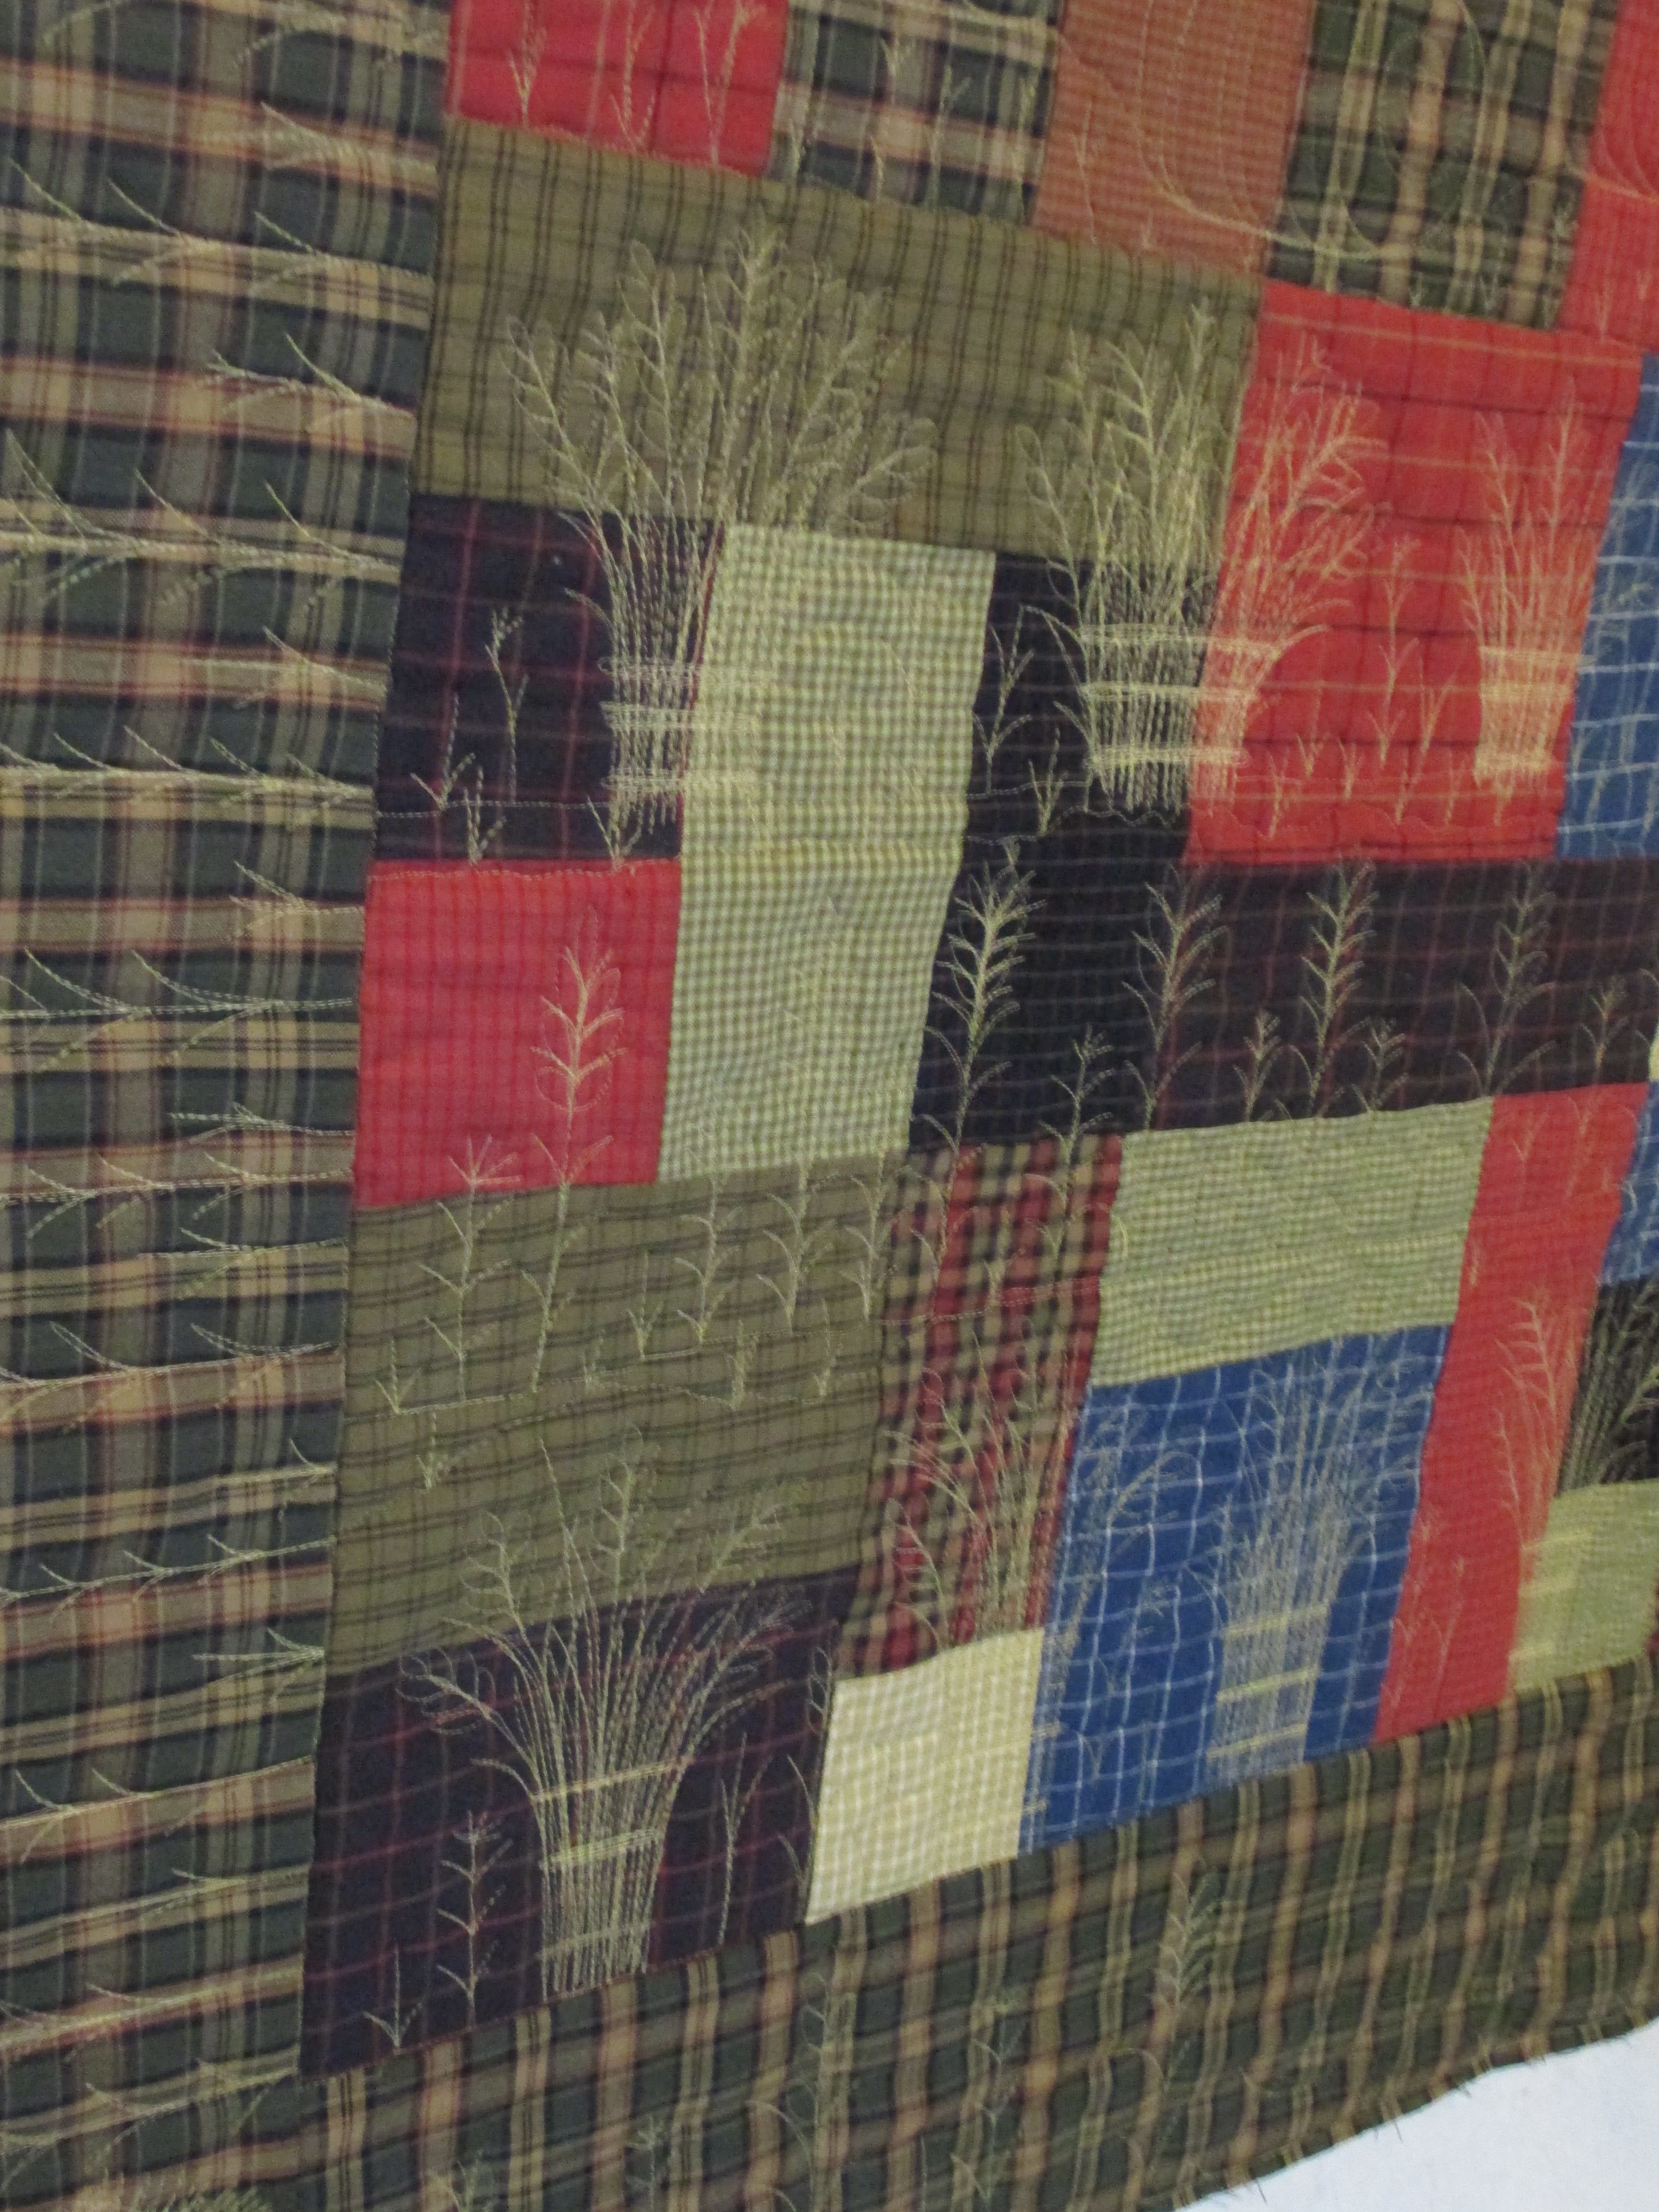
What the wheat shocks look like on the back of the quilt…

IMG_1410

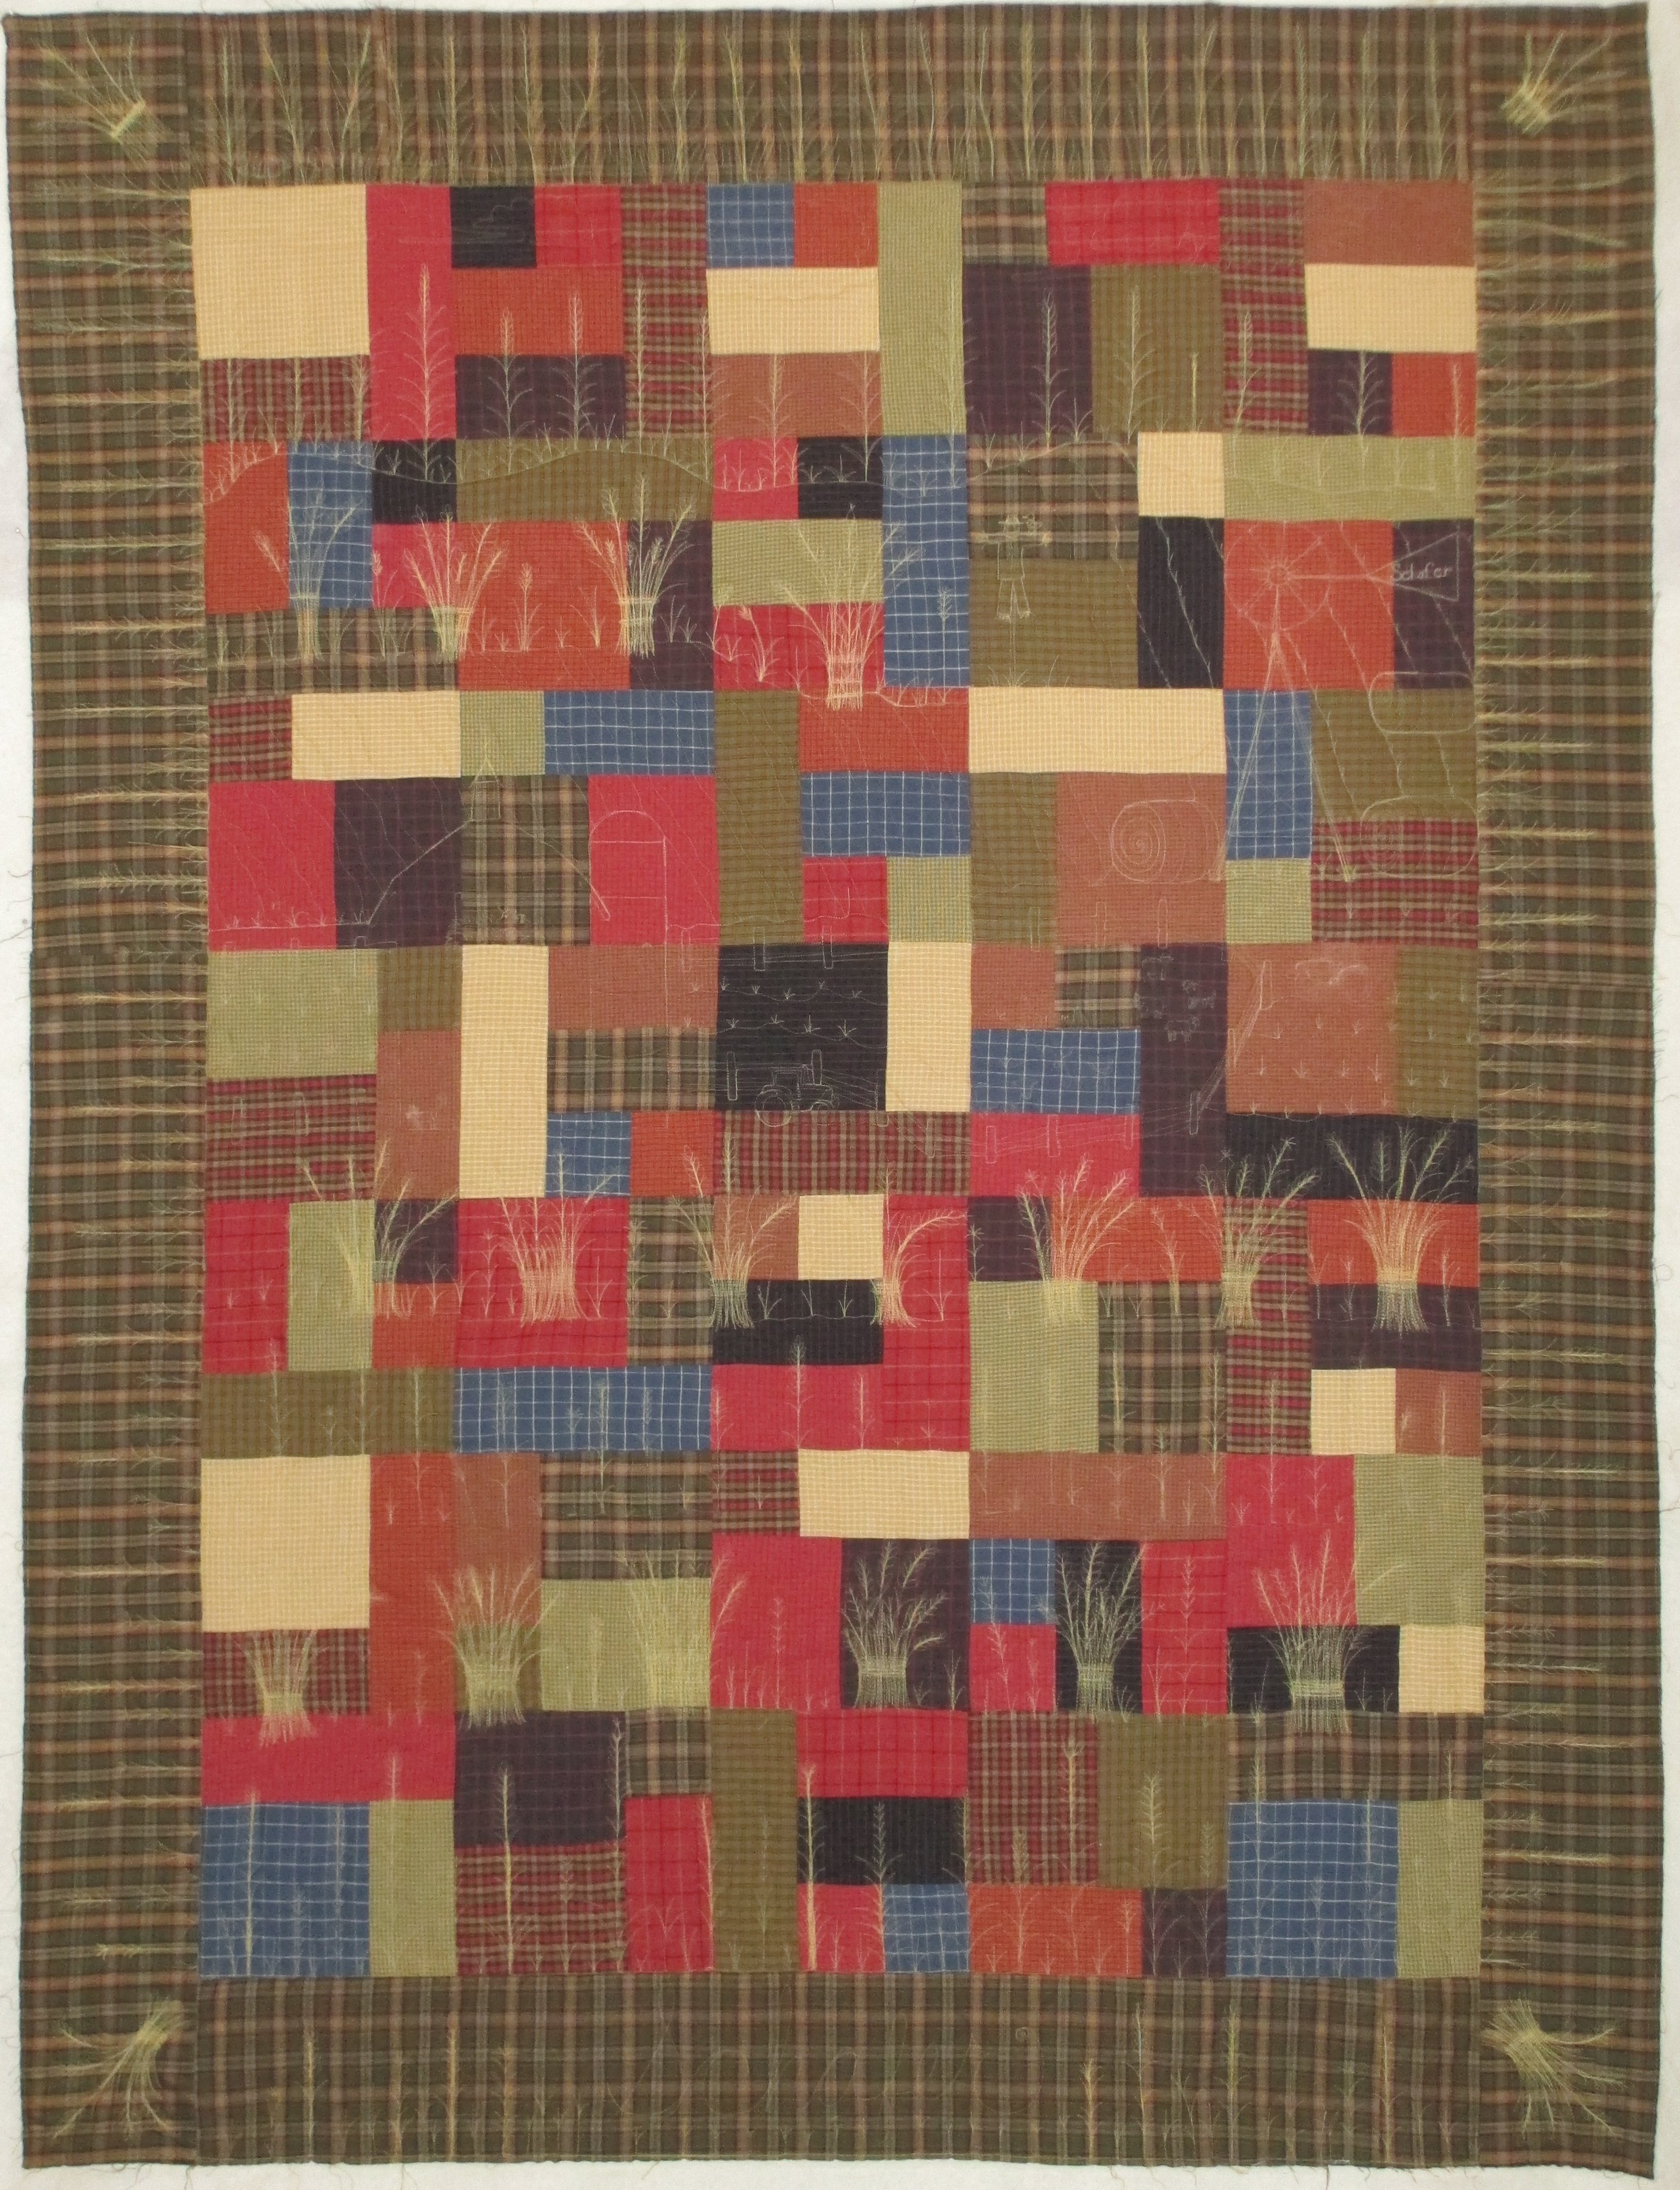
And, here is the finished product, front and back.  Claudia has been so gracious about this quilt, raving about how beautiful the quilting is.   I could hug her for being so kind.  I’d like to think that when we step back from the quilt, we see the patchwork farm fields.  I sure hope her brother sees the patches through the fields (trees vs. forest analogy).

IMG_1392  IMG_1409

And now for the moral of the story…

In 2011, when I was supposed to start my quilting business, I developed a retinal detachment in an area of my eye where I would not notice the symptoms.  By the time I started having symptoms several months later, a lot of damage had been done.  The surgeons repaired what they could.  I ended up having 8 eye surgeries (6 on my left eye and 2 on my right eye) between 2011 and 2013.  I spent a lot of time laying on my side on the couch in 2012 with waaaay too much time to think (several months of laying there doing nothing; no reading, no sewing, no getting up and walking around, etc).  And, I did a lot of “negotiating” with God.  I am legally blind in my left eye with my eyesight being 20/400 in that eye (20/40 in my right eye).  Sometimes they test me at 20/200 if I’m having a good day.  My depth perception is messed up, but I can pick up textures in a quilt top like never before, I think because of the lack of depth perception.

When I FINALLY was able to sew again and quilt again, I was surprised at the art I was able to create with my quilting.  I don’t know how I do it.  I just do it.  I think I must have an angel on my shoulder, because I can’t believe that it’s me stitching those stitches.  So, there’s a part of me that thinks I must have been given a gift and I should share it with others so that they, too, can smile.  This is what I struggled with when I was working on Claudia’s quilt just now.  How do I know where to “help” and not to help, “share” and not to share, “give” and not give?

It is my belief that we are put on this earth to help others.  We are here for one another, not just to make ourselves happy.  Sometimes bad things happen to us, but it’s okay.  Because through those bad things, lessons can be learned if we just allow ourselves to learn the lesson.  I think there was a lesson for me through this whole process.  It was a reminder to me that the quilts do not belong to me, they belong to my customers and they are the ones who need to be happy, not my egotistical artsy-fartsy mind (or… my evil twin) that may think I am creating heirlooms and giving a gift to others through my art.  Yes, I am a Thread Artist.  But, that does not mean I need to put “my stamp” on every quilt that passes my way.  I can enhance quilts without overpowering them.  I only hope I can remember that with the next quilt that passes my way.  <sigh, but laughing out loud>

By the way, I have a video on my YouTube channel if you’d like to see how I draw the tiny wheat kernels.  The link for it is here, but it’s not a good video at all.  I ran the camera myself, and the handles of my machine are in the way so you can’t see anything the first half of the video.  If you zoom past the first half, you might be able to see SOME of it – lesson learned for next time!